Introduction
Roof inspections are an essential part of home maintenance and construction projects. A thorough inspection can help identify potential issues, assess damage after a storm, or provide crucial information for roof repairs or replacements. Traditionally, roof inspections have been conducted manually, requiring inspectors to scale heights and navigate tricky terrains. However, in recent years, there has been a technological advancement that has revolutionized the way roof inspections are done: the use of drones.
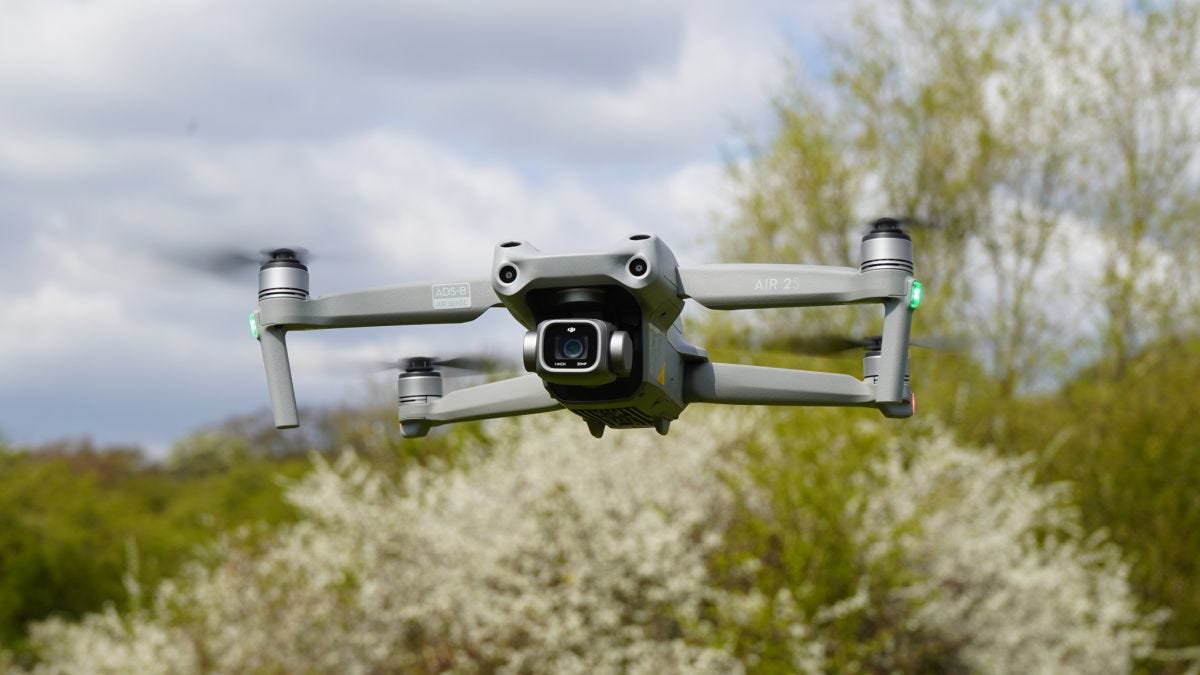
Drones, also known as unmanned aerial vehicles (UAVs), have become increasingly popular in various industries, including roofing. With their ability to capture high-resolution images and videos, drones offer a cost-effective and efficient solution for roof inspections. They provide an aerial perspective that was previously inaccessible, allowing inspectors to thoroughly examine roofs and identify potential issues without the need for physical contact.
In this article, we will explore the benefits of using drones for roof inspections and provide you with a comprehensive guide on how to conduct a successful roof inspection using a drone. We will discuss the importance of choosing the right drone for the job, pre-flight checks and safety measures, planning the flight path, executing the roof inspection flight, capturing high-quality imagery and footage, analyzing the data, identifying roof issues and concerns, as well as reporting and documentation.
Whether you are a professional roofing contractor, a home inspector, or a homeowner looking to assess the condition of your roof, this guide will equip you with the knowledge and tools to make the most out of drone technology for roof inspections.
Why Use a Drone for Roof Inspections
Using a drone for roof inspections offers numerous advantages over traditional methods. Here are some compelling reasons why you should consider incorporating drones into your roof inspection process:
- Enhanced Safety: Roof inspections can be dangerous, with the risk of falls and injuries. By utilizing a drone, you eliminate the need for inspectors to physically climb the roof, reducing the chance of accidents and ensuring the safety of your team.
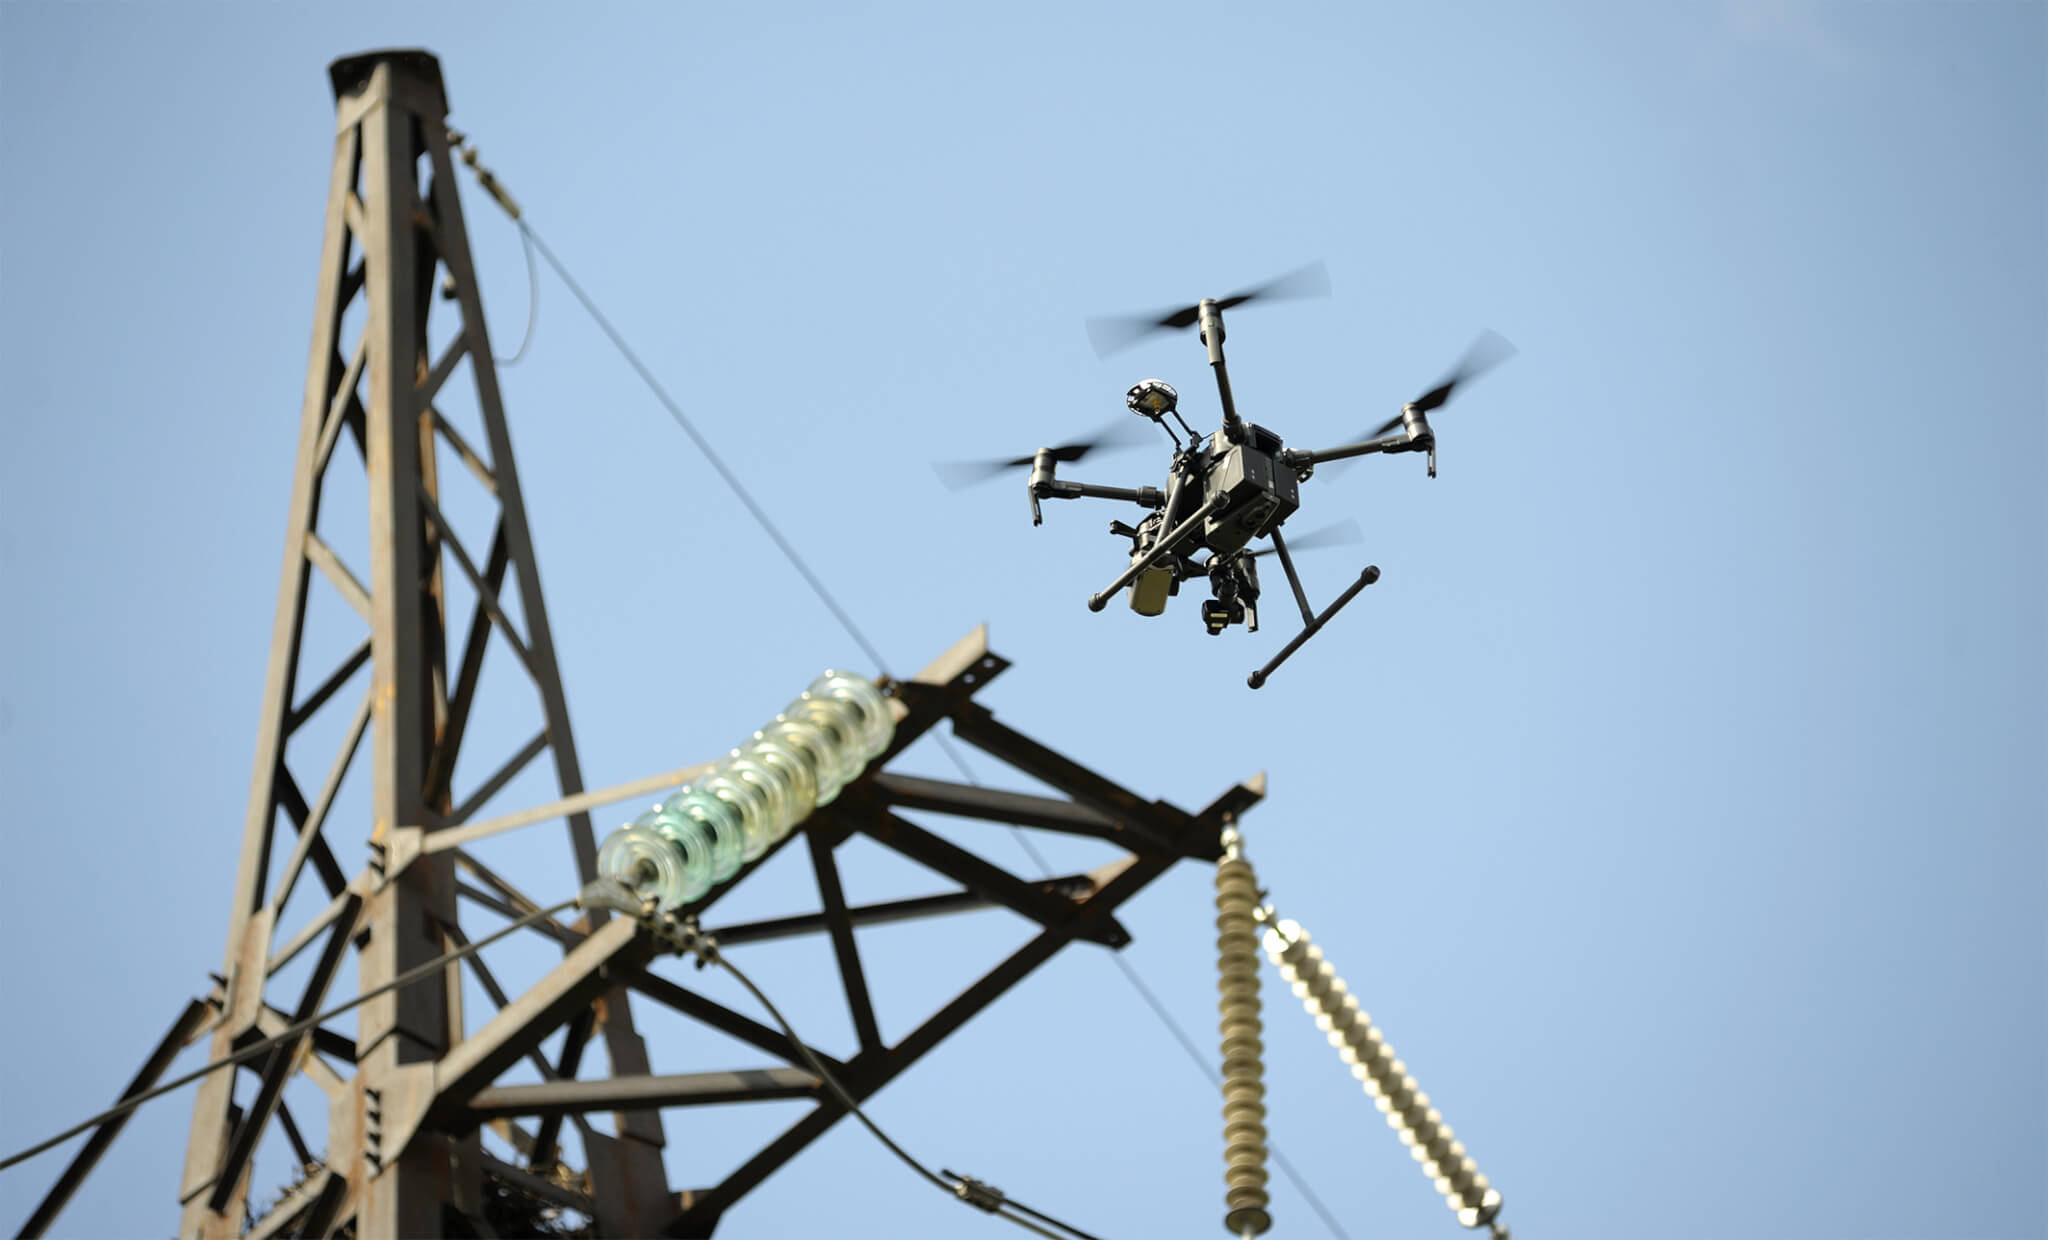
- Aerial Perspective: Drones provide a unique aerial perspective, allowing for a comprehensive view of the entire roof. Inspectors can easily capture images and videos of the roof from different angles and heights, enabling a more detailed assessment of its condition.
- Access to Hard-to-Reach Areas: Roofs with complex structures, steep slopes, or difficult access points can be challenging to inspect manually. Drones can navigate these obstacles effortlessly, reaching areas that would otherwise require specialized equipment or extensive manual effort.
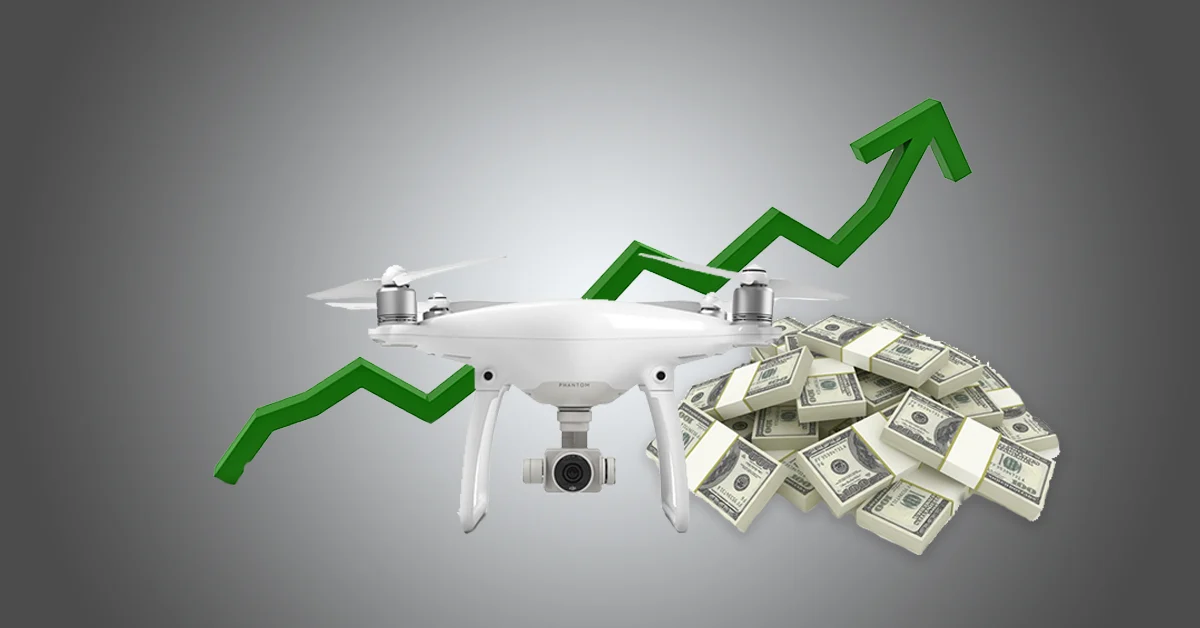
- Time and Cost Efficiency: Drone inspections are considerably faster than traditional methods, allowing inspectors to cover more ground in a shorter amount of time. This saves you valuable time and reduces labor costs. Additionally, drones eliminate the need for expensive scaffolding or equipment rentals, making roof inspections more cost-effective.
- High-Quality Imagery and Footage: Drones are equipped with advanced cameras that capture high-resolution images and videos. This enables inspectors to zoom in on specific areas, capturing fine details that might be easily missed during manual inspections. The high-quality imagery obtained by drones helps in accurately detecting roof issues and facilitates better decision-making for repairs or replacements.
- Data Analysis and Documentation: Drones not only capture visual data but also record geolocation and time-stamping information. This data can be integrated into specialized software for further analysis and documentation. The ability to track changes over time and compare inspection results is invaluable in monitoring roof condition and planning maintenance or repairs.
By utilizing drones for roof inspections, you can save time, improve safety, access hard-to-reach areas, capture detailed imagery, and analyze data more efficiently. In the following sections, we will delve into the process of selecting the right drone, conducting pre-flight checks, planning the flight path, and executing a successful roof inspection flight.
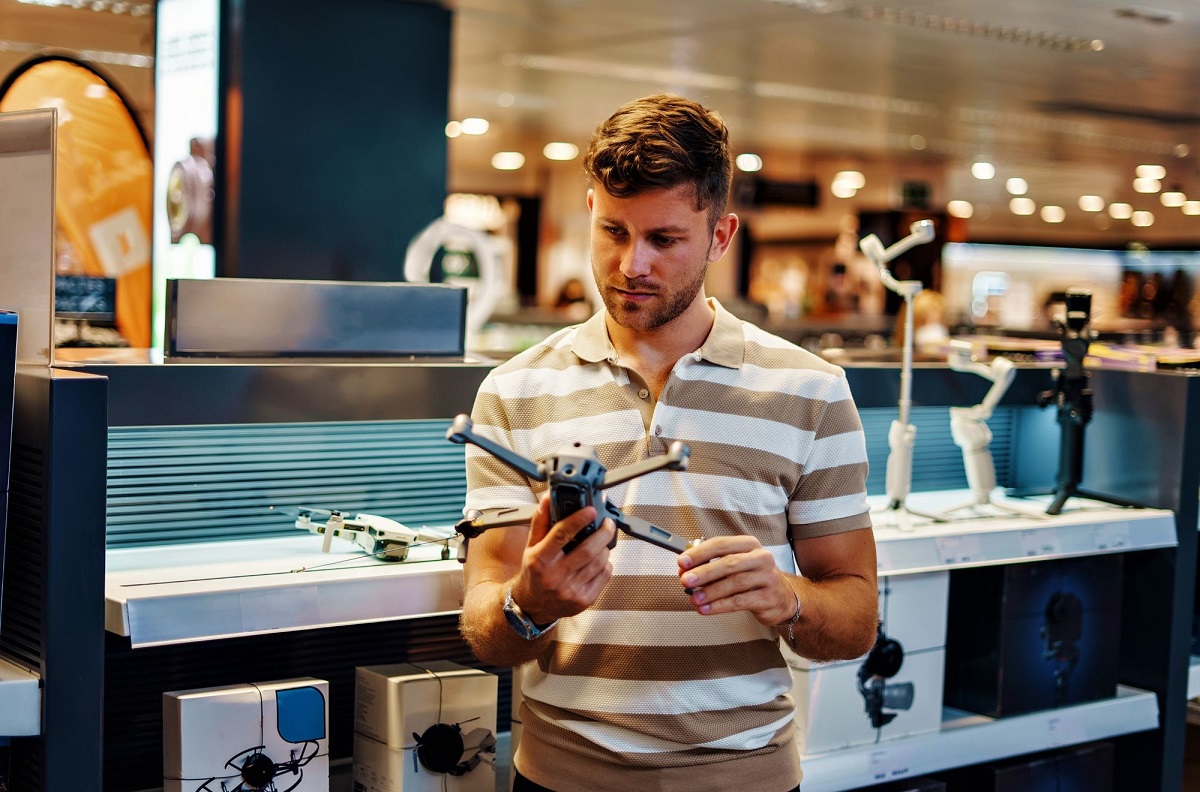
Choosing the Right Drone for Roof Inspections
Choosing the right drone for roof inspections is crucial to ensure a successful and efficient inspection process. Here are some key factors to consider when selecting a drone:
- Camera Quality: The quality of the drone’s camera is paramount for capturing clear and detailed imagery. Look for a drone that offers high-resolution capabilities, preferably with the ability to shoot in RAW format. This will help inspectors zoom in on specific areas and identify potential issues with greater accuracy.
- Battery Life: Roof inspections can take time, especially if the roof is large or complex. Opt for a drone with a long battery life to ensure uninterrupted flight and ample time to complete the inspection without needing to recharge or change batteries frequently.
- Stability and Maneuverability: A stable and maneuverable drone is essential for capturing crisp and steady footage. Look for drones with features like GPS-assisted flight, obstacle avoidance sensors, and gimbals to ensure smooth movements and minimal vibrations, even in windy conditions.
- Range and Transmission: Inspecting larger roofs might require the drone to cover a significant distance. Consider a drone with a long transmission range and a reliable signal to maintain a strong connection between the drone and the controller, ensuring uninterrupted footage capture and control.
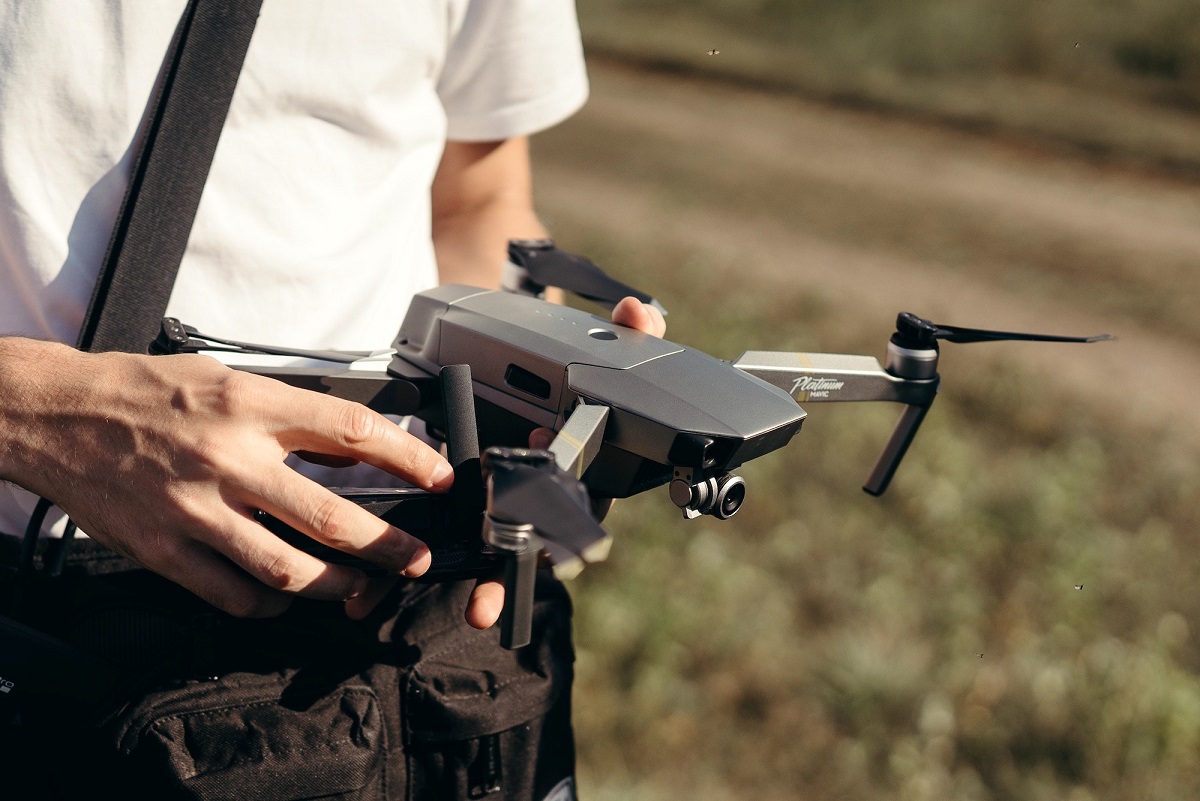
- Portability: As roof inspections often involve climbing up ladders and navigating tight spaces, it is important to have a drone that is lightweight and portable. Look for foldable or compact designs that can easily fit into a backpack or carrying case for convenient transportation.
- Flight Autonomy: Drones equipped with intelligent flight modes and features like waypoint navigation, automated return-to-home, and follow-me mode can greatly assist in executing a consistent and accurate inspection flight. These features allow inspectors to focus on capturing quality data rather than worrying about manually piloting the drone.
- Price and Value for Money: Consider your budget and the value you will get from the drone’s features and capabilities. While it’s tempting to go for the most advanced option, it’s essential to strike a balance between functionality and cost-effectiveness for your specific needs.
Take the time to research and compare different drone models, read user reviews, and consider specific requirements for roof inspections. Finding the right drone will significantly contribute to the success and efficiency of your roof inspection process. In the next section, we will discuss the pre-flight checks and safety measures that should be followed before taking the drone to the roof.
Pre-Flight Checks and Safety Measures
Prior to conducting a roof inspection with a drone, it is essential to perform pre-flight checks and follow safety measures to ensure the well-being of everyone involved and protect the equipment. Here are some important steps to take:
- Check Weather Conditions: Before flying the drone, assess the weather conditions. Avoid flying in high winds, rain, or stormy weather, as it can affect the stability and performance of the drone. Choose a day with clear skies and minimal wind to ensure optimal flying conditions.
- Inspect the Drone: Thoroughly inspect the drone and its components to ensure they are in proper working condition. Check the propellers, landing gear, gimbal, and camera for any signs of damage or wear. Verify that the battery is fully charged and securely attached to the drone.
- Clear the Flight Area: Remove any obstacles or debris that could potentially interfere with the drone’s flight path. Ensure that there is sufficient clearance around the takeoff and landing area, avoiding trees, power lines, buildings, or any other hazards that may pose a risk to the drone’s navigation.
- Secure Permissions and Permissions: Depending on your location, you may need to secure permissions and permits to operate a drone for commercial purposes or in certain restricted airspace. Familiarize yourself with local regulations and obtain any necessary authorizations to avoid legal complications.
- Notify People in the Vicinity: If the roof inspection is being conducted in a populated area, it is advisable to inform nearby residents or property owners about the drone flight. This helps prevent any concerns or misunderstandings and ensures the privacy and safety of individuals in the vicinity.
- Establish a Controlled Area: Set up a controlled area for takeoff and landing, marked with cones or signs to restrict access. This helps prevent bystanders from accidentally interfering with the drone’s flight path and ensures the safety of everyone involved.
- Check Battery Levels and Controller: Verify that the drone’s battery has sufficient charge to complete the flight. Additionally, check the controller’s battery level and ensure it is fully charged as well. A fully charged controller ensures a reliable connection with the drone throughout the inspection.
- Calibrate Sensors and Compass: Follow the manufacturer’s instructions to calibrate the drone’s sensors and compass before each flight. This process helps the drone operate accurately and maintain stable flight, reducing the likelihood of any unexpected issues during the inspection.
- Follow FAA Guidelines: If operating in the United States, adhere to the guidelines set forth by the Federal Aviation Administration (FAA). Fly below 400 feet, always maintain visual line-of-sight with the drone, and avoid flying near airports or restricted airspace. Compliance with regulations ensures the safety of air traffic and the integrity of your operation.
By performing these pre-flight checks and following safety measures, you minimize the risk of accidents, ensure the smooth operation of the drone, and prioritize the safety of both people and property. In the next section, we will explore how to plan the flight path for a successful roof inspection.
Planning the Flight Path
Planning the flight path is a critical step in conducting a successful roof inspection with a drone. A well-thought-out flight path ensures comprehensive coverage of the roof and facilitates efficient data collection. Here are some guidelines to help you plan your drone’s flight path:
- Familiarize Yourself with the Roof Layout: Before flying the drone, take time to familiarize yourself with the layout and structure of the roof. Identify any potential obstacles, such as chimneys, skylights, or vent pipes, that may impact the flight path or require careful maneuvering.
- Assess the Size and Complexity of the Roof: Consider the size and complexity of the roof to determine the appropriate flight path. For larger roofs, you may need to divide the inspection into sections and plan separate flights for each area.
- Establish Reference Points: Identify prominent features on or around the roof that can serve as reference points during the flight. These reference points will help you navigate the drone and maintain proper orientation, ensuring accurate data collection.
- Consider the Camera Angle: Determine the optimal camera angle to capture the desired level of detail. Angling the camera slightly downward helps in capturing close-up views of the roof surface, facilitating the identification of issues like cracks, missing shingles, or debris accumulation.
- Plan the Flight Path: Decide on the flight pattern that will allow complete coverage of the roof surface. The most common flight paths are the grid pattern, zigzag pattern, or circular pattern. Select the pattern that suits your needs and allows for systematic and efficient coverage of the entire area.
- Set Waypoints or Markers: Depending on your drone’s capabilities, you may be able to set waypoints or markers to guide the flight path automatically. This feature can help ensure consistent positioning and reduce the chances of missing any sections of the roof.
- Account for Wind Conditions: Consider wind direction and strength when planning the flight path. It is advisable to start the flight against the wind to maximize stability and control over the drone. Additionally, plan for any potential wind gusts or turbulence around obstacles like trees or nearby buildings.
- Review Flight Path and Adjustments: Before taking off, review the planned flight path and make any necessary adjustments. Ensure that the flight path covers all desired areas of the roof and takes into account any specific features or concerns that may require closer inspection.
By carefully planning the flight path, you can ensure comprehensive coverage of the roof, optimize data collection, and minimize the chances of missing any potential issues. In the next section, we will delve into the execution of the roof inspection flight using a drone.
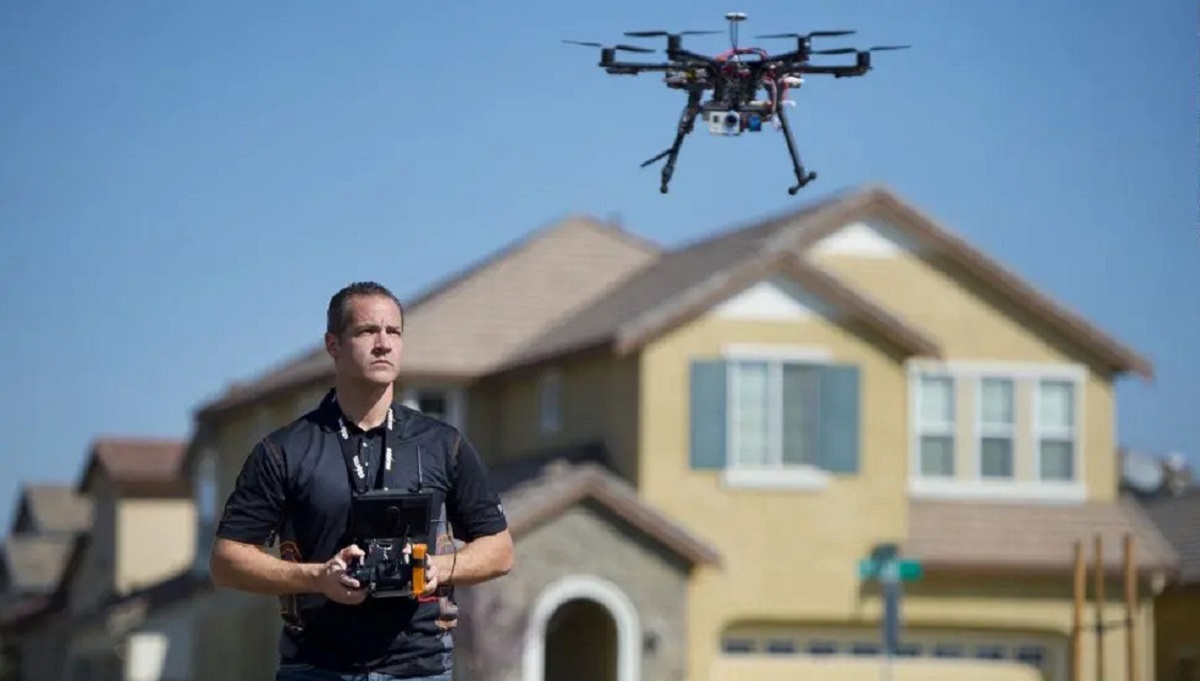
Executing the Roof Inspection Flight
Executing the roof inspection flight with your drone requires careful attention to detail and proper piloting techniques. Follow these steps to ensure a successful and efficient inspection:
- Perform a Pre-Flight Check: Before taking off, double-check that all equipment is in proper working condition and that your drone is calibrated and ready for flight. Ensure that the camera is clean and the memory card has sufficient space.
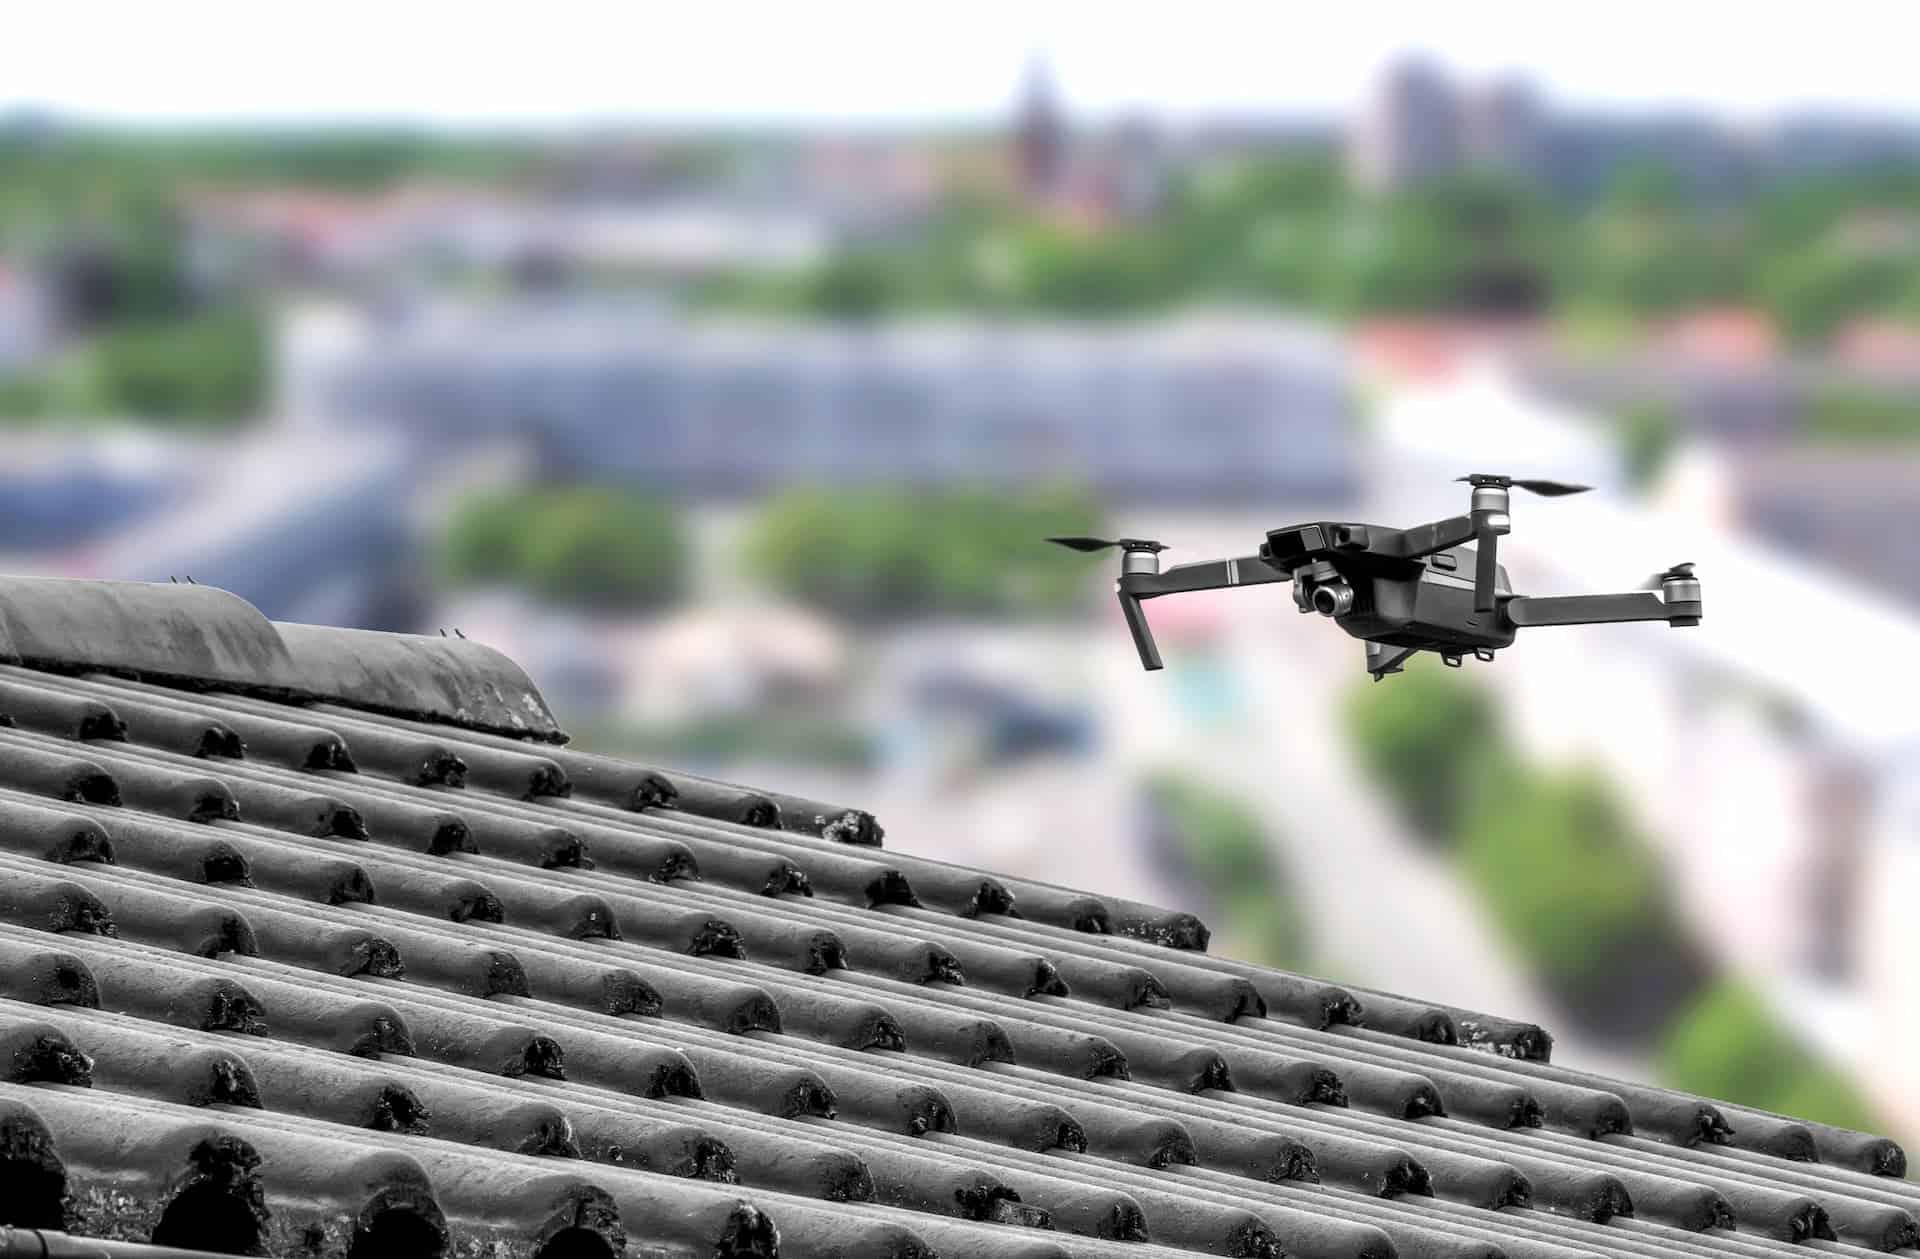
- Take-Off and Ascend: Find a suitable take-off point, clear of any obstacles, and launch the drone. Ascend steadily to an appropriate altitude, considering the roof’s height and any legal restrictions in your area. Maintain a safe distance from the roof, typically around 10-15 feet, to capture detailed imagery without risking collision.
- Fly Along the Planned Flight Path: Follow the predetermined flight path, taking into account the planned pattern, camera angle, and reference points. Control the drone’s movement smoothly and gently, avoiding sudden changes in direction or speed. Monitor the camera feed on your controller or mobile device to ensure you are capturing the desired imagery.
- Capture Images and Record Videos: Trigger the camera or initiate video recording at appropriate intervals, such as when passing over specific roof sections or encountering potential issues. Aim to capture overlapping images to facilitate stitching and create accurate orthomosaic maps or 3D models for further analysis.
- Adjust for Lighting Conditions: Pay attention to lighting conditions during the flight. Adjust camera settings or flight timing if necessary to account for shadows, glare, or overexposure. Ensuring proper lighting will result in clearer and more detailed imagery, allowing for better analysis later on.
- Monitor Battery Life: Keep an eye on the battery level throughout the flight. Plan your flight time accordingly to ensure you have enough battery power to complete the inspection and safely return the drone to the landing area. Consider shorter flights or having spare batteries on hand for longer or more extensive inspections.
- Observe Safety Measures: Adhere to all safety measures and guidelines, including avoiding flying near people or buildings, maintaining visual line-of-sight, and respecting any local regulations or airspace restrictions. Be mindful of any potential hazards and adjust your flight path as needed to ensure a safe and incident-free inspection.
- Review Footage and Retake if Necessary: Once the flight is complete, review the captured footage to ensure quality and coverage. If any areas were missed or the footage is unclear, consider retaking specific sections to ensure a thorough inspection. This will help ensure accurate data analysis and identification of roof issues.
By following these steps, you can execute a smooth and successful roof inspection flight using your drone. In the next section, we will explore how to capture high-quality imagery and footage to enhance the effectiveness of your inspection.
Capturing High-Quality Imagery and Footage
When conducting a roof inspection with a drone, capturing high-quality imagery and footage is crucial for accurate assessment and analysis. Follow these tips to ensure you capture the best possible data:
- Use a Stabilized Camera: A stabilized camera or gimbal mounted on your drone is essential for capturing clear and steady footage. It helps minimize vibrations and movements, resulting in sharper images and smoother video recordings.
- Select the Right Camera Settings: Adjust your camera settings to suit the lighting and conditions of the roof. Use manual mode if available to have more control over exposure, shutter speed, ISO, and other settings. Experiment with different settings to achieve the best balance between brightness, contrast, and sharpness.
- Capture Overlapping Images: Ensure that you have enough overlapping images to facilitate later stitching and create accurate orthomosaic maps or 3D models. Overlapping images, especially from different angles, enhance the ability to detect minute details and accurately assess the condition of the roof.
- Vary Camera Angles and Altitudes: Experiment with different camera angles and altitudes to capture a variety of perspectives. This will provide a more comprehensive view of the roof, helping to identify issues that may not be immediately apparent from a single viewpoint.
- Focus on Details: Pay attention to capturing detailed shots of areas where potential issues might occur, such as roof edges, flashing, vents, or areas with observable wear and tear. Zoom in and take close-up shots to capture fine details that may indicate the need for repairs or maintenance.
- Record Videos for Dynamic Analysis: In addition to capturing images, consider recording video footage. Video can provide a dynamic view of the roof, helping to assess the condition of the roof surface, identify any movement or structural issues, and observe changes over time.
- Use HDR or Bracketing for Exposure: If your drone’s camera supports HDR (High Dynamic Range) or bracketing, make use of these features. They help capture a wider range of exposures in a single shot, ensuring that both highlights and shadows are properly exposed. This technique can particularly benefit inspections conducted under challenging lighting conditions.
- Document Any Findings: As you capture imagery and footage, make note of any important findings or observations. This will aid in the analysis process and help provide detailed documentation for future reference or discussions with clients or stakeholders.
By following these tips for capturing high-quality imagery and footage, you can enhance the effectiveness of your roof inspection. In the next section, we will explore how to analyze the collected data to identify roof issues and concerns.
Analyzing the Data
Once you have captured the imagery and footage during the roof inspection with your drone, the next step is to analyze the collected data. Proper analysis plays a crucial role in identifying roof issues and concerns accurately. Here are some steps to help you effectively analyze the data:
- Organize and Review the Data: Start by organizing the captured images and footage. Create folders or categories based on different roof sections or areas of interest. Review the data systematically to ensure you don’t miss any potential issues.
- Zoom In and Enhance Details: Zoom in on the images or videos to focus on specific areas of the roof. Enhance the details to clearly identify any signs of damage, such as cracks, missing or broken shingles, rusted flashing, or water stains.
- Compare Before and After: If you have previous inspection data or imagery, compare the current data with the past records. Look for any noticeable changes or deterioration over time, which can help identify ongoing issues or the need for maintenance.
- Create Orthomosaic Maps or 3D Models: Utilize specialized software to stitch the captured images together and create orthomosaic maps or 3D models. These visual representations provide a larger view of the entire roof and assist in identifying patterns or areas that require closer examination.
- Analyze Roof Components: Pay attention to specific roof components, such as chimneys, skylights, gutters, or vents. Evaluate their condition and check for any signs of wear, cracks, or loose fittings that may pose a risk to the roof’s integrity.
- Note Potential Roof Issues: Document any identified issues, concerns, or areas that require further inspection or action. Use annotations or notes directly on the images or create a separate report that highlights specific problem areas and suggests appropriate remedies.
- Consult with Roofing Experts: If you encounter any complex issues or are unsure about the severity of a problem, consult with roofing experts or contractors. Their professional insights can provide valuable guidance in understanding the implications of specific roof conditions and recommend appropriate repair or maintenance solutions.
- Prioritize Immediate Concerns: Identify and prioritize immediate concerns based on the severity of the issues observed. Categorize them into critical, urgent, or potential problems, allowing for a systematic approach to addressing the necessary repairs or maintenance.
By following these steps, you can effectively analyze the data captured during the roof inspection, identify roof issues, and determine the necessary actions required for repairs or maintenance. In the next section, we will discuss the importance of reporting and documentation in the roof inspection process.
Identifying Roof Issues and Concerns
During a roof inspection conducted with a drone, it is essential to thoroughly examine the captured data to identify any roof issues and concerns. By carefully analyzing the imagery and footage, you can pinpoint areas that require attention or further inspection. Here are some common roof issues and concerns to look out for:
- Missing or Damaged Shingles: Pay close attention to the condition of the shingles. Look for any missing, cracked, or curling shingles that may indicate weathering or age-related issues. Damaged shingles can expose the underlying roof structure to potential water damage.
- Flashing and Sealant Problems: Examine the flashing around chimney stacks, skylights, vents, and any other roof penetrations. Look for signs of rust, corrosion, or cracks that can compromise the watertight seal and lead to leaks.
- Pooling or Ponding Water: Identify areas where water might accumulate on the roof surface for extended periods. Ponding water may indicate inadequate drainage or structural issues, which can lead to leaks, deterioration, and roof sagging over time.
- Roof Leaks or Water Stains: Look for signs of water infiltration, such as water stains on the ceilings or walls inside the building. These stains may indicate roof leaks or issues with the flashing or gutters.
- Structural Damage or Sagging: Assess the overall structural integrity of the roof. Look for any signs of sagging, uneven areas, or distortions in the roofline, as these could indicate structural damage or compromised support systems.
- Gutter Problems: Inspect the gutters and downspouts for any clogs, cracks, or signs of damage. Improperly functioning gutters can lead to water overflow, causing water to cascade down the walls or pool around the foundation, potentially leading to water damage and foundation issues.
- Mold or Moss Growth: Check for any signs of mold, moss, or lichen growth on the roof surface. These growths can trap moisture, retain heat, and accelerate the degradation of roofing materials, eventually leading to water intrusion and roof deterioration.
- Debris and Vegetation Accumulation: Assess the roof surface for accumulated debris, such as leaves, branches, or tree limbs. Clear away any debris that can impede water drainage or cause damage to the roof. Also, remove any vegetation growth that might be detrimental to the roof’s integrity.
- Deteriorated or Aging Roofing Materials: Evaluate the overall condition of the roofing materials, whether it is asphalt shingles, metal roofing, or other types. Look for signs of wear, including granule loss, rust, or cracks, that may indicate the need for repair or replacement.
- Potential Safety Hazards: During the inspection, note any safety hazards, such as loose cables, exposed electrical wiring, or unstable structures. Document these concerns and ensure they are addressed promptly to maintain a safe working environment.
By identifying and documenting these roof issues and concerns, you can prioritize repairs, plan for maintenance, and take appropriate measures to ensure the long-term integrity and functionality of the roof. In the upcoming section, we will discuss the importance of reporting and documentation in the roof inspection process.
Reporting and Documentation
Reporting and documentation are essential components of the roof inspection process conducted with a drone. Properly documenting the findings and observations allows for clear communication, informed decision-making, and effective follow-up actions. Here are some key aspects to consider when creating your report:
- Include Detailed Descriptions: Provide a detailed description of each identified roof issue or concern. Clearly explain the problem, its location, and its potential impact on the overall roof condition and the building structure.
- Include Supporting Imagery: Enhance your report by including annotated images or screenshots that highlight the specific areas of concern. These visual aids help stakeholders understand the severity and nature of the issues identified during the inspection.
- Prioritize and Categorize Issues: Organize the identified issues based on priority levels and categorize them accordingly. This helps stakeholders understand the immediate concerns versus potential long-term issues, facilitating decision-making and planning for necessary repairs or maintenance.
- Provide Recommendations: Offer recommendations for addressing each identified issue or concern. Include suggested repair methods, potential mitigation strategies, and any preventive measures that can help prolong the lifespan of the roof.
- Include Cost Estimates: If feasible, provide an estimation of the costs associated with addressing the identified issues. This helps stakeholders understand the financial implications and plan their budgets accordingly.
- Document Follow-Up Actions: Record any follow-up actions that need to be taken, such as scheduling repairs, conducting additional inspections, or monitoring specific areas. Set deadlines for completion and assign responsibilities to ensure accountability and timely resolution of the identified issues.
- Maintain Consistency: Use a consistent format for reporting and documentation to ensure clarity and ease of understanding. Create templates or standardized forms that can be replicated for future inspections, allowing for easy comparison and tracking over time.
- Share the Report: Distribute the final report to relevant stakeholders, such as property owners, building managers, or contractors involved in the repair or maintenance process. Ensure that the report is easily accessible and kept as part of the building’s maintenance records.
- Use Technology for Efficiency: Leverage technology to streamline the reporting and documentation process. Utilize software or digital platforms that allow for easy data entry, image annotation, and report generation, saving time and ensuring accuracy.
- Regularly Review and Update: Periodically review and update the inspection reports as needed. This helps track the progress of repair or maintenance actions and allows for continuous monitoring of the roof’s condition.
By providing detailed reports and thorough documentation, you enable effective communication, informed decision-making, and timely execution of necessary repairs or maintenance. This ensures a proactive approach to roof management and longevity. In the next section, we will conclude by summarizing the key aspects discussed in this article.
Conclusion
Using drones for roof inspections has revolutionized the way we assess and maintain roofs. The ability to capture high-resolution imagery, maneuver through challenging terrain, and access hard-to-reach areas has made roof inspections safer, more efficient, and more accurate than ever before. By following the steps outlined in this article, you can conduct successful roof inspections with a drone.
We discussed the importance of choosing the right drone for the job, conducting pre-flight checks, planning the flight path, executing the inspection flight, capturing high-quality imagery and footage, analyzing the data, and identifying roof issues and concerns. We emphasized the significance of safety measures, proper documentation, and thorough reporting.
By incorporating drones into your roof inspection process, you can save time, reduce costs, enhance safety, and improve the accuracy of your assessments. Drones provide an aerial perspective that allows for a comprehensive view of the entire roof, making it easier to detect potential issues and plan appropriate repairs or maintenance.
Remember to stay updated with local regulations and obtain any necessary permits or permissions before conducting drone inspections. Adhere to safety guidelines and prioritize the well-being of both people and property throughout the entire inspection process.
By utilizing drones, you can take your roof inspections to new heights. Embrace this innovative technology to streamline your inspection workflow, increase efficiency, and ensure the longevity of roofs. Whether you are a roofing professional, a home inspector, or a homeowner concerned about the condition of your roof, drones can be a valuable tool in your arsenal.
Embrace the power of drones for roof inspections and unlock new opportunities for accurate assessments, timely maintenance, and long-term roof durability.