Introduction
Welcome to the world of drones! These flying marvels have taken the world by storm, capturing breathtaking aerial footage and offering endless possibilities. However, owning a drone comes with responsibilities, and one such responsibility is calibration. Whether you have just purchased your first drone or have been flying for a while, calibration is an essential process that should not be overlooked.
Drone calibration involves ensuring that all the internal sensors and components of your drone are accurately calibrated for optimal performance. This calibration process allows your drone to maintain stability, accuracy, and flight control, ensuring smooth and controlled flights. Neglecting calibration can result in erratic behavior, crashes, inaccurate positioning, and poor flight performance.
In this comprehensive guide, we will explore the importance of calibrating your drone, the various components that require calibration, and step-by-step instructions on how to calibrate each of them. By following this guide, you can ensure that your drone is at its peak performance, providing you with the best flying experience and stunning footage.
Before we dive into the calibration process, it is important to note that different drone models may have varying calibration procedures. Therefore, it is crucial to refer to your drone’s user manual for specific instructions tailored to your drone.
Now, let’s explore why calibration is such a crucial aspect of drone ownership and how it can significantly impact your flight experience.
Why is calibration important?
Calibrating your drone is more than just a necessary chore; it is a vital step to ensure the safe and efficient operation of your aerial device. Here are some key reasons why calibration is important:
1. Flight Stability: Calibration ensures that the internal sensors of your drone are accurate and correctly calibrated. This allows the drone to maintain stable flight and hover in a fixed position without any drift. Without proper calibration, your drone may exhibit unstable flight behavior, leading to crashes and potential damage.
2. Accurate Positioning: Calibrating the drone’s compass ensures that it accurately detects the Earth’s magnetic field and determines its orientation. Accurate positioning is crucial for features like Return-to-Home (RTH) and GPS-based flight modes. An improperly calibrated compass can lead to your drone failing to establish its location accurately, resulting in risky flights and potential loss of the aircraft.
3. Flight Control: Calibration ensures that the drone’s flight controller receives accurate and reliable sensor data. This data is used to adjust flight parameters, stabilize the drone, and interpret user commands. If the flight controller receives incorrect data due to improper calibration, it can result in erratic flight behavior and poor responsiveness to pilot inputs.
4. Safety: Calibration plays a critical role in ensuring the safety of the drone and the surrounding environment. A poorly calibrated drone may exhibit unpredictable flight behavior, increasing the risk of collision with obstacles, other aircraft, or people. By calibrating your drone properly, you significantly reduce the chances of accidents and ensure a safer flying experience.
5. Optimal Performance: Calibrating your drone optimizes its performance by fine-tuning the system to work seamlessly and efficiently. It allows the drone to operate at its full potential, enhancing flight stability, responsiveness, and overall flying experience. Whether you are capturing stunning aerial photographs or shooting breathtaking videos, proper calibration ensures that your drone can perform at its best.
By understanding the importance of calibration, you can appreciate the significant impact it has on your drone’s performance and safety. In the following sections, we will delve into the step-by-step process of calibrating different components of your drone to ensure smooth flights and exceptional aerial footage.
Pre-flight checklist
Before taking to the skies, it is crucial to go through a pre-flight checklist to ensure that your drone is in optimal condition and ready for flight. This checklist helps you identify any potential issues or malfunctions that may affect the performance of your drone. Here are some important steps to include in your pre-flight checklist:
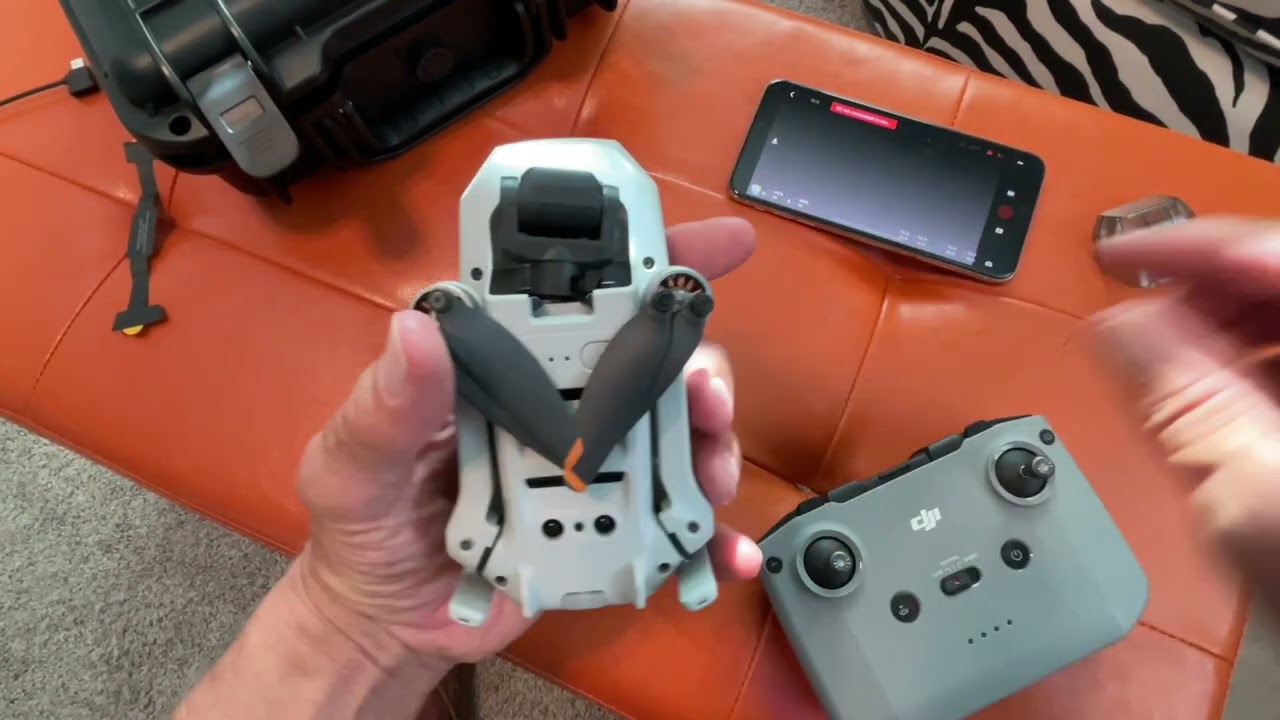
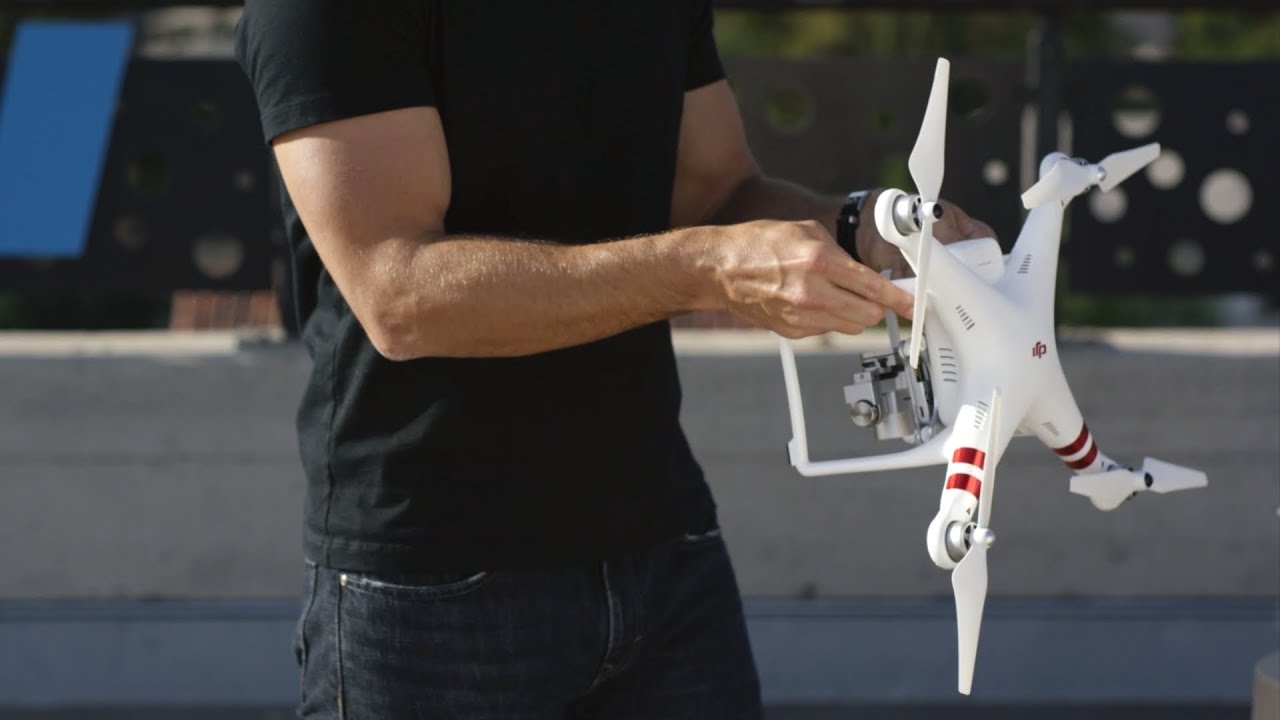
1. Visual Inspection: Carefully inspect your drone for any physical damage, loose parts, or signs of wear and tear. Check the propellers to ensure they are securely attached and not damaged. Look for any debris or obstructions in the motor or gimbal assembly.
2. Battery Inspection: Check the battery to ensure it is fully charged and in good condition. Look for any swells or punctures on the battery casing. Make sure the battery contacts are clean and free of dirt or debris.
3. Firmware Update: Verify that your drone’s firmware is up to date. Manufacturers often release firmware updates to enhance performance, address bugs, and improve flight safety. Updating the firmware ensures that you have the latest features and optimizations available for your drone.
4. Controller Check: Inspect your remote controller for any physical damage. Check that the joysticks are functioning properly, the buttons are responsive, and the battery level is adequate. Ensure that the controller is synchronized with your drone to establish a stable connection.
5. Compass Calibration: Find an open area away from any magnetic interference and calibrate the compass on your drone. This step is crucial for accurate positioning and reliable flight modes. Follow the manufacturer’s instructions to calibrate the compass properly to ensure optimal performance.
6. GPS Signal: Wait for a stable GPS signal lock before taking off. Most drones rely on GPS for features like position hold, return-to-home, and intelligent flight modes. Flying without a stable GPS signal can result in erratic behavior and loss of control.
7. Check Weather Conditions: Assess the weather conditions before flying. Avoid flying in strong winds, rain, or extreme temperatures. Unfavorable weather conditions can affect flight stability, visibility, and overall drone performance.
8. Flight Area Safety: Evaluate the flight area for any potential hazards or obstacles that may interfere with your flight. Ensure that you have appropriate permissions to fly in the designated area and that you comply with local aviation rules and regulations.
9. Pre-flight Test: Conduct a quick pre-flight test by powering on your drone, checking the camera feed, and performing a short hover to verify stability and control responsiveness. This test helps identify any last-minute issues that may need attention before a full flight.
Following a comprehensive pre-flight checklist ensures that your drone is in optimal condition and helps minimize the risk of accidents or malfunctions during flight. By taking these necessary precautions, you can enjoy a safe and successful flying experience with your drone.
How to Calibrate the IMU
The Inertial Measurement Unit (IMU) is a crucial component of your drone that consists of sensors like gyroscopes and accelerometers. Calibrating the IMU ensures accurate measurement of the drone’s orientation and movement. Here’s a step-by-step guide on how to calibrate the IMU:
- Find a level surface: Place your drone on a flat and stable surface, ensuring that it is level and not tilted.
- Power on the drone: Turn on your drone and connect it to the remote controller.
- Access the calibration settings: Depending on your drone model, access the calibration settings through the drone’s app or the remote controller’s menu.
- Select IMU calibration: Look for the option to calibrate the IMU and select it. Follow any on-screen prompts or instructions provided by the app or controller.
- Follow the calibration process: The calibration process typically involves keeping your drone still and stationary while it measures sensor data. Some drones may require you to move the drone in specific patterns or orientations during the calibration process.
- Complete the calibration: Once the calibration process is complete, you will receive a confirmation message or indication on the controller or app. Your IMU is now calibrated and ready for flight.
It is important to note that each drone model may have slightly different calibration procedures. Refer to the user manual or documentation provided by the manufacturer for specific instructions tailored to your drone.
Proper IMU calibration ensures that your drone accurately measures movements and maintains stability during flight. By following this calibration process regularly or whenever prompted by the manufacturer, you can enhance the overall performance and safety of your drone.
How to Calibrate the Compass
The compass is a vital component of your drone that helps determine its orientation and heading. Calibrating the compass ensures accurate positioning and reliable flight modes. Here’s a step-by-step guide on how to calibrate the compass:
- Find an open area: Move away from any magnetic interference such as metal objects, power lines, or magnetic fields. Choose an open area where you are unlikely to encounter any magnetic interference during the calibration process.
- Power on the drone: Turn on your drone and connect it to the remote controller.
- Access the calibration settings: Depending on your drone model, access the calibration settings through the drone’s app or the remote controller’s menu.
- Select compass calibration: Look for the option to calibrate the compass and select it. Follow any on-screen prompts or instructions provided by the app or controller.
- Hold the drone horizontally: Hold your drone horizontally and level, ensuring that it is parallel to the ground.
- Rotate the drone: Rotate the drone smoothly in a full 360-degree circle horizontally. Be sure to keep it level and rotate it at a steady pace.
- Hold the drone vertically: After completing the horizontal rotation, hold the drone vertically with the nose pointing upwards.
- Rotate the drone again: Rotate the drone smoothly in a full 360-degree circle vertically. Keep it as straight as possible while rotating.
- Complete the calibration: Once the calibration process is complete, you will receive a confirmation message or indication on the controller or app. Your compass is now calibrated and ready for flight.
Remember to perform compass calibration in an open area whenever you experience issues with inaccurate GPS positioning, unstable flight behavior, or when prompted by the drone’s manufacturer. It is recommended to calibrate the compass regularly to ensure optimal performance and reliable flight operations.
It’s important to note that different drone models may have variations in the calibration process. Consult the user manual or manufacturer’s documentation for specific instructions tailored to your drone.
How to Calibrate the Remote Controller
The remote controller is your interface to control and navigate your drone. It’s important to ensure that it is properly calibrated to maintain a reliable connection and accurate control. Here’s a step-by-step guide on how to calibrate the remote controller:
- Power on the remote controller: Turn on your remote controller and ensure that it is fully charged.
- Connect the controller to the drone: Power on your drone and establish a stable connection between the drone and the remote controller.
- Access the calibration settings: Depending on your controller model, access the calibration settings through the menu or settings button on the controller.
- Select the controller calibration: Look for the option to calibrate the remote controller and select it.
- Follow the on-screen prompts: Depending on your controller, you may be prompted to perform various calibration steps. These steps typically involve manipulating the joysticks and buttons in specific ways.
- Complete the calibration process: Once you have followed all the on-screen prompts and completed the necessary steps, you will receive a confirmation message or indication that the remote controller has been successfully calibrated.
It’s important to note that the calibration process may vary depending on your specific controller model. Refer to the user manual or manufacturer’s documentation for detailed instructions tailored to your remote controller.
Calibrating your remote controller ensures that the control inputs are accurately registered by the drone, resulting in precise and responsive control during flight. Regular calibration helps maintain a reliable connection between the controller and drone, reducing the risk of signal interference or control issues.
Remember to calibrate your remote controller periodically or whenever you experience abnormal control behavior or are prompted by the drone’s manufacturer. Proper calibration of the remote controller is essential for a smooth and enjoyable flying experience.
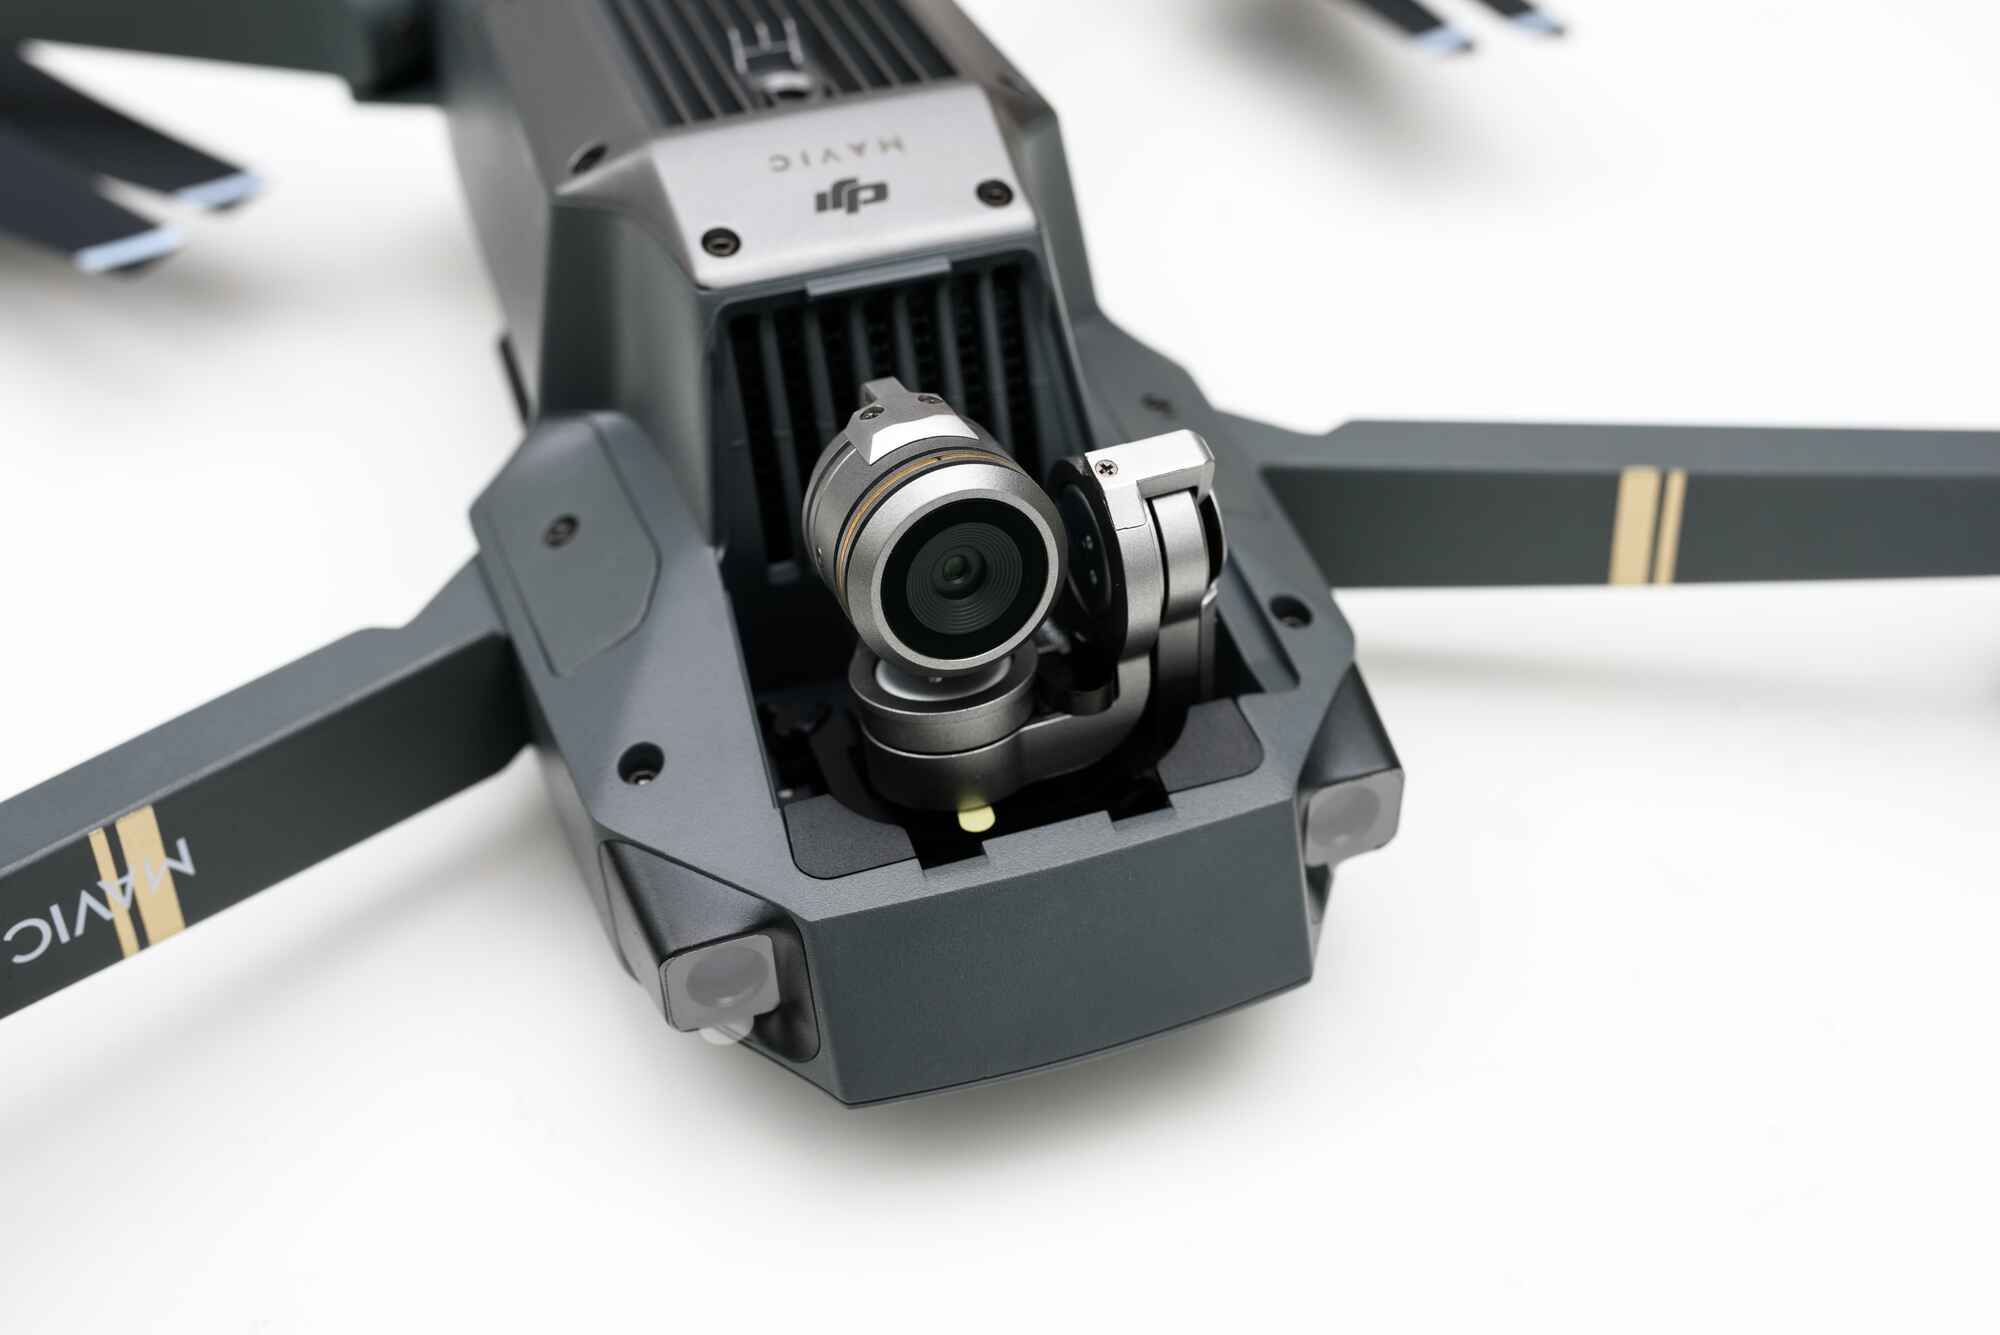
How to Calibrate the Gimbal
The gimbal on your drone is responsible for stabilizing the camera and ensuring smooth, steady footage. Calibrating the gimbal is crucial to maintain its proper functioning and optimize the quality of your aerial shots. Here’s a step-by-step guide on how to calibrate the gimbal:
- Power on your drone: Ensure that your drone is powered on and connected to the remote controller.
- Access the gimbal calibration settings: Depending on your drone model, access the gimbal calibration settings through the drone’s app or the remote controller’s menu.
- Ensure the drone is level and stable: Place your drone on a flat, level surface, ensuring that it is not tilted.
- Select gimbal calibration: Look for the option to calibrate the gimbal and select it.
- Follow the on-screen prompts: The calibration process may differ depending on your drone model. Follow the on-screen prompts or instructions provided by the app or remote controller for the specific calibration procedure.
- Complete the calibration: Once the calibration process is complete, you will receive a confirmation message or indication on the app or controller. Your gimbal is now calibrated and ready for use.
It’s important to note that each drone model may have slightly different calibration procedures for the gimbal. Therefore, it’s crucial to refer to the user manual or documentation provided by the manufacturer for specific instructions tailored to your drone.
Gimbal calibration ensures that the camera remains stable and level throughout flight, reducing vibrations and unwanted movements that can impact the quality of your footage. Regular calibration helps maintain the optimal performance of the gimbal and ensures that you capture smooth, professional-looking videos and photos from your drone.
Remember to calibrate the gimbal whenever you experience issues with the stability of the camera or when prompted by the drone’s manufacturer. Proper calibration of the gimbal is essential to achieve the best results and maximize the potential of your aerial photography or videography.
Test Flight and Fine-Tuning
After calibrating the various components of your drone, it’s time to take it for a test flight. This step allows you to observe and fine-tune the drone’s performance to ensure optimal flight characteristics. Here’s what you need to do:
- Choose a suitable location: Find an open area away from obstacles and people, preferably a designated drone flying area.
- Perform a hover test: Lift your drone a few feet off the ground and observe its stability. Check if it hovers steadily without any significant drift or wobbling.
- Test various flight maneuvers: Fly the drone in different directions, making gentle turns, and performing basic flight maneuvers. Observe how it responds to your inputs, ensuring that it performs smoothly and accurately.
- Check camera stability: If you have a camera attached to your drone, check the stability of the footage. Ensure that the gimbal effectively stabilizes the camera, reducing vibrations and maintaining a level horizon.
- Monitor battery performance: Keep an eye on the battery level and observe the flight time. Make note of any irregularities, such as sudden drops in battery level or shorter flight times than expected.
- Fine-tune flight settings: Use the drone’s app or remote controller to adjust flight settings. These settings might include sensitivity, control responsiveness, and flight modes. Experiment with different settings to find the balance that suits your flying style and needs.
- Record and analyze flight data: Some drones have flight data recording capabilities. Use this feature to capture flight data and analyze it to identify any potential issues or areas for improvement.
- Make necessary adjustments: Based on your test flight observations and analysis, make any necessary adjustments, whether it’s recalibrating certain components, tweaking flight settings, or addressing any performance-related issues.
Regular test flights and fine-tuning are essential for ensuring that your drone operates at its best. By monitoring and adjusting various factors, you can optimize flight characteristics, improve stability, and enhance the overall flying experience.
Remember to always follow local regulations, fly responsibly, and prioritize safety during your test flights. With each flight, you will gain more familiarity with your drone’s behavior and be able to fine-tune it to suit your preferences, resulting in more enjoyable and successful flights.
Conclusion
Calibrating your drone is a crucial step in ensuring its optimal performance, stability, and safety. By calibrating the IMU, compass, remote controller, and gimbal, you can fine-tune your drone for accurate positioning, reliable control, smooth footage, and an overall enhanced flying experience.
Throughout this guide, we’ve highlighted the importance of calibration and provided step-by-step instructions on how to calibrate each component. Remember to consult your drone’s user manual for specific instructions tailored to your model.
Before each flight, it’s essential to go through a pre-flight checklist to ensure that your drone is in top condition. This checklist includes a visual inspection, battery check, firmware update, compass calibration, checking the weather conditions, evaluating the flight area safety, and conducting a pre-flight test.
Calibrating the IMU helps maintain flight stability and accurate movements, while calibrating the compass ensures precise positioning and reliable flight modes. Moreover, calibrating the remote controller improves control responsiveness, and calibrating the gimbal stabilizes the camera for smooth footage.
Once you’ve calibrated your drone, it’s time for a test flight. During this flight, you can fine-tune the drone’s performance, adjust flight settings, monitor battery performance, and analyze flight data. Through these tests and adjustments, you can optimize your drone’s performance and tailor it to your flying preferences.
Remember, safe and responsible flying is of the utmost importance. Always adhere to local regulations and fly in designated areas. Regularly update your drone’s firmware to enjoy the latest features, bug fixes, and safety enhancements provided by the manufacturer.
By following the calibration process and adopting good flying practices, you can maximize the potential of your drone. Whether you’re capturing stunning aerial photographs or shooting breathtaking videos, a properly calibrated drone will deliver outstanding results and provide an incredible flying experience.