Introduction
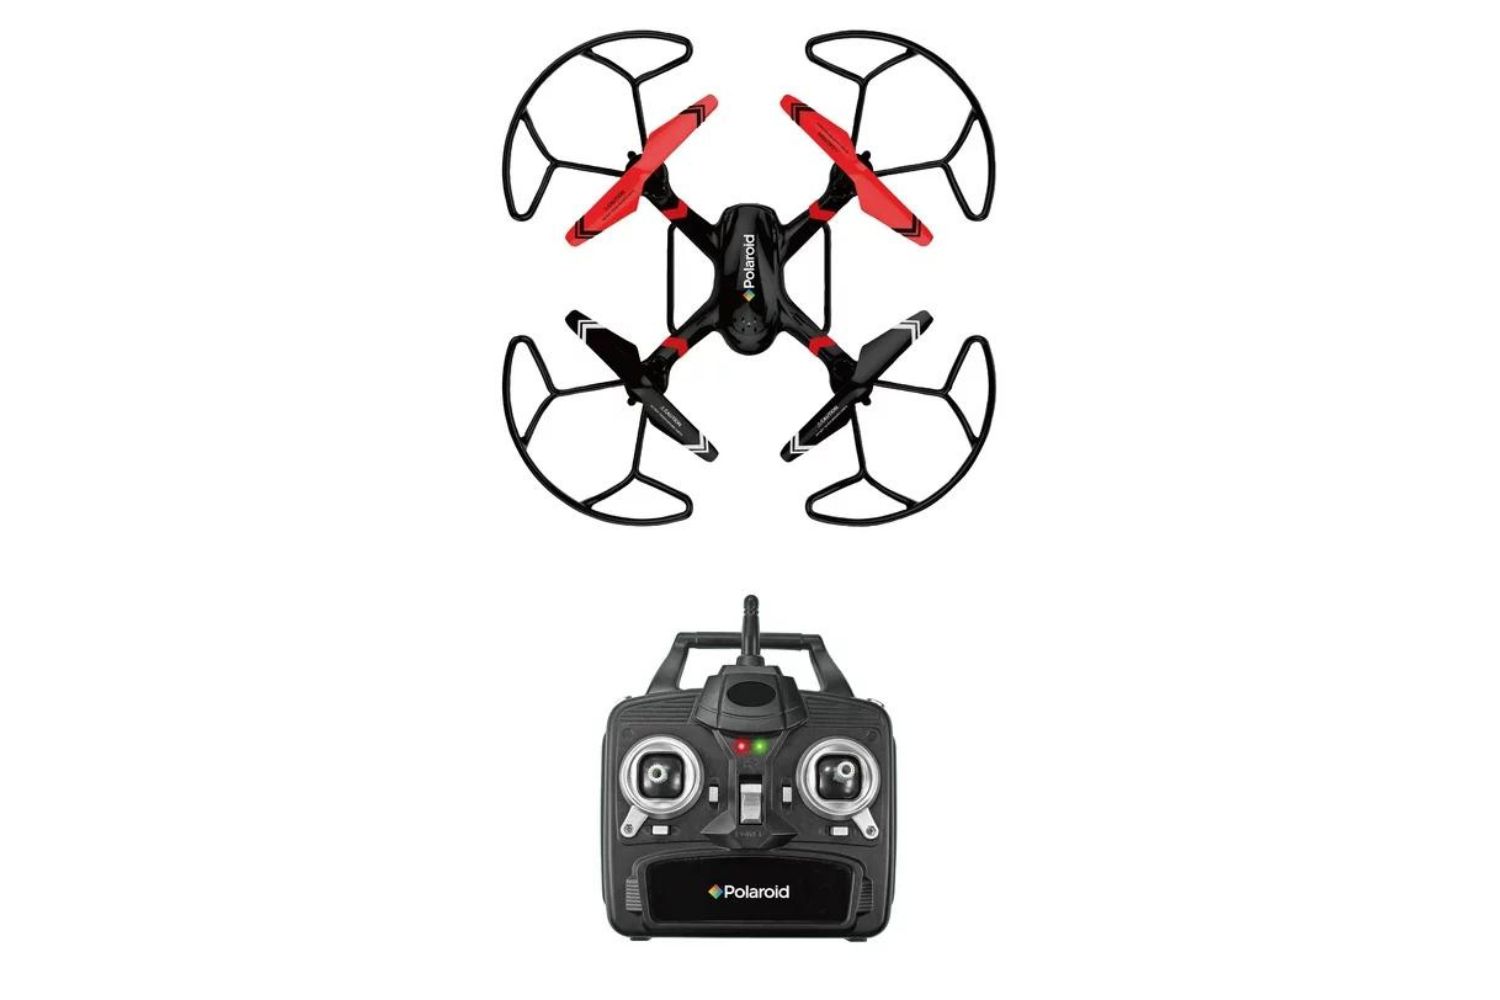
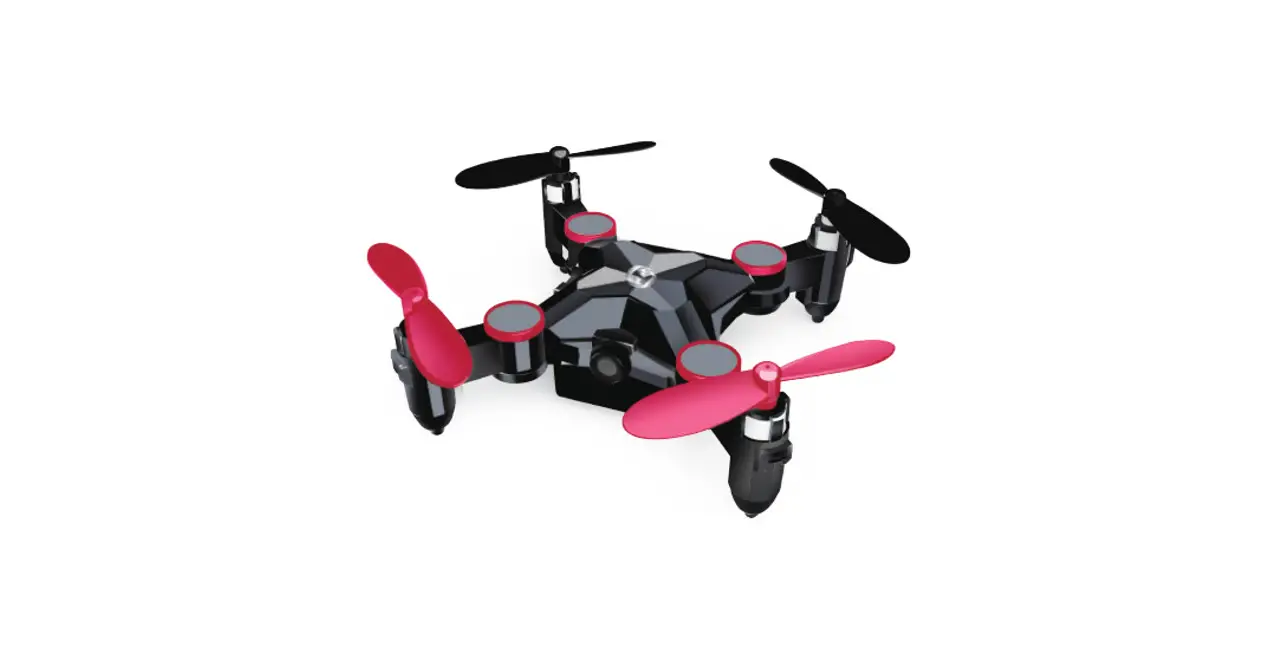
A quadcopter drone can be an exciting and useful gadget for photographers, hobbyists, and enthusiasts alike. Whether you’re capturing stunning aerial shots or simply enjoying the thrill of flying, it’s important to ensure that your drone is calibrated properly. Calibration is the process of fine-tuning various components of the drone to ensure optimal performance and stability. By calibrating your quadcopter, you can improve its responsiveness, accuracy, and overall flight experience.
In this article, we will guide you through the step-by-step process of calibrating your quadcopter drone. We will cover all the necessary aspects, from leveling the horizon to calibrating the compass, accelerometer, and gimbal. Additionally, we will touch on testing and adjusting the flight controls to ensure a smooth and controlled flight.
It’s important to note that the calibration process may vary slightly depending on the make and model of your quadcopter. Therefore, it is always a good idea to consult your drone’s user manual for specific instructions. However, the general principles discussed in this guide should apply to most quadcopter drones, providing you with a solid foundation for calibration.
Calibrating your quadcopter drone should be done regularly, especially if you notice any unusual behavior or performance issues during flights. It is a crucial maintenance task that can help prevent accidents and ensure the longevity of your drone. So, without further ado, let’s dive into the world of quadcopter drone calibration and learn how to optimize your flying experience.
Why You Need to Calibrate Your Quadcopter Drone
Calibrating your quadcopter drone is an essential step to ensure its optimal performance and safety during flight. Here are several reasons why calibrating your drone is crucial:
- Stability and Control: Calibrating the drone’s components, such as the compass and accelerometer, helps maintain stability and control during flight. It ensures accurate sensor readings, which are crucial for maintaining level flight and mitigating drift.
- Accurate Positioning: Calibration enhances the drone’s GPS accuracy, ensuring precise positioning and navigation. This is particularly important when engaging in aerial photography or videography, as it allows for smooth and accurate tracking of subjects.
- Preventing Flyaways: Flyaways, where the drone unexpectedly loses control and flies away, can occur if the onboard sensors are not properly calibrated. By calibrating your drone, you reduce the risk of flyaways and increase the chances of a safe flight experience.
- Battery Efficiency: Calibration helps the drone accurately assess its battery level, allowing for better battery management. This ensures that you can safely monitor the remaining flight time and land your drone before the battery runs out.
- Reduced Motor Stress: Proper motor calibration ensures that all motors are operating at the same power level, preventing unnecessary stress on the motor and prolonging its lifespan. This helps maintain consistent and balanced flight characteristics.
By prioritizing regular calibration of your quadcopter drone, you can optimize its flight performance, increase its efficiency, and reduce the likelihood of unexpected flight issues. Neglecting calibration can lead to erratic flight behavior, poor GPS accuracy, and potentially dangerous situations. Therefore, it is essential to take the time to calibrate your drone before every flight or as recommended by the manufacturer.
Preparing for Calibration
Before you begin the calibration process for your quadcopter drone, there are a few important steps to take to ensure a smooth and successful calibration:
- Read the Manual: Familiarize yourself with your drone’s user manual and calibration instructions. Different drones may have specific calibration procedures, so it’s essential to follow the manufacturer’s guidelines.
- Choose a Suitable Location: Find an open, outdoor area with minimal interference from buildings, power lines, and other electronic devices. A wide, open space will help ensure accurate compass readings and provide ample room for testing flight controls.
- Check for Firmware Updates: Make sure your drone’s firmware is up to date. Manufacturers often release firmware updates that may include calibration improvements or bug fixes. Updating your drone’s firmware can help optimize its performance.
- Charge the Battery: Ensure that your drone’s battery is fully charged. A low battery level during calibration may cause inaccurate readings and affect the calibration process.
- Remove Propellers: Remove the propellers from your drone before starting the calibration process. This precaution will prevent accidental propeller spin, ensuring your safety during calibration.
- Clear the Calibration Area: Remove any objects or obstacles from the calibration area. This includes loose debris, sticks, rocks, or anything that could interfere with the drone’s movement during calibration.
- Disable Wi-Fi and Other Wireless Signals: Turn off any Wi-Fi connections or other wireless signals on your smartphone or tablet. These signals can interfere with the drone’s onboard sensors and affect the calibration process.
By following these preparations, you establish an ideal environment to calibrate your quadcopter drone accurately. Taking these steps will ensure that your calibration process goes smoothly and increases the chances of a successful flight. Remember, paying attention to the details and being diligent in your preparations will set the stage for a successful calibration of your quadcopter drone.
Step 1: Level the Horizon
Leveling the horizon is the first crucial step in calibrating your quadcopter drone. This process ensures that the drone’s internal sensors have an accurate reference point for determining its level during flight. Follow these steps to level the horizon:
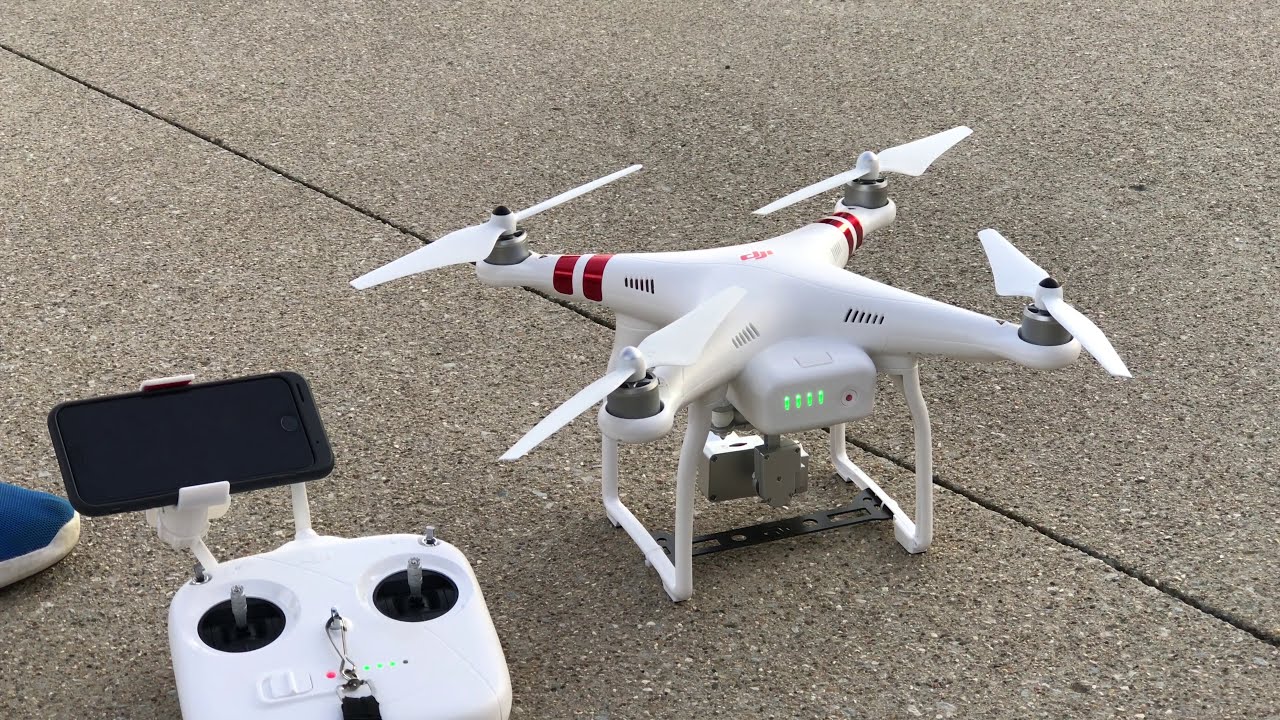
- Power on the Drone: Turn on your drone and controller, ensuring that they are connected and communicating successfully.
- Place the Drone on a Flat Surface: Find a level and stable surface to place your drone. It could be a table, the ground, or any other flat area free from disturbances.
- Access the Calibration Settings: Using the app or controller, navigate to the calibration settings on your drone. Each drone model may have a different method of accessing these settings, so refer to the user manual if needed.
- Select Horizon Calibration: Once in the calibration settings, select the “Horizon” or “Level Horizon” option.
- Follow the On-Screen Instructions: The app or controller will provide on-screen instructions to guide you through the leveling process. It usually involves moving the drone along the pitch and roll axes until the virtual horizon aligns with the actual horizon.
- Confirm the Calibration: Once the horizon is leveled, confirm the calibration process. The drone will save the new reference point for future flights.
Leveling the horizon ensures that the drone’s attitude indicators and flight controls accurately reflect its position in relation to the ground. It helps maintain stable flight performance and improves the accuracy of flight indicators, making it easier to control the drone.
Once you have successfully leveled the horizon, you can move on to the next step in the calibration process, which is calibrating the compass. Remember to always refer to your specific drone’s manual for any model-specific instructions and variations in the calibration process.
Step 2: Calibrate the Compass
Calibrating the compass is an important step in the calibration process of your quadcopter drone. The compass provides crucial data for accurate navigation and positioning. Follow these steps to calibrate the compass:
- Choose an Open Area: Move to an open area, away from any potential magnetic interference. Avoid standing near metal objects, electrical wiring, or large structures.
- Open the Calibration Settings: Access the calibration settings on your drone through the app or controller. Look for the option to calibrate the compass or magnetic sensors.
- Hold the Drone Level: Hold the drone in a level position, ensuring that it is parallel to the ground. Hold it away from any other metal objects, such as your keys or phone.
- Select Start Calibration: In the calibration settings, select the option to start compass calibration. Follow any on-screen prompts or instructions provided.
- Rotate the Drone: Begin rotating the drone slowly around all three axes, or as prompted by the on-screen instructions. Make multiple rotations in different directions to ensure a thorough calibration.
- Complete the Calibration: Once you have completed the rotations, the calibration process should be finished. The app or controller will notify you when the compass is successfully calibrated.
Calibrating the compass is essential to ensure accurate heading information and reliable navigation. It helps the drone maintain correct orientation during flight and prevents unwanted drift or erratic behavior. Failing to calibrate the compass can result in inaccurate flight direction and potential difficulties in controlling the drone.
Remember, the compass calibration process may vary slightly between different drone models. Always consult your drone’s user manual for model-specific instructions or any additional steps required. Once you have successfully calibrated the compass, you can proceed to the next step of calibrating the accelerometer.
Step 3: Calibrate the Accelerometer
Calibrating the accelerometer is a vital step in the calibration process of your quadcopter drone. The accelerometer measures the drone’s acceleration and tilt, allowing it to maintain stability and accurate flight control. Follow these steps to calibrate the accelerometer:
- Access the Calibration Settings: Open the app or navigate to the configuration menu on your controller to access the calibration settings. Look for the option to calibrate the accelerometer.
- Place the Drone on a Level Surface: Find a flat and level surface to place the drone for calibration. Ensure that it is stable and won’t move during the process.
- Select Start Calibration: Once the drone is on the level surface, select the option to start the accelerometer calibration.
- Follow the On-Screen Instructions: The app or controller will provide on-screen instructions for calibrating the accelerometer. This typically involves rotating the drone along each axis or tilting it in different directions.
- Complete the Calibration: Follow the prompts and continue to rotate or tilt the drone as instructed until the calibration process is complete.
- Verify Calibration: After completing the calibration, perform a quick test flight to ensure that the drone’s flight controls respond accurately and smoothly. Make any necessary adjustments if needed.
Calibrating the accelerometer helps the drone maintain accurate readings of its tilt and acceleration, ensuring stable flight performance. It allows the drone to maintain its level and respond appropriately to control inputs, resulting in smoother and more precise flight maneuvers.
It is essential to follow the specific calibration process outlined for your quadcopter drone model, as different drones may have slight variations in the accelerometer calibration procedure. Always refer to the user manual or manufacturer’s instructions for the accurate calibration steps.
After successfully calibrating the accelerometer, you can proceed to the next step of the calibration process, which involves calibrating the gimbal if your drone is equipped with one.
Step 4: Calibrate the Gimbal
If your quadcopter drone is equipped with a gimbal, calibrating it is an important step to ensure stable and smooth video footage. The gimbal is responsible for stabilizing the camera during flight, keeping it level and reducing vibrations. To calibrate the gimbal, follow these steps:
- Access the Calibration Settings: Open the app or navigate to the configuration menu on your controller to access the calibration settings. Look for the option to calibrate the gimbal.
- Prepare for Calibration: Ensure that the drone is powered on and connected to the controller. Make sure the camera and gimbal are in their default positions.
- Select Start Calibration: Once you’re in the correct settings menu, select the option to start the gimbal calibration process.
- Follow the On-Screen Instructions: The app or controller will provide on-screen instructions for calibrating the gimbal. This may involve rotating the drone or adjusting the gimbal manually.
- Complete the Calibration: Follow the prompts and continue to make the necessary adjustments until the gimbal calibration process is complete.
- Verify Calibration: After the calibration is complete, test the gimbal’s performance by recording video footage or taking photos. If the gimbal is functioning properly, the camera should remain steady and level during flight.
Calibrating the gimbal ensures that it is properly aligned and stabilized. This calibration helps eliminate unwanted movements, vibrations, and tilts, resulting in smooth and professional-looking video footage. A calibrated gimbal enhances the overall quality of aerial photography and videography, allowing you to capture stunning visuals from your quadcopter drone.
Keep in mind that the specific calibration process for the gimbal may vary depending on your drone’s model and gimbal design. Always refer to the user manual or manufacturer’s instructions for accurate and model-specific calibration steps.
With the gimbal successfully calibrated, you are now ready to move on to the next step in the calibration process, which involves checking and fine-tuning the motor calibration.
Step 5: Check and Fine-tune Motor Calibration
Checking and fine-tuning the motor calibration is an important step in the calibration process of your quadcopter drone. Proper motor calibration ensures that all motors are operating at the same power level, which is essential for balanced flight characteristics. Follow these steps to check and fine-tune the motor calibration:
- Power on the Drone: Turn on your drone and controller, ensuring that they are connected and communicating successfully.
- Access the Motor Calibration Settings: Open the app or navigate to the configuration menu on your controller to access the motor calibration settings. Look for the option to calibrate the motors or adjust motor power.
- Put the Drone on a Level Surface: Find a flat and level surface to place your drone for the calibration process. Make sure it is stable and won’t move during the following steps.
- Check Motor Rotation: Go through each motor and visually verify that they are spinning in the correct direction. If any motor is spinning in the wrong direction, refer to your drone’s user manual for instructions on adjusting the motor rotation.
- Adjust Motor Power: Use the motor calibration settings to fine-tune the motor power levels. The goal is to ensure that each motor is operating at the same power output. Follow the on-screen prompts or manual instructions to make adjustments if necessary.
- Confirm Motor Calibration: Once you are satisfied with the motor power levels, confirm the calibration process. The new motor calibration settings will be saved for future flights.
Checking and fine-tuning the motor calibration is crucial for maintaining balanced flight performance. Balanced motors ensure that the drone remains stable and responsive, which is essential for precise control and maneuverability.
Remember, the motor calibration process may vary slightly depending on your drone’s specific model or manufacturer. Always refer to the user manual or manufacturer’s instructions for accurate calibration steps and any additional information specific to your drone.
With the motor calibration successfully verified and fine-tuned, you are ready to move on to the next step of the calibration process, which involves testing and adjusting the flight controls.
Step 6: Test and Adjust Flight Controls
Testing and adjusting the flight controls is the final step in the calibration process of your quadcopter drone. This step ensures that the drone’s flight controls are responsive and properly calibrated. Follow these steps to test and adjust the flight controls:
- Prepare for Flight: Ensure that the drone’s battery is adequately charged and that the propellers are securely attached. Find an open area with enough space for flight testing.
- Perform Control Tests: Slowly and gently test each control input, including throttle, pitch, roll, and yaw. Observe how the drone responds to these inputs and take note of any abnormalities or unexpected behavior.
- Check for Drift: Hover the drone in place and observe if it maintains a steady position or drifts in any direction. If there is noticeable drift, it may indicate an imbalance in the drone’s motors or an issue with the flight controller. Further adjustments may be required.
- Adjust Control Sensitivity: If the drone feels overly sensitive or unresponsive to control inputs, you can adjust the control sensitivity settings through the app or controller. Find the control sensitivity settings and make adjustments gradually until you find the desired level of responsiveness.
- Test Autonomous Flight Modes: If your drone has autonomous flight modes, such as return-to-home or follow-me, test these modes to ensure they are functioning correctly. Verify that the drone responds accurately and performs the intended actions.
- Make Incremental Adjustments: If you encounter any issues or inconsistencies with the flight controls, make small incremental adjustments to the relevant settings. Test the drone again after each adjustment to assess if the issues have been resolved.
- Keep Safety in Mind: Throughout the testing and adjustment process, prioritize safety. Fly the drone within line of sight, away from obstacles and people. Be aware of any local regulations or restrictions regarding drone flight.
By thoroughly testing and adjusting the flight controls, you can ensure that your quadcopter drone responds accurately and predictably to your commands. Fine-tuning the flight controls allows for smooth and precise flight maneuvers, enhancing your overall flying experience.
Remember, the specific steps for testing and adjusting the flight controls may vary depending on your drone’s model and manufacturer. Always refer to the user manual or manufacturer’s instructions for accurate calibration steps and any additional information specific to your drone.
Once you have completed the testing and adjustment of the flight controls, congratulate yourself on successfully calibrating your quadcopter drone. You are now ready to embark on your next aerial adventure with confidence and optimal flight performance.
Conclusion
Calibrating your quadcopter drone is a critical task that ensures its optimal performance, stability, and safety during flight. By following the step-by-step calibration process outlined in this guide, you can fine-tune various components of your drone to enhance its responsiveness and accuracy.
Starting with leveling the horizon, calibrating the compass, accelerometer, and gimbal, you establish a solid foundation for accurate flight controls and stable flight characteristics. Checking and fine-tuning the motor calibration ensures balanced power output across all motors, while testing and adjusting the flight controls guarantees responsive and precise maneuvers.
Throughout the calibration process, it is important to refer to your drone’s user manual for specific instructions tailored to your model. Different drones may have slight variations in the calibration procedures, so following the manufacturer’s guidelines is crucial for successful calibration.
Regular calibration of your quadcopter drone is essential for maintaining optimal performance and preventing potential issues during flight. By calibrating your drone before each flight or as recommended by the manufacturer, you can ensure accurate navigation, stable flight characteristics, and smooth video footage.
Remember, safety should always be a top priority when flying your drone. Observe local regulations, fly within line of sight, and be aware of your surroundings to minimize the risk of accidents.
Now that you have completed the calibration process, you are ready to take to the skies and enjoy the thrilling and captivating experience of flying your optimally calibrated quadcopter drone.