Introduction
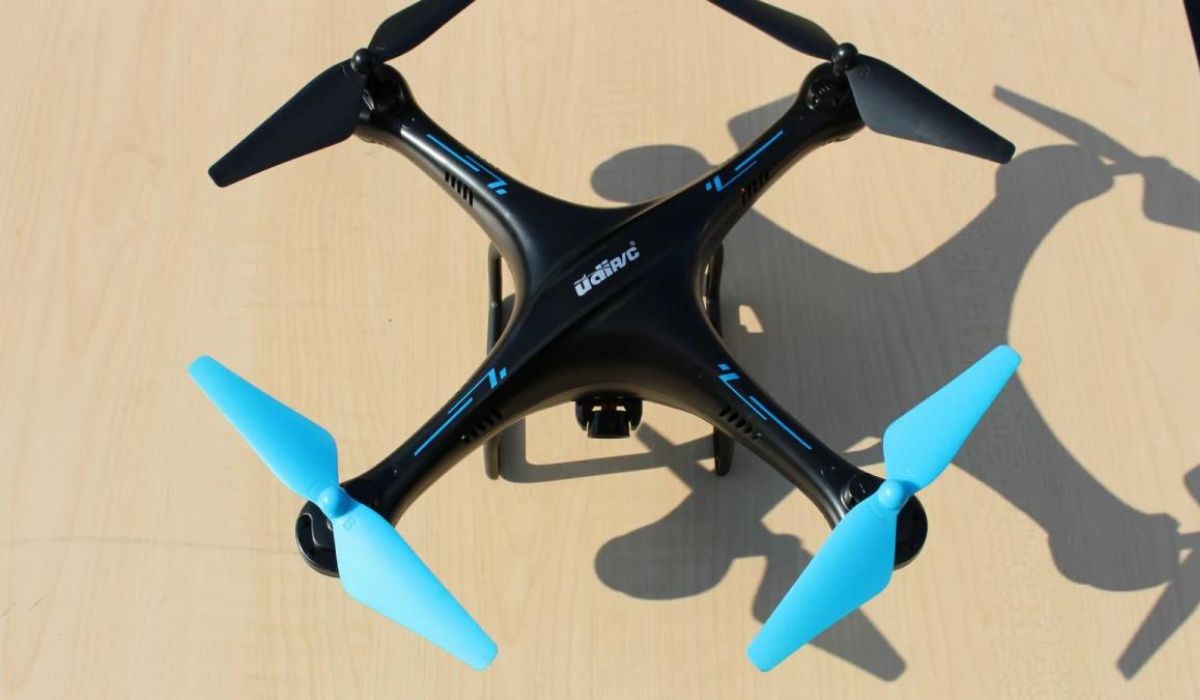
Welcome to the exciting world of DIY camera drones! Building your own camera drone can be a rewarding and cost-effective way to explore aerial photography and videography. With the right guidance and a budget of under $200, you can create a customized drone that meets your specific needs and preferences. Whether you're an enthusiast looking to capture stunning aerial shots or a hobbyist eager to delve into the realm of drone technology, this step-by-step guide will equip you with the knowledge and skills to construct your very own camera drone without breaking the bank.
As technology continues to advance, the accessibility of drone components has made it increasingly feasible for individuals to construct their own drones. By opting for a DIY approach, you not only gain a deeper understanding of drone mechanics and functionality but also have the flexibility to tailor your drone to your desired specifications. From selecting the appropriate parts to calibrating the flight controller, every step of the process contributes to a comprehensive learning experience that can be immensely fulfilling.
In this guide, we will walk you through the process of building a camera drone under $200, providing detailed instructions, valuable tips, and insights to ensure a smooth and successful construction. By the end of this journey, you will have a fully functional camera drone ready to take to the skies and capture breathtaking aerial imagery. So, roll up your sleeves, gather your tools, and let's embark on this exhilarating adventure of building a camera drone that combines creativity, technology, and the thrill of flight.
Choosing the Right Parts
Before diving into the construction of your camera drone, it is crucial to carefully select the appropriate parts that align with your budget and performance expectations. The components you choose will significantly impact the functionality, stability, and overall capabilities of your drone. Here are the key parts you’ll need to consider:
- Frame: The frame serves as the foundation of your drone, providing structural support and housing for the electronic components. Opt for a lightweight yet durable frame that can accommodate the size and weight of your intended payload, such as the camera and gimbal.
- Flight Controller: This critical component acts as the brain of the drone, governing its stability, navigation, and flight modes. Look for a reliable flight controller with features that suit your skill level and desired functionalities.
- Brushless Motors: Selecting the right motors is essential for achieving the necessary thrust and maneuverability. Consider the size, KV rating, and compatibility with your chosen propellers when choosing motors for your drone.
- Electronic Speed Controllers (ESCs): These devices regulate the speed and direction of the motors, directly impacting the drone’s responsiveness and stability. Ensure that the ESCs are compatible with your chosen motors and battery voltage.
- Propellers: The propellers play a crucial role in generating lift and propulsion. Choose propellers that are suited to your motor specifications and provide efficient thrust for stable flight.
- Battery and Charger: Select a high-quality LiPo battery with an appropriate voltage and capacity to power your drone. Additionally, invest in a reliable charger that can safely and efficiently recharge your battery.
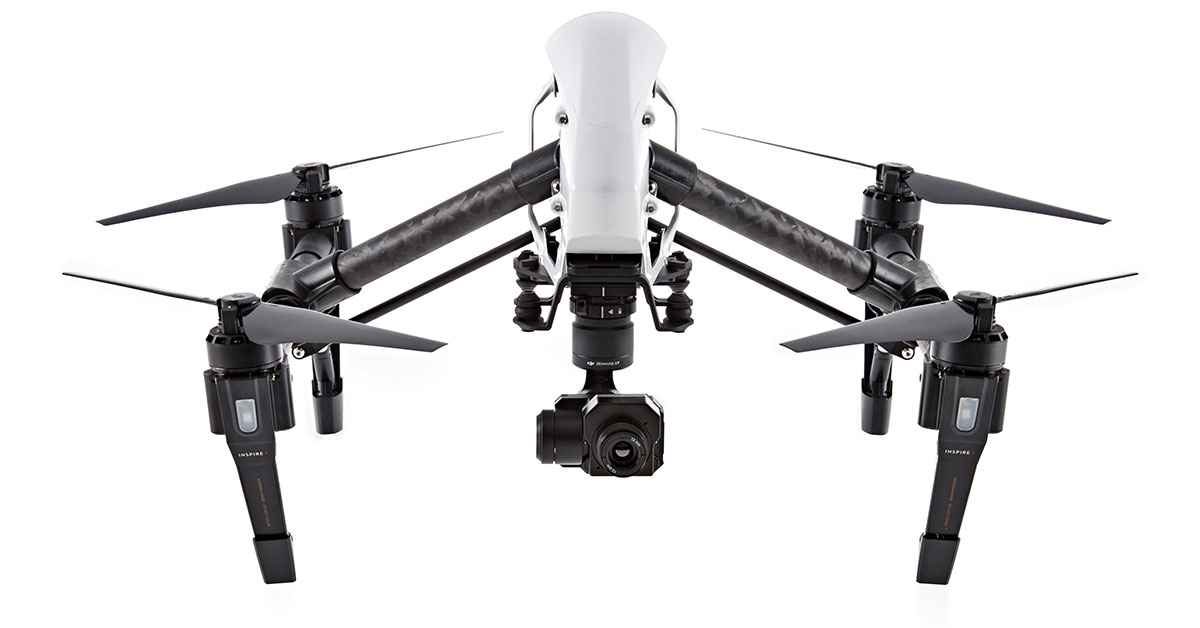
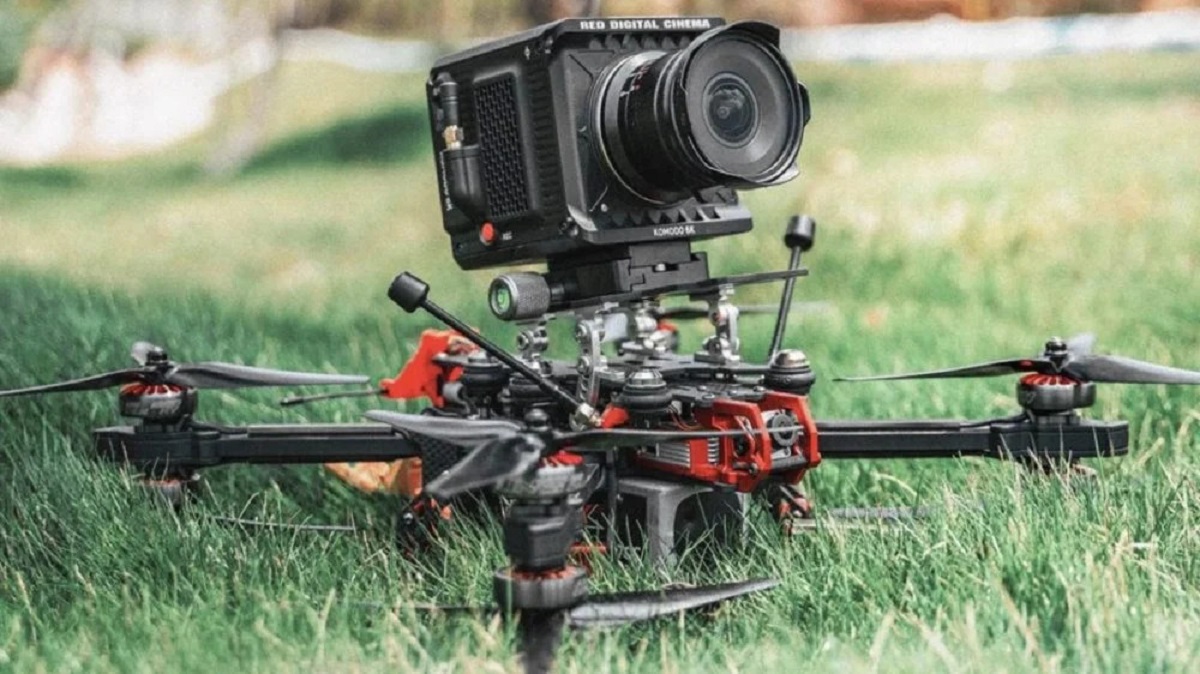
- Camera and Gimbal: If aerial photography or videography is your goal, carefully select a lightweight camera and compatible gimbal to capture stunning aerial footage with stability and precision.
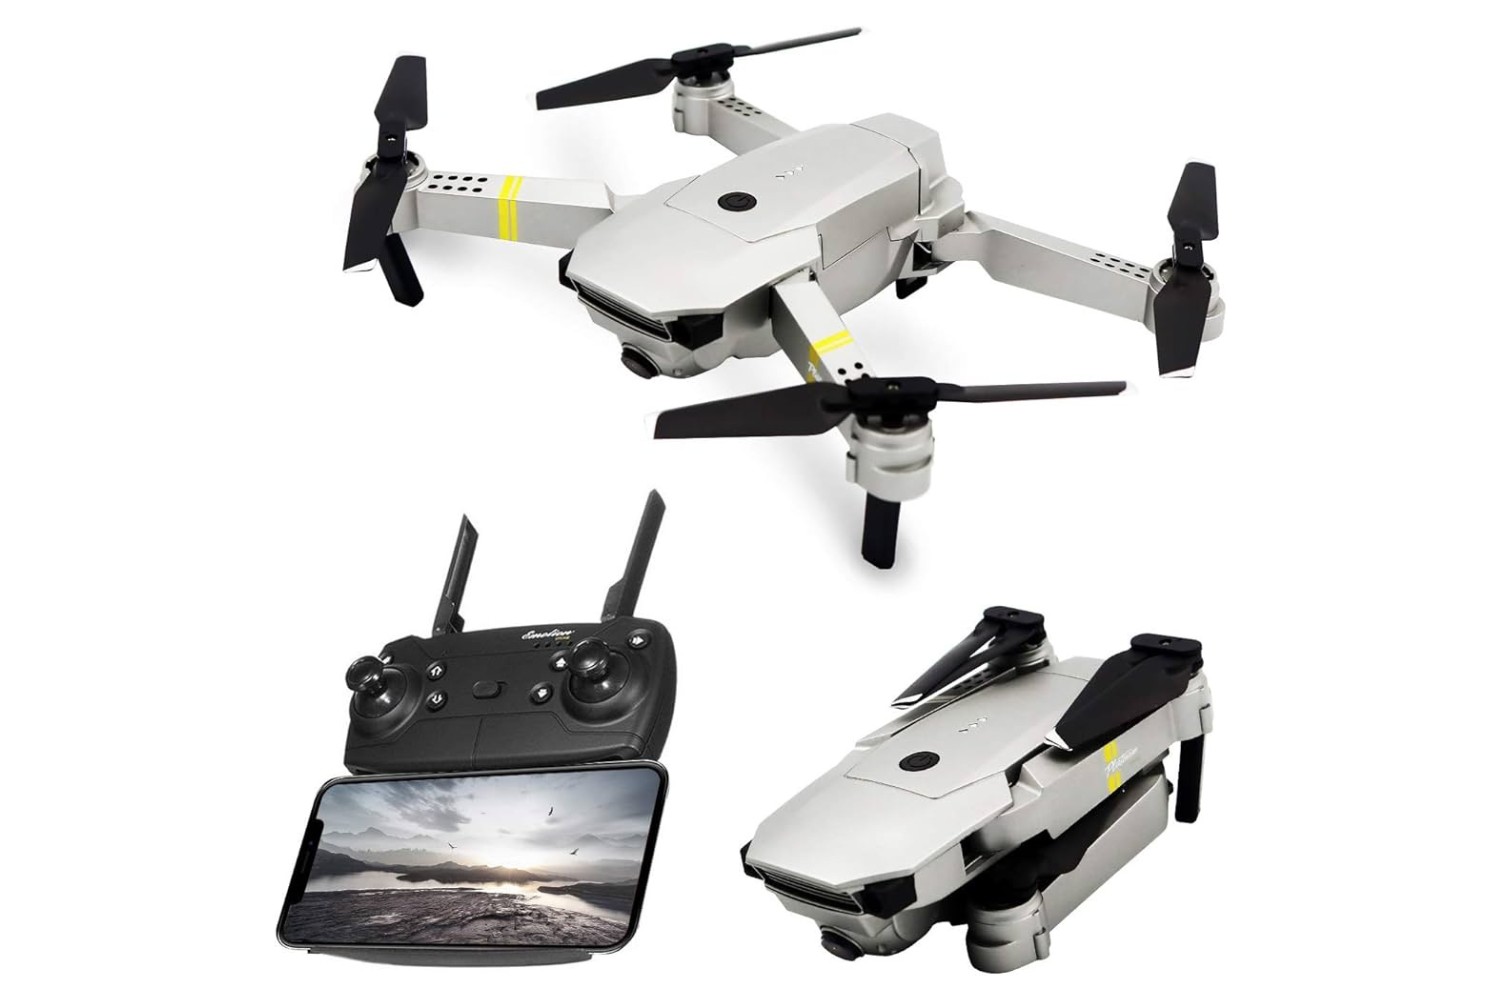
- Remote Controller and Receiver: Choose a reliable transmitter and receiver system that offers seamless communication with your drone, ensuring precise control and responsiveness during flight.
By meticulously researching and selecting the right parts for your camera drone, you can lay a solid foundation for a successful and enjoyable building experience. Keep in mind that the compatibility and quality of these components are paramount to the performance and safety of your drone. With the right parts in hand, you’ll be well-equipped to proceed to the next phase of assembling the frame and bringing your drone to life.
Assembling the Frame
As the structural backbone of your camera drone, the frame plays a pivotal role in providing stability, support, and protection for the electronic components. When assembling the frame, it is essential to follow a systematic approach to ensure structural integrity and optimal weight distribution. Here’s a step-by-step guide to assembling the frame of your camera drone:
- Prepare the Frame Components: Lay out all the frame components, including the arms, center plates, and hardware. Familiarize yourself with the assembly instructions provided by the frame manufacturer.
- Secure the Arms: Begin by attaching the arms to the center plates using the designated screws and hardware. Ensure that the arms are aligned and securely fastened to the center plates to maintain structural rigidity.
- Install Landing Gear (If Applicable): If your drone frame includes landing gear, follow the manufacturer’s instructions to install the landing gear securely. Properly installed landing gear can protect your drone and its components during takeoff and landing.
- Mount the Power Distribution Board (PDB): If your frame incorporates a power distribution board, carefully mount it in the designated location on the frame. The PDB serves as a centralized point for connecting the electronic components and distributing power throughout the drone.
- Attach Additional Components: Depending on the specific design of your frame, you may need to attach other components such as the flight controller mounting platform, camera mounting brackets, or antenna mounts. Follow the manufacturer’s guidelines for integrating these components into the frame structure.
- Double-Check Fastenings: Once all components are in place, double-check the tightness of all screws and fastenings to ensure that the frame is securely assembled. Loose fastenings can compromise the structural integrity of the frame and lead to potential issues during flight.
By meticulously following these steps and adhering to the manufacturer’s instructions, you can assemble the frame of your camera drone with precision and confidence. A well-constructed frame sets the stage for the seamless integration of the remaining components, bringing you one step closer to witnessing your drone take shape and preparing for its maiden flight.
Installing the Motors and Propellers
Mounting the motors and propellers is a critical phase in the construction of your camera drone, as these components are responsible for generating thrust and propulsion during flight. Proper installation and alignment of the motors and propellers are essential for achieving balanced performance and stability. Here’s a detailed guide to installing the motors and propellers on your drone:
- Motor Placement: Identify the designated motor positions on the frame based on the motor layout specified in the drone’s design or assembly instructions. Each motor should be positioned in a location that corresponds to its intended rotational direction and placement within the drone’s frame.
- Secure the Motors: Using the appropriate screws and mounting hardware, securely attach each motor to its designated position on the frame. Ensure that the motors are firmly fastened and aligned with the motor mounts to prevent any vibration or misalignment during operation.
- Attach Propellers: Carefully select the propellers that are compatible with the specifications of your motors, considering factors such as size, pitch, and rotation direction. Attach the propellers to the motor shafts, ensuring that they are tightened securely and balanced to minimize vibration.
- Check Motor Rotation: Before finalizing the propeller attachment, verify the rotational direction of each motor as per the designated flight configuration (e.g., quadcopter, hexacopter). Motors should spin in the appropriate direction to ensure stable flight and maneuverability.
- Balance and Test: Once the motors and propellers are installed, conduct a balance check to ensure that the drone’s propulsion system is harmonized. Any imbalance can lead to vibration and affect flight performance. Additionally, perform a test rotation of each motor to confirm the smooth operation and alignment of the propellers.
By meticulously following these steps and exercising precision in motor and propeller installation, you can lay the groundwork for a well-balanced and efficient propulsion system for your camera drone. The successful integration of motors and propellers brings you closer to the realization of a fully functional aerial platform, poised to take flight and capture stunning imagery from the skies.
Mounting the Flight Controller
The flight controller serves as the central nervous system of your camera drone, orchestrating the intricate balance of stability, control, and navigation during flight. Mounting the flight controller with precision and attention to detail is crucial to ensuring optimal performance and responsiveness. Here’s a comprehensive guide to mounting the flight controller on your drone:
- Select an Ideal Location: Identify a suitable location within the drone’s frame to securely mount the flight controller. This location should offer protection from external elements and vibrations while allowing easy access for wiring and configuration.
- Secure the Flight Controller: Using the provided mounting hardware or vibration-dampening mounts, affix the flight controller to the chosen location on the frame. Ensure that the flight controller is firmly secured to minimize the impact of vibrations and external forces during flight.
- Orientation Alignment: Pay careful attention to the orientation of the flight controller, aligning it according to the manufacturer’s guidelines or specific flight configuration (e.g., quadcopter, hexacopter). Proper orientation ensures accurate sensor readings and precise control inputs.
- Connectivity and Wiring: Establish the necessary connections between the flight controller and other electronic components, including the motors, electronic speed controllers (ESCs), receiver, and power distribution board. Organize the wiring neatly to prevent interference and ensure ease of maintenance.
- Vibration Isolation (If Applicable): If your drone’s design incorporates vibration isolation mounts for the flight controller, ensure that they are properly installed to minimize the impact of motor vibrations on the flight controller’s sensors and gyros.
- Calibration and Configuration: Once the flight controller is securely mounted and connected, proceed with the calibration and configuration process as per the manufacturer’s instructions. This step is crucial for ensuring accurate sensor readings and optimal performance during flight.
By meticulously following these steps and adhering to the manufacturer’s guidelines, you can mount the flight controller with precision and care, laying the groundwork for a well-calibrated and responsive drone control system. The successful integration of the flight controller brings you one step closer to the realization of a fully functional camera drone, poised to take flight and demonstrate its aerial prowess.
Connecting the Electronic Speed Controllers (ESCs)
The electronic speed controllers (ESCs) play a pivotal role in regulating the speed and responsiveness of the motors, directly influencing the stability and control of your camera drone during flight. Properly connecting and configuring the ESCs is essential to ensure synchronized motor operation and precise control inputs. Here’s a detailed guide to connecting the electronic speed controllers (ESCs) on your drone:
- Identify ESC Placement: Determine the designated locations on the frame where each ESC will be mounted, ensuring that they are positioned close to the respective motors and within reach of the power distribution board (PDB) for wiring.
- Mount the ESCs: Securely attach the ESCs to the designated positions on the frame, ensuring that they are positioned in a manner that facilitates efficient wiring and minimizes the risk of interference with other components.
- Wire Routing and Management: Carefully route the ESC signal wires and power cables to the designated locations on the power distribution board (PDB), ensuring that the wiring is organized and free from potential sources of interference or damage.
- Connect to the PDB: Establish the necessary connections between the ESCs and the power distribution board, ensuring that the polarity and signal wires are correctly aligned to prevent electrical issues and ensure proper motor operation.
- Verify Motor Rotation: Before finalizing the ESC connections, verify the motor rotation direction corresponding to each ESC to ensure that the motors spin in the intended direction for the designated flight configuration (e.g., quadcopter, hexacopter).
- Perform ESC Calibration: If required by the ESC manufacturer, follow the calibration process to ensure that the ESCs are synchronized and calibrated for consistent motor operation and responsiveness.
By meticulously following these steps and exercising precision in connecting the electronic speed controllers (ESCs), you can establish a robust and synchronized motor control system for your camera drone. The successful integration of the ESCs brings you closer to the realization of a fully operational drone, poised to take flight and demonstrate its agility and responsiveness in the skies.
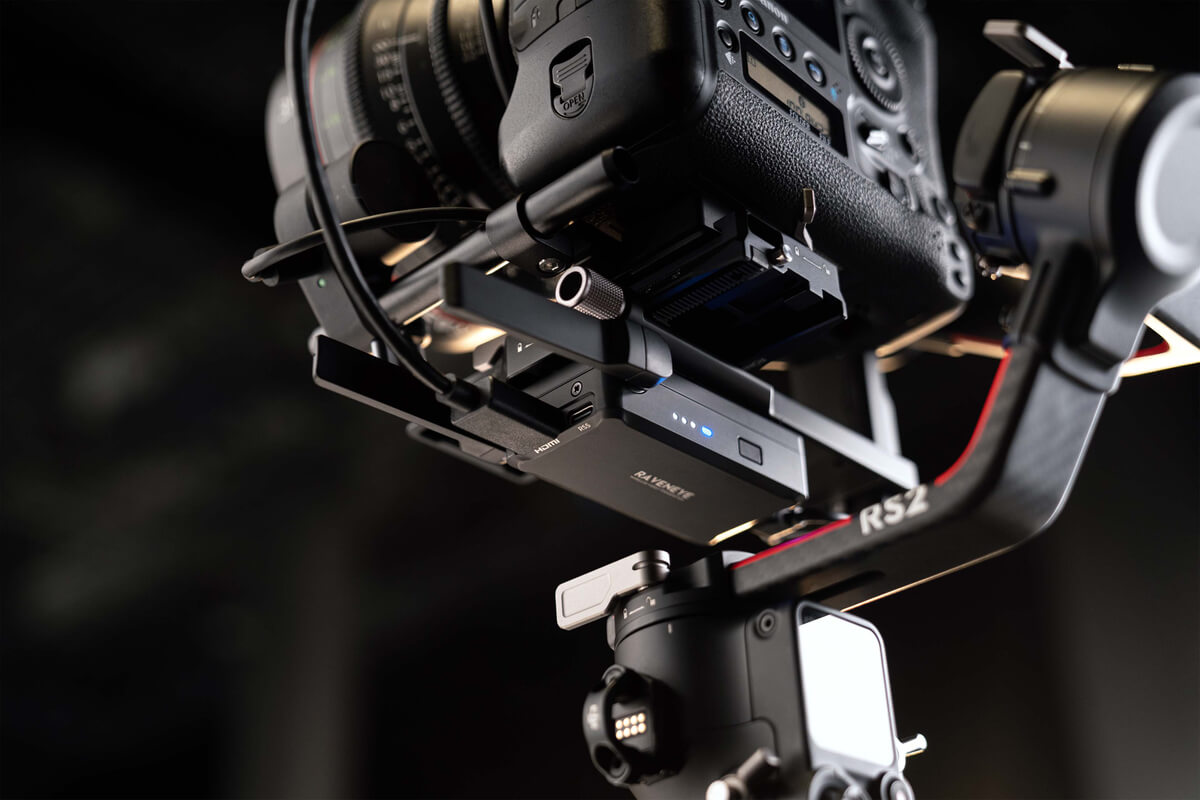
Attaching the Camera and Gimbal
Integrating a camera and gimbal into your drone setup opens up a world of possibilities for capturing stunning aerial imagery and video footage. The proper attachment of the camera and gimbal is crucial to achieving stable and vibration-free aerial photography and videography. Here’s a comprehensive guide to attaching the camera and gimbal to your drone:
- Choose a Compatible Gimbal: Select a gimbal that is compatible with the weight and dimensions of your chosen camera, ensuring that it provides the necessary stabilization and control for capturing smooth and steady footage during flight.
- Mount the Gimbal: Securely mount the gimbal to the designated location on the drone’s frame, ensuring that it is positioned in a manner that minimizes interference with other components and maintains the drone’s center of gravity.
- Install the Camera: Carefully install the camera onto the gimbal, ensuring that it is securely attached and balanced to prevent any instability or vibration during flight. Verify that the camera’s field of view and orientation align with your desired aerial photography or videography requirements.
- Wiring and Connectivity: Establish the necessary connections between the gimbal, camera, and any integrated camera control systems, ensuring that the wiring is neatly routed and free from potential sources of interference or damage during flight.
- Calibration and Testing: Proceed with the calibration of the gimbal and camera control systems as per the manufacturer’s instructions, ensuring that the gimbal is properly calibrated for stable operation and the camera responds accurately to control inputs.
- Balance Adjustment: Fine-tune the balance of the gimbal and camera to minimize any potential drift or instability during flight, ensuring that the entire camera and gimbal setup operates smoothly and without undue vibration.
By meticulously following these steps and adhering to the manufacturer’s guidelines, you can seamlessly integrate a camera and gimbal into your drone, unlocking the potential for capturing breathtaking aerial imagery and video content. The successful attachment of the camera and gimbal brings you one step closer to harnessing the full creative and visual capabilities of your camera drone, ready to soar into the skies and capture stunning perspectives from above.
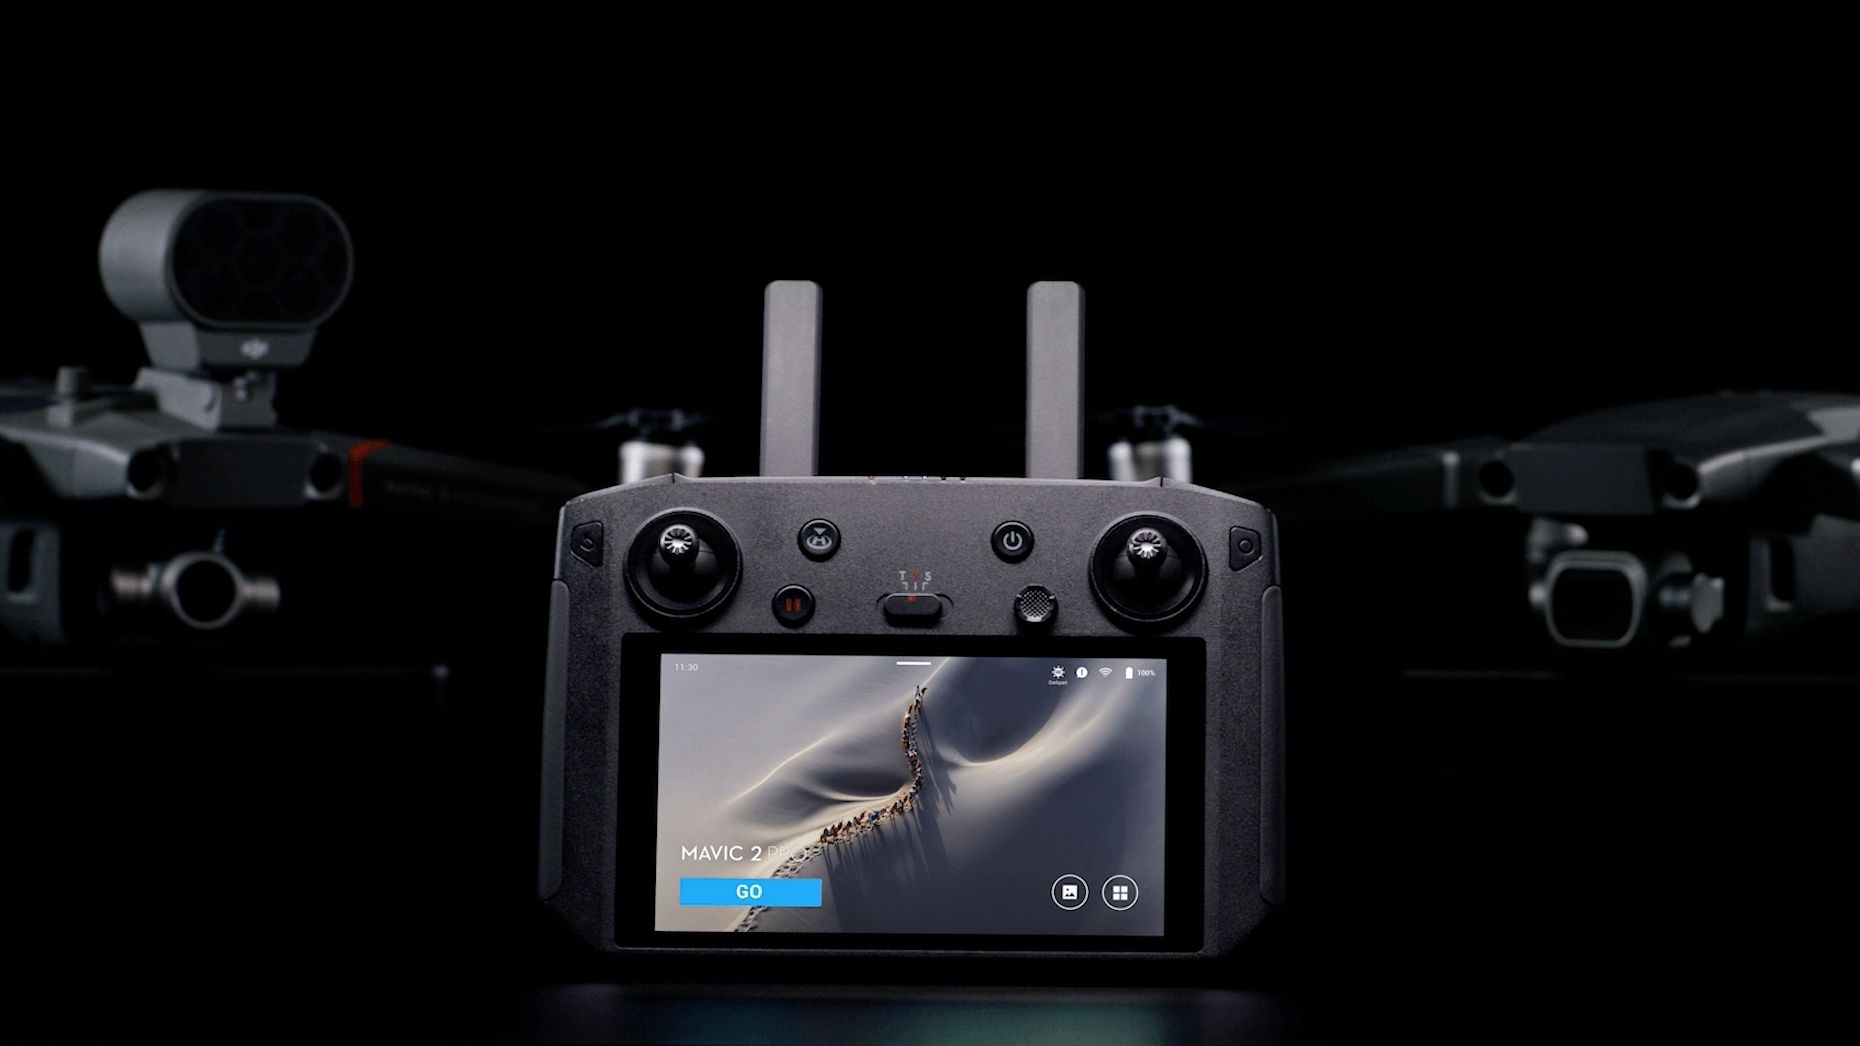
Configuring the Remote Controller
The remote controller serves as the primary interface between the pilot and the camera drone, enabling precise control and maneuverability during flight. Configuring the remote controller is a crucial step that ensures seamless communication and optimal responsiveness between the pilot’s inputs and the drone’s flight control system. Here’s a comprehensive guide to configuring the remote controller for your camera drone:
- Transmitter Setup: Familiarize yourself with the features and functions of your remote controller (transmitter), including control sticks, switches, and auxiliary channels. Ensure that the transmitter is powered and functioning correctly before proceeding with configuration.
- Channel Mapping: Verify and configure the channel mapping on the transmitter to correspond with the designated control inputs for your specific flight configuration (e.g., quadcopter, hexacopter). This step ensures that the control inputs align with the intended flight control functions.
- Endpoint Adjustment: Adjust the endpoints and subtrim settings on the transmitter to fine-tune the control stick movements and ensure that they correspond accurately to the desired range of motion for flight control inputs.
- Mode Selection: Configure the flight mode settings on the transmitter to align with your preferred flight modes, such as stability mode, altitude hold, or manual acro mode. Ensure that the mode selection switch or settings are programmed correctly for your drone’s flight controller.
- Receiver Binding: If using a separate receiver unit, follow the manufacturer’s instructions to bind the receiver to the transmitter, establishing a secure and reliable communication link between the remote controller and the drone’s onboard receiver.
- Control Range Testing: Conduct a thorough range check to verify the signal strength and control responsiveness at various distances, ensuring that the remote controller maintains a reliable connection with the drone throughout its operational range.
By meticulously following these steps and adhering to the manufacturer’s guidelines, you can configure the remote controller with precision and attention to detail, establishing a robust and responsive control interface for your camera drone. The successful configuration of the remote controller brings you one step closer to mastering the art of piloting your drone and unleashing its full potential in the skies.
Testing and Calibration
Once the individual components of your camera drone are assembled, it’s crucial to conduct comprehensive testing and calibration procedures to ensure that the drone operates reliably and performs optimally during flight. Testing and calibration involve verifying the functionality of each system, fine-tuning parameters, and confirming that the drone responds accurately to control inputs. Here’s a detailed guide to testing and calibrating your camera drone:
- Pre-Flight Inspection: Conduct a thorough visual inspection of the drone, checking for any loose fastenings, damaged components, or irregularities that may affect its structural integrity or performance. Ensure that the propellers, motors, and electronic connections are secure and free from obstructions.
- Power-Up Sequence: Power up the drone and verify that all electronic components, including the flight controller, ESCs, and receiver, initialize correctly and establish stable connections. Check for any abnormal behavior or error indicators during the power-up sequence.
- Motor Spin-Up Test: Gradually increase the throttle to verify that each motor spins up smoothly and in the correct direction. Confirm that the motor response is consistent and synchronized across all propulsion units.
- Flight Controller Calibration: Follow the manufacturer’s instructions to calibrate the flight controller, including accelerometer, gyroscope, and compass calibration. This step ensures accurate sensor readings and stable flight performance.
- Gimbal Stabilization Test: Activate the gimbal stabilization system and verify that the camera remains steady and level during drone movements. Fine-tune the gimbal settings to achieve optimal stabilization and minimize any unwanted camera movements.
- Control Inputs and Response: Test the responsiveness of the drone to control inputs, including pitch, roll, yaw, and throttle commands. Verify that the drone responds accurately to control stick movements and maintains stable flight characteristics.
- GPS and Return-to-Home (RTH) Test: If your drone is equipped with GPS and RTH functionality, conduct tests to ensure that the GPS lock is established, and the RTH feature accurately navigates the drone back to its home position.
By meticulously conducting these tests and calibration procedures, you can identify and address any potential issues or irregularities before taking your camera drone for its maiden flight. Thorough testing and calibration contribute to a safe, reliable, and enjoyable flight experience, allowing you to unleash the full potential of your customized drone with confidence and precision.
Conclusion
Congratulations on successfully building your very own camera drone under $200! The journey of constructing a customized drone from carefully selected components and assembling them into a fully functional aerial platform is a remarkable achievement. By following the step-by-step guide provided in this comprehensive walkthrough, you have gained valuable insights into the intricacies of drone construction, configuration, and testing, setting the stage for an exhilarating aerial exploration and creative expression.
As you prepare to take your camera drone to the skies, it’s essential to approach the maiden flight with a sense of cautious optimism and readiness. Prior to each flight, conduct a pre-flight checklist to ensure that all components are functioning as intended, and the environmental conditions are suitable for safe and enjoyable flight operations. Additionally, familiarize yourself with local regulations and guidelines for drone operation to ensure compliance and responsible piloting.
Embrace the opportunity to experiment with aerial photography and videography, capturing breathtaking perspectives and immersive footage that showcase the beauty of the world from above. Whether it’s exploring scenic landscapes, documenting events, or unleashing your creative vision, your camera drone is a versatile tool for artistic expression and storytelling from a unique vantage point.
Remember that continuous learning and refinement are integral to the journey of drone piloting and aerial imaging. Stay informed about advancements in drone technology, flight techniques, and safety practices, and connect with the vibrant community of drone enthusiasts to share experiences and insights.
With your newly constructed camera drone, you have unlocked the potential for boundless creativity, exploration, and discovery in the skies. Embrace the thrill of flight, capture awe-inspiring moments, and embark on a journey that transcends conventional perspectives. Your camera drone is not just a technological marvel; it’s a gateway to new horizons and limitless possibilities, inviting you to soar, create, and inspire.