Introduction
Welcome to our guide on how to connect a computer case fan! Whether you’re a seasoned computer enthusiast or a new user looking to improve airflow and cooling in your system, this article will provide you with a step-by-step tutorial on connecting a case fan to your computer’s motherboard.
Computer case fans play a crucial role in maintaining the optimal temperature of your computer components. They are responsible for circulating air inside the case, preventing overheating and ensuring reliable performance. Fortunately, connecting a case fan is a relatively simple process that requires minimal tools and equipment.
In this guide, we will walk you through the necessary steps to choose the right fan for your case, locate the appropriate fan headers on your motherboard, prepare the fan for installation, connect it to the motherboard, secure it in the case, and ultimately ensure that your fan is functioning correctly.
But before we jump into the specifics, let’s briefly discuss the importance of proper ventilation and cooling in a computer case. Efficient airflow helps dissipate the heat generated by your computer’s components, preventing them from overheating and potentially causing damage.
Overheating can lead to decreased performance, system crashes, and even permanent hardware damage. By ensuring proper cooling in your computer case, you can enhance the longevity and reliability of your system, particularly during intensive tasks such as gaming, video editing, or running resource-intensive software.
Now that we understand the significance of case fans and the need for proper cooling, let’s begin our guide on connecting a computer case fan. Gather the necessary tools and equipment, and let’s get started!
Tools and Equipment Needed
Before we dive into the process of connecting a case fan, let’s ensure we have all the necessary tools and equipment on hand. Here’s what you’ll need:
- A screwdriver or a screwdriver set: This will be used to secure the fan in the case if it requires screws for mounting.
- An anti-static wrist strap (optional but recommended): This will help protect your computer components from static electricity, which can potentially damage sensitive hardware.
- Thermal paste (optional): If you’re replacing an existing fan or installing a new CPU cooler, you may need thermal paste to ensure proper heat transfer between the CPU and the cooler.
- Cable ties or zip ties: These will assist in managing the fan cables and keeping them organized and out of the way.
- A flashlight (optional): This can be helpful in illuminating hard-to-see areas inside the computer case.
It’s important to ensure that you have the correct tools and equipment to avoid any unnecessary complications during the installation process. Having these items readily available will make the connecting process smoother and more efficient.
Remember, it’s always a good idea to read the user manuals or documentation that came with your computer case, motherboard, and fan. These resources may provide specific instructions or recommendations tailored to the components you are working with.
Now that we’ve gathered the necessary tools and equipment, we’re ready to move on to the next step: choosing the right case fan that meets your needs and specifications. Let’s continue our journey to connecting a computer case fan!
Step 1: Choosing the Right Computer Case Fan
When it comes to choosing a computer case fan, there are a few factors to consider to ensure compatibility and optimal performance. Here’s what you need to keep in mind:
- Fan Size: The size of the fan is crucial as it must match the available mounting space in your computer case. The most common fan sizes are 120mm and 140mm. Measure the space available in your case or refer to the case specifications to determine the appropriate fan size.
- Airflow and Fan Speed: Consider how much airflow and cooling capacity you require. Fans with high airflow ratings and adjustable fan speeds provide better cooling performance. However, keep in mind that higher speeds often result in increased noise levels.
- Noise Level: If noise is a concern for you, look for fans that offer low noise levels. Fans with larger blades or designs that focus on noise reduction can help create a quieter computing environment.
- Bearing Type: The bearing type determines the fan’s lifespan and noise level. Common bearing types include sleeve, ball, and fluid dynamic. Sleeve bearings are more budget-friendly but may have a shorter lifespan, while ball bearings tend to be more durable and longer-lasting.
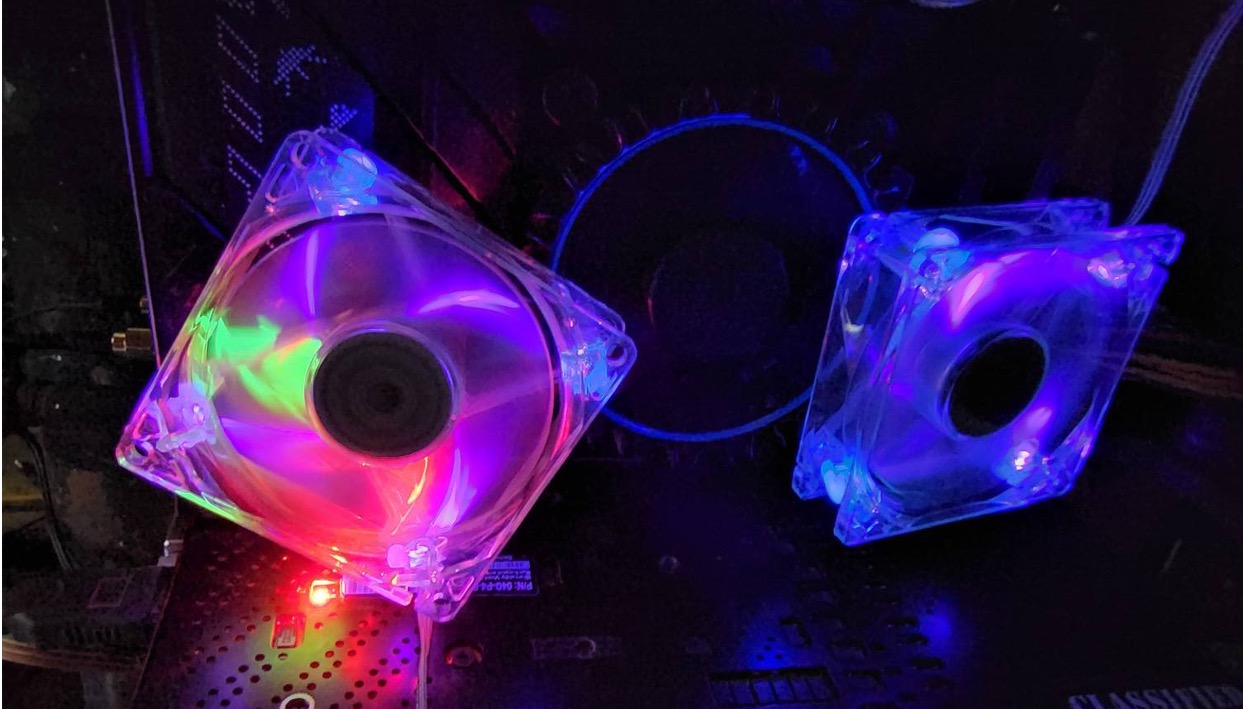
- LED Lighting (optional): If aesthetics are important to you, consider whether you want a fan with LED lighting. LED fans can add a touch of color and style to your computer case.
- Connectivity: Check the connector type of the fan and ensure it is compatible with the fan headers on your motherboard. Most fans use a 3-pin or 4-pin connector.
By considering these factors, you’ll be able to choose a fan that meets your specific requirements and provides effective cooling for your system. Once you’ve selected the ideal fan, it’s time to move on to the next step: locating the appropriate fan headers on your motherboard to establish the connection. Let’s proceed!
Step 2: Locating the Appropriate Fan Headers on Your Motherboard
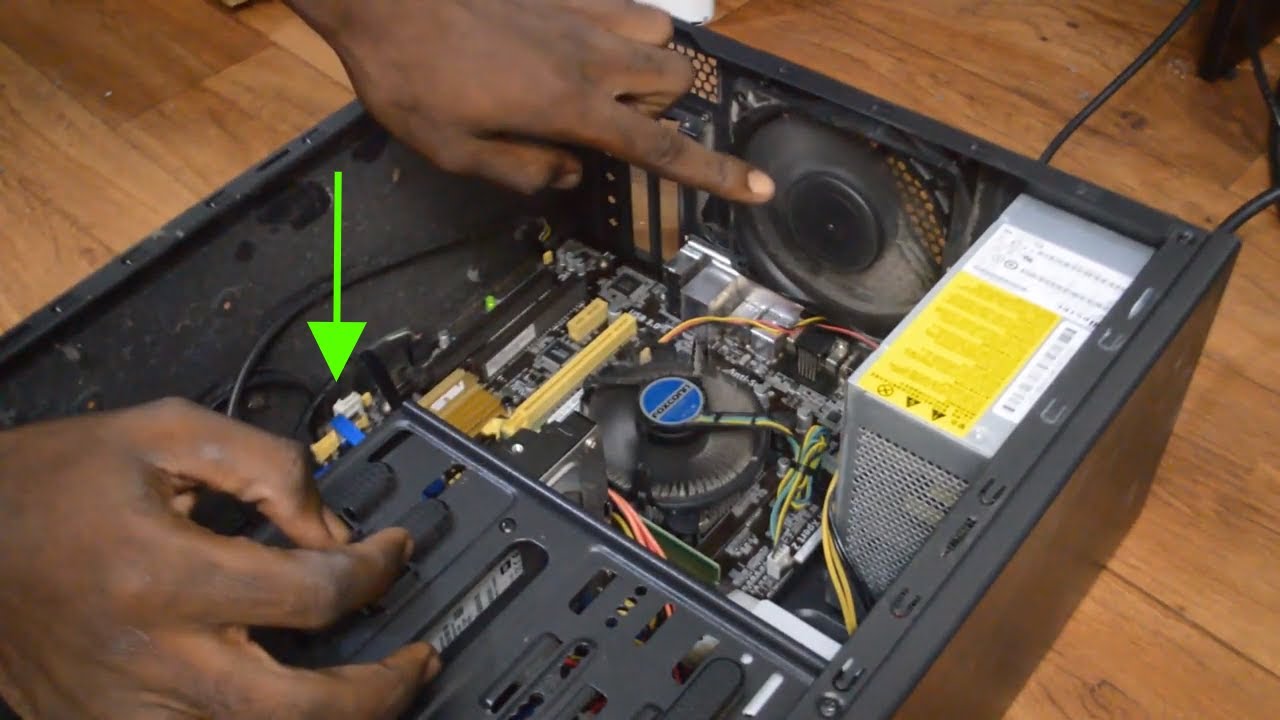
Before connecting your case fan to the motherboard, you need to identify the fan headers where the connection will be made. Fan headers are usually located near the CPU socket or along the edges of the motherboard. Here’s how to locate them:
- Refer to the motherboard manual: The motherboard manual is a valuable resource that provides a detailed layout diagram of the motherboard, including the location of fan headers. Locate the section that illustrates the motherboard layout and look for the fan headers’ labels and markings.
- Inspect the motherboard visually: If you don’t have the manual on hand, you can visually inspect the motherboard for fan headers. Typically, fan headers are labeled “SYS_FAN,” “CHA_FAN,” or “SYS_FAN1,” “CHA_FAN2,” depending on the specific motherboard model.
- Count the pins on the fan headers: Fan headers can have either 3 or 4 pins. The 3-pin headers are used with basic fans that have no PWM (Pulse Width Modulation) support. The 4-pin headers support fans with PWM functionality, allowing for more precise control of fan speed.
Once you have located the fan headers on your motherboard, take note of their positions and labels. This information will be crucial for the next step of connecting the fan to the motherboard.
It’s worth mentioning that some motherboards may have additional specialized headers, such as CPU fan headers or AIO (All-In-One) pump headers. These headers are intended for specific cooling components and may have different specifications or requirements. Ensure that you choose the appropriate fan header that matches the fan you are connecting.
Now that you have identified the fan headers on your motherboard, you’re ready to proceed to the next step: preparing the fan for installation. Let’s move on!
Step 3: Preparing the Fan for Installation
Now that you have identified the appropriate fan headers on your motherboard, it’s time to prepare the fan for installation. Here are the steps to follow:
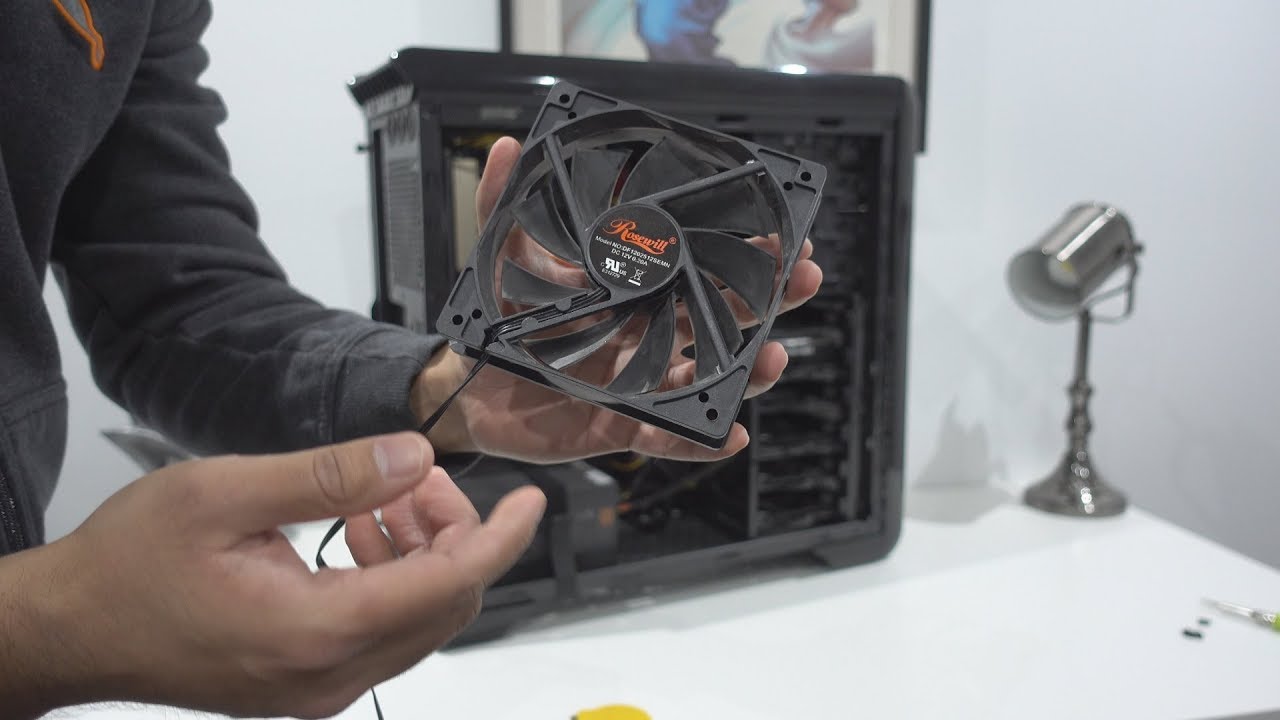
- Inspect the fan: Before installation, carefully examine the fan for any visible damage or defects. Check the fan blades, frame, and connectors to ensure they are in good condition.
- Remove any protective covers: Some fans come with protective covers on the connector or mounting screws. Remove these covers before proceeding with the installation.
- Check the airflow direction: Most fans have arrows on the frame, indicating the direction of airflow. Make sure the fan is oriented correctly, so air is pushed through or pulled out of the case in the desired direction. Proper airflow direction helps optimize cooling efficiency.
- Apply thermal paste (if necessary): If you are installing a new CPU cooler or replacing an existing one, you may need to apply thermal paste. Follow the manufacturer’s guidelines and apply a small, pea-sized amount of thermal paste evenly on the CPU surface.
- Organize the fan cables: Take a moment to organize the fan cables to avoid tangling or obstructing other components. You can use cable ties or zip ties to secure the cables and keep them neat and tidy.
By following these steps, you’ll ensure that the fan is in good condition, oriented correctly, and ready for installation. Preparing the fan properly sets the foundation for a successful connection to your motherboard.
With the fan prepared, it’s time to move on to the next step: connecting the fan to the motherboard. This is where the actual connection between the fan and the motherboard takes place, so let’s proceed to the next step!
Step 4: Connecting the Fan to the Motherboard
With the fan prepared, it’s time to connect it to the motherboard. Follow these steps to establish the connection:
- Locate the fan header: Refer to the previous step where you identified the appropriate fan headers on your motherboard. Take note of the specific header you will be using.
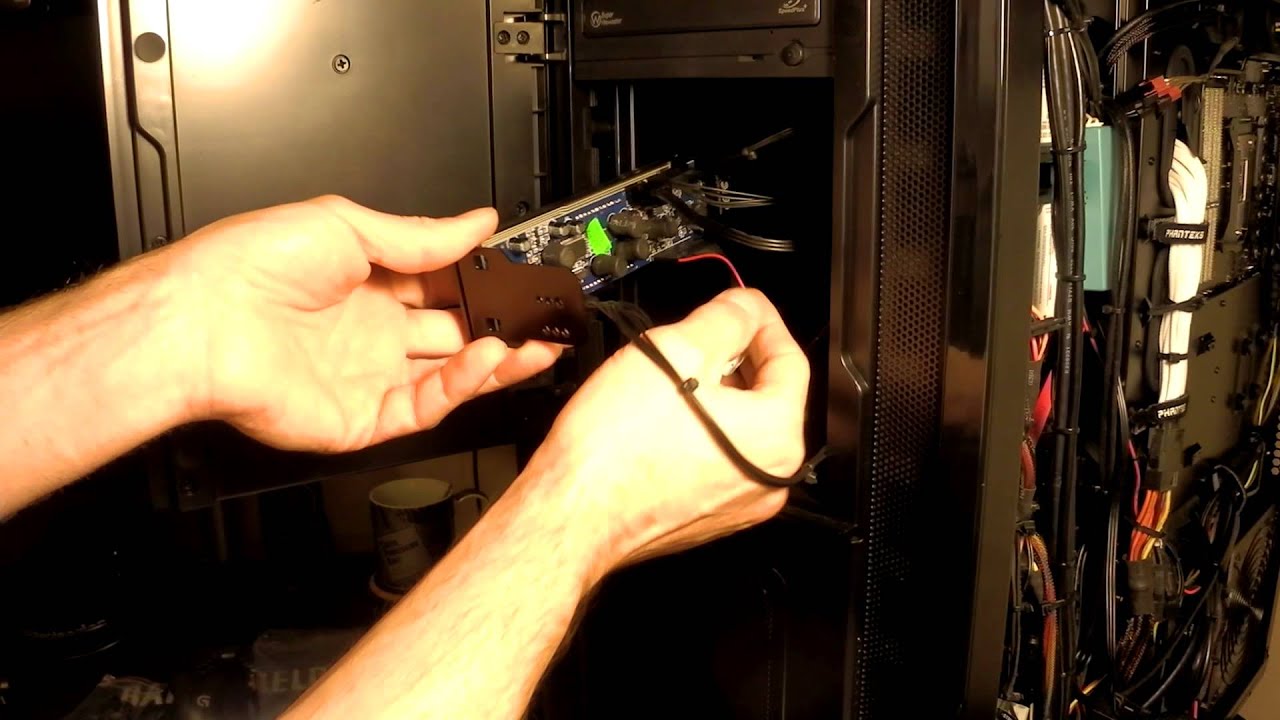
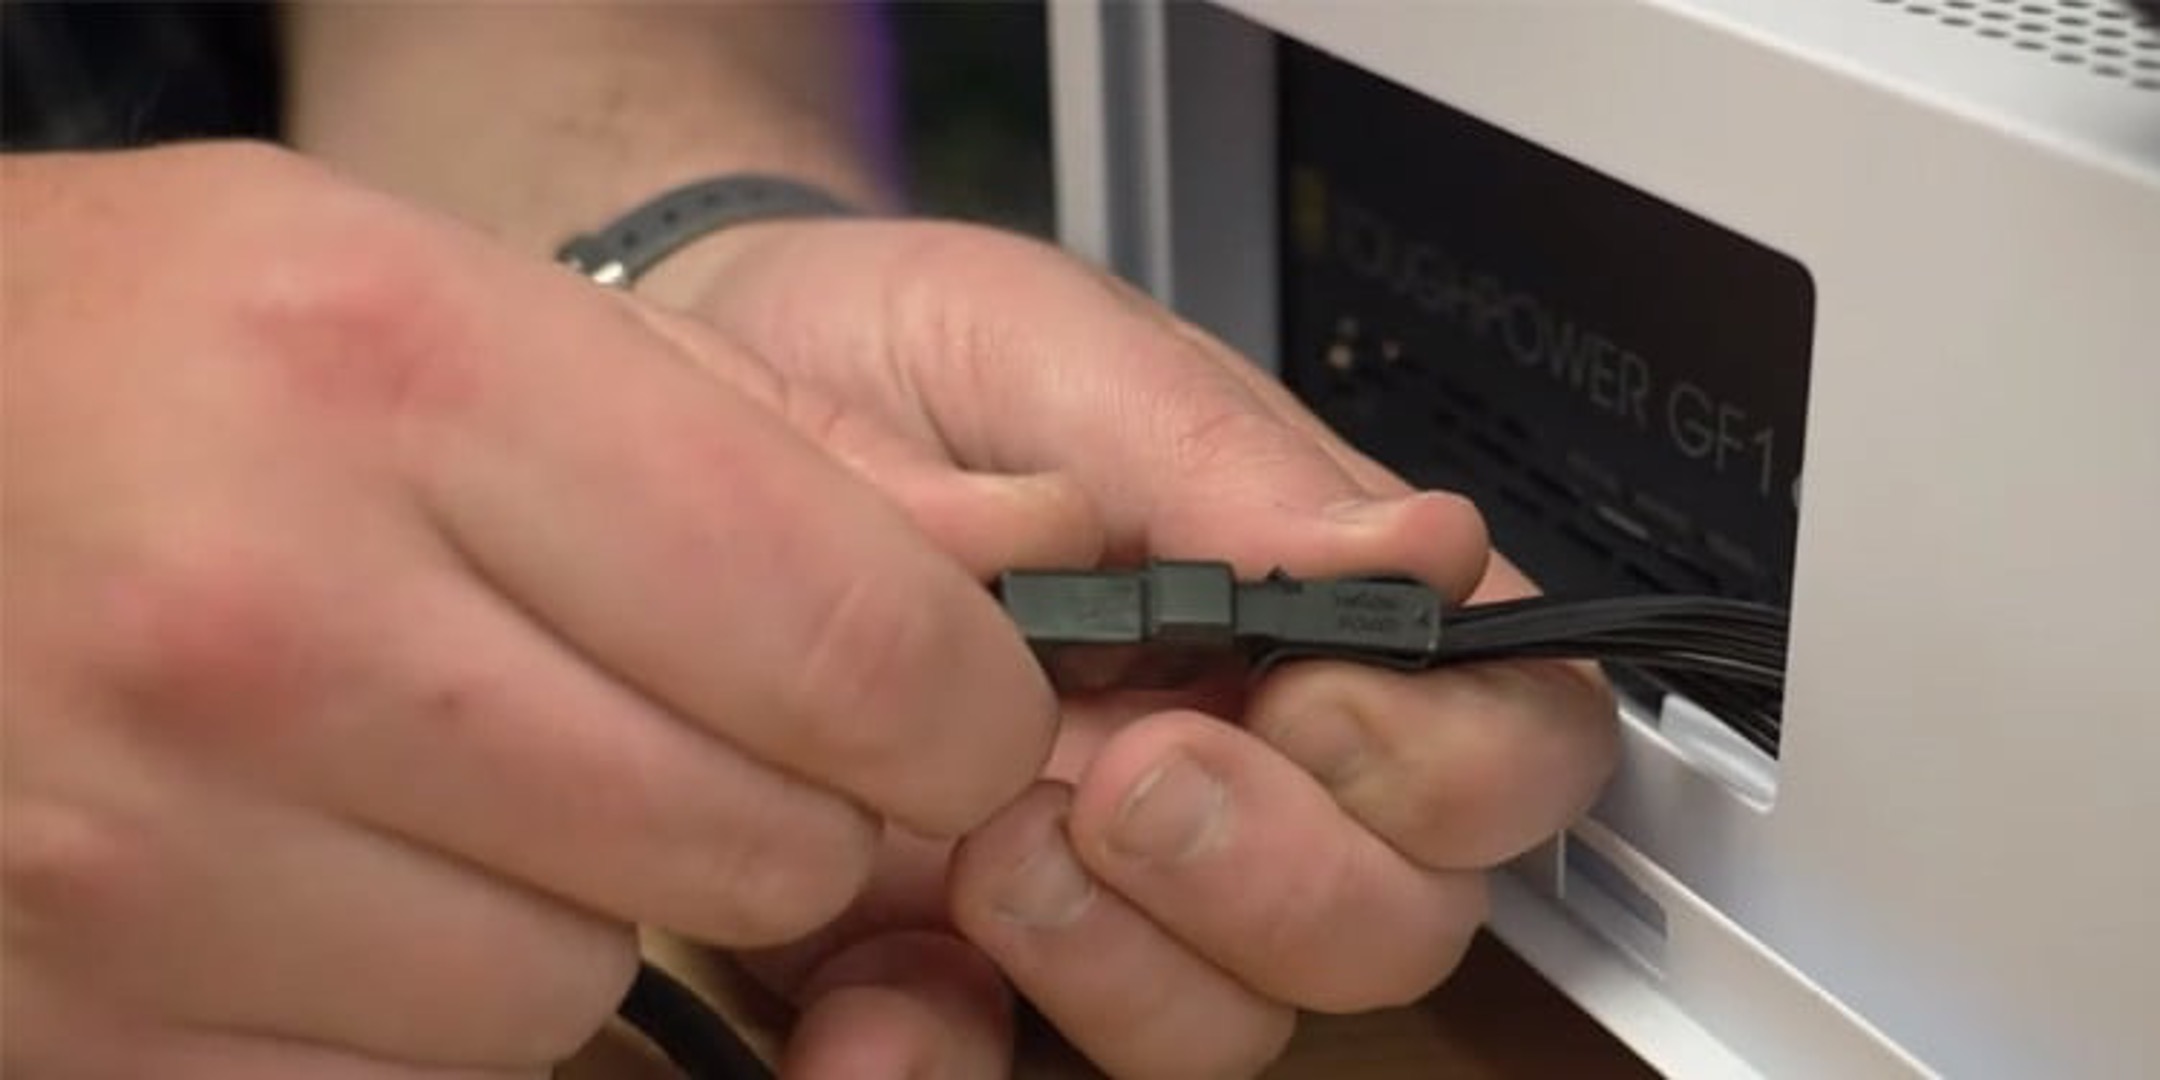
- Align the connector: Take the fan’s connector and align it with the corresponding pins on the fan header. Make sure the pins on the connector match the layout of the header.
- Connect the fan: Gently push the fan connector onto the header, ensuring a secure and snug connection. The connector should fit tightly onto the pins. Be careful not to force or bend any pins during the process.
- Verify the connection: Once the fan is connected to the motherboard, visually inspect the connection to ensure it is secure. Check for any loose cables or connectors that may interfere with other components.
If you are connecting a PWM fan, which has a 4-pin connector, you may notice an additional pin on the header. This pin is for PWM control, allowing for precise control of the fan speed based on system temperature. Ensure that the PWM pin on the connector aligns with the corresponding pin on the header.
It’s important to note that some motherboards also offer additional fan headers with specific labels, such as CPU fan headers or system fan headers. Choose the appropriate header based on the location and purpose of the fan you are connecting.
Now that the fan is successfully connected to the motherboard, it’s time to move on to the next step: testing the fan connection. Verifying that the fan is functioning correctly will ensure proper cooling and optimal performance. Let’s proceed to the next step!
Step 5: Testing the Fan Connection
After connecting the fan to the motherboard, it’s essential to test the fan connection to ensure it is functioning properly. Here’s how you can test the fan:
- Power on your computer: Start by powering on your computer and accessing the BIOS or UEFI settings. This can typically be done by pressing the “Del” or “F2” key during the boot-up process. Consult your motherboard manual for specific instructions.
- Access the fan control settings: Navigate to the section of the BIOS or UEFI settings that controls fan speeds and monitoring. Look for options related to fan control or fan monitoring.
- Adjust the fan speed: In the fan control settings, you may have the option to adjust the fan speed or set it to a specific profile. Increase the fan speed to the maximum level to ensure the fan is spinning correctly and providing adequate airflow.
- Monitor the fan’s operation: While in the BIOS or UEFI settings, visually inspect the fan to confirm that it is spinning. Listen for any unusual noises or vibrations, which may indicate a faulty connection or an issue with the fan itself.
- Save the settings and exit: Once you’ve confirmed that the fan is operating correctly, save your changes in the BIOS or UEFI settings and exit. The computer will continue to boot up as usual.
If the fan fails to spin, or you encounter any issues during the testing process, double-check the fan connection. Make sure the connector is securely attached to the fan header and that there are no loose cables or obstructions. If the problem persists, consult the fan’s user manual or contact the manufacturer for further assistance.
Testing the fan connection is crucial to ensure proper cooling and avoid any potential issues related to overheating. Once you’ve confirmed that the fan is working as intended, you’re almost done! The final step is securing the fan in the case, which we’ll cover next.
Step 6: Securing the Fan in the Case
Once you have successfully connected and tested the fan, it’s time to secure it in your computer case. Properly securing the fan ensures stability, prevents vibrations, and maximizes its efficiency. Follow these steps to secure the fan in the case:
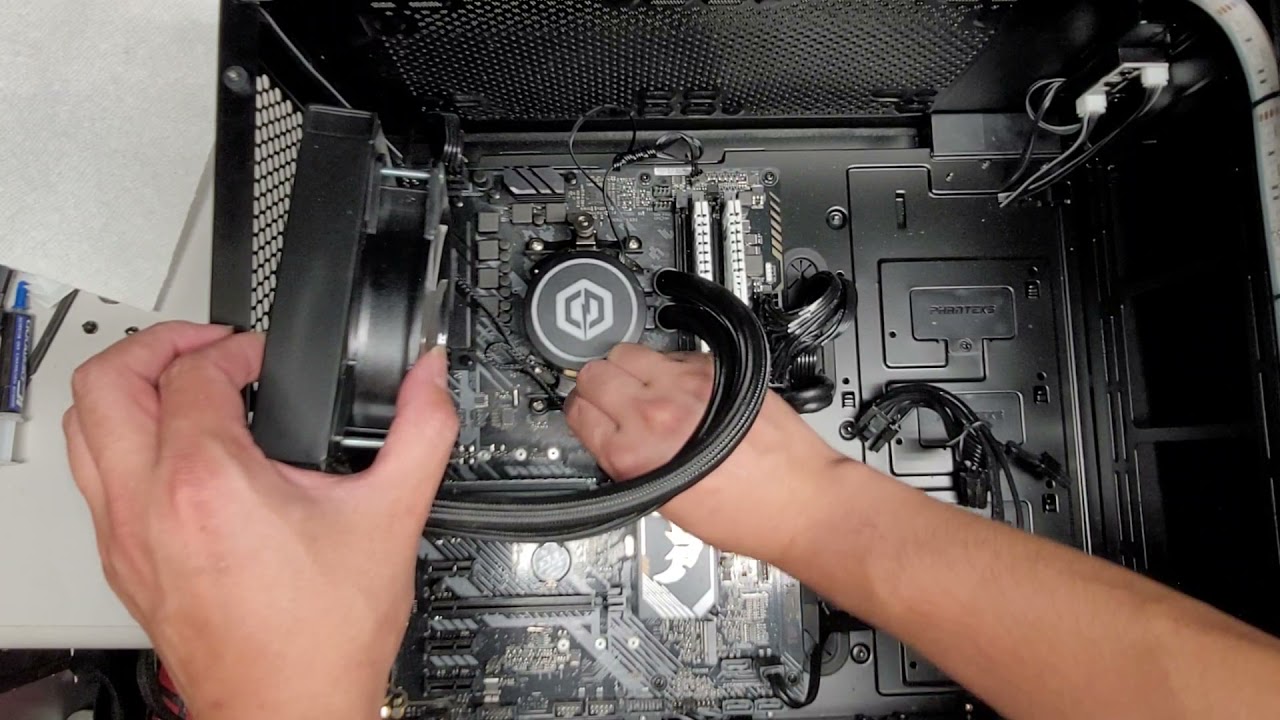
- Identify the mounting points: Depending on your computer case, there will be designated mounting points for fans. These are usually located on the front, rear, or top of the case. Refer to your case manual or check for pre-installed mounting brackets.
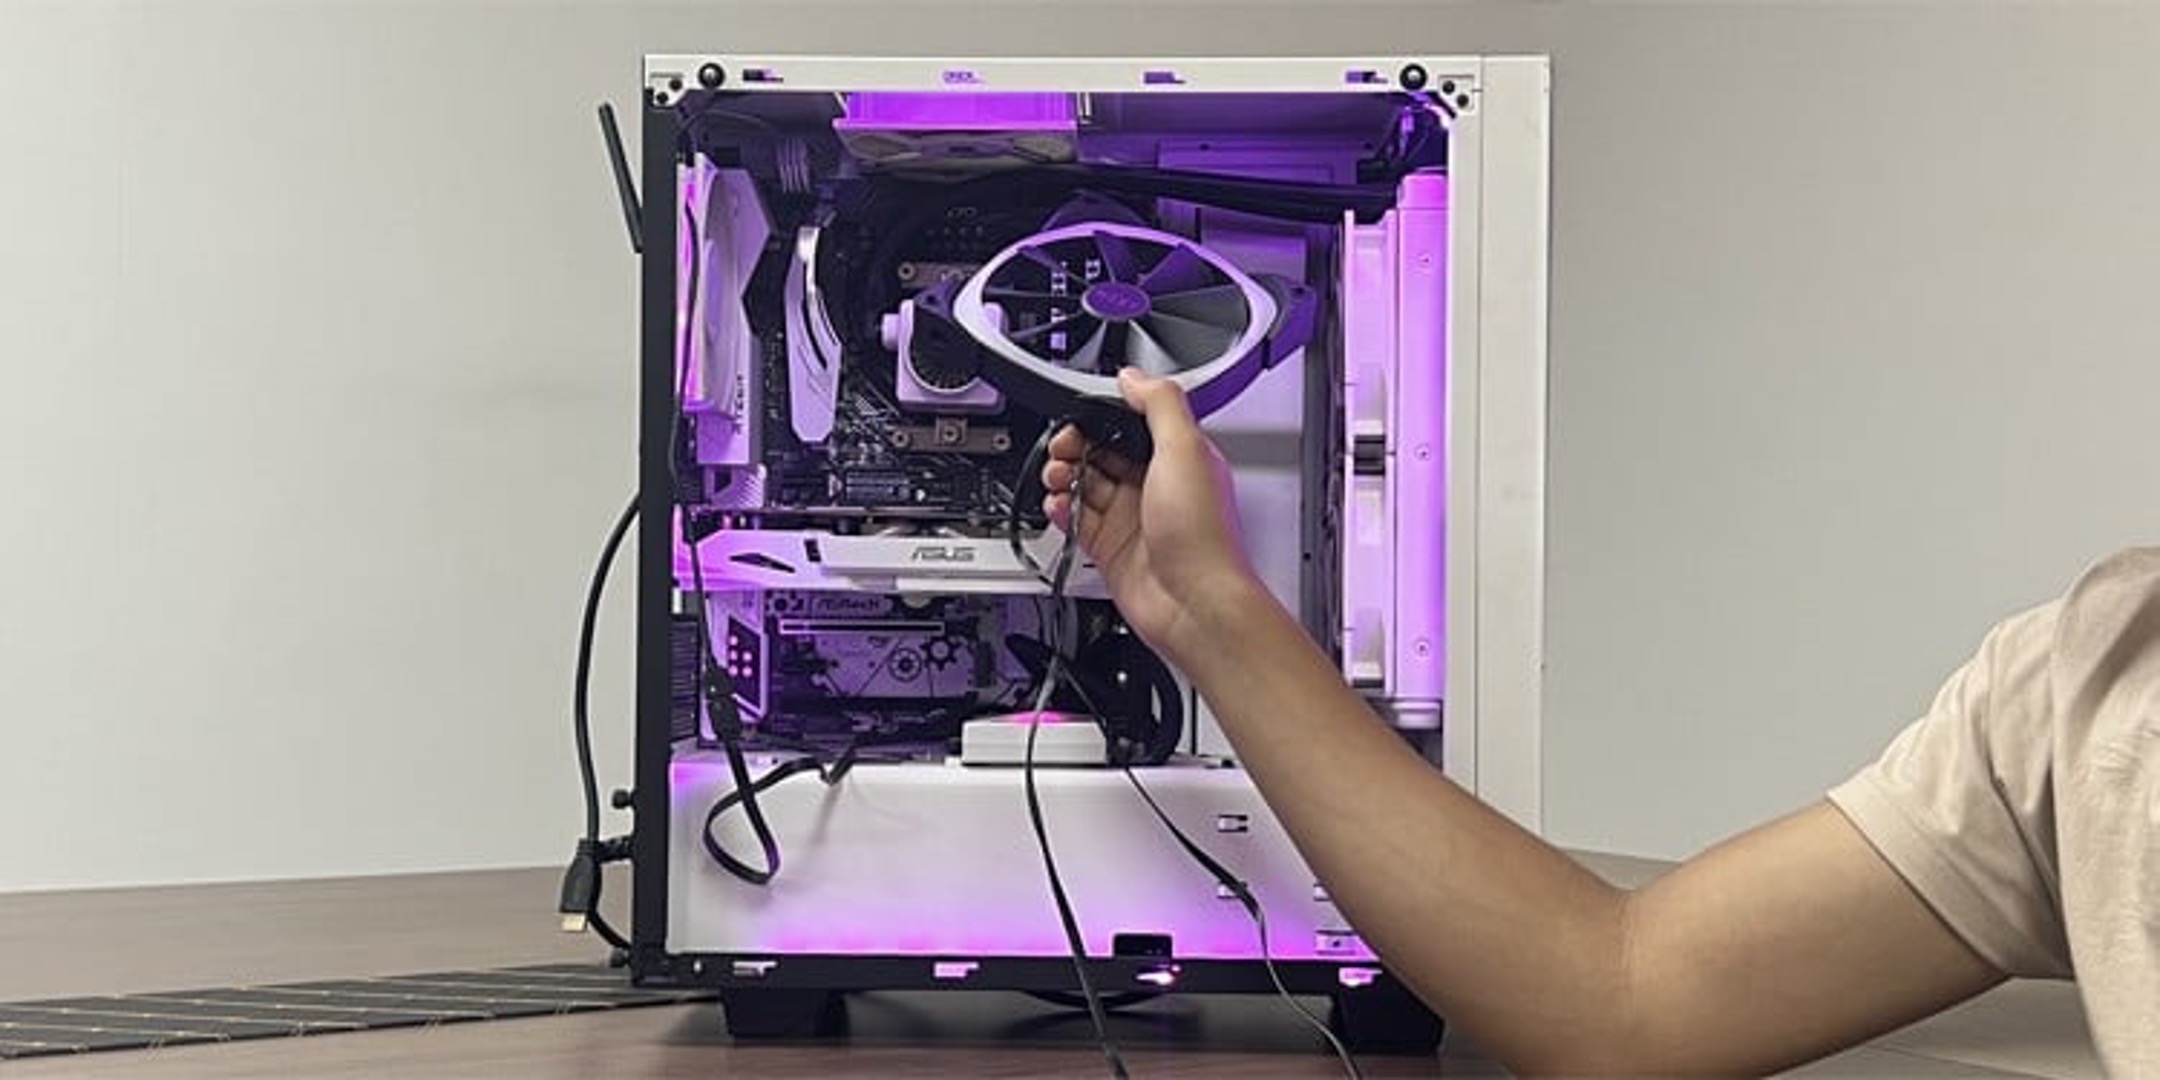
- Align the fan with the mounting points: Position the fan in the desired location, aligning the mounting holes on the fan with the mounting points in the case. Pay attention to the direction of airflow and ensure it matches your intended cooling configuration.
- Attach screws (if necessary): If your case requires screws for mounting, use a screwdriver to secure the fan in place. Insert the screws through the mounting holes on the fan and twist them gently until they are tightened but not overly tight, which can damage the fan or case.
- Double-check the fan’s alignment: After securing the fan with screws, ensure that it is properly aligned and centered in the case. Adjust the position if necessary to avoid any interference with other components.
- Manage the fan cables: Once the fan is securely mounted, carefully manage the cables to prevent tangles and ensure they are not obstructing other components or impeding airflow. Use cable ties or zip ties to tidy up the excess cable length and keep them organized.
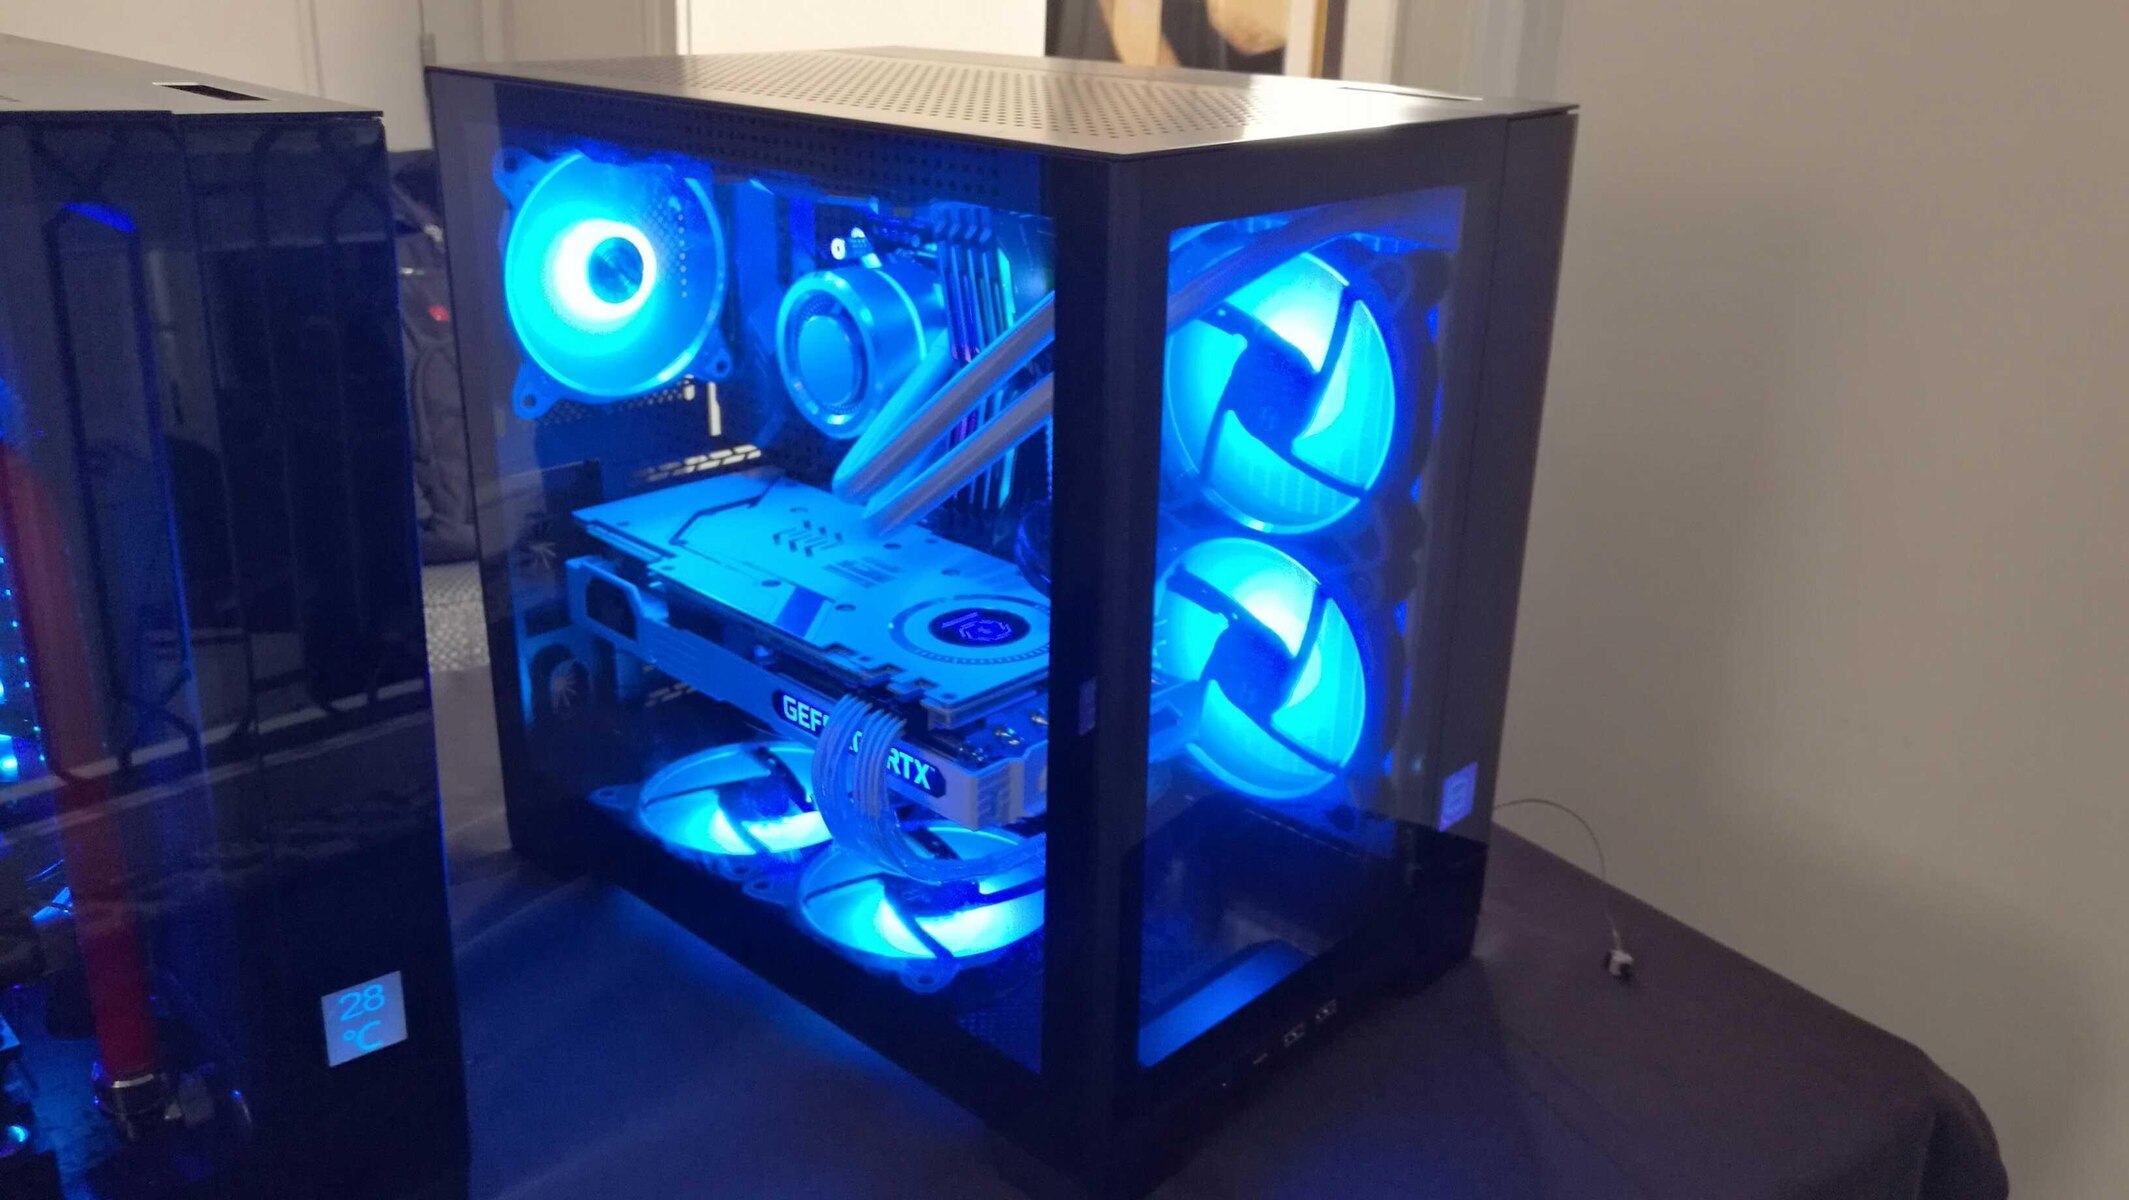
Take a moment to inspect the fan’s placement and overall cable management. Ensure that there are no loose cables or obstructions that could interfere with the fan’s performance or airflow. A clean and organized setup will not only enhance cooling efficiency but also contribute to a neater and more visually appealing system.
With the fan securely mounted in the case, you have completed the final step! Now, you can enjoy improved airflow and cooling, promoting optimal performance and longevity for your computer components.
Remember, should you decide to add more fans to your system in the future, repeat these steps for each additional fan. Take into account airflow direction, cable management, and the positioning of each fan to maintain an effective cooling setup.
Congratulations on successfully connecting and securing your computer case fan! By following this step-by-step guide, you have taken a significant step towards maintaining a well-cooled and efficient computer system.
Conclusion
Connecting a computer case fan is a straightforward process that can greatly benefit your system’s cooling and overall performance. By following the steps outlined in this guide, you should now have a clear understanding of how to choose the right fan, locate the appropriate fan headers on your motherboard, prepare the fan for installation, connect it to the motherboard, and secure it in the case.
Proper ventilation and cooling in your computer case are essential to prevent overheating and ensure the longevity of your components. Investing in high-quality fans and maintaining an efficient cooling setup can significantly improve the overall stability and performance of your system.
Remember to consider factors such as fan size, airflow, noise level, bearing type, LED lighting, and connector compatibility when selecting a fan. Locate the fan headers on your motherboard, align and connect the fan properly, and test the connection to ensure it is functioning correctly. Finally, securely mount the fan in the case and manage the cables for a clean and organized setup.
With your newly connected fan, you can enjoy improved airflow, reduced temperatures, and a more reliable computing experience. Whether you are a casual user or an avid gamer, proper cooling is essential for maintaining optimal performance, especially during intensive tasks.
We hope this guide has been helpful in assisting you with connecting a computer case fan. Remember to consult the documentation provided with your specific hardware for any additional information or instructions. Happy computing!