Introduction
Welcome to this guide on how to hook up a case fan controller! If you’re a computer enthusiast or just someone who wants to have more control over the cooling system in their PC, a case fan controller is an essential tool. It allows you to adjust the speeds of your case fans, improving cooling efficiency and reducing noise levels.
But what exactly is a case fan controller? Simply put, it’s a device that sits between your power supply and your case fans, allowing you to regulate their speeds. By manually adjusting the fan speeds, you can optimize the airflow inside your computer case, ensuring that your components stay cool even under heavy loads.
Now, you might be wondering why you need a case fan controller when most modern motherboards come with built-in fan control features. While it’s true that motherboard controls are convenient, a dedicated case fan controller provides more customization options. You can have finer control over individual fans, create different fan profiles for different scenarios, and even monitor your system’s temperatures in real-time.
If you’re ready to take control of your PC’s cooling system and enjoy the benefits of a case fan controller, let’s get started! In this guide, I will walk you through the step-by-step process of hooking up a case fan controller to your computer.
What is a Case Fan Controller?
A case fan controller is a hardware device that allows you to manually adjust the speeds of the fans in your computer case. It sits between your power supply and the fans, providing you with control over their RPM (revolutions per minute) and thus, the airflow inside your case.
In most computer cases, the fans are directly connected to the motherboard or the power supply, and their speed is determined by the system’s temperature sensors or BIOS settings. While this automated control is convenient, it may not always provide you with the desired cooling performance or silence. That’s where a case fan controller comes in.
By using a case fan controller, you can have complete control over the fan speeds. Whether you want to prioritize cooling performance during intense gaming sessions or create a quieter environment for everyday use, a fan controller allows you to tailor the airflow to your specific needs.
There are two main types of case fan controllers available: manual and automatic. Manual controllers allow you to manually adjust the fan speeds using physical knobs or buttons. This type gives you precise control but requires manual adjustments based on your requirements.
On the other hand, automatic controllers rely on temperature sensors to adjust the fan speeds automatically. These controllers monitor the system’s temperature and adjust the fans accordingly. They are more hands-off and can provide hassle-free cooling management. Some advanced automatic controllers even come with software interfaces to fine-tune the fan speeds and create custom profiles.
Case fan controllers offer several benefits. They can efficiently cool down your computer components, leading to better performance and longevity. By effectively managing the fan speeds, you can reduce noise levels, ensuring a quieter working environment. Additionally, if you have a computer with insufficient fan headers on your motherboard, a case fan controller allows you to connect and control more fans.
In the next sections, I’ll guide you through the process of setting up a case fan controller and connecting your case fans for optimal cooling and customization. Let’s get started!
Benefits of Using a Case Fan Controller
Using a case fan controller provides several advantages that can enhance the performance, longevity, and user experience of your computer. Let’s explore some of the key benefits of incorporating a case fan controller into your system:
- Improved Cooling Efficiency: A case fan controller allows you to manually or automatically adjust the fan speeds, enabling you to optimize the airflow inside your computer case. By adjusting the fan speeds based on your specific needs, you can ensure that your components stay cool even during intense gaming or heavy workload scenarios. This can result in improved performance and stability, as excessive heat can cause thermal throttling and reduce the lifespan of your hardware.
- Noise Reduction: Case fans can contribute to the overall noise levels of your computer. With a fan controller, you have control over the fan speeds, allowing you to reduce noise levels when you want a quieter computing environment, such as during office work or media consumption. By fine-tuning the fan speeds, you can strike a balance between cooling performance and noise reduction, creating a more pleasant and peaceful experience.
- Customization and Control: A case fan controller gives you the freedom to customize and adjust the cooling system to your preferences. Whether you want to prioritize cooling performance, noise reduction, or find a balance between the two, you have the flexibility to fine-tune the fan speeds accordingly. Some advanced controllers even come with software interfaces that allow you to create custom profiles, set temperature thresholds, and monitor system temperatures in real-time.
- Expandability: If your motherboard has limited fan headers or you have more fans than your motherboard can accommodate, a case fan controller is an excellent solution. It allows you to connect multiple fans to a single controller, giving you the ability to control and manage all the fans effectively. This expandability is particularly useful for users with high-performance systems or custom cooling setups.
- Visual Appeal: Apart from their functional benefits, some case fan controllers come with visually appealing designs and LED displays. These controllers can add a touch of style to your computer case, enhancing its overall aesthetics. The LED displays also provide real-time information about fan speeds and system temperatures, adding a professional and high-tech look to your setup.
Overall, a case fan controller empowers you to have precise control over your computer’s cooling system, resulting in improved performance, reduced noise levels, and a more personalized computing experience. Whether you’re a gaming enthusiast, a content creator, or simply a user who wants to optimize their PC’s cooling, a case fan controller is a worthy investment. Now that we’ve explored the benefits, let’s move on to the tools and equipment you’ll need for the installation.
Tools and Equipment Needed
Before you begin the process of hooking up a case fan controller, make sure you have the necessary tools and equipment on hand. Here’s a list of what you’ll need:
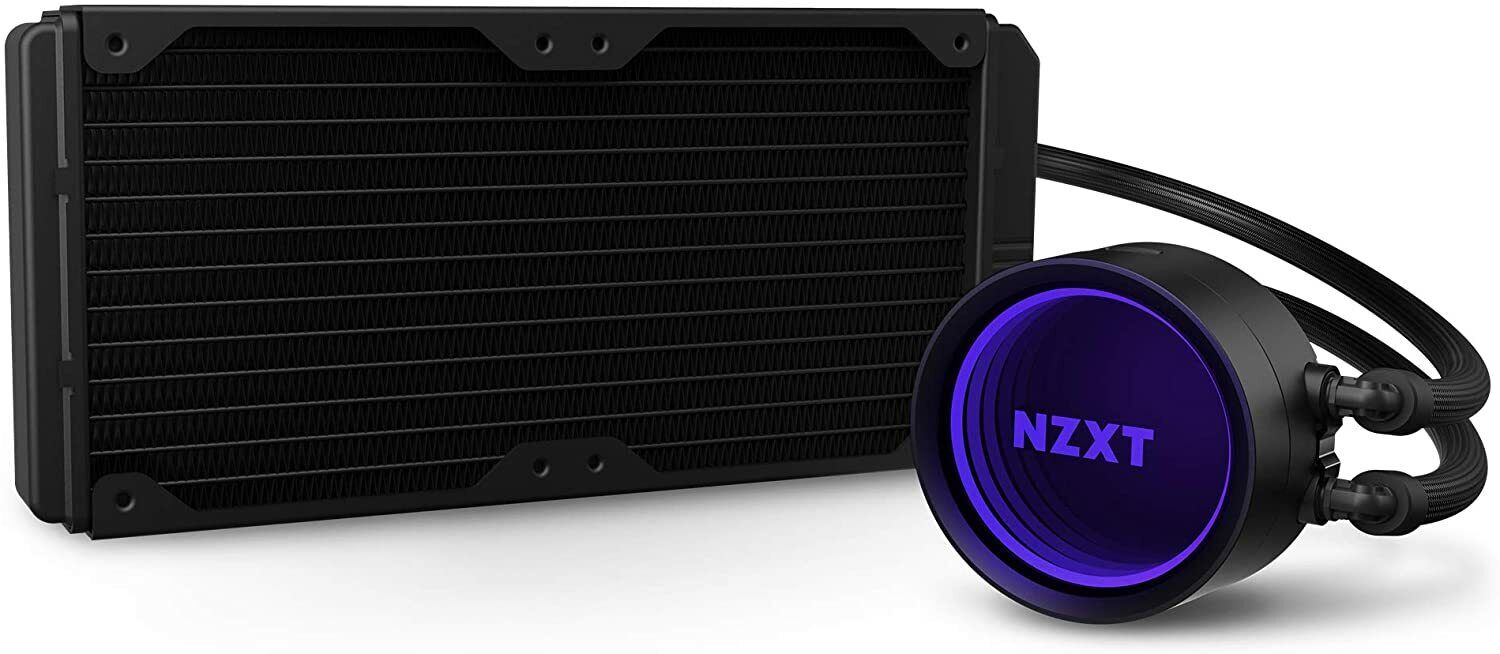
- Case Fan Controller: The most important item on the list is obviously the case fan controller itself. There are various options available in the market, including manual and automatic controllers. Choose one that suits your needs and preferences.
- Screwdriver: You’ll need a screwdriver to open your computer case and secure the case fan controller in place. Make sure that the screwdriver you use fits the screws found on your computer case.
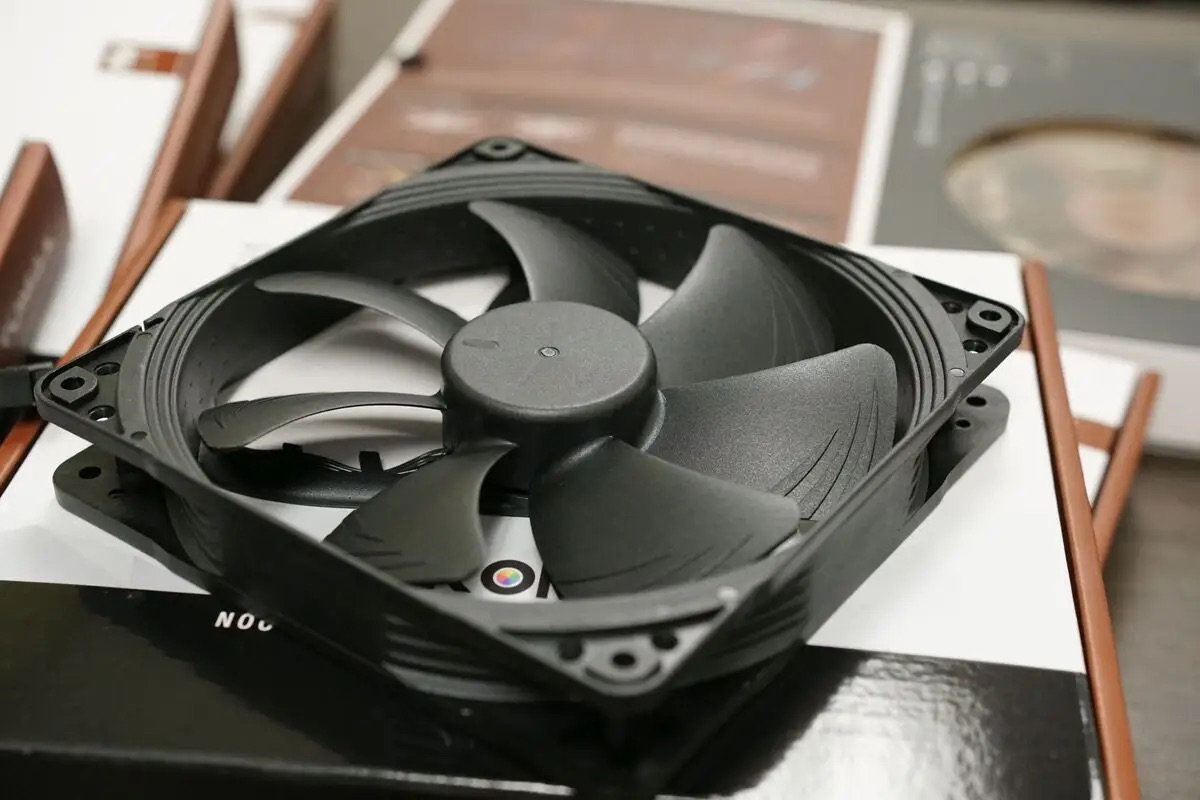
- Fans: Depending on your case and cooling requirements, you might need additional fans. Most case fan controllers offer multiple channels to connect fans, so make sure to have the required number of fans for optimal cooling performance.
- Fan Extension Cables: In case the cables that come with your fans are not long enough to reach the case fan controller, you may need fan extension cables. These cables will ensure that all your fans can be properly connected to the controller. Make sure to check the length and type (PWM or DC) of the cables to match your needs.
- Molex Adapter: Some case fan controllers require power from the power supply using a Molex adapter. Check the specifications of your case fan controller to see if it requires this type of connection. If needed, make sure you have a Molex adapter to provide power to the controller.
- Zip Ties or Cable Management Accessories: To keep your cables organized and minimize clutter, it is helpful to have zip ties or other cable management accessories. These will ensure that the cables from the case fans and the case fan controller are neatly organized, improving airflow and maintaining a clean look.
- Optional: Thermal Paste and Isopropyl Alcohol: If you plan to install additional fans or replace existing ones, you might need thermal paste and isopropyl alcohol. Thermal paste helps in transferring heat from the CPU or GPU to the cooling solution, while isopropyl alcohol is used to clean the surfaces before applying the thermal paste. These items are optional but helpful if you’re performing a more extensive cooling upgrade.
With these tools and equipment ready, you’re now prepared to proceed with hooking up your case fan controller. In the next section, I will guide you through the first step – choosing the right case fan controller for your needs.
Step 1: Choose the Right Case Fan Controller
The first step in hooking up a case fan controller is selecting the right one for your specific needs. There are various factors to consider when choosing a case fan controller, including the number of fan channels, control options, and compatibility with your computer setup. Here’s a guide on how to choose the right case fan controller:
- Number of Fan Channels: Consider the number of fans you want to connect to the controller. Determine how many fan channels you’ll need to accommodate your existing fans or any additional ones you plan to install. Make sure the case fan controller has enough channels for your requirements.
- Control Options: Decide whether you prefer manual control or automatic control. Manual controllers typically have physical knobs or buttons that allow you to adjust the fan speeds manually. Automatic controllers, on the other hand, use temperature sensors to adjust the fan speeds automatically. Choose the control option that suits your preference and comfort level.
- Compatibility: Ensure that the case fan controller is compatible with your computer setup. Check the compatibility with your motherboard or power supply to ensure smooth and hassle-free installation. Some case fan controllers require specific connectors or power sources, so make sure they align with your computer’s specifications.
- User Interface: Consider the user interface of the case fan controller. Some controllers have simple LED displays that show fan speeds and temperatures, while others come with more advanced software interfaces that allow for customization and monitoring. Determine the level of interface functionality you desire and choose accordingly.
- Build Quality and Aesthetics: Evaluate the build quality and aesthetics of the case fan controller. Look for a controller that is made of durable materials, as it will ensure longevity. Additionally, if visual appeal is important to you, consider a controller that matches the aesthetics of your computer case or comes with LED lighting for a more stylish look.
Once you have analyzed these factors, you can make an informed decision on which case fan controller is the right fit for your needs. Take your time to research and read reviews to find a reliable and well-reviewed brand or model.
After you’ve chosen the case fan controller, you’re ready to move on to the next step – preparing your computer case for installation. We’ll cover that in the following section.
Step 2: Prepare Your Computer Case
Before you can install the case fan controller, it’s important to prepare your computer case to ensure a smooth installation process. Follow these steps to prepare your computer case:
- Turn off and unplug your computer: Before you start working on your computer case, make sure to shut down your computer and unplug it from the power source. This is necessary to avoid any electrical hazards and ensure your safety while working on the internal components.
- Open the computer case: Use a screwdriver to remove the screws that secure the side panel of your computer case. Gently slide or lift off the side panel to expose the internal components. Depending on your computer case, you may need to remove additional screws or slide locks to open the case.
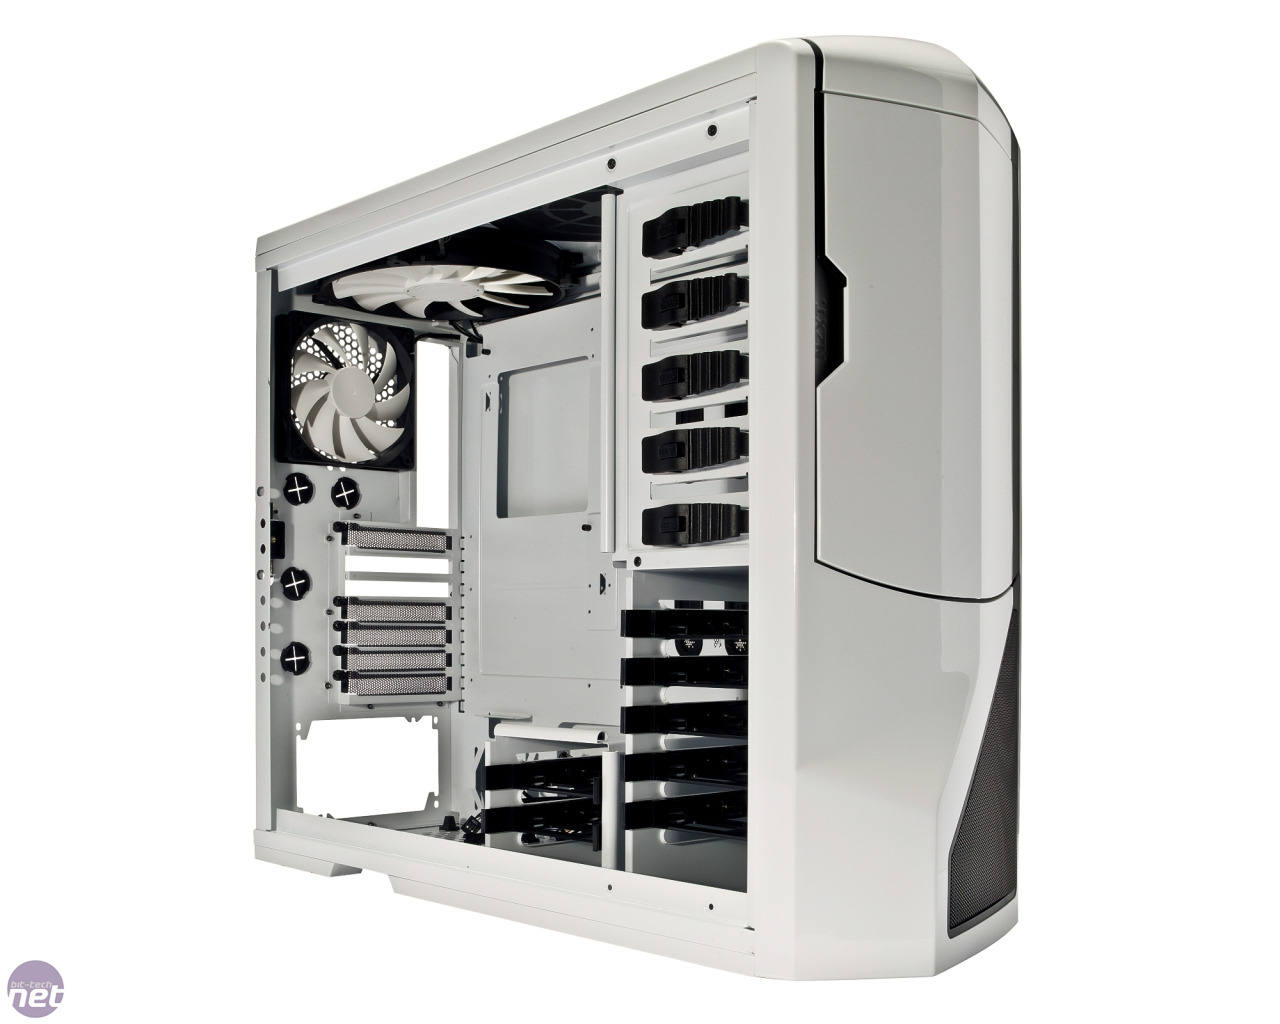
- Locate an accessible and suitable spot: Identify a suitable location within your computer case to install the case fan controller. Look for a spot that is easily accessible and allows for proper cable management. You may need to remove drive bays or rearrange components to create enough space for the controller.
- Clear any obstructions and debris: Inspect the area where you plan to install the case fan controller and remove any obstructions, such as cables, dust, or debris. Clearing the area ensures that you have a clean, clutter-free space to work with and promotes maximum airflow.
- Decide on the mounting method: Determine how you want to mount the case fan controller inside your computer case. Most controllers come with pre-drilled mounting holes or adhesive backings for easy installation. Choose the mounting method that works best for your case and preferences.
- Ensure proper ventilation: Consider the airflow and ventilation in your case when deciding on the location for the case fan controller. Ensure that the area has adequate airflow and is not obstructed by other components. Good ventilation will help dissipate heat effectively and maintain optimal cooling performance.
- Plan cable routing: Take a moment to plan how you will route the cables from the case fan controller to the fans and the power source. Proper cable management is crucial for maintaining a clutter-free interior and optimizing airflow. Plan the routing paths and make sure the cables reach the necessary components without tension or obstruction.
By following these steps, you’ll have your computer case prepared for the case fan controller installation. Taking the time to properly prepare your case will ensure a smooth and efficient installation process. In the next step, we’ll discuss how to identify the appropriate power source for the case fan controller.
Step 3: Identify the Power Source
Once your computer case is prepared, the next step in installing a case fan controller is to identify the appropriate power source for the controller. Here’s what you need to do:
- Consult the case fan controller manual: Refer to the user manual or documentation that came with your case fan controller. The manual will provide specific instructions on how the controller should be powered and any requirements it may have.
- Check for available connectors on the motherboard: Inspect your motherboard to see if there are any available fan headers or connectors that can provide power to the case fan controller. Modern motherboards typically have multiple fan headers that can supply power to the fans and other devices.
- Identify the appropriate power connector: Most case fan controllers use either a 3-pin or 4-pin power connector. Determine the type of connector required by your case fan controller and ensure that your motherboard has a matching connector available.
- If necessary, use a Molex adapter: In some cases, the case fan controller may require a Molex power connection instead of relying on the motherboard’s fan headers. If your controller requires a Molex connection, make sure you have the necessary adapter to connect it to a spare Molex connector from your power supply.
- Consider power limitations and fan compatibility: Take into account the power limitations of your motherboard and power supply. Make sure the total power draw of your fans, including those connected to the case fan controller, does not exceed the maximum capacity of the motherboard or power supply. Also, ensure that the fans you plan to connect to the case fan controller are compatible with the controller’s power output.
- Plan the cable routing: Before connecting the case fan controller to the power source, plan the cable routing to ensure tidy cable management. Route the power cable in a way that avoids interference with other components and allows for efficient airflow within the case.
By following these steps and considering the power requirements and compatibility of your case fan controller, you’ll be able to identify the most suitable power source for the controller. Once you’ve done that, you’re ready to move on to the next step – connecting the case fan controller itself, which we’ll cover in the following section.
Step 4: Connect the Case Fan Controller
With the power source identified, it’s time to connect the case fan controller to your computer. Follow these steps to ensure a proper connection:
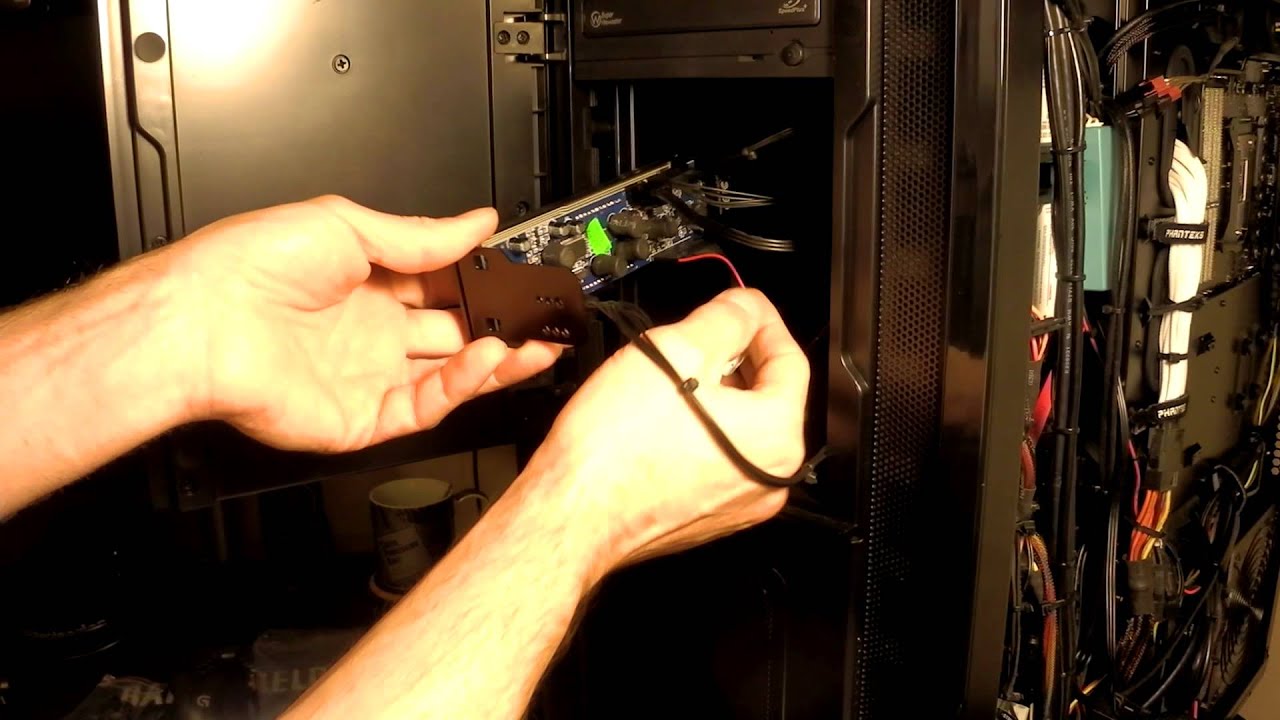
- Gather the necessary cables: Ensure that you have the required cables to connect the case fan controller. Typically, the controller will come with its own set of cables, including a connector for the power source and headers for the fans.
- Connect the power cable: Depending on the power source you identified in the previous step, connect the power cable of the case fan controller accordingly. If the controller uses a 3-pin or 4-pin connector that matches an available fan header on the motherboard, plug it into the appropriate header. If the controller requires a Molex power connection, use the Molex adapter to connect it to a spare Molex connector from your power supply.
- Connect the fans: Next, connect the fans to the case fan controller using the fan headers. Make sure to match the correct connectors on the fans with the corresponding headers on the controller. The headers are usually labeled or color-coded to indicate which fan should be connected to each header.
- Secure the connections: After connecting the cables, double-check each connection to ensure they are secure and properly seated. Loose connections can lead to malfunctioning fans or unreliable control. If necessary, use zip ties or other cable management accessories to organize and secure the cables, keeping them tidy and avoiding any obstruction to the airflow.
- Perform a final check: Before closing the computer case, perform a final check to make sure all the connections are secure, the cables are properly routed, and there are no loose or tangled wires. This check ensures that everything is in order before powering on your computer.
Once you have connected the case fan controller and verified the connections, you’ve successfully completed this step. The case fan controller is now ready to be tested and the case fans can be controlled to your desired settings. In the following step, I’ll guide you through testing and adjusting the fan speeds for optimal performance.
Step 5: Connect the Case Fans
After connecting the case fan controller, the next step is to connect the case fans to the controller. Follow these steps to ensure a proper connection:
- Identify the fan headers: Take a look at the case fan controller and locate the fan headers. They are usually labeled or color-coded to indicate which fan should be connected to each header. Refer to the documentation that came with your case fan controller if you’re unsure.
- Prepare the fans: If your case fans are already installed in your computer case, check if they are connected to the motherboard or power supply. If they are connected to the motherboard, you’ll need to detach them carefully by unplugging the cables. If they are connected to the power supply, disconnect the cables that connect them to the power supply.
- Connect the fans to the case fan controller: With the fans prepared, connect each fan to the appropriate fan header on the case fan controller. Ensure that you match the correct connector on the fan cable with the corresponding fan header on the controller.
- Secure the connections: Once the fans are connected, double-check each connection to ensure they are secure and properly seated. Make sure the connectors are inserted fully and clicked into place. Loose connections can cause reliability issues or result in the fans not functioning properly.
- Route the fan cables: To maintain a clean and organized interior, route the fan cables neatly, avoiding any obstruction to the airflow. Use zip ties or other cable management accessories to bundle and secure the cables. Ensure that the cables are not taut or tangled, which can affect the performance and appearance of the computer case.
- Perform a final check: Before closing the computer case, perform a final check to ensure all the fans are securely connected to the case fan controller and the cables are properly routed. This check ensures that everything is in order before powering on your computer.
By following these steps, you’ll be able to connect your case fans to the case fan controller, giving you control over their speeds and ensuring efficient cooling. Once the fans are connected, you’re ready to move on to the next step – testing and adjusting the fan speeds.
Step 6: Test and Adjust Fan Speeds
With the case fans connected to the case fan controller, it’s time to test and adjust the fan speeds to ensure optimal cooling performance and noise levels. Follow these steps to effectively test and adjust the fan speeds:
- Power on your computer: Plug in your computer and power it on. Make sure all the fans and case fan controller are receiving power.
- Access the case fan controller interface: If your case fan controller comes with a software interface, open it up to access the control options. If it’s a manual controller, locate the physical knobs or buttons on the controller itself.
- Monitor fan speeds and temperatures: Monitor the fan speeds and temperatures as you adjust the fan speeds. Keep an eye on the fan speeds displayed on the interface or check the RPM (revolutions per minute) of each fan. Additionally, pay attention to the temperatures of your system to ensure they are within acceptable ranges.
- Adjust the fan speeds: Depending on your needs, adjust the fan speeds either manually or via the software interface. If you’re manually adjusting the speeds, slowly turn the knobs or press the buttons to increase or decrease the fan speeds. If using the software interface, follow the instructions provided to adjust the fan speeds accordingly.
- Observe and test: Observe the changes in fan speeds and monitor how they affect the cooling performance and noise levels of your computer. If needed, run stress tests or intensive tasks to put your system under load and see how well the fans handle the heat-generating components.
- Fine-tune the settings: Based on your observations and testing, fine-tune the fan speeds to find the optimal balance between cooling performance and noise levels. If using a software interface, you may have additional features such as creating custom fan profiles or setting temperature thresholds. Experiment with these features to further customize the cooling management.
- Record and save your settings: Once you’re satisfied with the fan speeds and settings, record and save them for future reference. This will make it easier to restore the preferred fan profiles or settings if they get reset or if you need to make adjustments in the future.
By following these steps and carefully adjusting the fan speeds, you’ll be able to achieve the desired cooling performance and noise levels for your computer. Regularly monitor the temperatures and fan speeds to ensure that your system remains well-cooled and within safe operating conditions.
Congratulations! You have successfully completed all the steps to hook up a case fan controller, from choosing the right controller to testing and adjusting fan speeds. Enjoy the benefits of having control over your computer’s cooling system and the improved performance it brings.
Conclusion
Congratulations on successfully hooking up a case fan controller! By following the steps outlined in this guide, you have gained control over your computer’s cooling system, allowing you to optimize performance, reduce noise levels, and customize your cooling setup.
We began by understanding what a case fan controller is and the benefits it offers. From there, we discussed the tools and equipment needed for the installation and walked through each step of the process.
You learned how to choose the right case fan controller based on your requirements and preferences. We then moved on to preparing your computer case for installation, identifying the appropriate power source, connecting the case fan controller, and finally, connecting the case fans.
In the last step, we explored how to test and adjust the fan speeds to achieve optimal cooling performance and noise levels. By fine-tuning the fan settings and monitoring temperatures, you can ensure that your computer remains cool and stable.
Remember, proper cooling is vital for the longevity and performance of your computer components. It’s crucial to regularly monitor temperatures and adjust fan speeds as needed. Maintain a balance between cooling performance and noise levels, keeping your system cool and quiet.
Now that you have completed the installation process, take the time to enjoy the benefits of your newly installed case fan controller. Whether you’re a gaming enthusiast, a content creator, or simply a user looking to improve their computer’s performance, having control over your cooling system is a valuable asset.
Thank you for following this guide. With your newfound knowledge, enjoy a cooler and more efficient computing experience!