Introduction
Controlling the fan speed of a PC case is an essential aspect of maintaining optimal performance and temperature management. When the internal components of a computer generate heat during extensive usage, case fans play a crucial role in dissipating that heat and preventing overheating. However, running the fans at maximum speed all the time can be noisy and unnecessary, especially when the system is not under heavy load.
By controlling the case fan speed, you can strike a balance between efficient cooling and a peaceful computing experience. This article will guide you through various methods to control fan speed on Windows 7, allowing you to customize the airflow and noise level of your PC according to your preferences and requirements.
In the following sections, we will explore different fan speed control options available to Windows 7 users. These methods range from adjusting the fan speed in the BIOS settings to using third-party software and motherboard software. Additionally, we will discuss the benefits and drawbacks of each method to help you make an informed decision based on your specific needs.
Whether you are a casual user seeking a quieter computing experience or a passionate gamer looking to optimize cooling during intense gaming sessions, understanding how to control case fan speed on Windows 7 will empower you to achieve the perfect balance between performance, temperature, and noise. So, let”s dive into the various methods and explore the world of fan speed control in the next section.
Why Control Case Fan Speed?
Controlling the fan speed of your PC case is not merely a matter of personal preference or aesthetics. It has practical benefits that can significantly impact the performance and longevity of your system. Here are some key reasons why you should consider controlling the case fan speed.
- Temperature Regulation: Properly managing the temperature inside your computer case is crucial for maintaining the optimal functioning of your hardware. Too much heat can lead to reduced performance, stability issues, and even permanent damage. By controlling the fan speed, you can ensure that your components stay within the recommended temperature range, thereby extending their lifespan.
- Noise Reduction: One of the downsides of running case fans at their maximum speed is the accompanying noise. The constant whirring sound can be distracting and disruptive, especially when you are engaged in tasks that require concentration or when you simply want a peaceful computing experience. By adjusting the fan speed, you can reduce the noise levels without compromising on cooling efficiency.
- Energy Efficiency: Running fans at full speed all the time consumes more energy and can lead to increased electricity bills. By controlling the fan speed, you can optimize the power usage of your system. The fans will only work as hard as necessary, reducing unnecessary energy consumption and saving you money in the long run.
- Cooling Customization: Every computer setup is different, with varying levels of hardware, cooling requirements, and ambient temperatures. By controlling the fan speed, you can adjust the airflow and cooling capacity to match your specific needs. Whether you are an avid gamer pushing your hardware to the limits or a casual user seeking a balance between performance and silence, controlling the fan speed allows you to customize the cooling solution to suit your requirements.
As you can see, there are compelling reasons to take control of your case fan speed. Not only does it have a beneficial impact on your system’s temperature management, but it also enhances your computing experience by reducing noise levels and saving energy. In the next section, we will explore the different methods available to control the case fan speed on Windows 7, providing you with a range of options to choose from based on your preferences and technical expertise.
Understanding Fan Speed Control Options
Before delving into the methods for controlling case fan speed on Windows 7, it’s important to understand the different options available. Each option offers varying levels of control and may require different technical knowledge or software.
1. BIOS Fan Control: Most modern motherboards provide built-in fan control options through the BIOS (Basic Input/Output System) settings. This method allows you to adjust the fan speed and temperature thresholds directly within the motherboard firmware. BIOS fan control is a reliable and straightforward option but may require some technical knowledge to access and modify the settings.
2. Third-Party Software: Various third-party software solutions are available on the market that provide advanced fan control options. These software tools typically offer a user-friendly graphical interface to monitor and control the fan speed. They often provide additional features such as temperature monitoring, fan curve customization, and even the ability to create profiles for different scenarios. Using third-party software is a flexible choice that offers extensive control over fan speeds but may come with a minor learning curve.
3. Motherboard Software: Some motherboard manufacturers provide their own dedicated software for fan control. These applications allow you to adjust fan speed, create custom fan profiles, and monitor temperature levels. The functionality and user interface may vary depending on the motherboard brand, so it’s essential to check the manufacturer’s website for the appropriate software for your specific motherboard model.
4. Fan Controller: If you prefer a more hardware-centric approach, a fan controller can be a suitable option. Fan controllers are devices that connect to the motherboard and provide physical knobs or buttons to adjust fan speeds manually. They offer a hands-on experience and can be particularly useful for users who want quick and easy control over their case fan speeds without relying on software interfaces.
Understanding these fan speed control options will help you decide which method is best suited for your needs and technical comfort. In the following sections, we will explore each method in detail, providing step-by-step instructions and tips to control case fan speed on Windows 7 using these options.
Method 1: Adjust Fan Speed in BIOS
One of the most common and reliable ways to control case fan speed on Windows 7 is through the BIOS settings of your motherboard. This method allows you to directly modify the fan speeds and temperature thresholds within the motherboard firmware. Here’s a step-by-step guide on how to adjust fan speed in the BIOS:
- Restart your computer and continuously press the designated key (such as Del, F2, or F10) to access the BIOS settings during the boot-up process. The specific key may vary depending on your motherboard manufacturer. Refer to your motherboard’s documentation or the manufacturer’s website for the correct key.
- Navigate through the BIOS menus until you find the “Hardware Monitor,” “Fan Control,” or a similar section. The exact location may differ depending on the motherboard model and BIOS version.
- Look for options related to fan control, such as “Fan Speed Control,” “Fan Profiles,” or individual fan settings. Depending on your motherboard, you may be able to adjust the fan speed using percentages, RPM (Revolutions Per Minute), or preset profiles such as “Silent,” “Standard,” or “Performance.”
- Modify the fan speed settings according to your preferences. You can either choose a preset profile or manually set the desired speed for each fan. Keep in mind that setting the fan speed too low may result in inadequate cooling, while setting it too high may cause excessive noise.
- Save your changes and exit the BIOS settings. The computer will restart with the updated fan speed settings in effect.
It’s important to note that not all motherboards provide extensive fan control options in the BIOS settings. Older or budget motherboards may have limited or no fan control options available. In such cases, you may need to explore alternative methods like using third-party software or motherboard software to control the fan speed.
Adjusting the fan speed in the BIOS allows for direct control over the hardware and ensures that the settings are applied at a system-level, regardless of the operating system. It is a reliable method that does not require additional software installations. However, it may require some technical knowledge to navigate through the BIOS settings effectively.
In the next section, we will explore an alternative method using third-party software to control case fan speed on Windows 7.
Method 2: Use Third-Party Software
If adjusting the fan speed in the BIOS is not feasible or does not provide the level of control you desire, using third-party software can be an excellent alternative. There are several software solutions available that allow for comprehensive fan speed control on Windows 7. Here’s a step-by-step guide on how to use third-party software to control case fan speed:
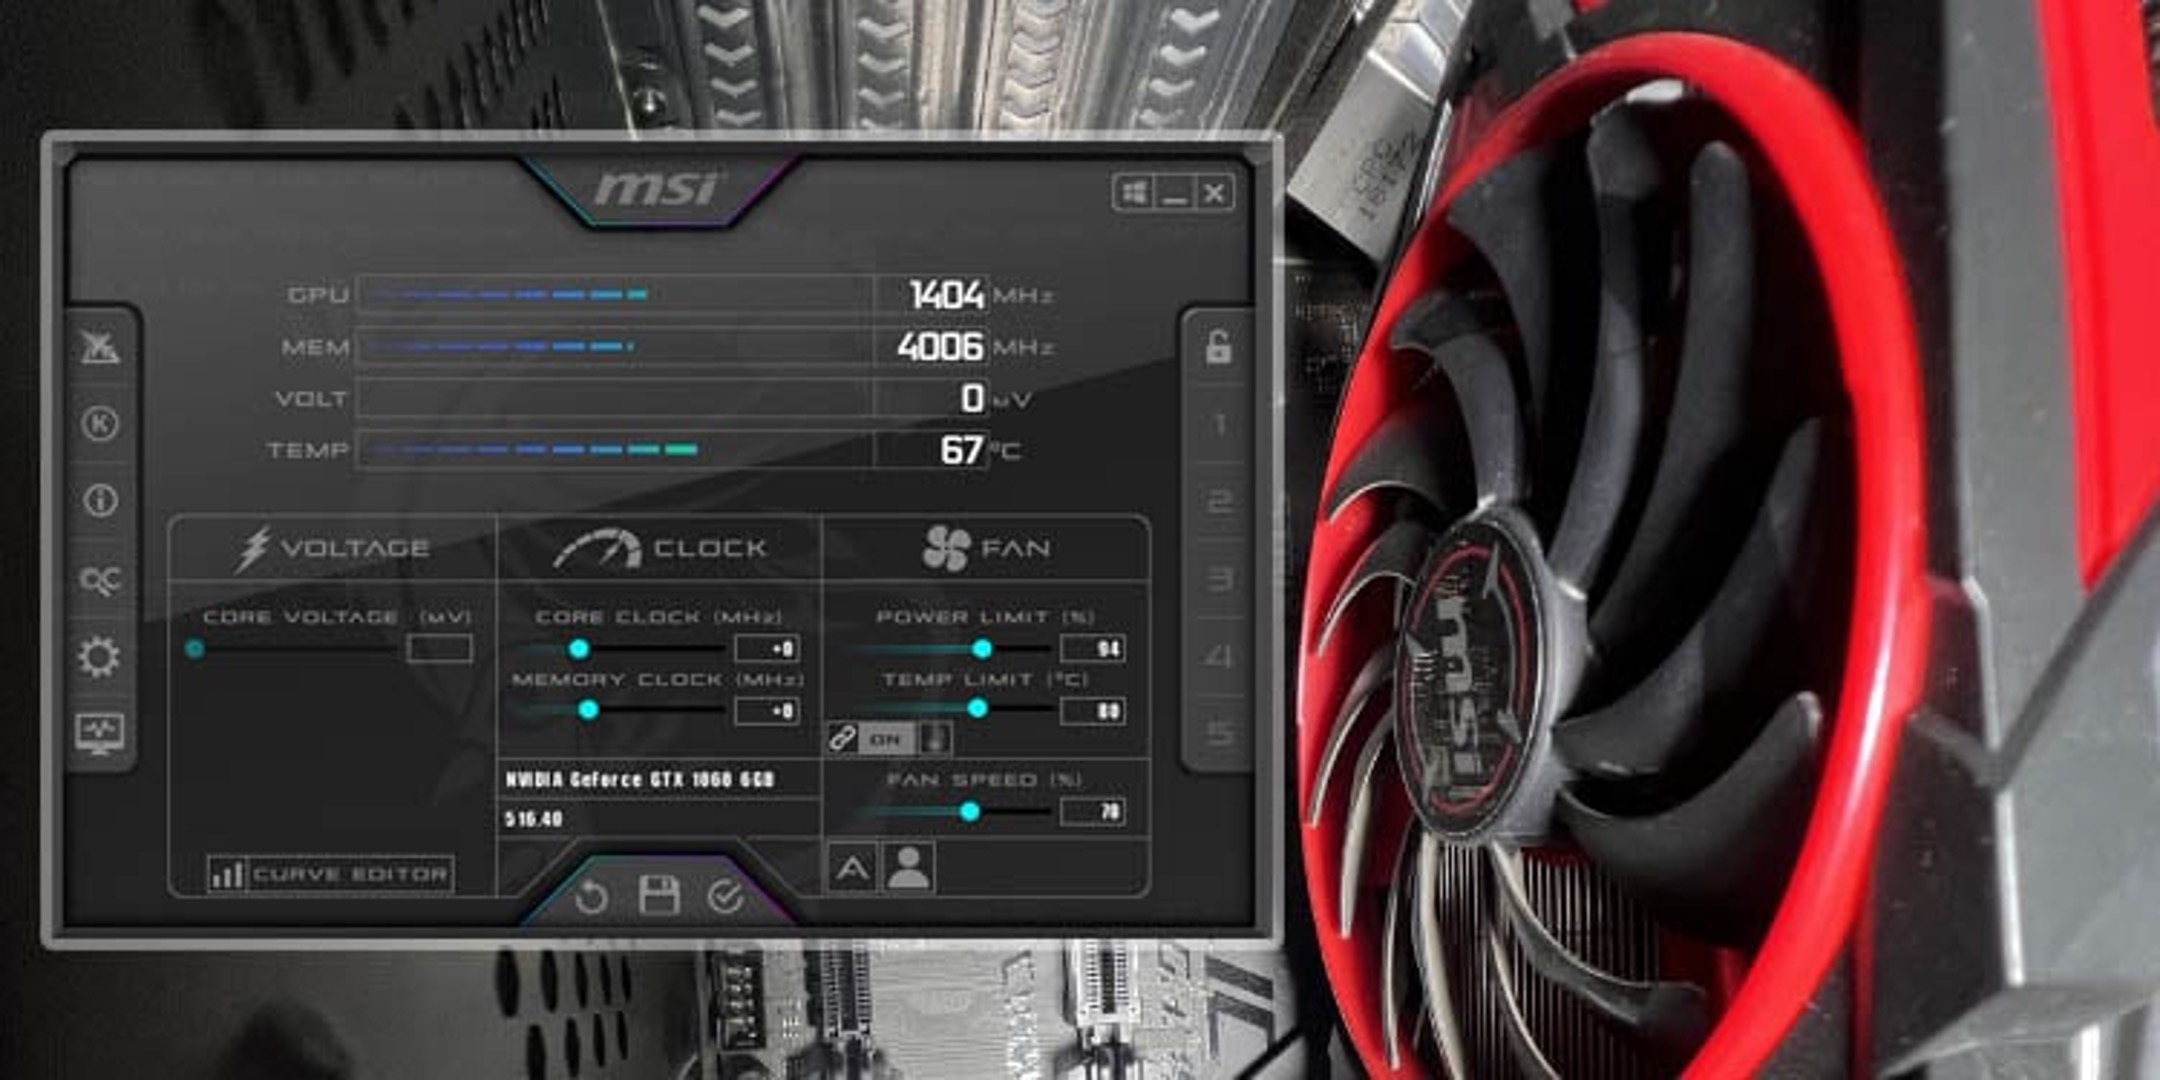
- Research and choose a reliable third-party software that is compatible with your motherboard and supports fan control on Windows 7. Some popular options include SpeedFan, MSI Afterburner, and CAM.
- Download and install the selected software from the official website or a trusted source. Follow the installation instructions provided by the software developer.
- Launch the software and familiarize yourself with the user interface. The software will detect and display information related to your system’s fans, temperatures, and other relevant parameters.
- Look for options or tabs related to fan control. These may be labeled as “Fan Control,” “Fan Management,” or similar terms.
- Depending on the software, you may have different control options available. Some software tools offer simple sliders or percentage adjustments, while others provide advanced features such as creating custom fan curves based on temperature thresholds.
- Adjust the fan speed according to your preferences. You can choose to set a fixed speed, create a custom fan curve, or utilize preset profiles that cater to specific scenarios like gaming or silent operation.
- Ensure that the software is set to run in the background when your computer starts, so the fan speed settings are applied automatically every time you boot up.
- Save your changes and exit the software. The fan speed settings will now be in effect, providing you with granular control over the case fans on your Windows 7 system.
Third-party software provides a user-friendly interface and extensive control over fan speed settings. It often comes with additional features like temperature monitoring, system diagnostics, and the ability to create profiles for different scenarios. However, keep in mind that different software tools may have varying levels of compatibility and functionality, so it’s important to select a software solution that is appropriate for your specific motherboard and requirements.
In the next section, we will explore another method of controlling case fan speed on Windows 7 using the software provided by motherboard manufacturers.
Method 3: Control Fan Speed through Motherboard Software
Many motherboard manufacturers provide their own dedicated software that allows users to control the fan speed and other system parameters. This software, specific to your motherboard model, offers an intuitive interface and advanced features tailored to your hardware. Here’s a step-by-step guide on how to control fan speed through motherboard software:
- Visit the official website of your motherboard manufacturer and navigate to the support or downloads section.
- Search for the appropriate software specific to your motherboard model. It may be listed as “Motherboard Utility,” “System Control Utility,” or a similar name.
- Download and install the motherboard software according to the provided instructions. Make sure to choose the version compatible with your operating system (Windows 7).
- Launch the motherboard software after installation. The software should detect and display detailed information about your hardware configuration.
- Look for options or settings related to fan speed control. These settings may be under a section named “Fan Control,” “Smart Fan,” or similar terms.
- Depending on the software provided by your motherboard manufacturer, you may have different control options available. These can range from adjusting fan speeds using sliders or pre-set profiles to creating custom fan curves.
- Modify the fan speed settings according to your preferences. You can choose to set fixed speeds, create custom profiles for different scenarios, or utilize automatic fan control based on temperature thresholds.
- Save your changes and exit the motherboard software. The fan speed settings will now be applied, allowing you to control the case fan speed through the software provided by the motherboard manufacturer.
Controlling the fan speed through motherboard software provides a convenient and reliable method as the software is specifically designed for your motherboard model. It offers advanced features and customization options, allowing you to fine-tune the fan speed to match your specific needs. Keep in mind that the availability and functionality of the motherboard software may vary depending on the manufacturer, so it’s crucial to use the software provided specifically for your motherboard model.
In the next section, we will explore an alternative method using a fan controller to control case fan speed on Windows 7.
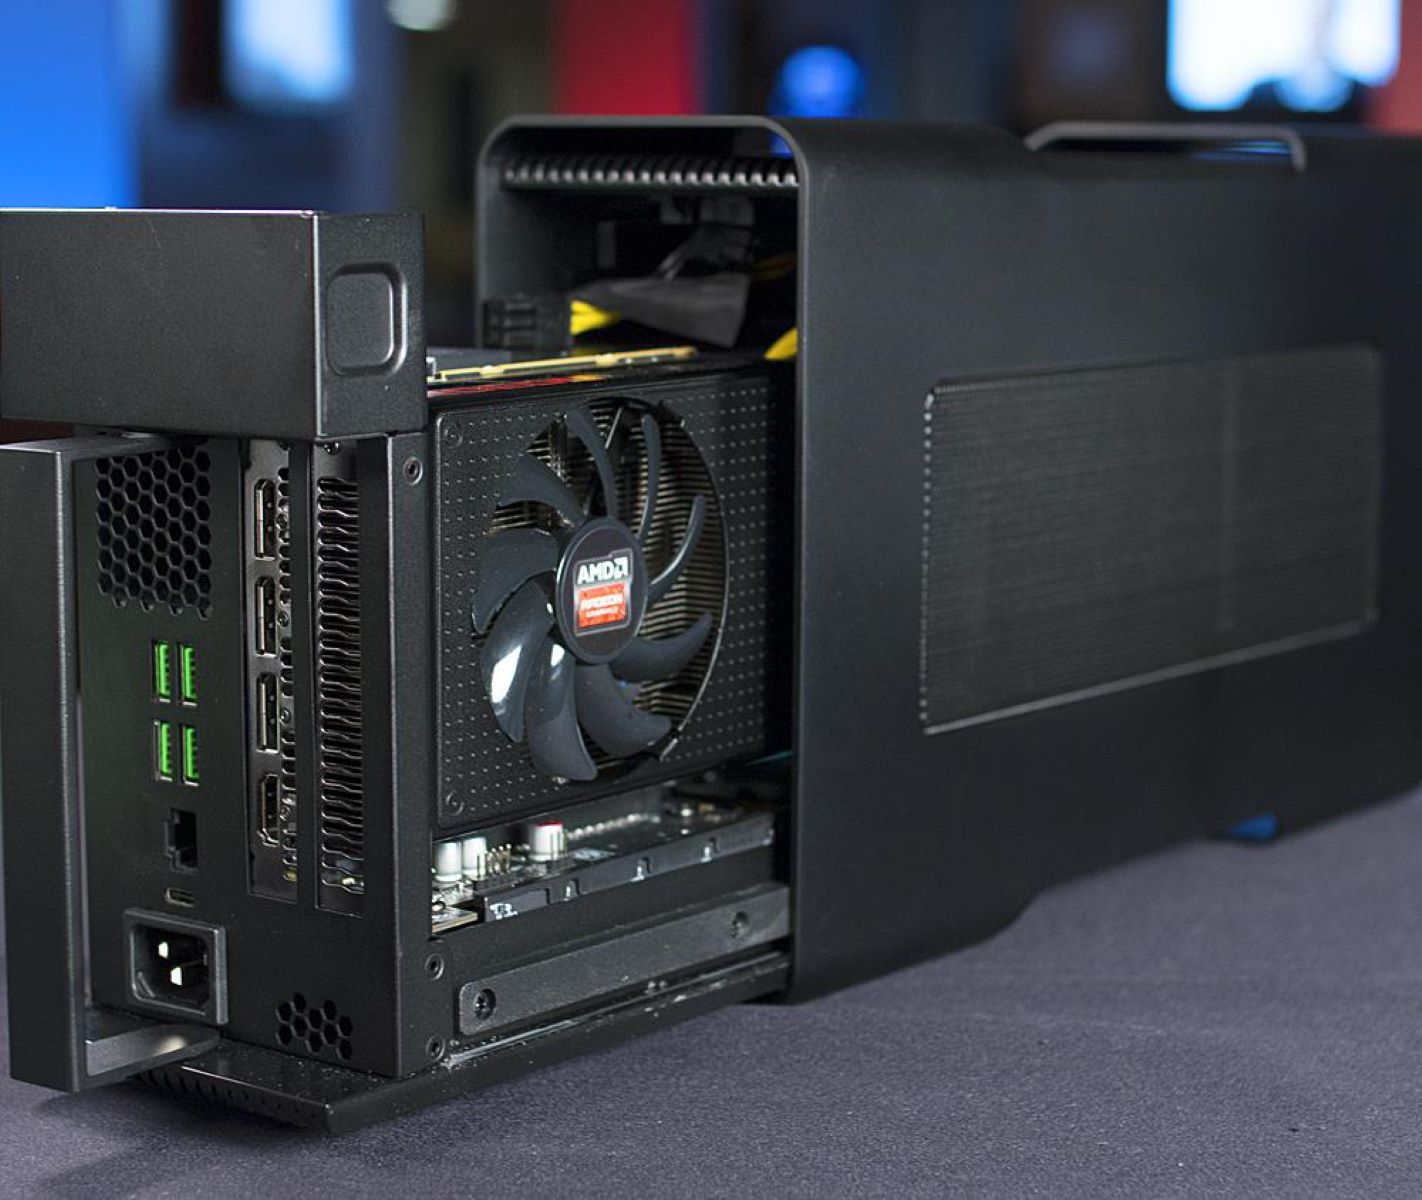
Method 4: Use a Fan Controller
If you prefer a more hands-on approach to fan speed control, using a fan controller can be an effective solution. A fan controller is a hardware device that connects directly to your motherboard and allows you to manually adjust the fan speeds. Here’s a step-by-step guide on how to use a fan controller to control case fan speed on Windows 7:
- Purchase a fan controller that is compatible with your computer case and motherboard. Fan controllers typically come in the form of a front-panel controller or a PCIe expansion card.
- Open your computer case and locate an available 5.25″ drive bay to install the fan controller if you are using a front-panel controller. Insert the fan controller into the drive bay and secure it in place using screws or other mounting mechanisms.
- If you are using a PCIe expansion card fan controller, insert it into an available PCIe slot on your motherboard. Secure it in place using the appropriate screws.
- Connect the fan controller to the motherboard. Depending on the type of fan controller, this can be done through USB, PWM (Pulse Width Modulation) cables, or other proprietary connectors.
- Power on your computer and install any necessary drivers or software that may be provided with the fan controller.
- Use the physical knobs, buttons, or switches on the fan controller to manually adjust the fan speeds. Each fan channel on the controller typically corresponds to a specific case fan.
- Monitor the fan speeds and temperatures using the display or readouts provided by the fan controller. Adjust the fan speeds according to your preferences and requirements, ensuring that the system stays within safe temperature ranges.
- Enjoy the flexibility and immediate control over the case fan speeds provided by the fan controller.
A fan controller offers a straightforward and tactile method of controlling case fan speed. It allows for quick adjustments without the need for software interfaces or accessing BIOS settings. Fan controllers are particularly useful for users who prefer a more manual and hardware-focused approach to fan speed control. However, it’s important to note that fan controllers may not offer the same level of customization or automation as software-based methods.
In the next section, we will summarize the various methods discussed and provide helpful tips for selecting the most suitable fan speed control option.
Conclusion
Controlling case fan speed on Windows 7 is essential for maintaining optimal performance, temperature management, and a peaceful computing experience. We have explored several methods to achieve this, allowing you to customize the airflow and noise level of your PC according to your preferences and requirements.
In this article, we learned about adjusting the fan speed in the BIOS settings, using third-party software, utilizing motherboard software, and employing a fan controller. Each method offers its own advantages and considerations.
Adjusting the fan speed in the BIOS provides direct control at the system level, ensuring consistent fan speeds regardless of the operating system. However, it may require some technical knowledge to navigate through the BIOS settings effectively.
Using third-party software offers a user-friendly interface with extensive control over fan speed settings. It provides additional features like temperature monitoring and profile customization. However, compatibility and functionality may vary depending on the software and motherboard.
Motherboard software is specifically designed for your motherboard model, offering intuitive control options and advanced customization. However, availability and functionality may vary depending on the manufacturer.
A fan controller offers a hands-on approach with physical knobs or switches to manually adjust fan speeds. It provides immediate control without relying on software interfaces, making it ideal for users who prefer a more hardware-centric method.
When selecting a method, consider your technical expertise, desired level of control, and the compatibility of the method with your specific hardware setup. Refer to the documentation provided by your motherboard manufacturer and explore reputable software solutions for your needs.
Remember, controlling case fan speed is not only about achieving a quieter and more efficient computing experience but also about ensuring optimal temperature regulation and extending the lifespan of your hardware. Finding the right balance between cooling performance and noise levels will result in a more enjoyable computing environment.
Now that you are equipped with the knowledge and methods to control case fan speed on Windows 7, you can personalize and fine-tune your PC’s cooling solution to meet your unique needs and preferences. Enjoy the benefits of a well-regulated temperature while enjoying a quiet computing experience!