Introduction
Welcome to our guide on how to run a case fan cord on the Phantom NZXT. If you are looking to optimize the cooling performance of your computer, managing the fan cords efficiently is crucial. The Phantom NZXT is a popular choice among PC enthusiasts due to its sleek design and excellent airflow capabilities. However, properly routing and connecting the fan cords can sometimes be a challenging task.
In this article, we will provide you with a step-by-step guide on how to run the case fan cord on the Phantom NZXT, ensuring proper cable management and optimal cooling performance. Whether you are a seasoned PC builder or a beginner, our instructions will help you navigate through the process smoothly.
By effectively managing the fan cords, you can prevent tangled or obstructive wires, which can not only impede airflow but also hinder the overall aesthetic appeal of your PC build. So, without further ado, let’s dive into the details of how to run the case fan cord on the Phantom NZXT.
Step 1: Gather the necessary tools and materials
Before you begin running the case fan cord on your Phantom NZXT, it is important to gather all the necessary tools and materials. Having everything ready beforehand will ensure a smooth and efficient process. Here’s a list of items you’ll need:
- Phantom NZXT case – Make sure you have the specific model of the Phantom NZXT case that you are working with.
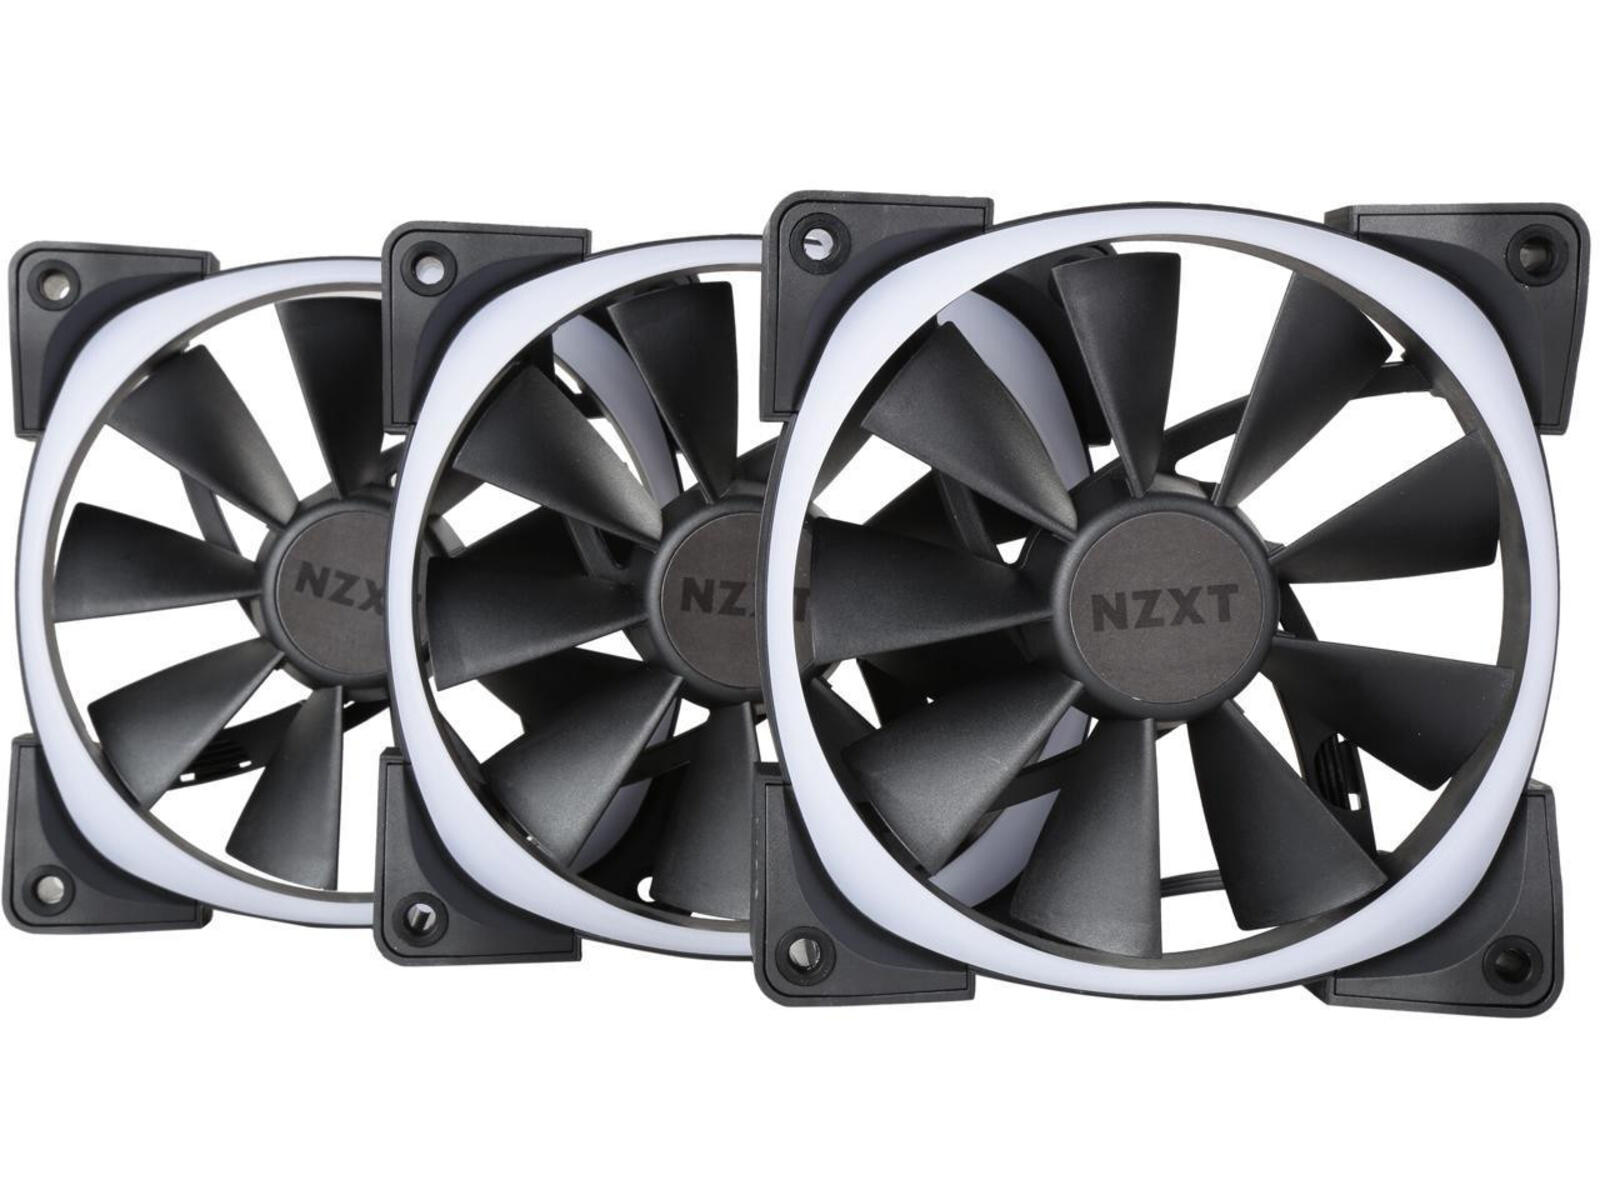
- Fan cords – These are the cables that connect the fans to the power source. Check if you have the required number of fan cords for your setup.
- Screwdriver – Depending on the screws used in your Phantom NZXT case, you might need a Phillips or flat-head screwdriver to remove the side panel.
- Velcro straps or zip ties – These can be used to secure the fan cords in place and keep them organized.
- Motherboard or fan controller – Make sure you have either a motherboard or a fan controller to connect the fan cords to.
By having these tools and materials ready, you will be well-prepared to proceed with the process of running the case fan cord on your Phantom NZXT. Once you have gathered everything, you can move on to the next step of identifying the fan cord and connector.
Step 2: Identify the fan cord and connector
Now that you have gathered the necessary tools and materials, it’s time to identify the fan cord and connector. This step is essential to ensure that you connect the fan cord properly and avoid any mistakes.
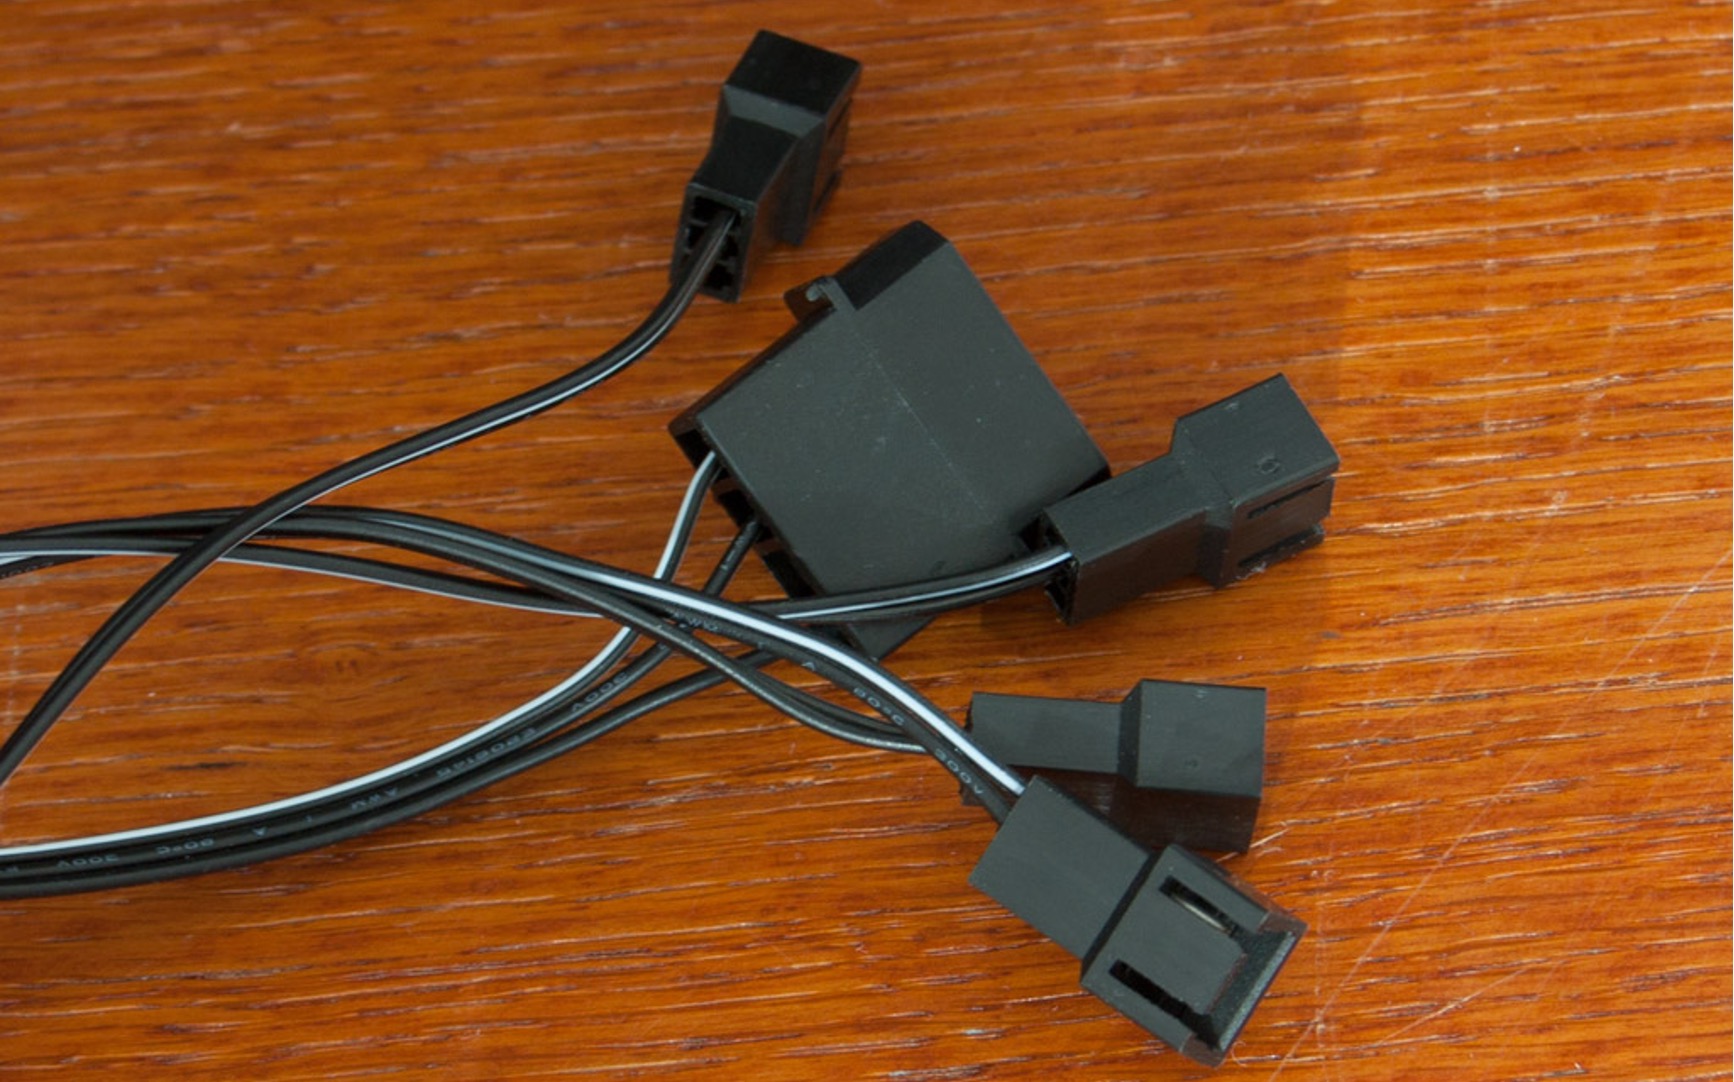
1. Locate the fan cord: Look for the fan cord among the cables inside your Phantom NZXT case. It is usually a thin, flat cable that is connected to the fan’s motor.
2. Identify the connector: On one end of the fan cord, you will find a connector. This connector is typically a three or four-pin female connector. It is important to note the type of connector as it will determine how you connect the fan cord to the motherboard or fan controller.
If your fan cord has a three-pin connector, it can be connected directly to the motherboard’s fan header. On the other hand, if your fan cord has a four-pin connector, it is designed for PWM (Pulse Width Modulation) control and can be connected to either the motherboard or a fan controller.
Take your time to properly identify the fan cord and connector. If you are unsure, consult the documentation that came with your Phantom NZXT case or refer to the manufacturer’s website for specific details. Once you have identified the fan cord and connector, you are ready to move on to the next step of determining the path for the fan cord.
Step 3: Determine the path for the fan cord
After identifying the fan cord and connector, the next step is to determine the path for the fan cord within your Phantom NZXT case. This step is crucial to ensure that the fan cord is properly routed and doesn’t obstruct any other components or cables.
1. Assess the available routes: Take a closer look at the inside of your Phantom NZXT case and identify the available routes for running the fan cord. Look for gaps, routing channels, or dedicated cable management areas where you can pass the fan cord through.
2. Consider cable length: Take into account the length of your fan cord and determine the most efficient and convenient path based on how you plan to connect the fan to the motherboard or fan controller. You want to ensure that the fan cord is long enough to reach its destination without causing any strain or tension.
3. Avoid obstructing components: As you plan the path for the fan cord, make sure to avoid obstructing any other components or cables inside the case. Ensure that the fan cord doesn’t interfere with the movement of fans, block access to ports or connectors, or impede airflow through the case.
4. Plan for neat cable management: If possible, aim for a clean and organized cable management setup. Utilize any built-in cable management features in your Phantom NZXT case, such as Velcro straps, cable routing channels, or tie-down points. Neat cable management not only improves airflow but also enhances the overall aesthetics of your PC build.
Take some time to carefully determine the best path for your fan cord. By planning ahead and considering the available routes and cable length, you can ensure a tidy and efficient arrangement for your fan cord within the Phantom NZXT case. Once you have determined the path, you are ready to proceed to the next step of removing the side panel of the case.
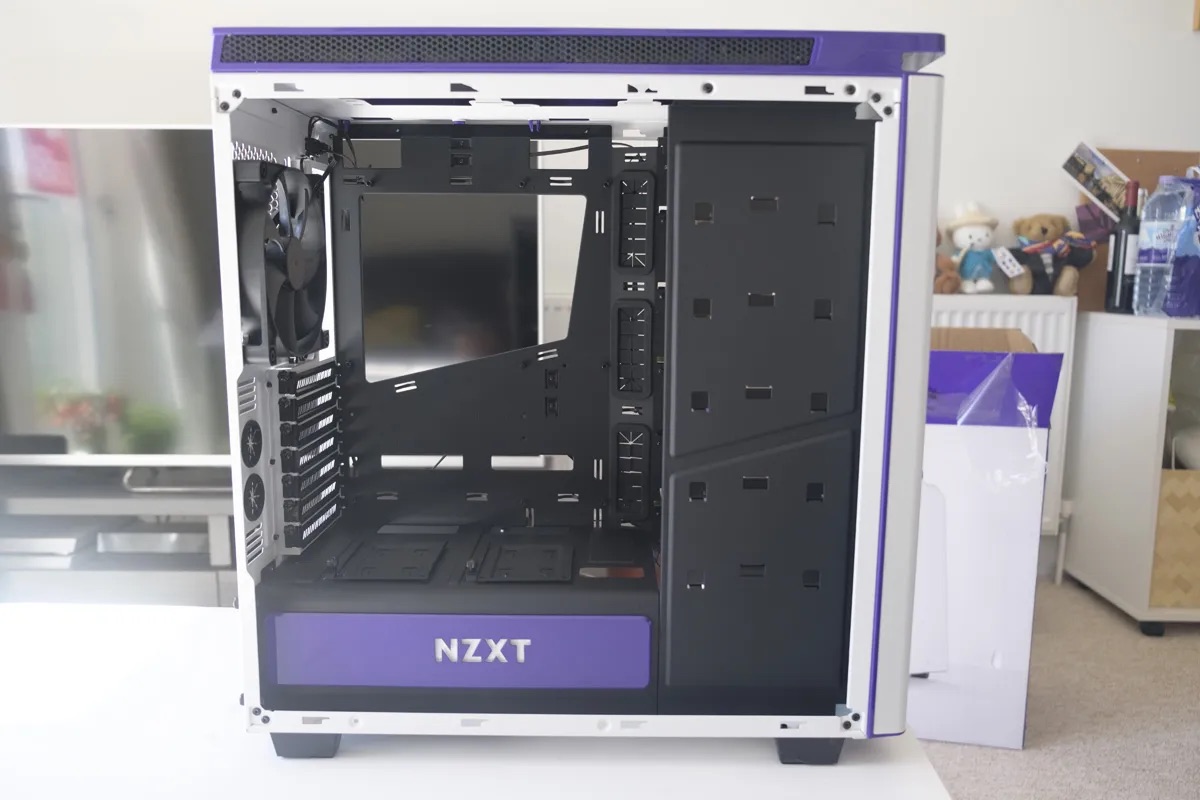
Step 4: Remove the side panel of the Phantom NZXT
In order to access the interior of your Phantom NZXT case and properly run the fan cord, you need to remove the side panel. Removal of the side panel will provide you with unrestricted access to the internal components of the case. Here’s how you can do it:
1. Power off your computer: Before you begin, make sure to power off your computer and disconnect it from any power source. This is essential for your safety and to prevent any damage to the internal components.
2. Locate the side panel screws: Look for the screws securing the side panel of your Phantom NZXT case. These screws are usually located at the backside of the case, near the edges of the panel.
3. Unscrew the side panel: Use a screwdriver that matches the type of screws on your case, typically Phillips or flat-head, to carefully unscrew the screws securing the side panel. Set the screws aside in a safe place as you will need them to reattach the panel later.
4. Slide or lift off the side panel: Once the screws are removed, gently slide or lift the side panel away from the main body of the case. Be cautious not to apply excessive force or damage any cables or components inside.
With the side panel removed, you now have easy access to the internal components of your Phantom NZXT case. This will allow you to proceed with running the fan cord through the designated route. Remember to keep the side panel and screws in a secure location so you can reattach them once the fan cord is in place.
Step 5: Pass the fan cord through the designated route
Now that the side panel of your Phantom NZXT case has been removed, you can proceed to pass the fan cord through the designated route. This step involves carefully threading the fan cord through the chosen pathway to ensure proper cable management and optimal airflow. Follow these steps:
1. Refer to the path determined in Step 3: Take a moment to recall the path you identified for running the fan cord. Ensure that you have a clear understanding of the route before proceeding.
2. Start from the fan location: Begin by locating the fan within your Phantom NZXT case. This is where the fan cord will originate from. Ensure that the fan cord is properly connected to the fan’s motor, securely in place.
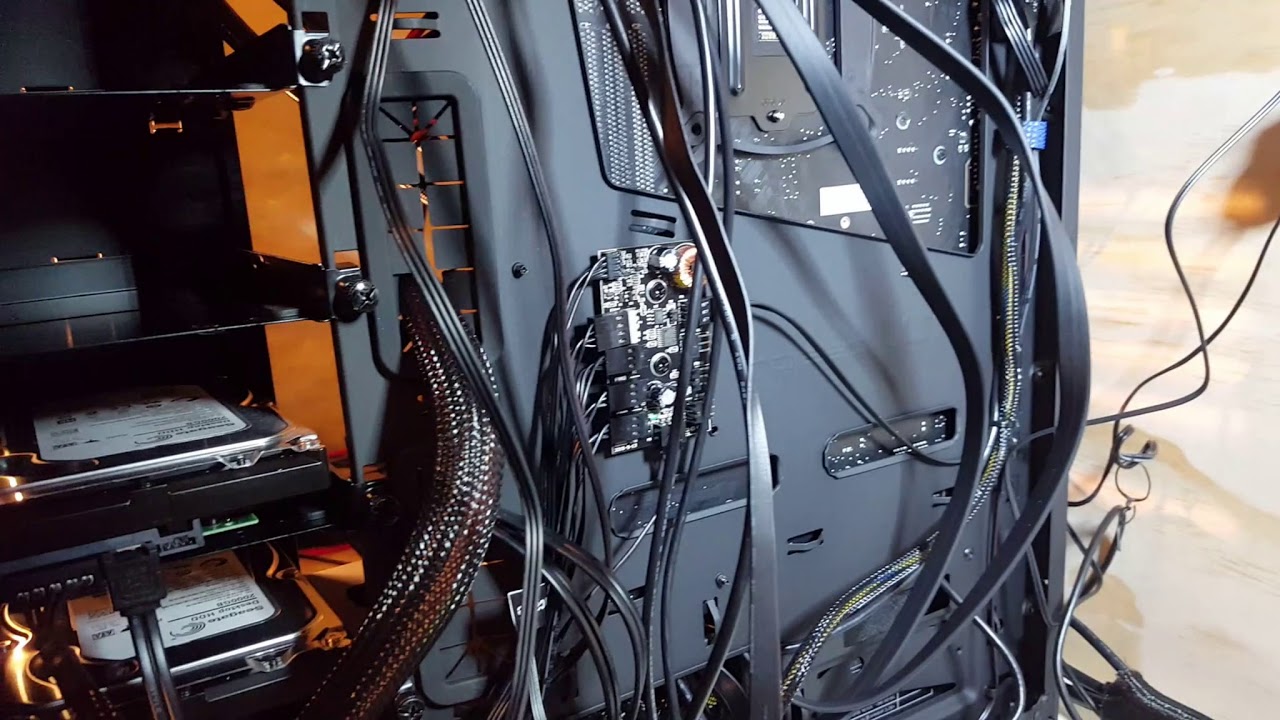
3. Thread the fan cord through the designated route: Carefully route the fan cord through the designated path, following any existing cable management features or channels within the case. Use your hands to guide the cord smoothly, avoiding any sharp edges or obstructions that could potentially damage the cord.
4. Ensure proper cord length: As you thread the fan cord through the route, periodically check that the length of the cord is sufficient to reach its intended destination, which can be the motherboard or a fan controller. Make any necessary adjustments to avoid excessive tension or slack in the cord.
5. Maintain cable neatness: While passing the fan cord through the route, pay attention to maintaining a neat and organized appearance. Use Velcro straps or zip ties to secure the cord against the case’s cable routing channels or tie-down points, if available. This will prevent the cord from obstructing other components and help improve overall cable management.
By taking your time and being meticulous in passing the fan cord through the designated route, you can ensure a clean and well-organized cable management setup within your Phantom NZXT case. Once the fan cord is properly threaded, you can move on to the next step of connecting it to the motherboard or fan controller.
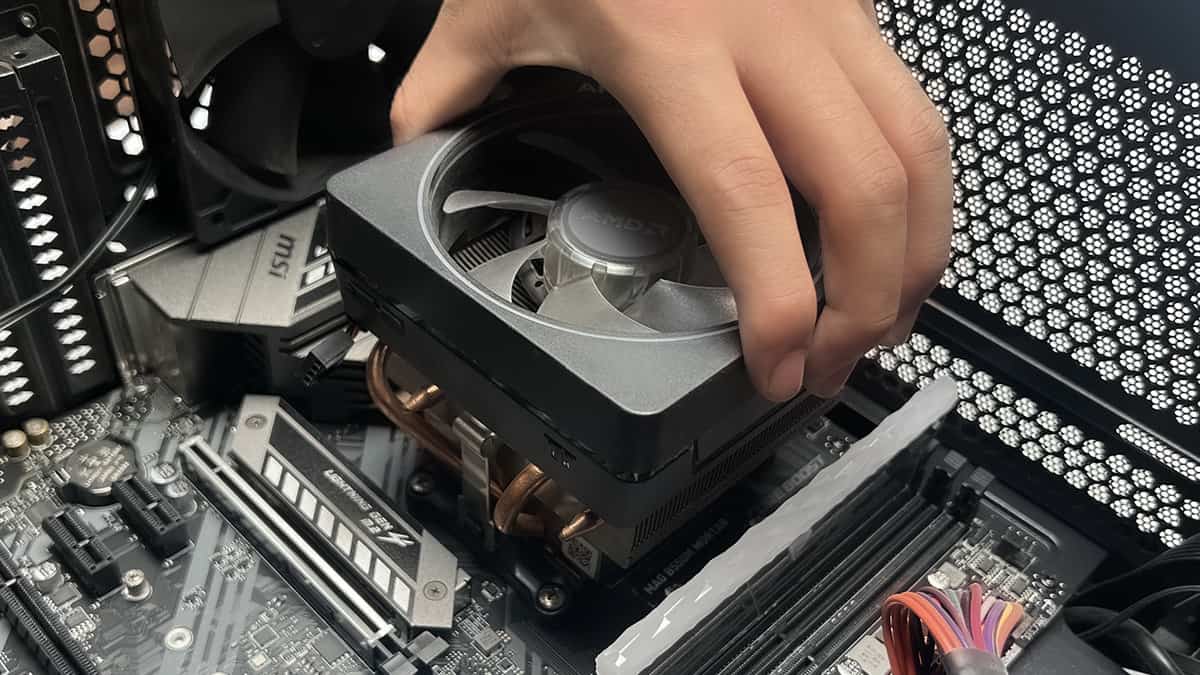
Step 6: Connect the fan cord to the motherboard or fan controller
After successfully passing the fan cord through the designated route within your Phantom NZXT case, it’s time to connect it to either the motherboard or a fan controller. This step will provide the necessary power and control to your case fan. Follow these instructions:
1. Identify the appropriate connection point: Depending on the type of connector on your fan cord (as determined in Step 2), identify the appropriate connection point on either the motherboard or the fan controller. For a three-pin connector, you will most likely use a motherboard’s fan header, while a four-pin connector can be connected to either the motherboard or a fan controller.
2. Align the connector correctly: Ensure that the fan cord connector is correctly aligned with the corresponding connector on the motherboard or fan controller. The pins or notches should match up, and the connector should slide smoothly into place without any forceful pushing or twisting.
3. Secure the connection: Once the fan cord connector is properly aligned, gently push it into the connector port until it is securely seated. Take care not to apply excessive pressure or force that may damage the connector or components.
4. Double-check the connection: After connecting the fan cord, double-check to ensure that it is properly seated and fully connected. Give it a gentle tug to confirm that it is securely attached and won’t come loose during operation.
5. Repeat for additional fans: If you have multiple case fans, repeat the above steps for each fan cord, ensuring that each fan is properly connected to the motherboard or fan controller. This will allow you to control and monitor the speed and performance of each individual fan.
By properly connecting the fan cord to the motherboard or fan controller, you are providing the necessary power and control for your case fan. This will enable you to adjust the fan’s speed and maintain optimal cooling performance. With the fan cord securely connected, we can now proceed to the next step of securing the cord in place.
Step 7: Secure the fan cord in place
After connecting the fan cord to the motherboard or fan controller, it’s important to secure it in place to ensure that it remains organized and doesn’t interfere with other components inside your Phantom NZXT case. Properly securing the fan cord will also improve overall cable management. Follow these steps to secure the fan cord:
1. Organize the fan cord: Take a moment to arrange the fan cord neatly, ensuring that it is not tangled or crisscrossed with any other cables. Straighten out any kinks or twists to allow for an even and organized appearance.
2. Utilize cable management features: Your Phantom NZXT case may have built-in cable management features, such as Velcro straps, tie-down points, or cable routing channels. Utilize these features to carefully fasten the fan cord against the case’s interior. This will prevent the cord from hanging loosely and potentially obstructing airflow or interfering with other components.
3. Use zip ties or Velcro straps: If your case does not have dedicated cable management features, you can utilize zip ties or Velcro straps to secure the fan cord. Wrap the ties or straps around the cord and fasten them tightly, but not so tight that it puts strain on the cord or damages it. Trim any excess length from the zip ties to maintain a neater appearance.
4. Position the cord away from components: Ensure that the fan cord is positioned away from any components that generate heat, such as the CPU or power supply. It’s important to avoid placing the cord near any potential hazards that could cause damage through contact or excessive heat.
5. Check for cable tension: While securing the fan cord, be mindful of the tension. Make sure that the cord is not excessively stretched or strained. A moderate amount of slack is ideal to allow for any necessary adjustments or movements without putting unnecessary stress on the cord.
By securing the fan cord in place, you are ensuring that it remains organized and doesn’t interfere with the overall functionality of your Phantom NZXT case. This step not only improves cable management but also contributes to better airflow and a cleaner aesthetic. With the fan cord secured, we can now move on to the next step of replacing the side panel of your case.
Step 8: Replace the side panel of the Phantom NZXT
With the fan cord securely in place and properly organized, it’s time to replace the side panel of your Phantom NZXT case. This step is important to ensure that the internal components are protected and that the case maintains its integrity. Follow these steps to replace the side panel:
1. Align the side panel: Take the side panel and align it carefully with the main body of the Phantom NZXT case. The panel should fit into the designated slots or grooves, ensuring a snug and tight fit.
2. Slide or push the panel into place: With the side panel aligned, gently slide or push it back into position. Apply even pressure along the edges to ensure that the panel is fully inserted and flush with the case.
3. Check for secure attachment: Once the side panel is back in place, ensure that it is securely attached. Give it a gentle tug or shake to confirm that it does not come loose. If necessary, reposition the panel or double-check the screws for any adjustments.
4. Tighten the screws: Locate the screws that were removed earlier when removing the side panel. Use a screwdriver to tighten each screw, ensuring that they are properly secured but not overly tightened. Be careful not to strip the screws or damage the case in the process.
5. Verify snug fit: After tightening the screws, double-check the entire side panel to ensure a snug fit. Run your hand along the edges to ensure there are no gaps or areas that are not properly aligned.
By replacing the side panel of your Phantom NZXT case, you are ensuring the protection and integrity of the internal components. A properly fitted side panel also helps to maintain optimal airflow and prevent any unwanted dust or debris from entering the case. With the side panel back in place, we can now move on to the final step of testing the fan to ensure proper functionality.
Step 9: Test the fan to ensure proper functionality
After completing the previous steps of running the fan cord on your Phantom NZXT case and securing it in place, it’s essential to test the fan to ensure that it is functioning properly. Testing the fan will help you verify that it is receiving power, spinning correctly, and providing adequate airflow. Follow these steps to test the fan:
1. Power on your computer: Ensure that your computer is properly connected to a power source and turn it on. Allow the system to boot up completely.
2. Monitor the fan’s operation: Observing the fan, pay close attention to its movement. The fan blades should be spinning smoothly and steadily. Check for any abnormal noises, such as grinding or rattling, which could indicate a problem with the fan’s bearings.
3. Verify fan speed: If you have access to fan speed control through your motherboard or fan controller software, adjust the fan speed to different levels. Ensure that the fan responds accordingly, spinning faster or slower as the speed is adjusted.
4. Check airflow: Place your hand near the fan to feel the airflow. It should be noticeable and consistent. If you have other components, such as heatsinks or radiators, in the vicinity of the fan, confirm that they are receiving adequate airflow from the fan.
5. Repeat for additional fans: If you have multiple case fans, repeat the testing process for each fan individually. This will allow you to ensure that all fans are functioning correctly.
By testing the fan after completing the installation process, you can identify any issues early on and make adjustments as necessary. Proper functionality of the fan is crucial for maintaining adequate cooling performance and keeping your system running optimally.
If you observe any problems during the testing process or if the fan is not functioning as expected, double-check the connections and make sure the fan cord is securely attached. In case of persistent issues, consult your Phantom NZXT case’s manual or contact the manufacturer’s customer support for further assistance.
Conclusion
Running the case fan cord on your Phantom NZXT is an important step in optimizing the cooling performance and cable management of your computer build. By following the step-by-step guide outlined in this article, you have learned how to gather the necessary tools and materials, identify the fan cord and connector, determine the path for the fan cord, remove and replace the side panel, connect the fan cord to the motherboard or fan controller, secure the fan cord in place, and test the fan to ensure proper functionality.
By efficiently routing the fan cord through the designated pathway, you can prevent obstructions and tangling, resulting in improved airflow and a tidier interior. Securely connecting the fan cord to either the motherboard or fan controller ensures that the fan receives the necessary power and control for optimal performance.
Proper cable management and organization play a key role in maintaining the functionality and aesthetics of your Phantom NZXT case. By neatly securing the fan cord, utilizing cable management features or zip ties, and positioning the cord away from heat-generating components, you can achieve a clean and organized setup that enhances airflow and overall system performance.
Finally, testing the fan ensures that it is operating correctly and providing the desired cooling effect. Monitoring the fan’s movement, adjusting the speed, and verifying airflow help ensure that your system remains cool and protected against overheating.
By following these steps, you can successfully run the case fan cord on your Phantom NZXT, contributing to efficient cooling, proper cable management, and an overall improved PC building experience. Enjoy the enhanced performance and aesthetics that result from your efforts!