Introduction
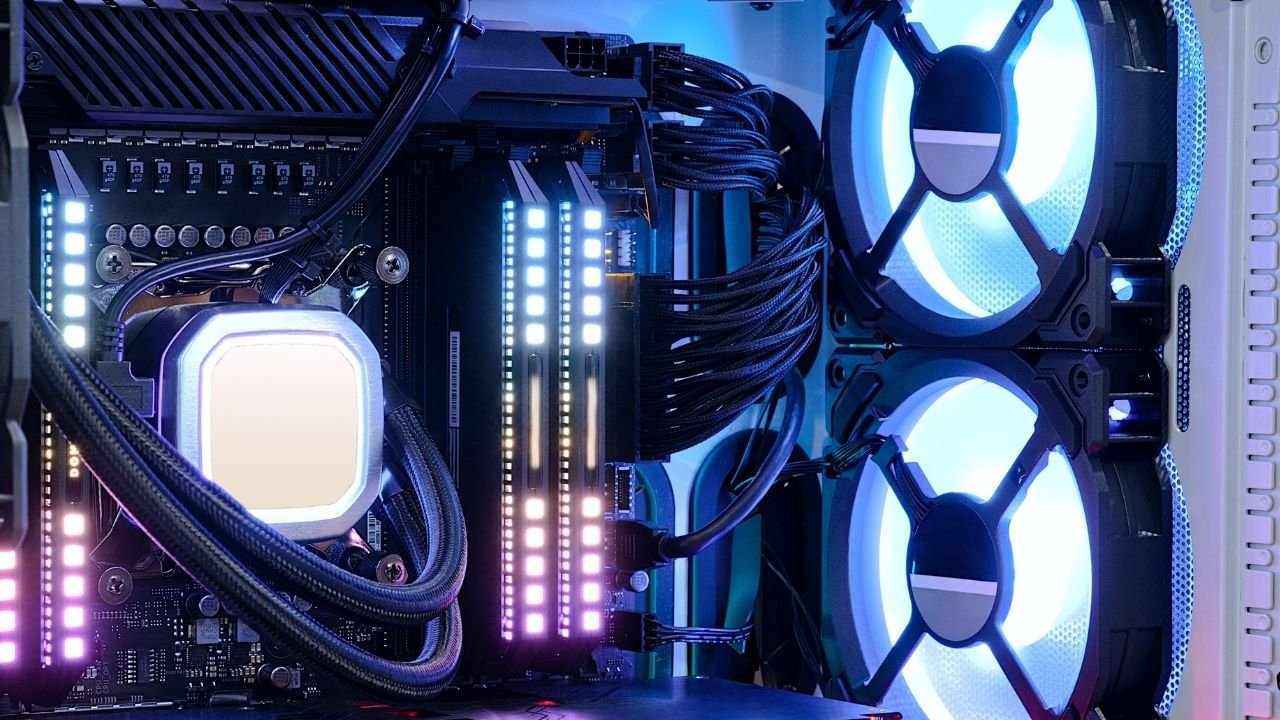
Having multiple case fans in your computer can significantly improve airflow and cooling performance, thereby keeping your system running smoothly. However, many motherboards come with limited fan headers, which can pose a challenge if you want to connect more than one case fan. Thankfully, there are several solutions to this problem.
In this guide, we will walk you through the step-by-step process of connecting multiple case fans to your motherboard. We will cover the necessary equipment, how to determine the available fan headers on your motherboard, the proper way to connect the first case fan, and how to connect additional case fans. Additionally, we will discuss adjusting fan speed and settings, as well as alternative methods such as using a fan hub or splitter.
Improving the cooling capabilities of your system is important for maintaining optimal performance and prolonging the lifespan of your components. Whether you are a gaming enthusiast, a content creator, or simply a computer user looking for a quieter and more efficiently cooled system, this guide will provide you with the knowledge you need to connect multiple case fans effectively.
Necessary Equipment
Before you begin the process of connecting multiple case fans, it is essential to gather the necessary equipment. Here is a list of items you will need:
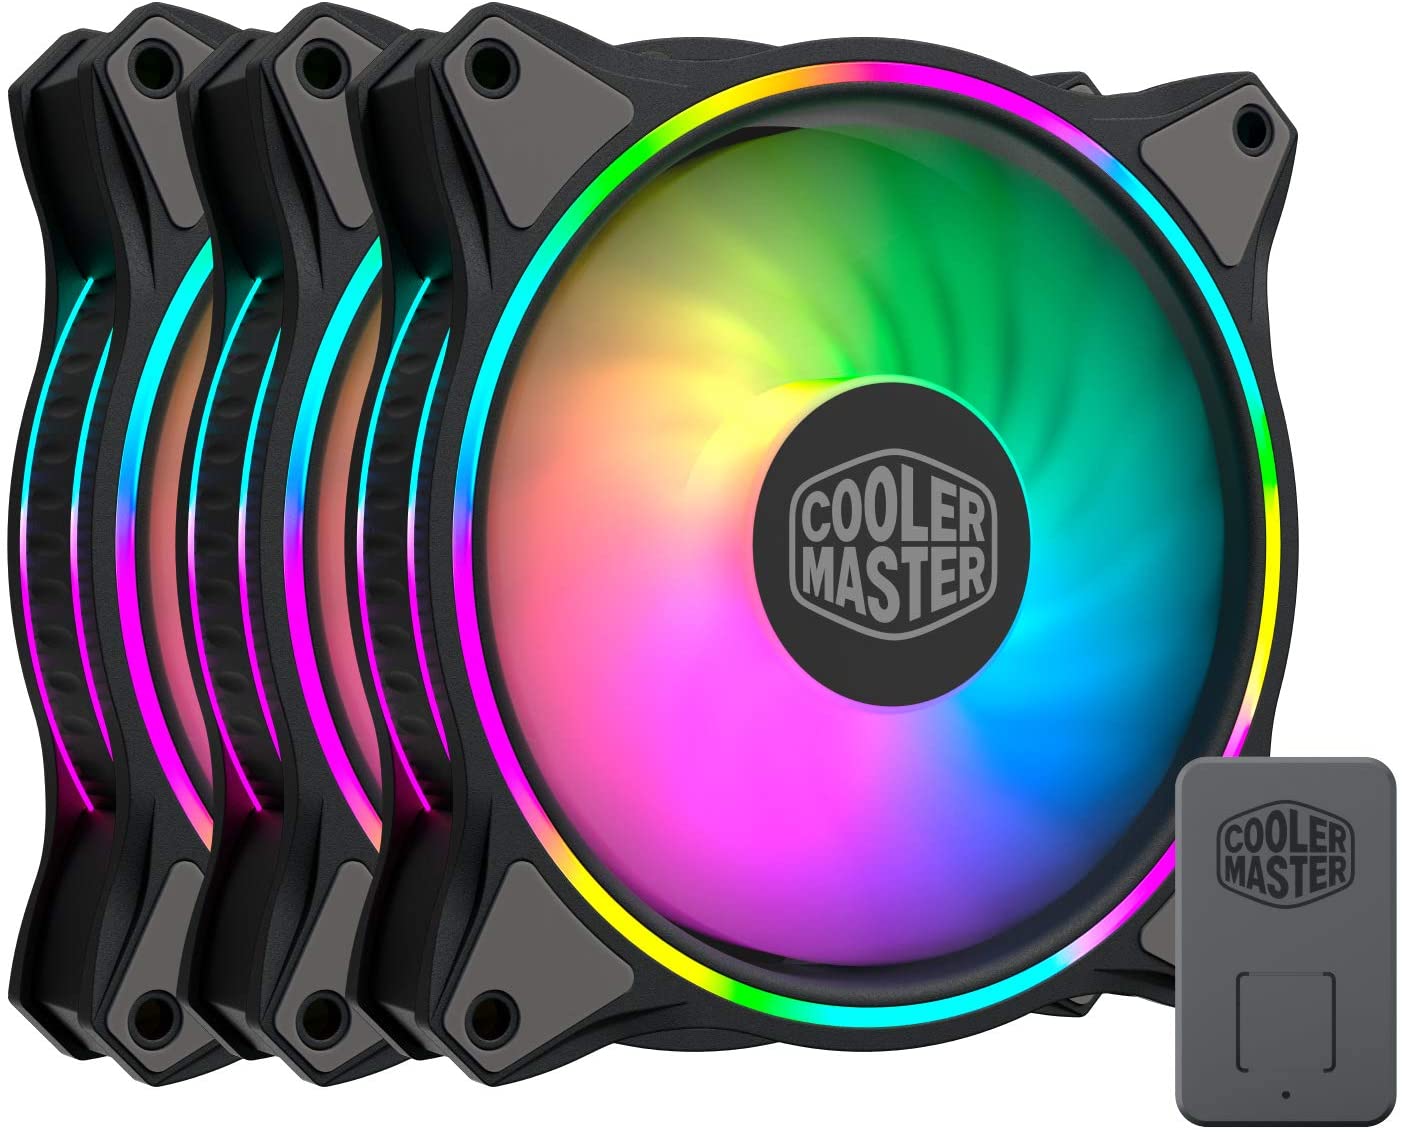
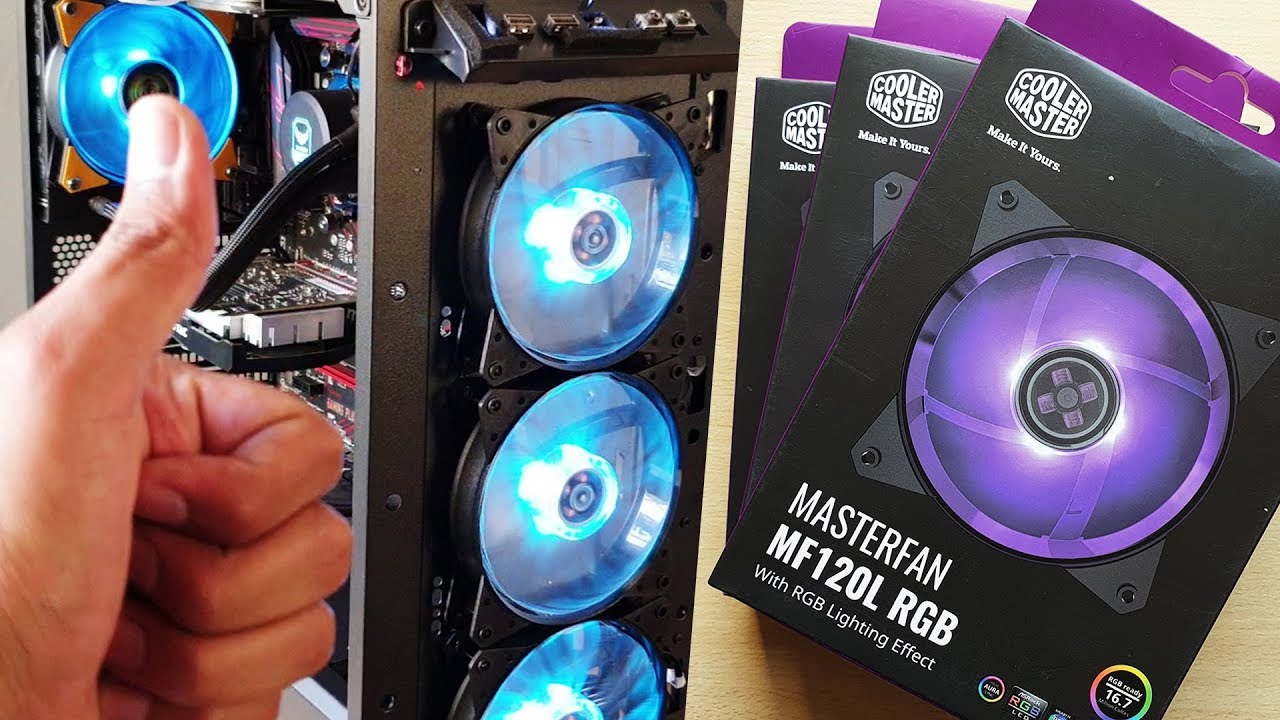
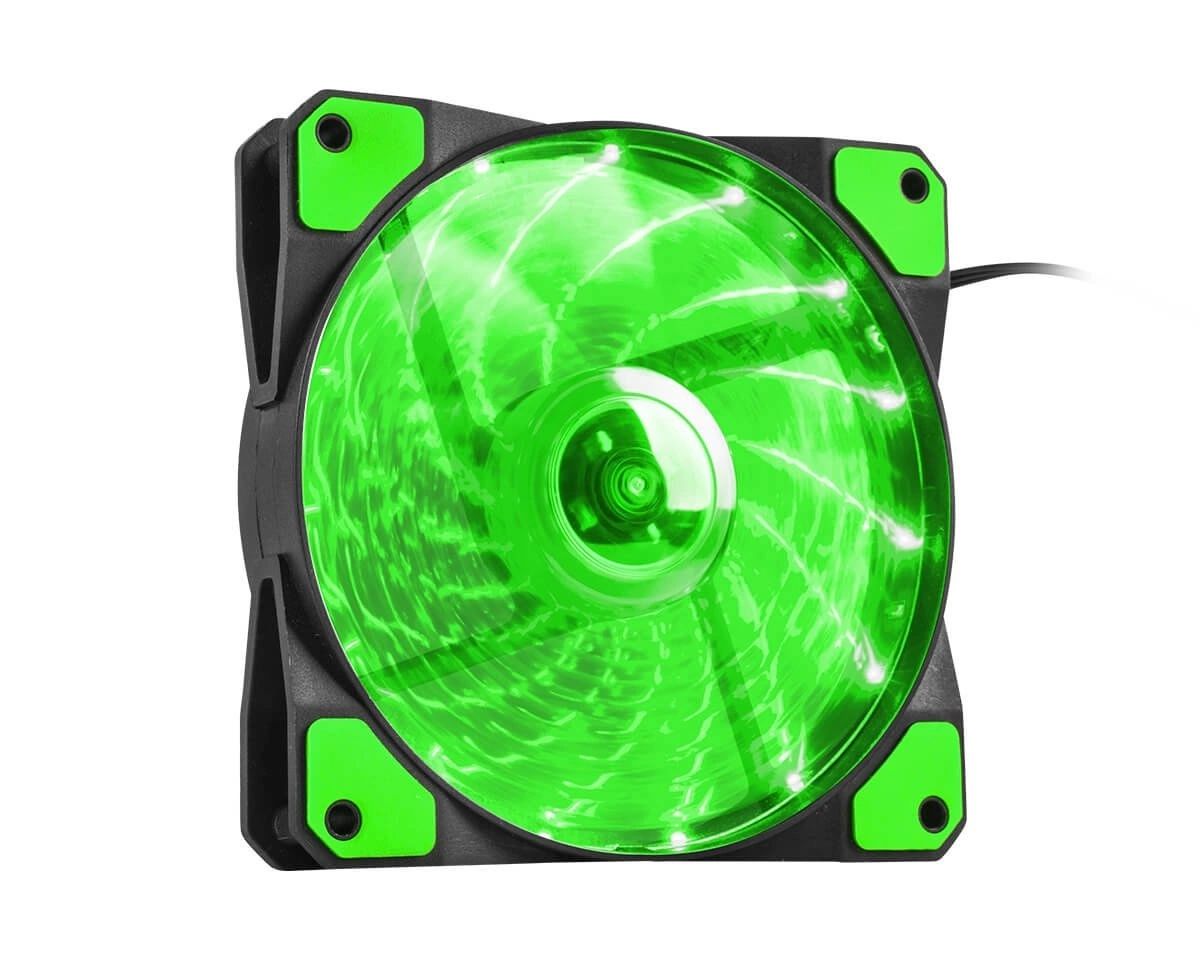
- Case Fans: Depending on your specific requirements, determine the number of case fans you want to install. Ensure that these fans are compatible with your computer case and have the appropriate connectors.
- Thermal Paste (optional): If you are removing any heat sinks or CPU coolers during the installation process, it is a good idea to have some thermal paste on hand to reapply when necessary.
- Screwdriver: You will need a screwdriver to secure the case fans in place. Make sure it is the correct size for the screws provided with the case fans and your computer case.
- Fan Splitters or Fan Hubs (optional): In cases where your motherboard has limited fan headers, you may need additional accessories like fan splitters or fan hubs. These allow you to connect multiple fans to a single fan header, expanding your options for fan connectivity.
- Anti-Static Wristband (optional): To prevent any accidental damage caused by static electricity, it is recommended to use an anti-static wristband when working inside your computer case.
Ensuring that you have all the necessary equipment before beginning the installation process will make the task much smoother and more efficient. Having a clean and organized workspace will also contribute to a successful installation.
Step 1: Determine Available Fan Headers on Your Motherboard
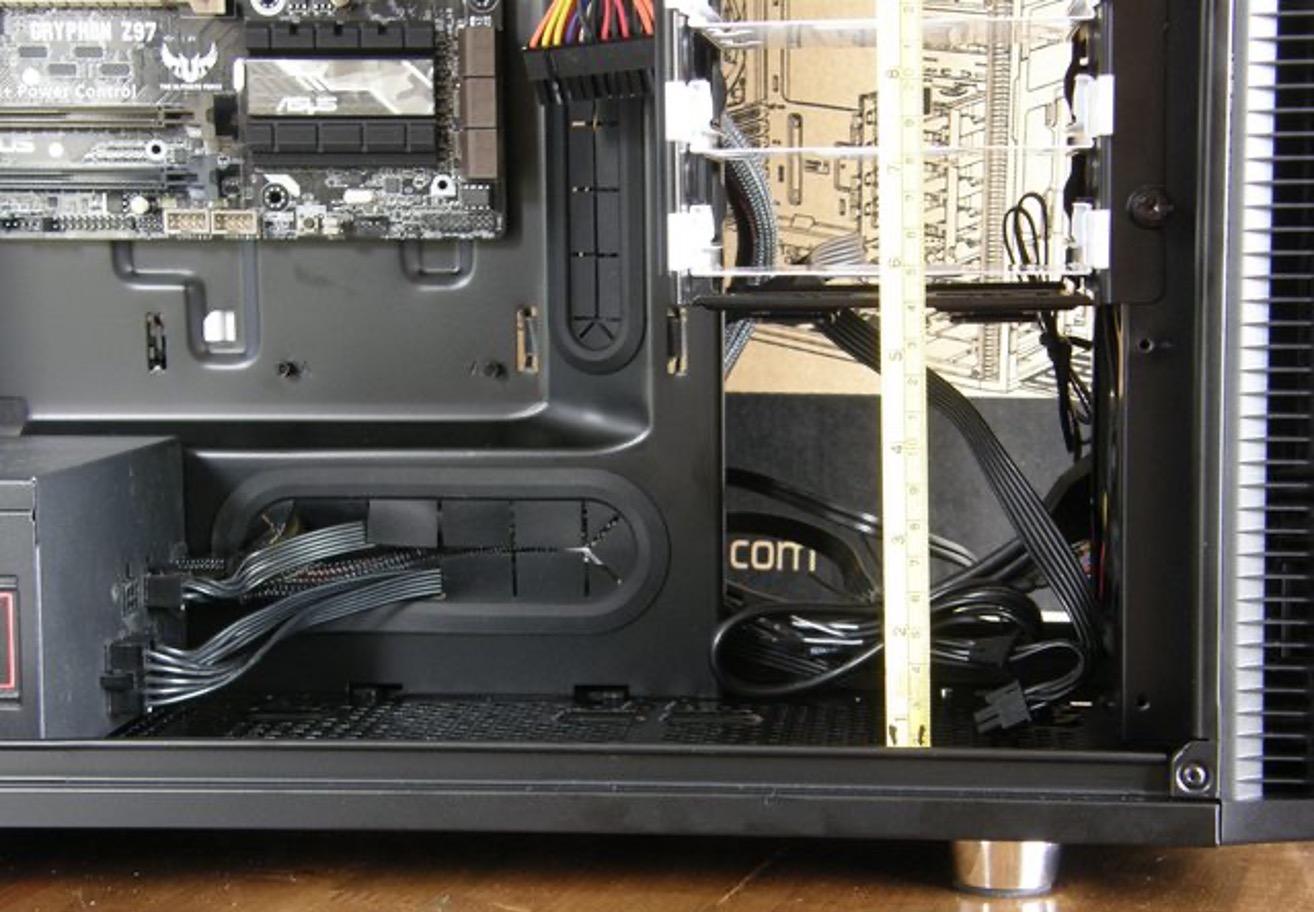
The first step in connecting multiple case fans is to identify the available fan headers on your motherboard. Fan headers are connectors on the motherboard specifically designed for connecting case fans. These headers provide both power and control signals to the fans.
To determine the number of fan headers available on your motherboard, you can refer to the user manual that came with your motherboard. The manual will provide detailed information about the layout and locations of the fan headers. Alternatively, you can visit the manufacturer’s website and download the manual if you no longer have the physical copy.
Once you have located the fan headers, take note of the quantity and their locations. It is essential to know how many headers are available to ensure that you have enough for the number of case fans you want to connect.
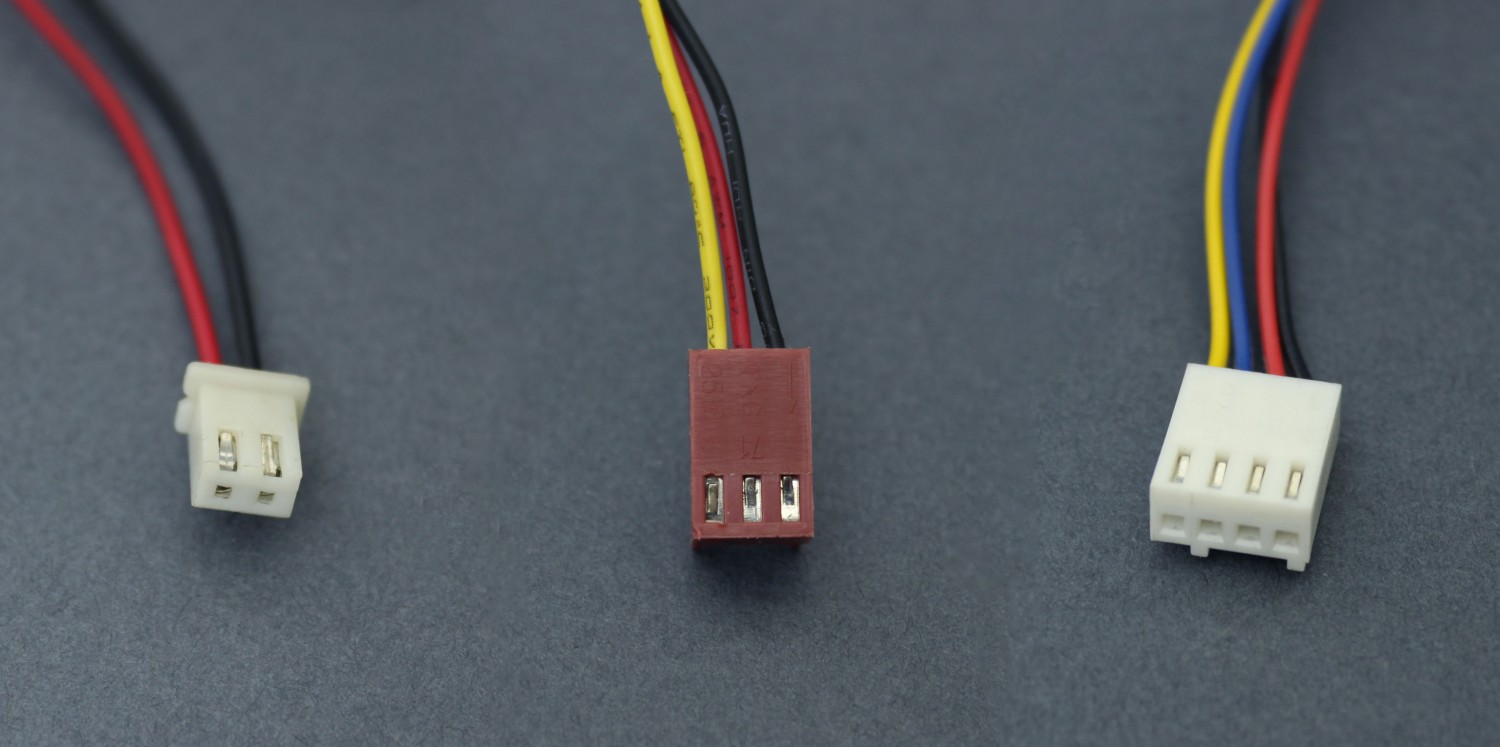
It is worth mentioning that some motherboards may have different types of fan headers. The most common type is the 3-pin fan header, which provides basic power and speed control. However, newer motherboards may also have 4-pin headers, which support additional features such as PWM (Pulse Width Modulation) control for more precise fan speed adjustment.
In addition to the number and type of fan headers, it is crucial to consider the maximum power output of each header. This specification is typically provided in the motherboard manual and indicates the maximum amount of power the header can supply to the connected fans. Make sure that the total power consumption of your case fans does not exceed the power output of the fan headers to prevent any issues or malfunctions.
By identifying the available fan headers on your motherboard and understanding their specifications, you can effectively plan the configuration and connection of multiple case fans in the subsequent steps.
Step 2: Connect the First Case Fan
Once you have determined the available fan headers on your motherboard, you can proceed to connect the first case fan. Ensure that your computer is powered off and unplugged before beginning the installation process to avoid any potential electrical hazards.
Start by locating the fan header closest to the desired position of your first case fan. Depending on your motherboard and case layout, the fan headers may be positioned in different areas. Typically, you will find them near the edges of the motherboard or along one of the sides.
Take one end of the cable attached to the case fan and align the connector with the pins on the fan header. The connector is usually a 3-pin or 4-pin male connector that corresponds to the fan header type on your motherboard. Gently push and slide the connector onto the fan header, ensuring a secure and snug fit. It is important to align the pins correctly to avoid any damage to the connector or header.
If your fan has a 4-pin PWM connector, it will fit onto both 3-pin and 4-pin fan headers. However, if your fan has a 3-pin connector, it will only fit onto a 3-pin fan header. Do not force the connection if the pins do not align correctly.
After connecting the case fan, you may want to secure it in place using screws provided with your case. Locate the mounting holes on the fan and align them with the corresponding holes in your case. Insert the screws through the holes and tighten them gently, being careful not to overtighten and damage the fan or case.
Once the first case fan is connected and secured, you can proceed to the next step to connect additional case fans and optimize their performance.
Step 3: Connect Additional Case Fans
After successfully connecting the first case fan, you can continue by connecting any additional case fans. The process is similar to connecting the first fan, but there are a few considerations to keep in mind.
Start by identifying the remaining available fan headers on your motherboard. If you have more case fans than available headers, you will need to utilize alternative methods such as fan splitters or fan hubs, which we will discuss in the next steps.
For each additional case fan, follow the same procedure as before. Take the cable attached to the fan and align the connector with an available fan header on the motherboard. Ensure that the pins are correctly aligned and gently push and slide the connector onto the header until it is securely in place.
Just like with the first case fan, consider securing each additional fan to the case using the provided screws. Align the mounting holes on the fan with the corresponding holes in the case, insert the screws, and tighten them appropriately.
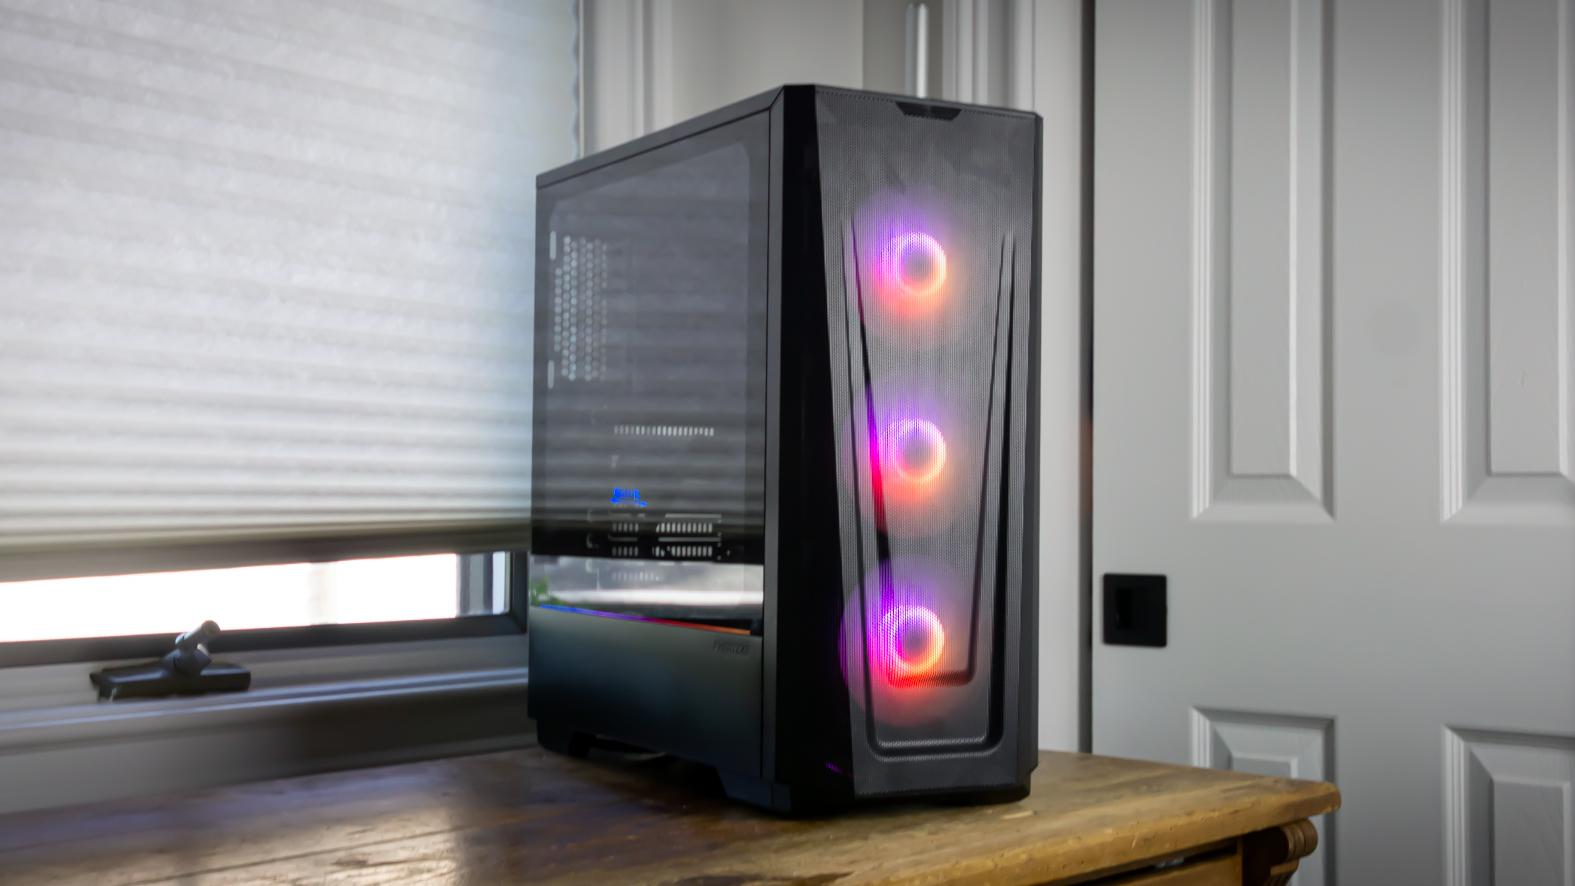
It is important to maintain proper cable management when connecting multiple case fans. Tuck and route the cables neatly to avoid any interference with other components or obstructing airflow within the case. This will not only ensure a cleaner and more organized build but also help optimize cooling performance.
Remember to follow the power limitations of the fan headers and avoid overloading them with fans that draw excessive power. If you find that you have more case fans than available headers, continue to the next step to learn about using fan splitters or a fan hub to expand your fan connectivity options.
By connecting multiple case fans, you can achieve better airflow and cooling within your computer, leading to improved performance and longevity of your components. With proper installation, your system will benefit from efficient cooling and reduced risk of overheating.
Step 4: Adjust Fan Speed and Settings
Once you have connected all your case fans, you may want to adjust their speed and settings to optimize cooling performance and noise levels. Most motherboards offer various methods for controlling fan speed, such as through the BIOS/UEFI settings or using dedicated software provided by the motherboard manufacturer.
To access the fan speed settings in the BIOS/UEFI, restart your computer and enter the BIOS/UEFI menu by pressing the designated key when prompted during the boot process. The exact key to access the BIOS/UEFI settings varies depending on the motherboard manufacturer but is often Del, F2, or F12. Consult your motherboard manual for the specific key.
Once inside the BIOS/UEFI menu, navigate to the fan control section. The options and layout may differ between motherboard brands, but you should be able to find settings related to fan speed control. You may have the option to select between different fan speed profiles, such as “Silent,” “Standard,” or “Performance,” or manually adjust the fan speed curves.
Alternatively, you can use dedicated software provided by the motherboard manufacturer to control fan speed and settings within the operating system. This software often offers a more user-friendly interface and allows for real-time adjustments and monitoring.
Adjust the fan speed settings according to your preferences and the cooling requirements of your system. It is crucial to strike a balance between cooling performance and noise levels. Higher fan speeds provide better cooling but may generate more noise, while lower fan speeds may be quieter but may result in less effective cooling.
Additionally, ensure that the fan speed settings are appropriate for the specific case fan models you are using. Refer to the manufacturer’s specifications and recommendations for optimal fan speeds.
After making the desired adjustments to fan speed and settings, exit the BIOS/UEFI or save your changes within the software interface. Your case fans will now operate according to the configured settings, providing optimal airflow and cooling for your system.
Regularly monitor the temperature and performance of your system to ensure that the fan speeds are effectively keeping components cool. If necessary, revisit the fan speed settings and make further adjustments to maintain optimal cooling performance.
Step 5: Consider Using a Fan Hub or Splitter
If you find that you have more case fans than available fan headers on your motherboard, you may need to consider using a fan hub or splitter to expand your fan connectivity options. These devices allow you to connect multiple fans to a single fan header, effectively increasing the number of fans you can connect.
A fan hub is a central hub that connects to a single fan header on your motherboard and provides multiple fan connectors. This allows you to connect multiple fans to the hub, which in turn is powered by the single fan header. Fan hubs often come with additional features such as PWM support, which allows for more precise control of fan speeds.
A fan splitter, on the other hand, is a cable that connects multiple fans to a single fan header. The splitter cable typically has one connector that attaches to the fan header and multiple connectors to connect the fans. Fan splitters can be a more cost-effective solution compared to fan hubs, but they may not offer the same level of control and features.
When using a fan hub or splitter, it is essential to consider the power requirements of the connected fans. Make sure that the total power consumption of the fans does not exceed the power output of the fan header or the fan hub itself. Excessive power draw can cause issues such as reduced performance or system instability.
When installing a fan hub or splitter, the process is similar to connecting individual fans. Connect the hub or splitter to an available fan header on the motherboard. Then, connect the case fans to the hub or splitter using the appropriate connectors. Secure the hub or splitter in place, ensuring that the cables are neatly routed and organized to avoid any interference or obstruction.
Using a fan hub or splitter allows you to consolidate the connection of multiple fans, simplifying cable management and improving overall airflow and cooling efficiency. It can be a convenient solution for systems with limited fan headers or for those who want to add additional fans without the need for extensive motherboard upgrades.
Remember to adjust the fan speed and settings for the fans connected to the hub or splitter as needed. Most motherboard fan control systems can detect and adjust the speed of fans connected through a hub or splitter, but it is still important to ensure proper cooling and noise levels.
By considering the use of a fan hub or splitter, you can expand your fan connectivity options, allowing for optimal cooling performance and customization within your computer system.
Conclusion
Connecting multiple case fans to your motherboard is a straightforward process that can greatly improve the cooling performance and overall efficiency of your computer system. By following the steps outlined in this guide, you can effectively connect and control multiple case fans, ensuring optimal airflow and temperature regulation.
Starting from identifying the available fan headers on your motherboard to connecting the first case fan and additional fans, you can customize the cooling solution to meet your specific needs. Adjusting fan speed and settings further allows you to strike a balance between cooling performance and noise levels, ensuring a comfortable computing experience.
In cases where your motherboard has limited fan headers, considering the use of fan hubs or splitters can enable you to connect more fans without the need for significant upgrades or modifications. These devices provide a convenient and cost-effective solution for expanding fan connectivity options.
Remember to maintain proper cable management throughout the installation process to prevent any interference or obstructions. Regularly monitor your system’s temperatures and adjust fan speed and settings as needed to keep your components cool and potentially extend their lifespan.
By taking the time to connect multiple case fans effectively, you can enhance the overall performance, longevity, and reliability of your computer system. Whether you are a casual user or a hardcore gamer, ensuring proper cooling is essential for a smooth and efficient computing experience.
So go ahead and unleash the full potential of your computer by connecting more than one case fan. Enjoy the benefits of improved airflow, decreased temperatures, and a quieter system, all while safeguarding your valuable components.