Introduction
Welcome to this step-by-step guide on how to install an 80mm case fan. If you’re looking to improve the airflow and cooling efficiency of your computer, adding a case fan can make a significant difference. Whether you’re a seasoned DIY enthusiast or a beginner, this guide will help you navigate the installation process smoothly.
Before we dive into the details, let’s understand why proper airflow and cooling are crucial for your computer. Modern PCs generate a considerable amount of heat, especially during intensive tasks like gaming or video editing. If the heat is not efficiently dissipated, it can lead to overheating and cause performance issues or even damage the components.
An 80mm case fan is a popular choice for many computer systems due to its compact size and reliable performance. It can effectively exhaust hot air from your case and bring in fresh, cool air to maintain optimal temperatures. Installing a case fan can also help in reducing fan noise and prolonging the lifespan of your components by preventing excessive heat buildup.
Now that we understand the importance of a case fan, let’s move on to the tools and materials you’ll need for the installation process. Having these ready beforehand will ensure a smooth and hassle-free experience.
Tools and Materials Needed
Before you begin the installation process, make sure you have the following tools and materials ready:
- Screwdriver: A Phillips head screwdriver will be needed to secure the fan in place.
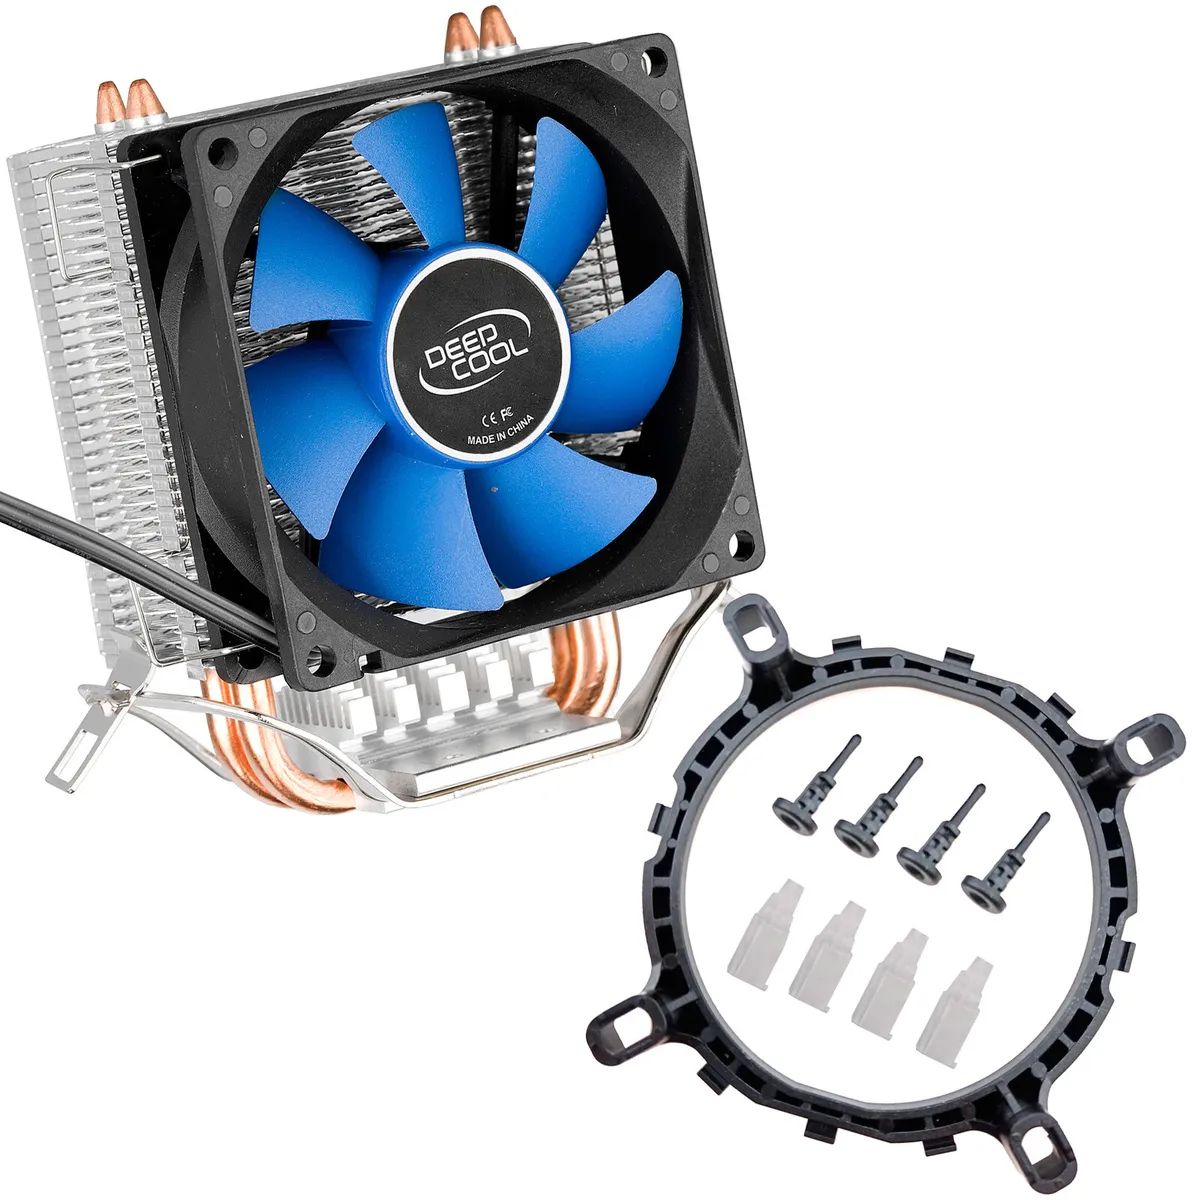
- Thermal paste: If you’re planning to attach the fan directly to the CPU heatsink, you may need thermal paste for optimal heat transfer.
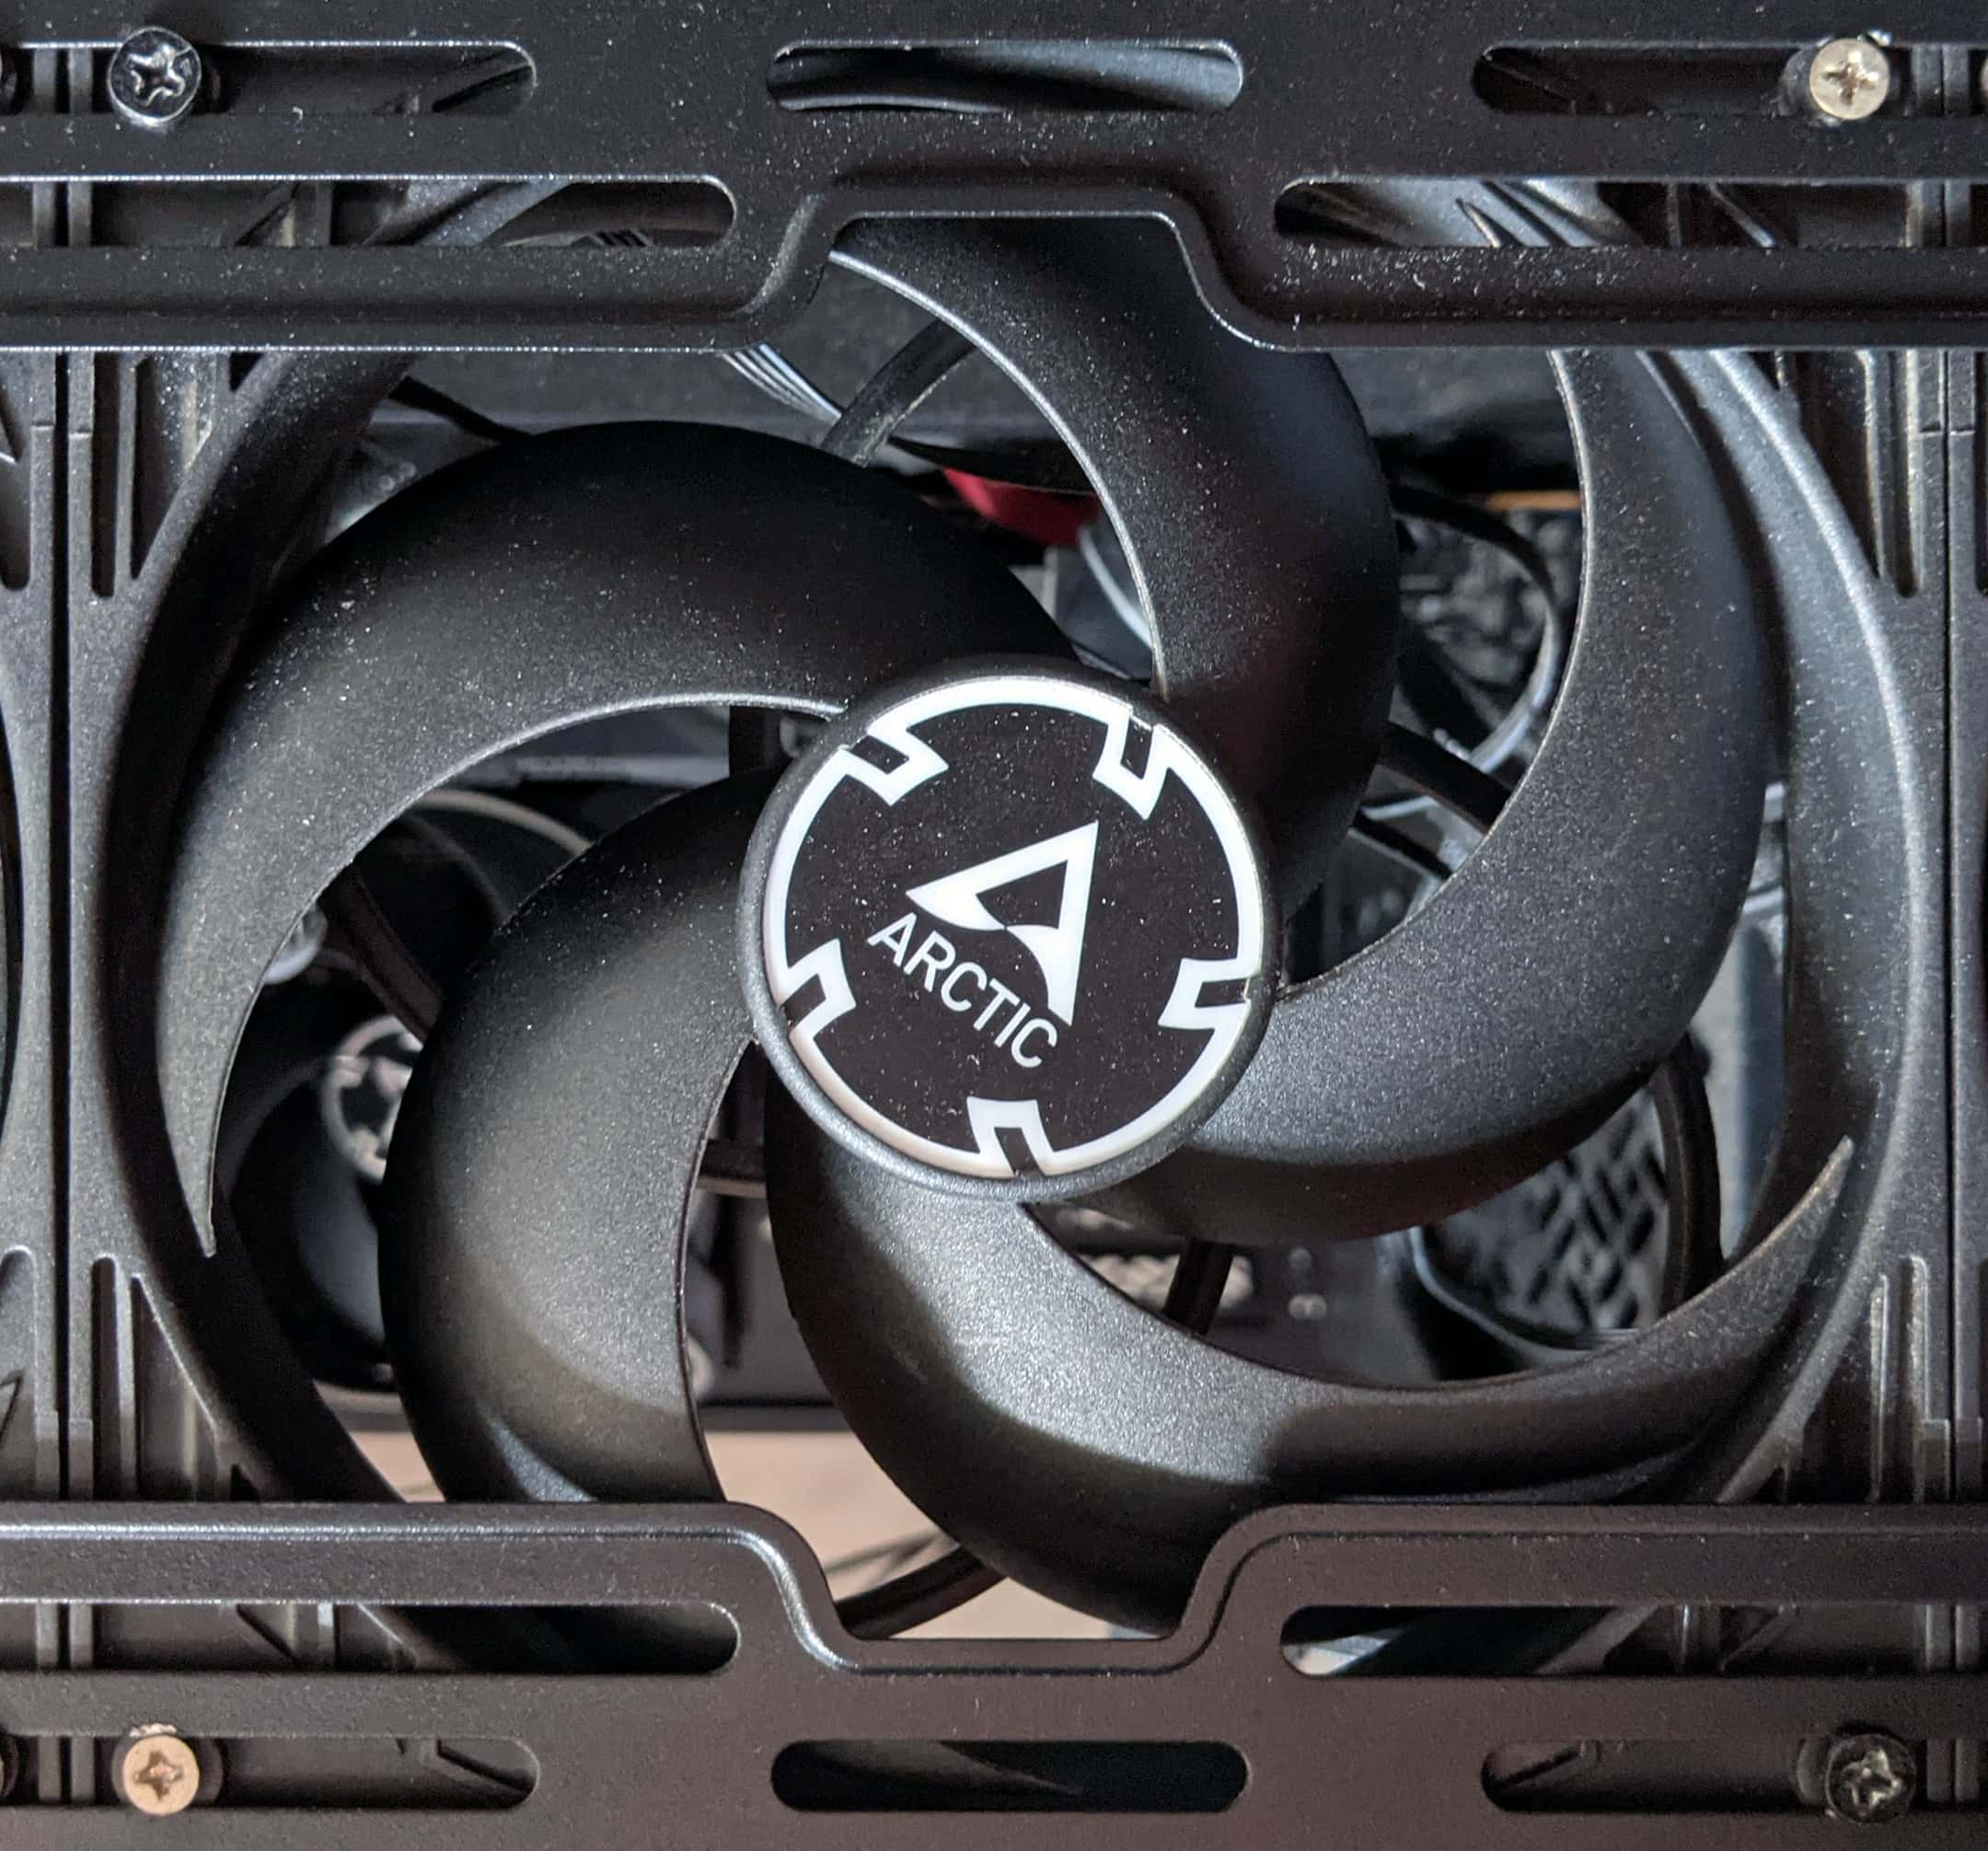
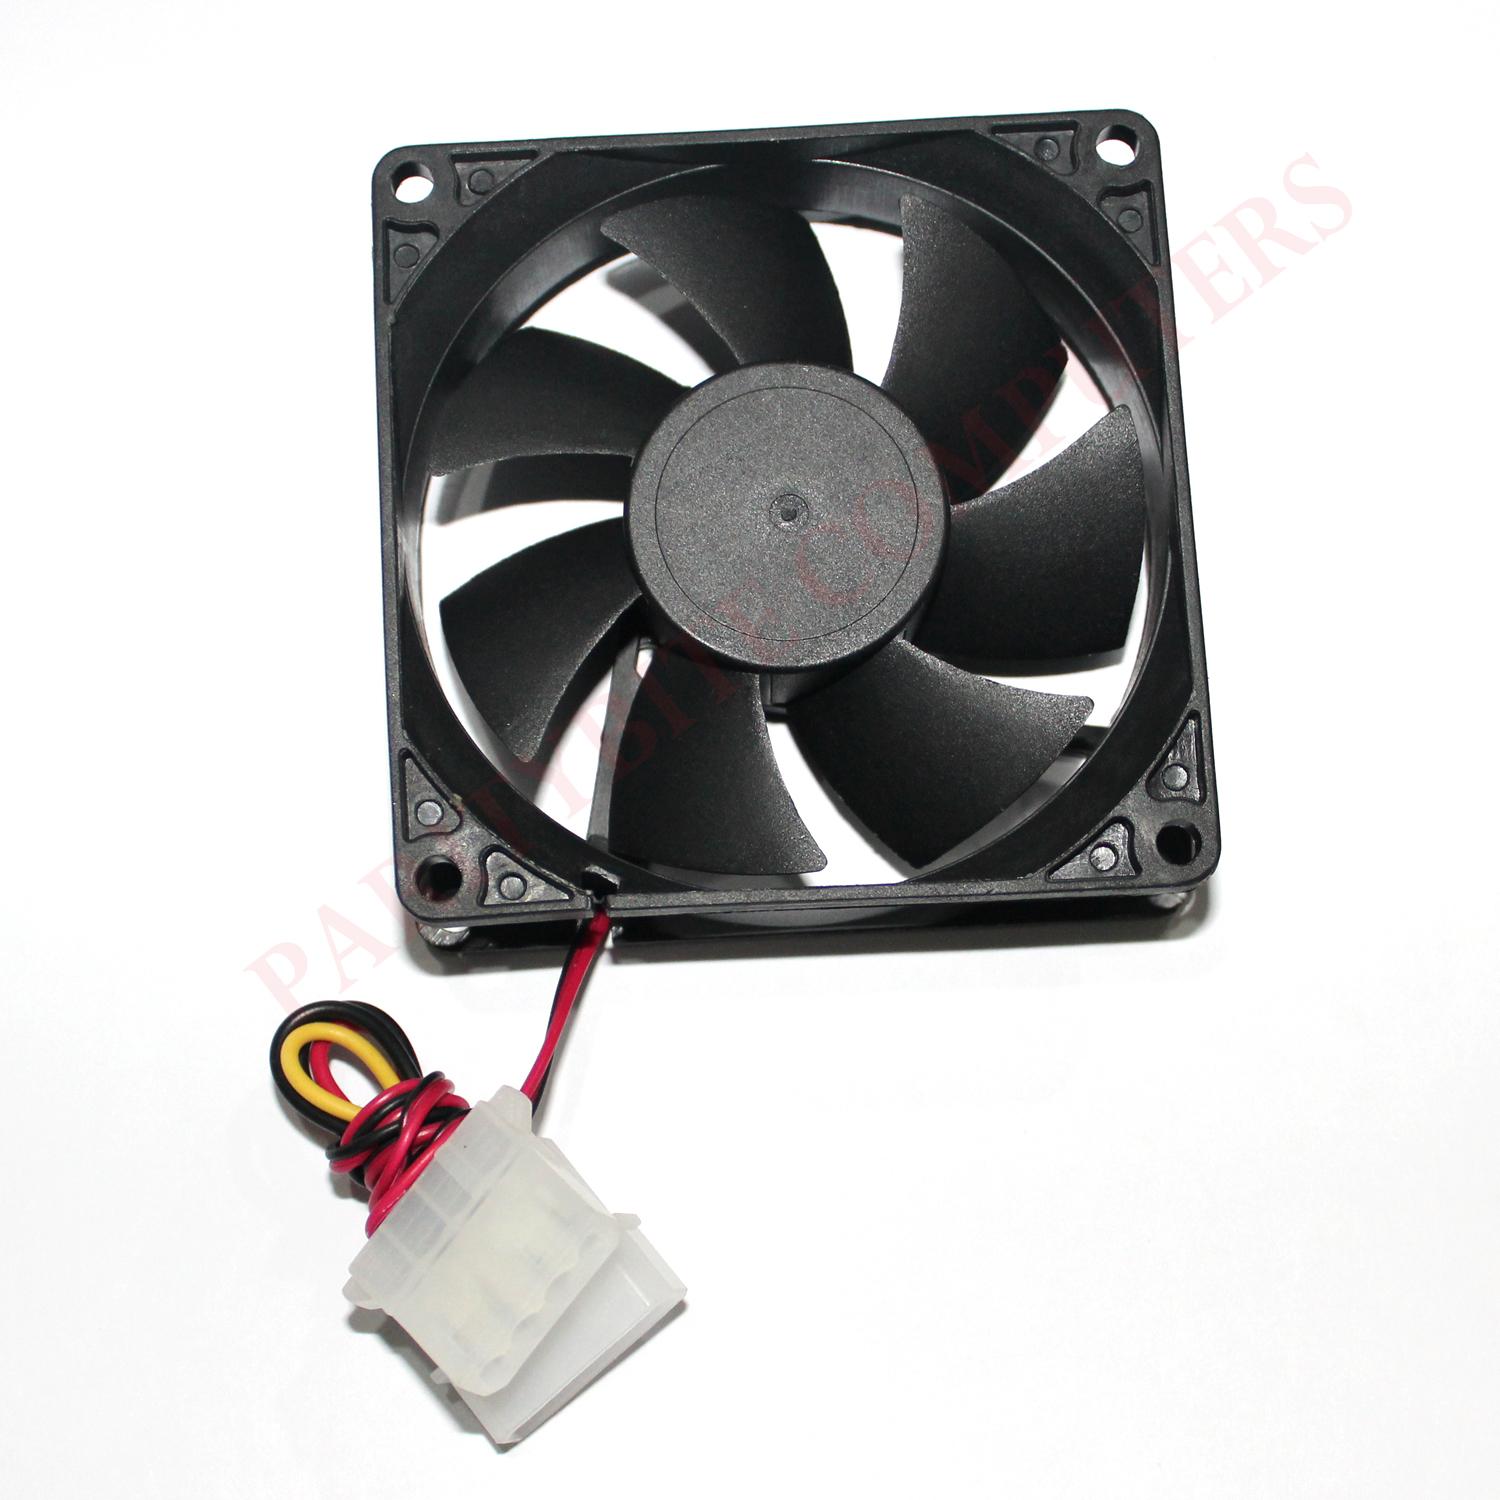
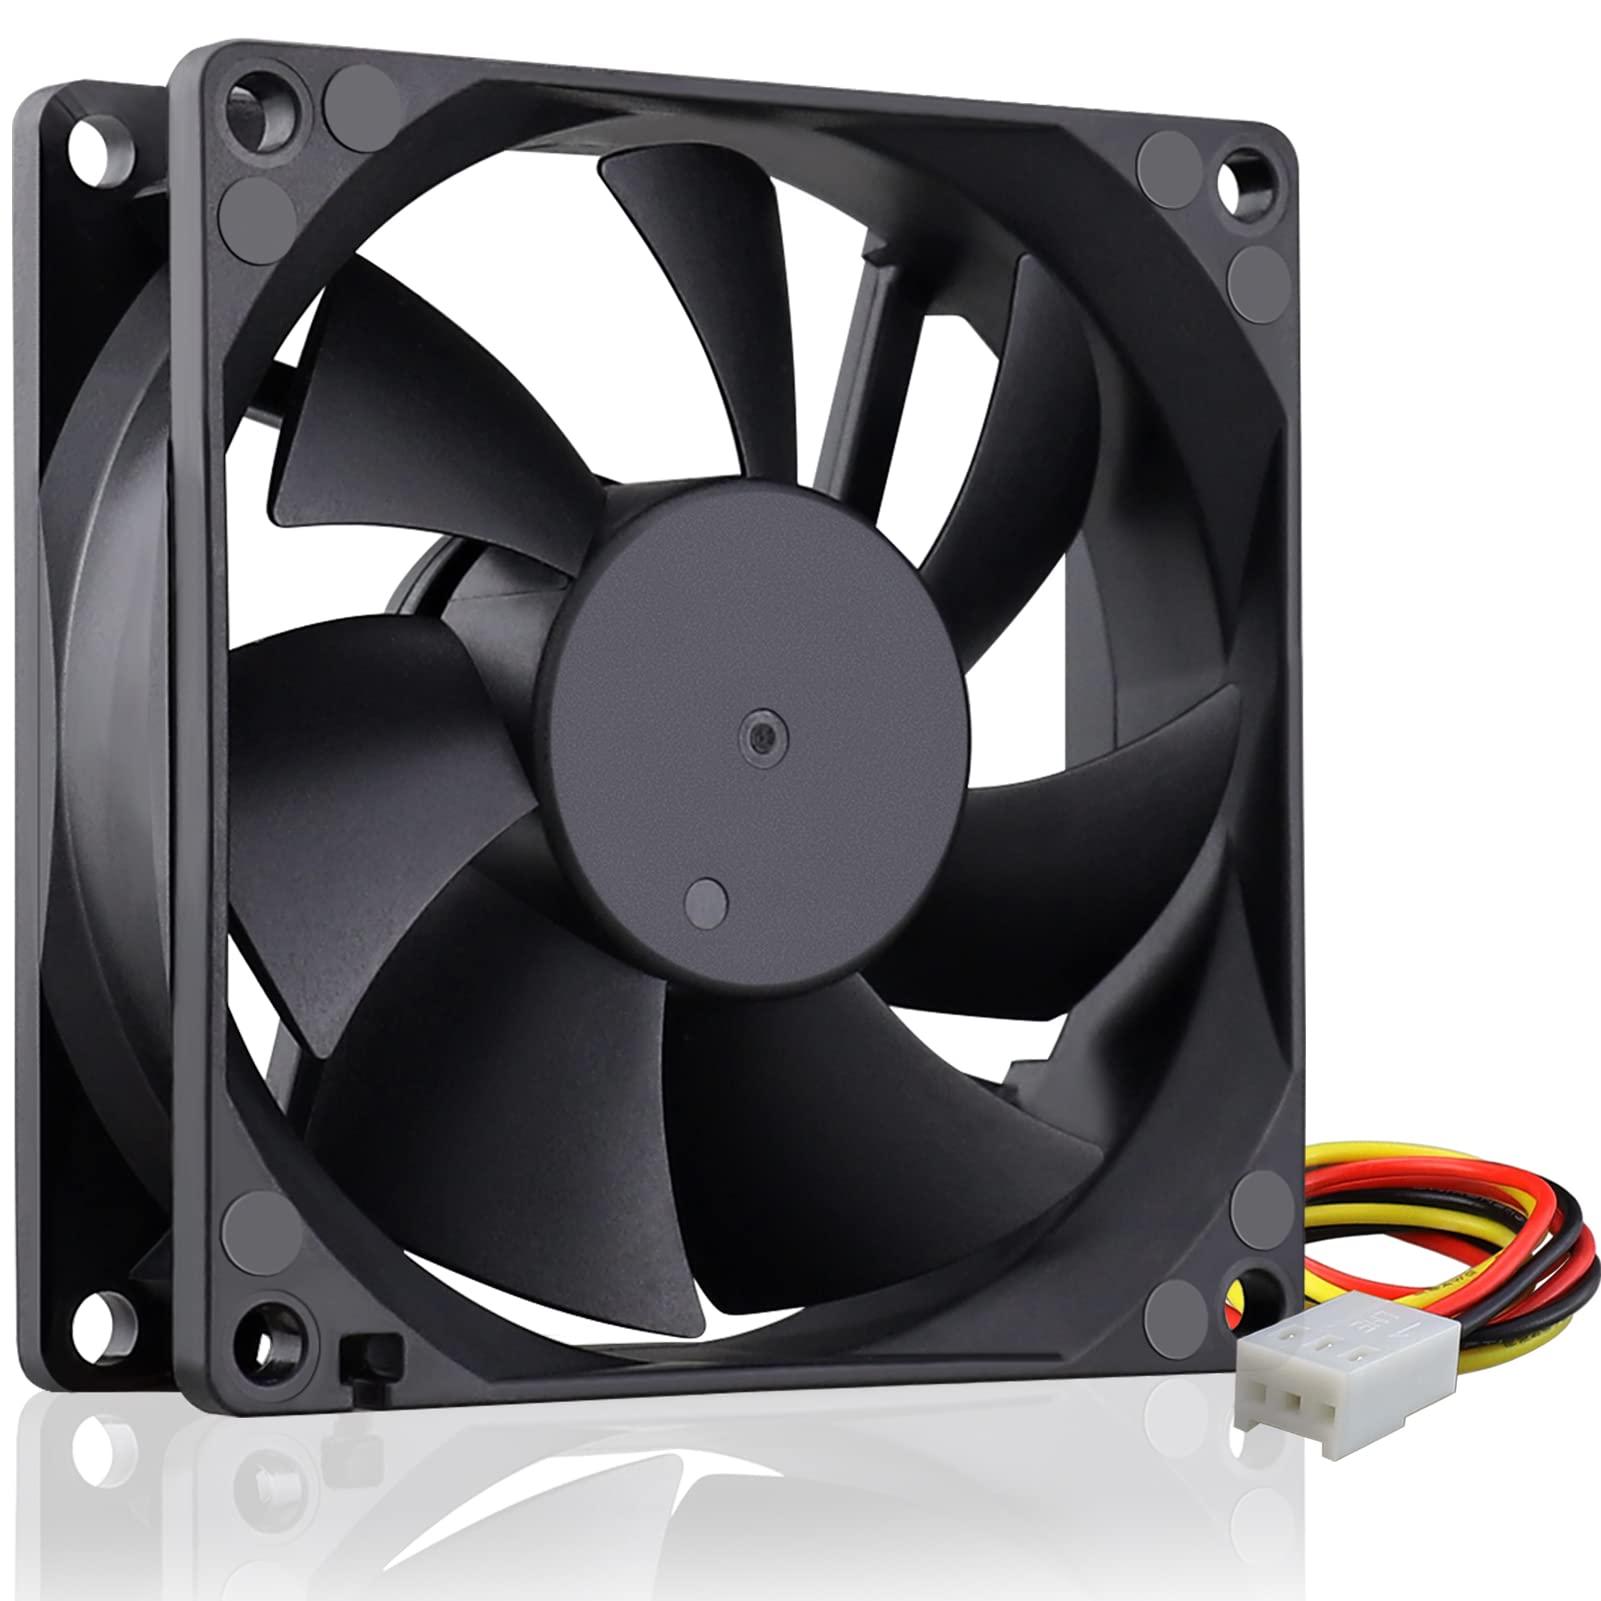
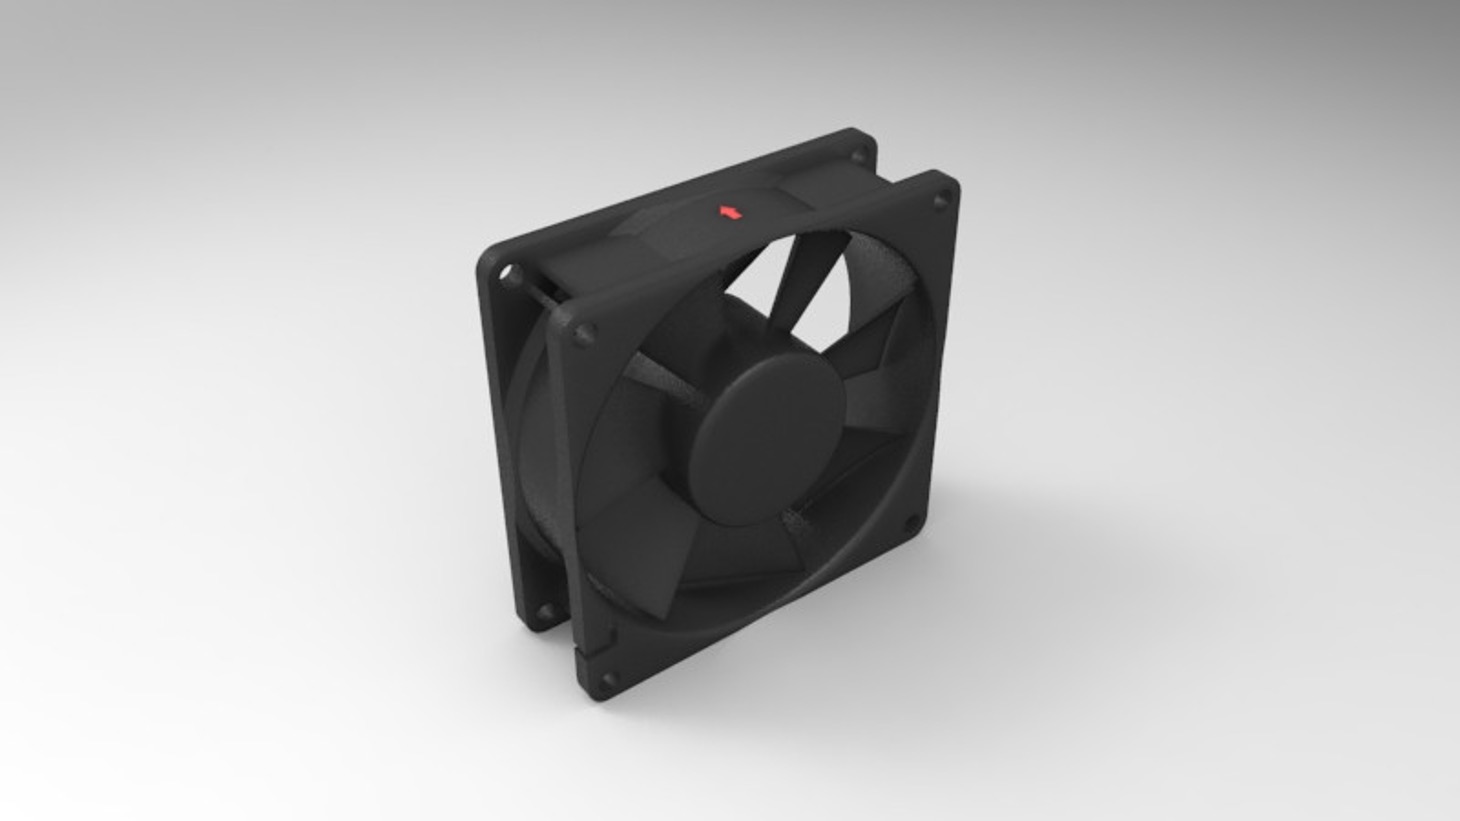
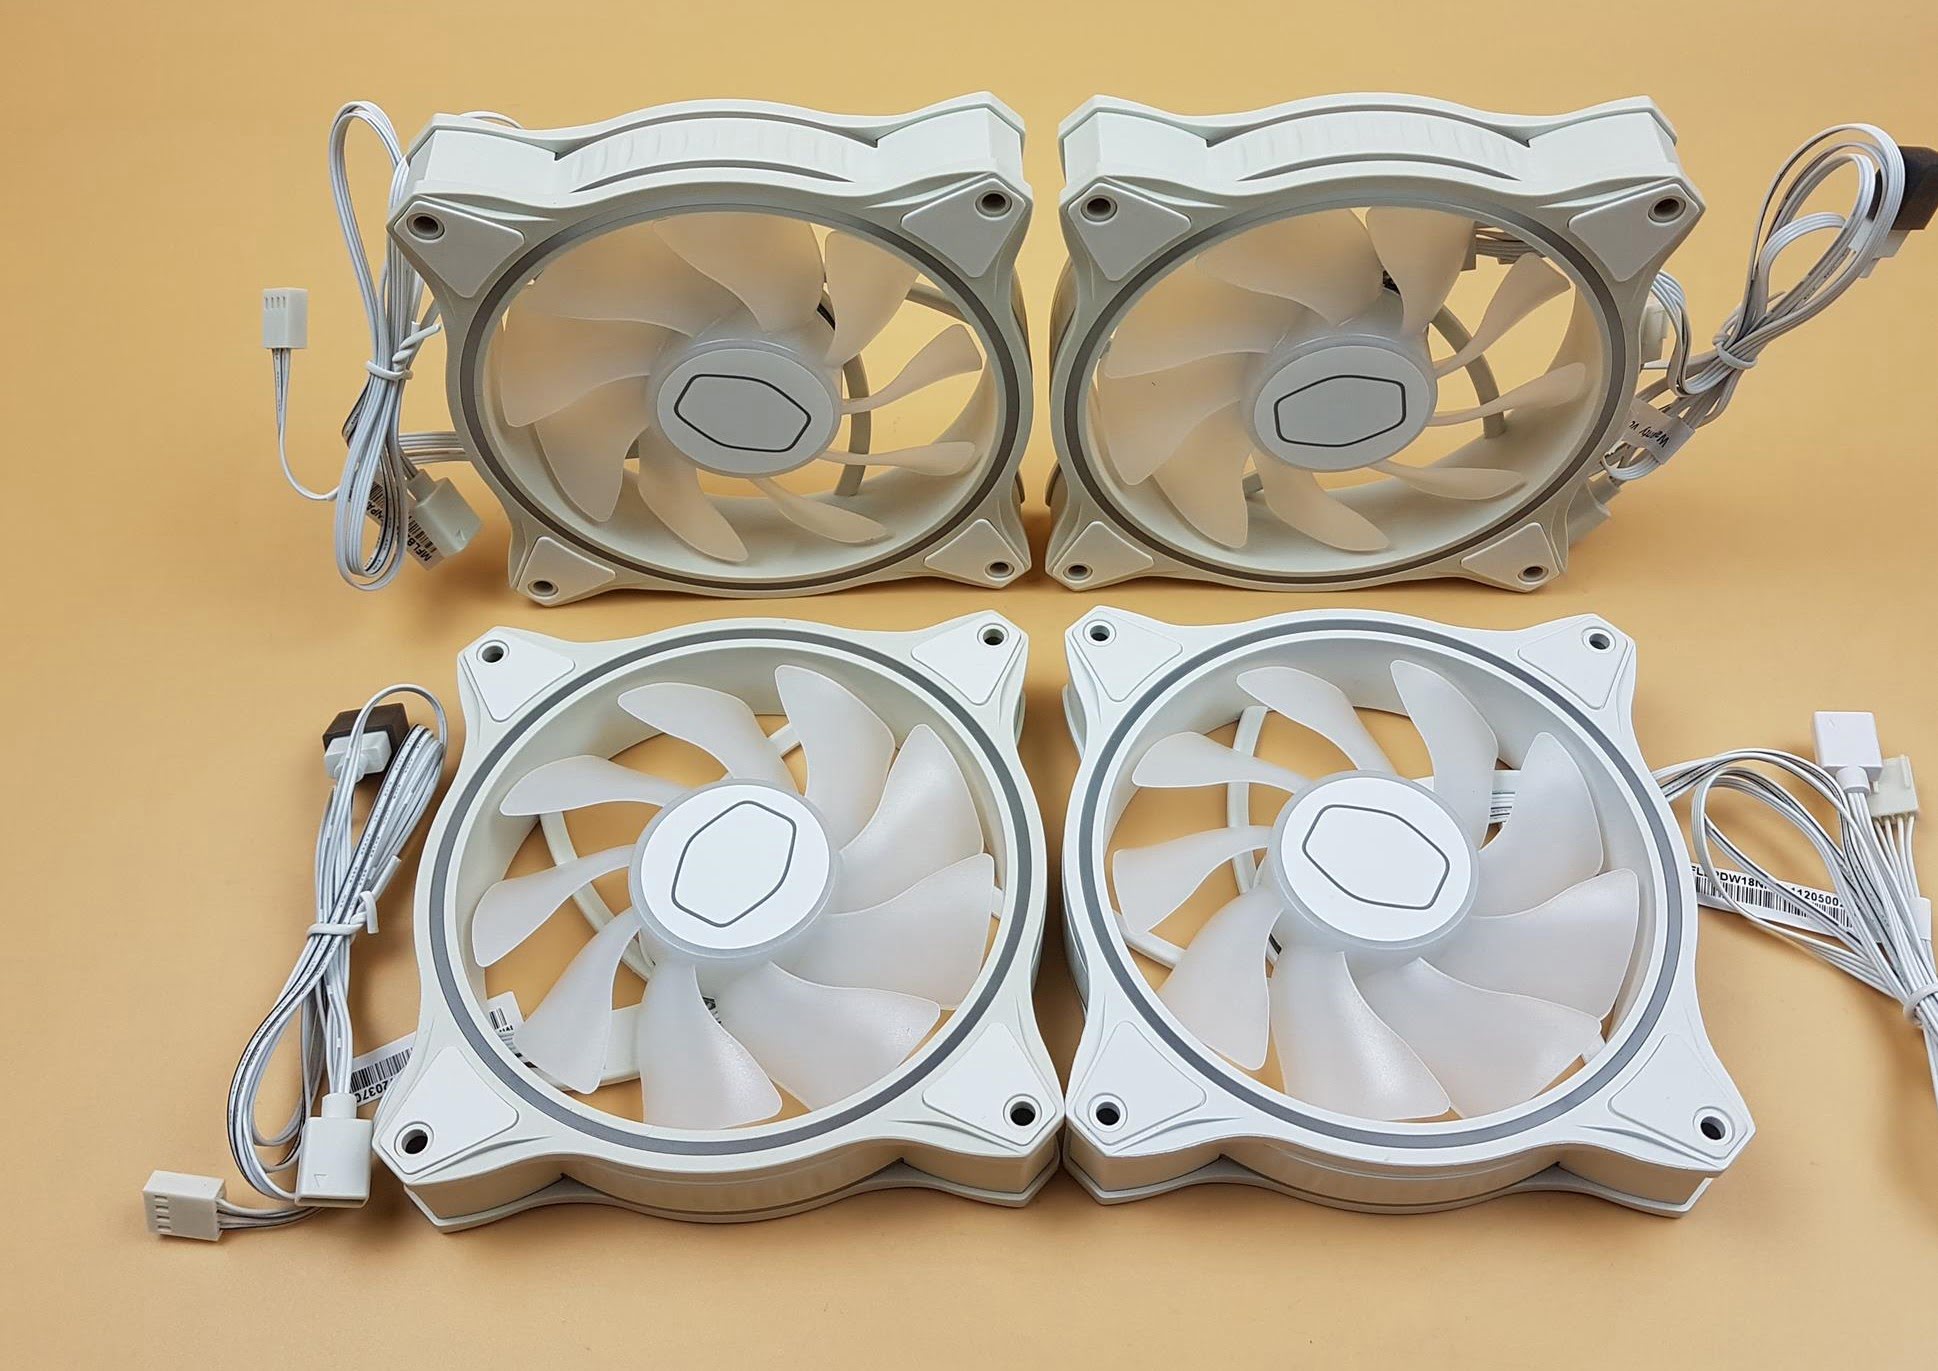
- 80mm case fan: Of course, you’ll need the case fan itself. Ensure it is compatible with your computer’s case and connectors.
- Fan screws or mounting brackets: Depending on your case and fan, you may require screws or mounting brackets to secure the fan properly.
- Anti-static wrist strap: To protect your computer’s components from electrostatic discharge, it is advisable to use an anti-static wrist strap during the installation.
It’s worth noting that some case fans come with their own set of screws or mounting brackets. However, if yours doesn’t, make sure to have the appropriate screws or brackets available to ensure a secure installation.
Now that you have all the necessary tools and materials, let’s move on to the step-by-step installation process. Remember to handle your computer’s components with care and take appropriate precautions to avoid any damage.
Step 1: Choose a Suitable Location for the Fan
The first step in installing an 80mm case fan is to select an appropriate location within your computer case. The positioning of the fan is crucial for optimal airflow and cooling efficiency. Here are a few factors to consider when choosing the location:
- Identify hot spots: Take a moment to identify areas within your case where heat is likely to accumulate. These hot spots can vary depending on your computer’s configuration and components. Common areas include near the CPU, GPU, or hard drives.
- Consider existing fan placement: If your case already has pre-installed fans, take note of their locations. You want to ensure that the new 80mm case fan complements the existing airflow and doesn’t disrupt it.
- Check for mounting options: Look for available mounting spots or brackets designed specifically for an 80mm fan. Check your computer case’s manual or manufacturer’s website for guidance on potential mounting locations.
- Space constraints: Evaluate the available space within your case to determine if an 80mm case fan will fit comfortably without interfering with other components or cables. Ensure that there is adequate clearance for the fan to operate efficiently.
Once you’ve considered these factors, you can decide on the most suitable location for your 80mm case fan. Remember, the goal is to maximize airflow and direct cooler air towards components that generate the most heat.
When selecting the ideal location, keep in mind that 80mm case fans are commonly used for exhaust or intake purposes. An exhaust fan expels hot air from the case, while an intake fan draws cool air into the case. Choose the appropriate fan configuration based on the cooling requirements of your system.
Once you have identified the location, proceed to the next step to prepare your case for fan installation.
Step 2: Prepare the Case for Installation
Before you can install the 80mm case fan, it’s important to prepare your computer case for the installation process. Here are the necessary steps to follow:
- Power down and disconnect: To ensure safety and prevent any potential damage, power down your computer and disconnect it from the power source. This will help avoid any electrical accidents or interference.
- Open the computer case: Depending on the design of your computer case, you may need to remove the side panel or top cover. Refer to the case’s manual or manufacturer’s instructions for guidance on how to open it properly.
- Locate the mounting spot: Once the case is open, locate the chosen mounting spot for the 80mm case fan. Ensure that there are no obstructions or cables in the way.
- Remove any existing components: If there are any components, such as drive bays or brackets, occupying the mounting spot, you may need to remove them to make room for the fan.
- Clean the area: Dust and debris can accumulate inside the computer case over time, impeding airflow and causing overheating. Take this opportunity to clean the mounting spot and surrounding areas using compressed air or a soft brush.
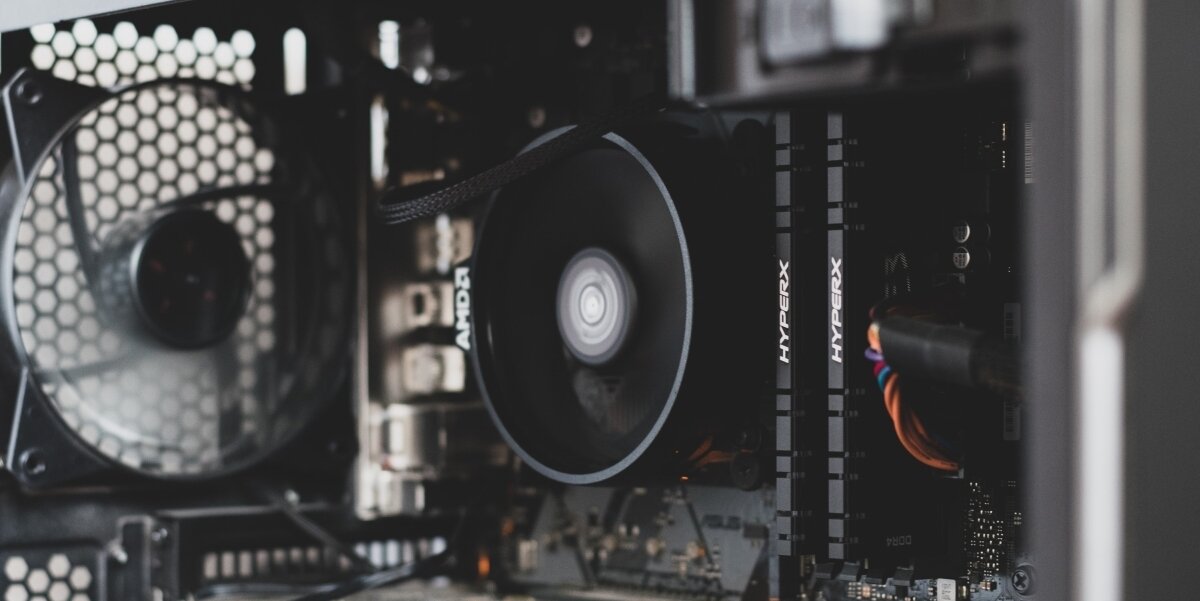
Once you have completed these preparations, you are ready to proceed with connecting the 80mm case fan to the motherboard. This step is crucial for ensuring the fan’s functionality and control within your PC system.
Remember to handle your computer’s components with care and follow proper safety precautions throughout the installation process.
Step 3: Connect the Fan to the Motherboard
Now that you have prepared the case, it’s time to connect the 80mm case fan to the motherboard. This step ensures that the fan receives power and can be controlled by your computer system. Follow these instructions to properly connect the fan:
- Locate the fan headers: Examine your motherboard to find the appropriate fan headers. These headers are usually labeled “CPU_FAN,” “SYS_FAN,” or something similar. Refer to your motherboard’s manual for precise locations.
- Align the fan connector: Take the cable coming from your 80mm case fan and align the connector properly with the fan header on the motherboard. Ensure that the pins on the connector match the holes on the header.
- Connect the fan: Gently push the connector onto the fan header, making sure it is firmly attached. The connection should be secure but avoid applying excessive force.
- Secure the cable: To keep the cable neatly organized and prevent any strain on the connection, use zip ties or cable clips to secure it alongside other cables inside the case. This helps maintain good cable management.
It’s worth mentioning that some 80mm case fans come with additional connectors, such as molex or SATA power connectors, for power supply independent of the motherboard. If your fan has these options available, you can choose the appropriate connector and connect it directly to a compatible power source.
Once the fan is connected to the motherboard or power source, you can proceed to secure it in place using screws or mounting brackets.
Ensure that you follow the manufacturer’s instructions for connecting the fan to the motherboard or power source, as specific fan models and motherboards may vary.
Step 4: Secure the Fan in Place
After connecting the 80mm case fan to the motherboard, the next step is to secure it in its designated location within the computer case. Properly securing the fan ensures it stays in place during operation and maintains optimal airflow. Follow these steps to secure the fan:
- Align the screw holes: Carefully position the fan in the chosen location, ensuring that the screw holes on the fan align with the corresponding mounting holes or brackets in the case.
- Insert the screws: Using a screwdriver, insert the appropriate screws through the fan’s screw holes and into the mounting holes or brackets. Start with one screw to hold the fan in place before tightening the remaining screws.
- Tighten the screws: Gradually tighten the screws in a crisscross pattern, ensuring that they are secure but not overly tightened. Be cautious not to overtighten the screws, as this may damage the fan or the case.
- Check the fan orientation: Double-check the fan’s orientation to ensure that it is in the proper direction for the desired airflow. Most fans have an arrow indicating the airflow direction, so make sure it aligns with the intended airflow path.
- Verify clearance: Confirm that the fan’s blades have sufficient clearance from any surrounding components or cables. Ensure that nothing obstructs the fan’s rotation, as this could impact its performance and cause unwanted noise.
If your computer case requires the use of mounting brackets, follow the manufacturer’s instructions for attaching the fan and brackets securely. The mounting process may vary depending on the case design.
Once the fan is securely in place, it’s time to move on to the final step: testing the fan and adjusting settings if necessary.
Remember that the steps for securing the fan may vary depending on your specific case and fan model. Always refer to the manufacturer’s instructions for guidance and follow proper safety precautions.
Step 5: Test the Fan and Adjust Settings if Necessary
After securing the 80mm case fan in place, it’s essential to test its functionality and make any necessary adjustments to optimize performance. Follow these steps to ensure that the fan is working as intended:
- Reassemble the computer case: Before testing the fan, reassemble the computer case by placing the side panel or top cover back in its original position and securing it properly.
- Power on the computer: Connect the computer to the power source and power it on. Wait for the operating system to load.
- Monitor fan operation: Keep an eye on the 80mm case fan to ensure that it is spinning. If the fan doesn’t start spinning, check the fan connector to ensure it is securely connected to the motherboard.
- Access BIOS or software: If the fan is spinning, access the BIOS or use a software utility provided by your motherboard manufacturer to monitor and adjust fan settings. In BIOS, navigate to the “Hardware Monitor” or similar section to access fan control options.
- Adjust fan settings: Depending on your preferences and system requirements, you may want to adjust the fan speed settings. The options available to you will depend on your motherboard and software utility. You can choose between automatic fan control or manually set a specific fan speed.
- Run temperature monitoring software: To ensure that the fan is effectively cooling your system, run temperature monitoring software and monitor the temperatures of various components. If the temperatures are within acceptable levels, the fan is functioning correctly.
During the testing phase, listen for any unusual noises coming from the fan. If you notice any excessive noise, vibrations, or abnormalities, double-check the fan’s placement and connection to ensure everything is properly aligned and secure.
If adjustments are necessary, refer to the fan control options provided by your motherboard or software utility. Optimizing the fan speed settings can help strike a balance between cooling performance and noise levels.
By testing and adjusting the fan settings, you can ensure that it is operating optimally and providing the desired cooling benefits to your computer system.
Conclusion
Congratulations! You have successfully learned how to install an 80mm case fan in your computer. By following the step-by-step instructions provided in this guide, you have taken a significant step towards improving your system’s airflow and cooling efficiency.
Remember, proper airflow and cooling are crucial for maintaining optimal performance and preventing overheating of your computer’s components. The installation of an 80mm case fan helps to exhaust hot air and bring in cooler air, enhancing the overall stability and lifespan of your system.
Throughout the installation process, you have learned the importance of choosing a suitable location for the fan, preparing the case, connecting the fan to the motherboard, securing it in place, and testing its functionality. These steps ensure a smooth and effective installation.
Now that your fan is installed, make sure to regularly clean and maintain it, along with other components, to ensure uninterrupted airflow. Additionally, monitor temperatures and adjust fan settings as needed to achieve an optimal balance between cooling performance and noise levels.
By taking the time to install an 80mm case fan, you have taken a proactive step towards preserving the health and performance of your computer system. Enjoy improved airflow, cooler temperatures, and a more efficient computing experience!