Introduction
A rear case fan is a vital component in any computer system, serving to extract hot air from the back of the case and keep the internal components cool. Proper fan placement is crucial to ensure efficient cooling and prevent overheating, which can lead to system instability and hardware damage.
When it comes to connecting the rear case fan to the motherboard, there are a few key considerations. Understanding where to find the rear case fan connector on the motherboard, as well as how to connect and manage the cables, is essential for maintaining optimal cooling performance.
In this article, we will explore the different aspects of connecting a rear case fan to the motherboard. We will discuss the importance of proper fan placement, common locations for the rear case fan connector, how to check the motherboard manual for the connector, and the process of connecting the fan to the motherboard. Additionally, we’ll touch on the significance of ensuring proper airflow and cable management to maximize cooling efficiency.
If you’re a DIY computer enthusiast or someone looking to upgrade your system’s cooling capabilities, keep reading to discover the ins and outs of connecting a rear case fan to the motherboard.
What is the rear case fan?
The rear case fan, also known as the exhaust fan, is a component located at the back of the computer case. Its primary function is to expel hot air generated by the internal components, such as the CPU and GPU, out of the case. This helps to maintain a stable temperature within the system and prevent overheating.
Rear case fans are typically equipped with blades made of plastic or metal that rotate when powered on. These blades generate airflow within the case, allowing cool air from the front or sides of the case to enter and absorb the heat generated by the internal components. The hot air is then expelled out through the rear case fan, ensuring a continuous cycle of air circulation.
The size of the rear case fan is typically specified in millimeters. Common sizes include 80mm, 120mm, and 140mm, with larger fans generally able to move more air at lower fan speeds, resulting in quieter operation. It’s important to choose a fan size that is compatible with your computer case to ensure proper installation.
In addition to its cooling capabilities, the rear case fan also plays a role in reducing dust buildup inside the case. As the fan draws in cool air from the front or sides, it concurrently filters out dust particles, preventing them from settling on the internal components. This can lead to a cleaner system and potentially extend the lifespan of your computer components.
Overall, the rear case fan is a crucial component in maintaining the overall temperature and performance of your computer system. By effectively expelling hot air and promoting airflow, it helps prevent overheating and ensures optimal functioning of the internal components.
The importance of proper fan placement
Proper fan placement within a computer case is essential for efficient cooling and optimal system performance. Placing the rear case fan in the correct location has several key benefits:
- Heat extraction: The primary purpose of the rear case fan is to extract hot air from the case. By placing it at the rear, where hot air naturally rises, the fan can effectively pull out the heat generated by the internal components. This prevents the accumulation of hot air within the case, reducing the risk of overheating.
- Airflow optimization: Strategically positioning the rear case fan helps optimize airflow within the system. A properly placed fan creates a flow path for cool air to enter from the front or sides of the case, pass over the internal components, and exit through the back. This constant circulation of air helps maintain even temperatures throughout the case and ensures that no hot spots develop.
- Component longevity: Overheating can significantly impact the lifespan of computer components. By placing the rear case fan correctly, you can help prolong the life of your CPU, GPU, and other sensitive hardware by keeping them within their optimal temperature range. Cooler components also tend to perform better and are less prone to performance-related issues.
- Noise reduction: Proper fan placement can also contribute to reducing noise levels in your system. By strategically positioning the rear case fan, you can direct airflow away from sensitive microphones or areas prone to sound distortion. This minimizes the chances of unwanted noise interference and promotes a quieter computing experience.
When planning the fan placement, it’s important to consider the overall airflow dynamics within your computer case. A well-designed airflow path will typically involve a combination of intake fans at the front or sides of the case, and exhaust fans like the rear case fan at the back. This ensures a steady flow of cool air entering the system while exhaust fans efficiently expel hot air.
Ultimately, proper fan placement is crucial for maintaining optimal temperatures, preventing overheating, and ensuring the longevity and performance of your computer components. By strategically positioning the rear case fan, you can create a well-ventilated and balanced system that operates smoothly and reliably.
Where to look for the rear case fan connector on the motherboard
When connecting a rear case fan to the motherboard, you’ll need to locate the appropriate connector on the motherboard itself. The location of the rear case fan connector can vary depending on the motherboard model and manufacturer. Here are some common locations where you can find it:
- Near the rear I/O panel: Many motherboards feature a dedicated connector for the rear case fan near the rear I/O (input/output) panel. This location is convenient as it allows for a direct connection without obstruction from other components.
- Alongside other fan headers: Motherboards often include multiple fan headers for connecting various fans, including the rear case fan. These headers are typically grouped together, usually along the edge of the motherboard. Check the motherboard’s manual or look for labels such as “SYS_FAN” or “CHA_FAN” to identify the appropriate connector.
- Near the CPU fan header: In some cases, the rear case fan connector may be located near the CPU fan header. This placement is designed to facilitate easy cable management as both the CPU fan and rear case fan can be connected in close proximity.
- Within a fan control module: Some high-end motherboards may feature a dedicated fan control module that consolidates fan connectors and offers advanced fan control options. If your motherboard includes such a module, check if it has a specific connector for the rear case fan.
Keep in mind that the exact location of the rear case fan connector may vary depending on the motherboard model, so it’s advisable to consult the motherboard’s manual for specific guidance. The manual will provide detailed information on the motherboard’s layout, including the location and labeling of the fan headers.
Once you have identified the rear case fan connector, you can proceed to connect the fan to the motherboard. However, before doing so, ensure that the computer is powered off and unplugged to prevent any accidental damage.
In the next section, we will discuss how to check the motherboard manual for the rear case fan connector.
Common locations for the rear case fan connector
While the specific location of the rear case fan connector may vary depending on the motherboard model, there are some common locations where you can expect to find it. These include:
- Near the rear I/O panel: One of the most common locations for the rear case fan connector is near the rear I/O (input/output) panel of the motherboard. This area is easily accessible and allows for a direct connection without interference from other components.
- Along the edge of the motherboard: Many motherboards feature one or more dedicated fan headers along the edge of the board. These headers are typically labeled and provide easy access for connecting various fans, including the rear case fan. Look for labels such as “SYS_FAN” or “CHA_FAN” to identify the appropriate connector.
- Near the CPU fan header: Some motherboards position the rear case fan connector near the CPU fan header. This arrangement enables efficient cable management, as both the CPU fan and rear case fan connections can be made in close proximity.
- Within a dedicated fan control module: Higher-end motherboards may include a dedicated fan control module that consolidates fan connectors and offers advanced control options. If your motherboard has such a module, check if it includes a specific connector for the rear case fan.
It’s important to note that the exact location of the rear case fan connector may vary depending on the motherboard manufacturer and model. To ensure accuracy, always consult the motherboard’s manual for precise information on the location and labeling of the fan connectors.
By familiarizing yourself with these common locations, you will be better prepared to locate the rear case fan connector on your motherboard. This knowledge will make the process of connecting the rear case fan a smoother and more efficient one.
Checking the motherboard manual for the rear case fan connector
When connecting a rear case fan to the motherboard, it’s important to consult the motherboard’s manual for specific instructions and guidance. Here are the key steps to follow when checking the manual:
- Locate the manual: The motherboard manual is typically provided in the packaging or can be downloaded from the manufacturer’s website. Make sure you have access to the manual before proceeding.
- Identify the fan headers section: Look for a section in the manual that provides information about the fan headers on the motherboard. This section may be labeled as “Fan connectors,” “Fan headers,” or similar terminology.
- Find the rear case fan connector: Within the fan headers section, locate the specific information related to the rear case fan connector. Pay attention to the labeling or description provided to identify the correct connector.
- Understand the pin configuration: The manual should provide a diagram or description of the pin configuration for the rear case fan connector. This information is crucial for ensuring the correct alignment of the fan’s cable with the connector.
- Note any additional instructions: The motherboard manual may include additional instructions or recommendations for connecting the rear case fan. These instructions could pertain to specific limitations, voltage control options, or fan speed regulation.
The motherboard manual is an invaluable resource for ensuring a successful and proper connection between the rear case fan and the motherboard. It provides clarity on the specific location of the connector, any special considerations, and important details regarding the pin configuration.
By carefully reviewing the manual, you can avoid any potential mistakes and ensure that the rear case fan is correctly connected to the motherboard. This will contribute to the overall cooling efficiency of your system and help maintain optimal performance.
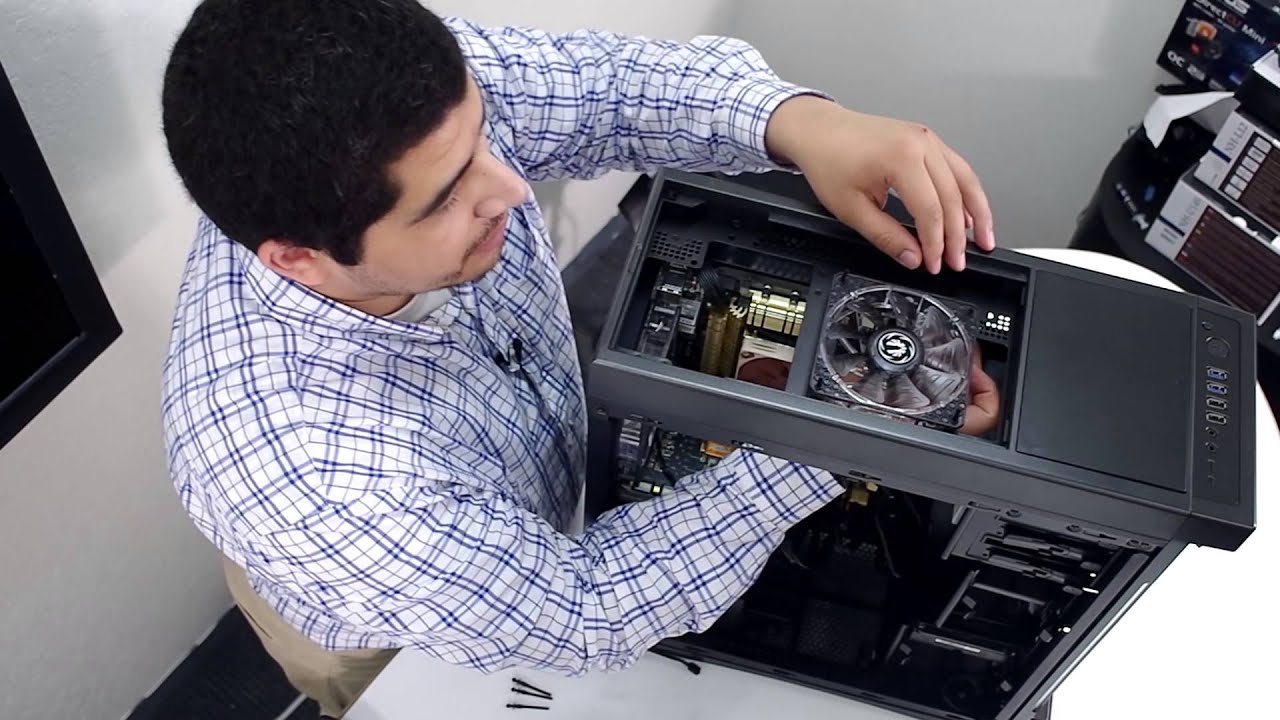
Connecting the rear case fan to the motherboard
Now that you have located the rear case fan connector on the motherboard and consulted the motherboard’s manual for specific instructions, it’s time to connect the rear case fan. Follow these steps to ensure a proper connection:
- Turn off the computer: Before working on any internal components, make sure to turn off the computer and unplug the power cord. This will prevent any potential electrical hazards.
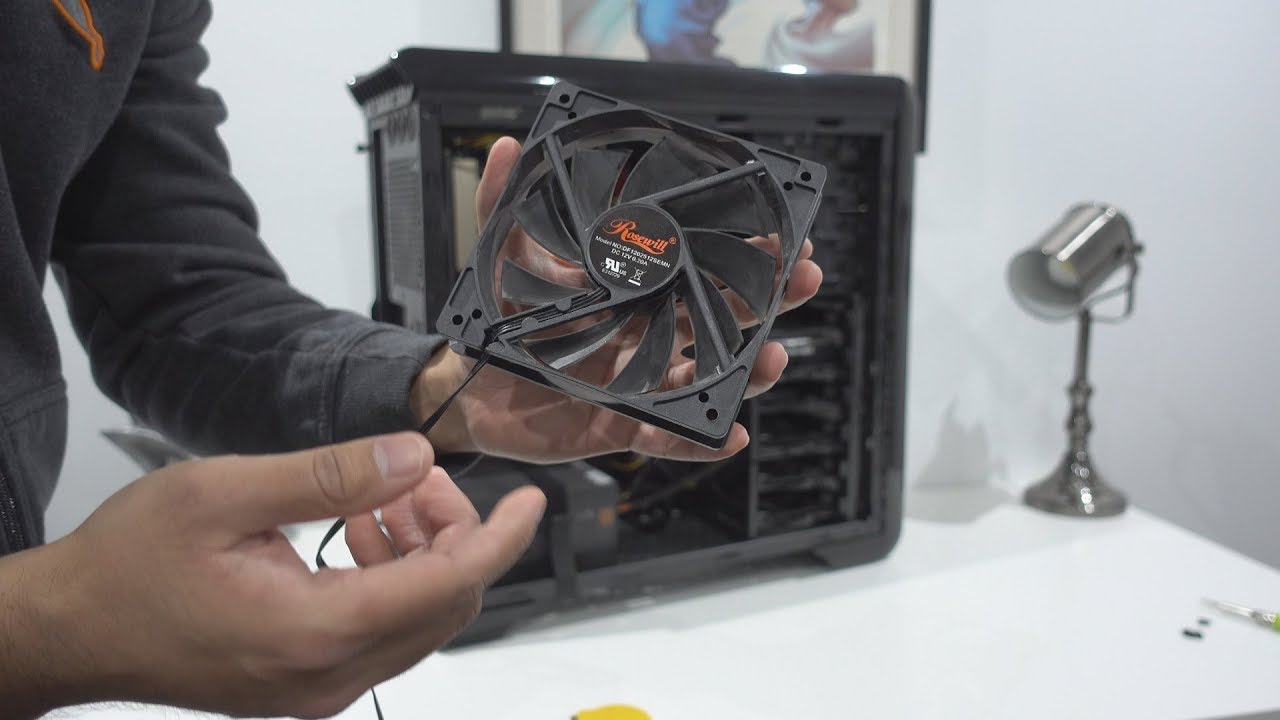
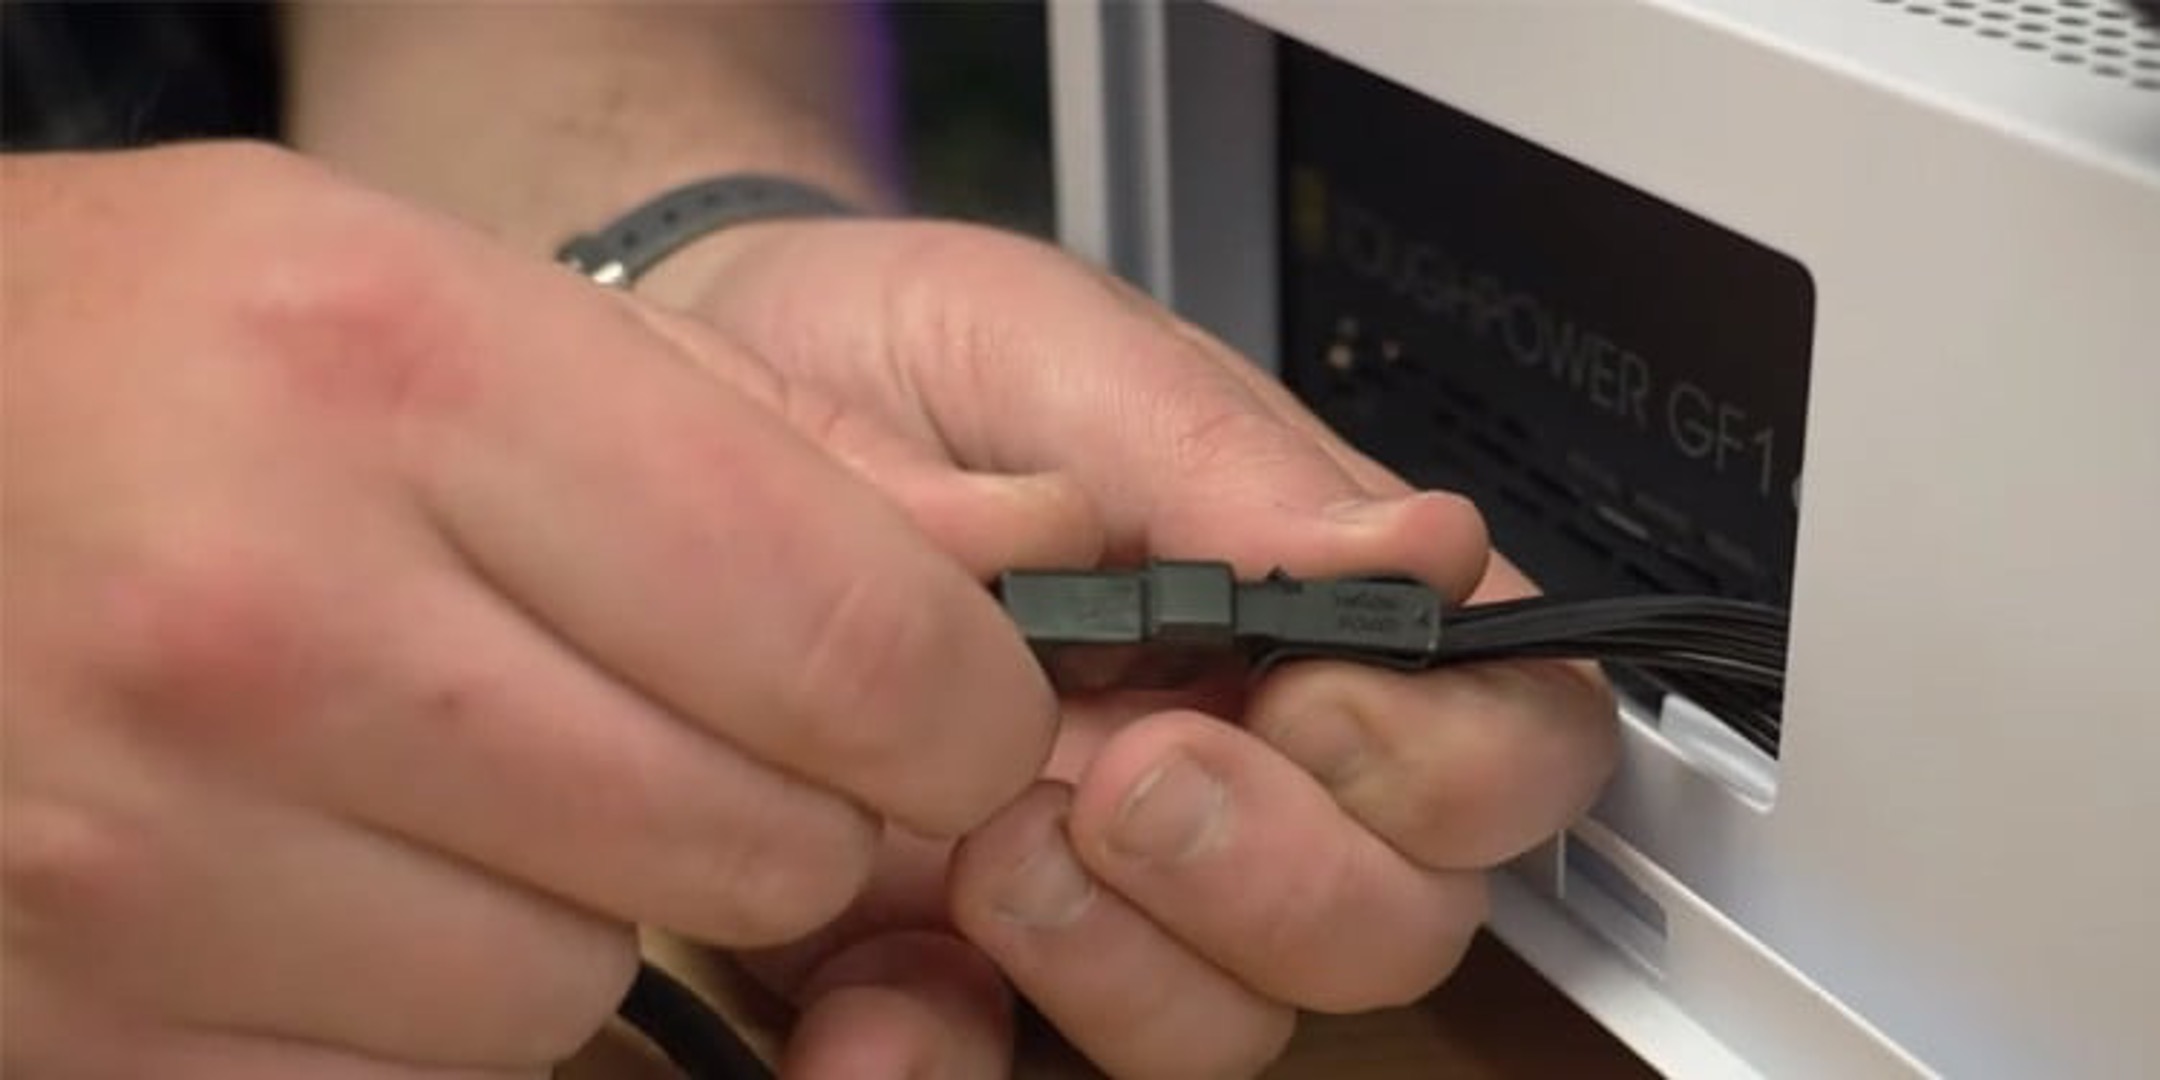
- Identify the rear case fan cable: Locate the cable that comes with the rear case fan. It usually has a 3-pin or 4-pin connector at the end.
- Align the connector with the rear case fan header: Take the rear case fan cable and align the connector with the corresponding rear case fan header on the motherboard. Ensure that the pins on both the connector and the header line up correctly.
- Secure the connection: Gently plug the connector into the rear case fan header, ensuring a firm connection. Be careful not to force the connector in the wrong direction or apply excessive pressure, as this can damage the pins or the header.
- Verify the connection: Once the connector is securely in place, visually inspect the connection to confirm that it is properly seated. Ensure that no pins are bent or misaligned.
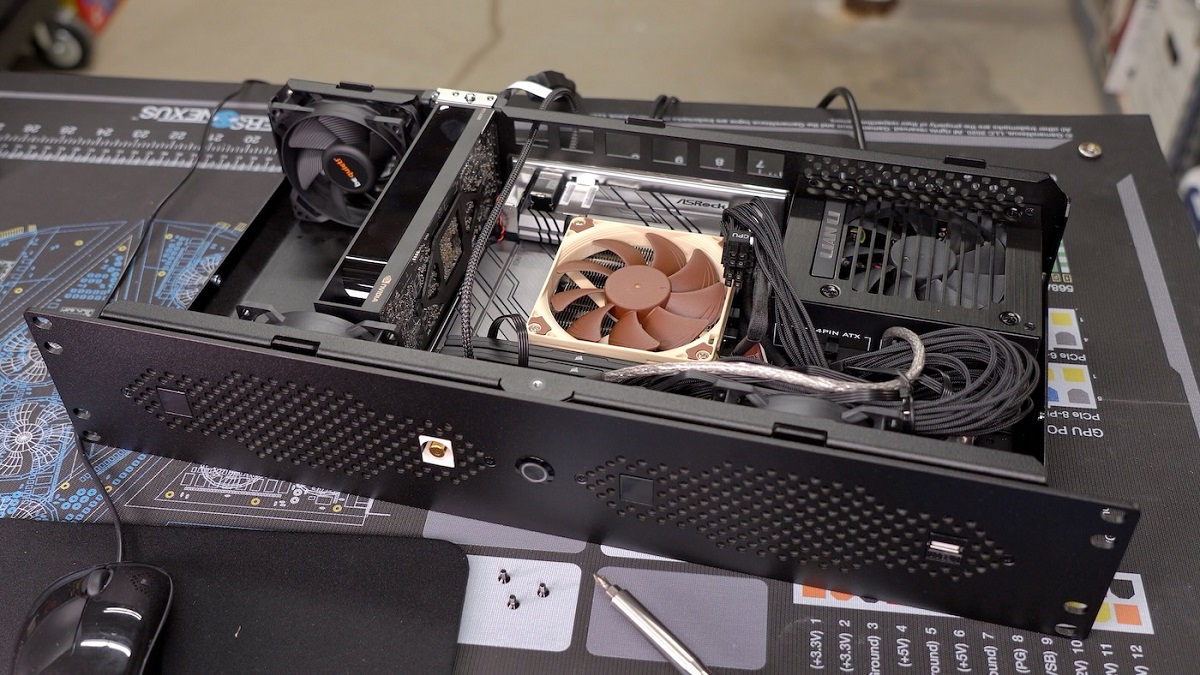
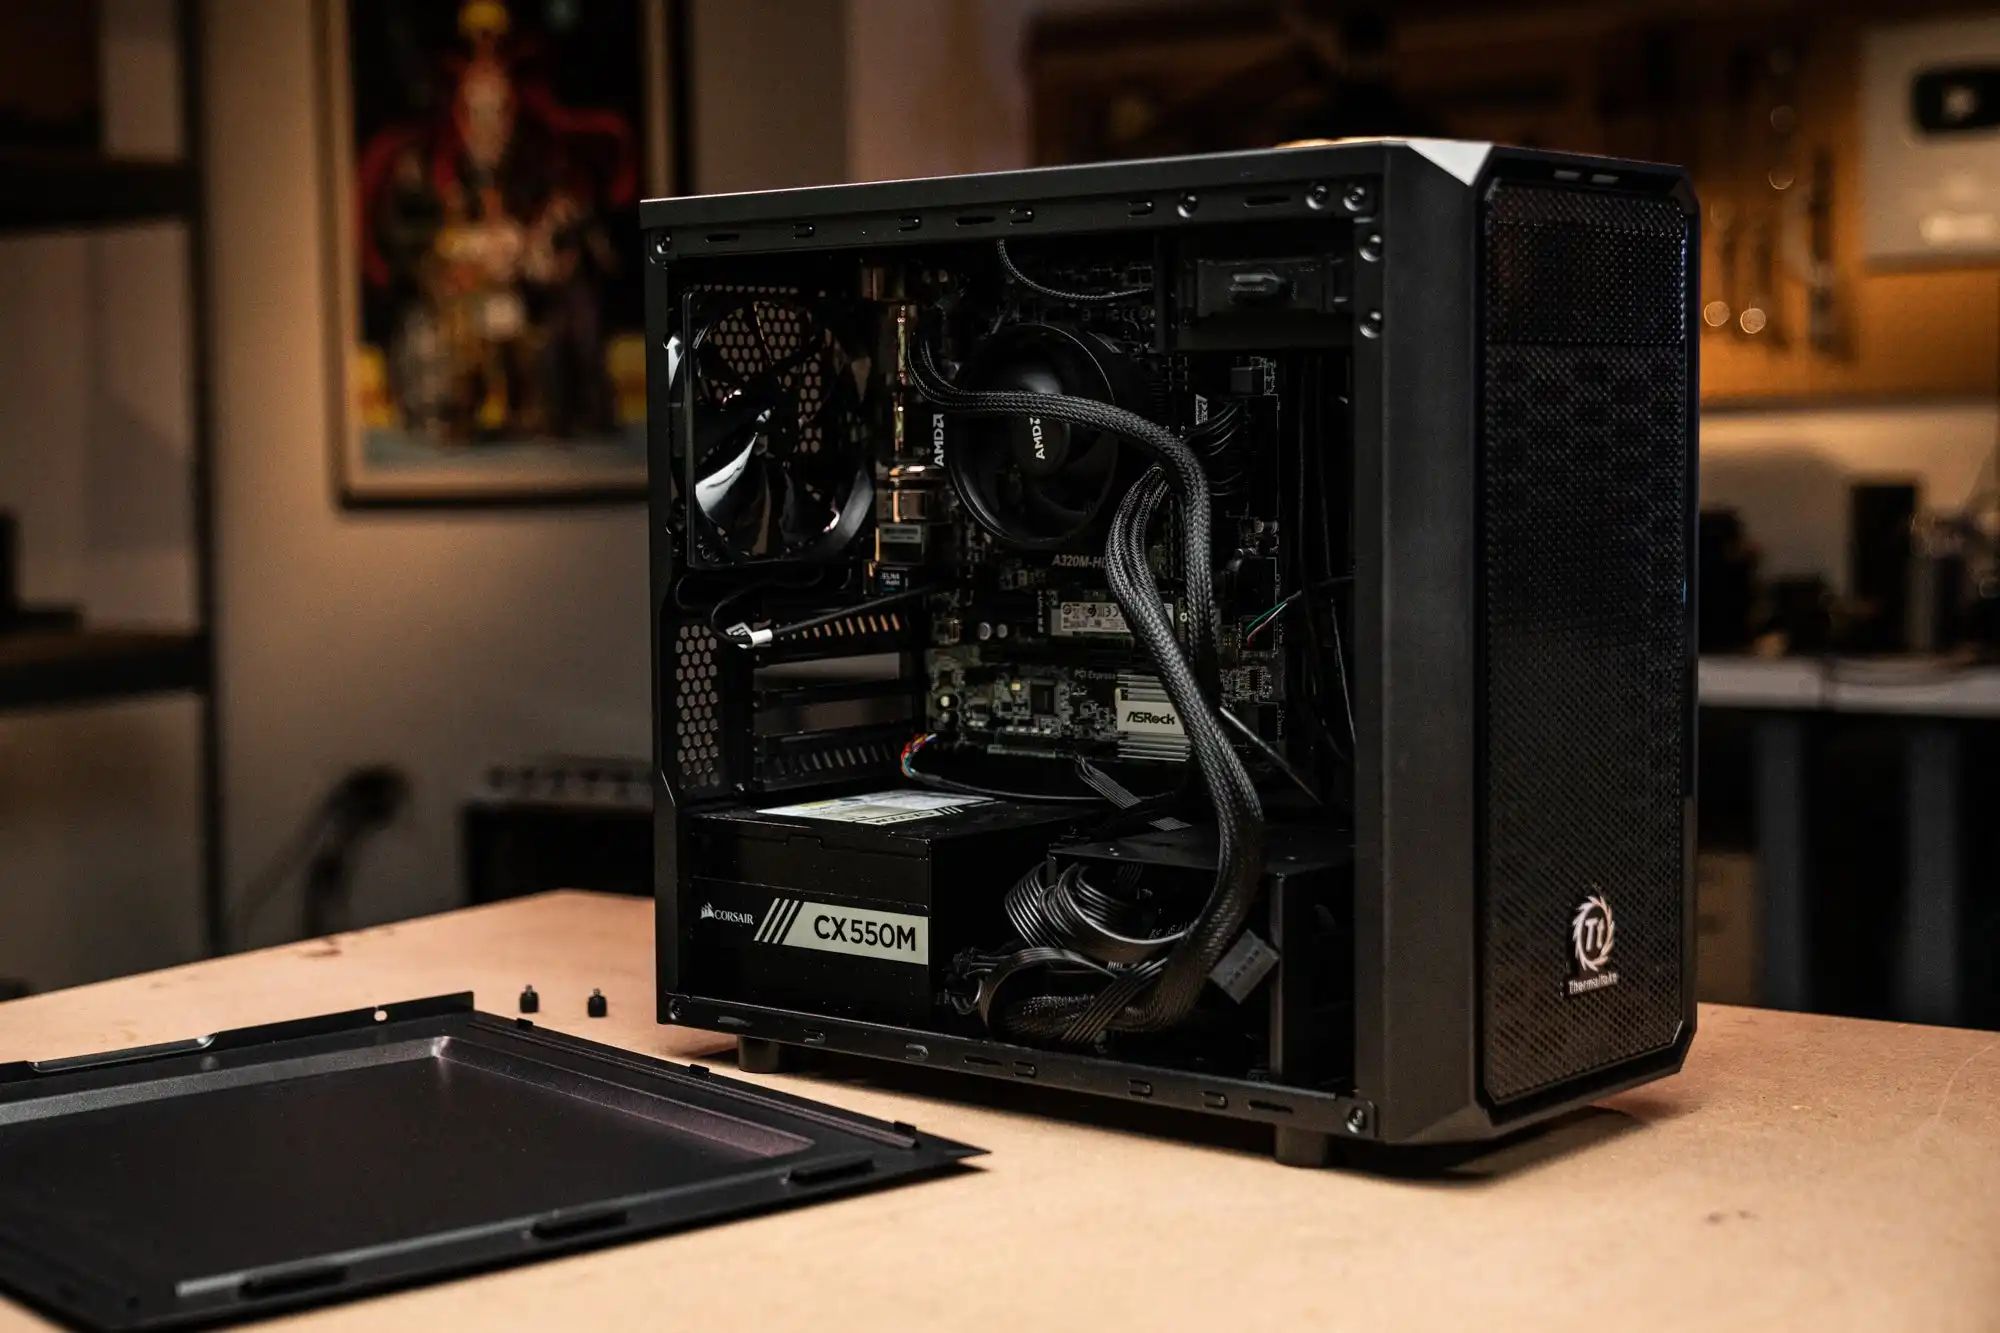
- Cable management: After connecting the rear case fan, manage the cables to ensure they are neatly organized and do not obstruct other components. Use cable ties or Velcro straps to secure the cables and prevent interference with fans or other parts.
Once the rear case fan is connected, you can proceed to power on your computer and monitor the fan’s operation. If your motherboard supports it, you can also adjust the fan speed or enable any advanced control features through the BIOS or motherboard software.
Ensuring a proper connection between the rear case fan and the motherboard is crucial for effective cooling and system stability. By following these steps and consulting the motherboard’s manual, you can connect the rear case fan with confidence and maintain optimal airflow within your computer.
Ensuring proper airflow and cable management
Connecting the rear case fan to the motherboard is just one aspect of achieving efficient cooling in your computer system. To optimize airflow and ensure effective cooling performance, it’s important to focus on cable management and overall airflow management within the case:
- Cable routing: Proper cable routing is essential to prevent cables from obstructing airflow within the case. Use cable ties or Velcro straps to organize and secure the cables, keeping them away from fans and other components. This helps to maintain a clear path for airflow and prevents unnecessary turbulence.
- Fan placement: In addition to the rear case fan, consider the placement of other fans, such as front intake fans or top-mounted fans. Strategically positioning these fans can improve overall airflow and create positive air pressure inside the case, which helps to expel hot air and prevent dust buildup.
- Optimal fan speed: Depending on your motherboard and fan control options, you may have the ability to adjust the fan speed. Finding a balance between noise levels and cooling performance is important. Set the fan speed to achieve adequate cooling without unnecessary noise.
- Dust management: Regularly clean your computer case and fans to remove built-up dust. Accumulated dust can block airflow and reduce cooling efficiency. Use compressed air or a soft brush to gently clean fans, heatsinks, and other components.
- Consider additional cooling: Depending on your system’s requirements, you may need to consider additional cooling solutions, such as CPU coolers, GPU fans, or case fans. Assess the cooling needs of your specific build and consider adding extra fans or upgrading existing ones to ensure sufficient airflow.
By implementing these airflow and cable management practices, you can maximize cooling efficiency and promote a well-ventilated computer system. Proper cable management and airflow optimization contribute to lower temperatures, improved performance, and potential increases in the lifespan of your computer components.
Remember to periodically monitor your system’s temperatures and adjust fan speeds or configurations as necessary. Maintaining proper airflow and cable management will help your computer perform optimally and keep it running smoothly for years to come.
Conclusion
Properly connecting the rear case fan to the motherboard and ensuring optimal airflow and cable management are crucial steps in maintaining a cool and stable computer system. By following the guidelines outlined in this article, you can effectively connect the rear case fan, improve cooling performance, and prolong the lifespan of your components.
Understanding where to find the rear case fan connector on the motherboard, checking the motherboard manual for guidance, and securely connecting the fan are essential for establishing a reliable cooling system. Proper fan placement, along with strategic cable management, promotes efficient airflow and prevents overheating of critical components.
Remember to regularly clean your computer case and fans to prevent dust buildup, and consider additional cooling solutions if needed. Monitoring temperatures and adjusting fan speeds when necessary will help ensure optimal cooling and system performance.
Whether you’re a DIY computer enthusiast or simply looking to optimize your system’s cooling capabilities, following these steps will contribute to a well-ventilated and efficient computer system.
With a properly connected rear case fan and a well-managed airflow system, you can enjoy the benefits of a cooler and more reliable computer that operates at its best performance levels.