Introduction
Installing a case fan is a crucial step in optimizing the cooling performance of your computer. Whether you’re a serious gamer, a graphic designer, or simply use your computer for regular tasks, a properly installed case fan can help keep your system cool, preventing overheating and extending the lifespan of your hardware.
In this guide, we will take you through the step-by-step process of installing a case fan. Don’t worry if you’re not a tech expert – the process is relatively straightforward and requires only basic tools. By the end of this article, you’ll have the knowledge and confidence to install a case fan on your own and ensure a more efficient and reliable computer system.
Before we dive into the installation process, it’s important to understand the benefits of having a case fan. Your computer generates a significant amount of heat during operation, especially when running resource-intensive tasks. Without proper cooling, this heat can build up and cause your components to overheat, leading to performance issues and potentially damaging your hardware.
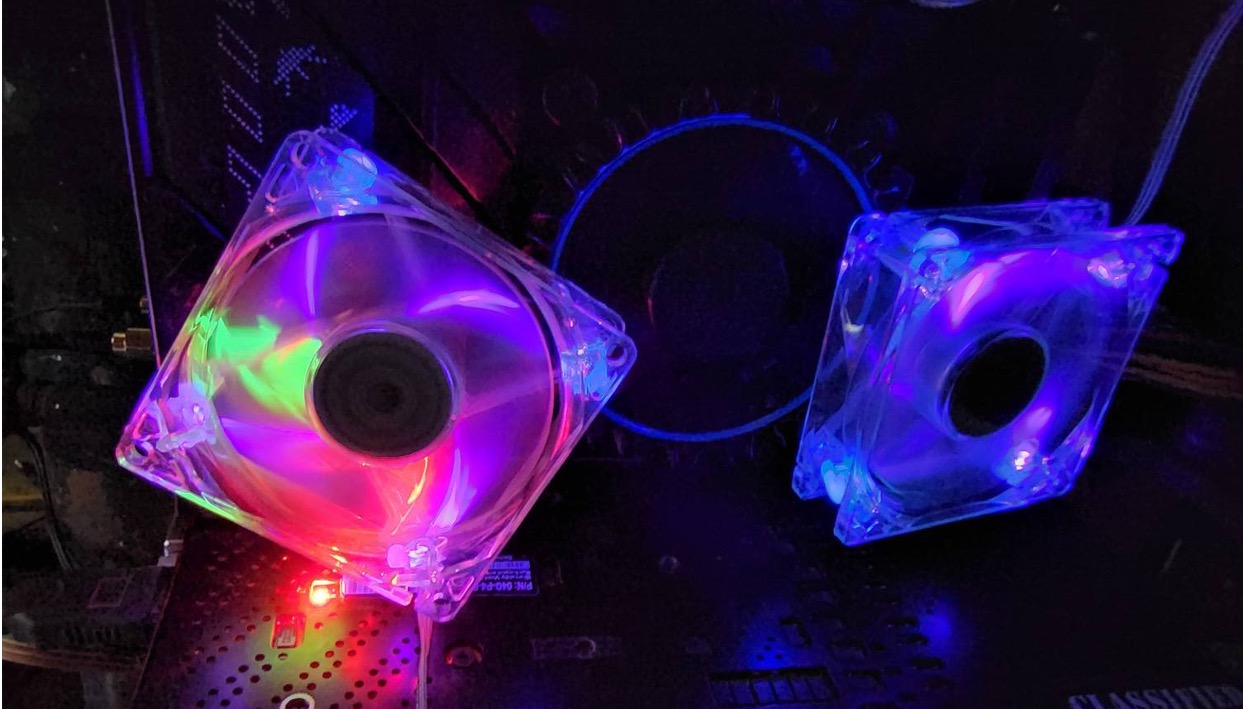
A case fan helps to dissipate this heat by circulating the air inside your computer case. It draws in cool air from the outside and expels hot air, maintaining a steady airflow that prevents the temperature from rising too high. This is particularly important if you have a high-end graphics card, a powerful CPU, or if you often engage in demanding activities like gaming or video editing.
Installing a case fan can also improve the overall acoustics of your computer. By keeping the components cool, the fan allows them to work more efficiently and reduces the need for them to ramp up their cooling mechanisms, such as spinning the fans on the CPU or GPU at higher speeds. This, in turn, leads to quieter operation and a more enjoyable computing experience.
Now that you understand the importance of installing a case fan, let’s proceed with the step-by-step process. Gather the necessary tools and equipment, and follow the instructions in the subsequent sections to ensure a successful installation. Let’s get started!
Step 1: Gather the necessary tools and equipment
Before you begin the installation process, it is important to gather all the necessary tools and equipment. Having everything ready will ensure a smooth and efficient installation. Here are the items you will need:
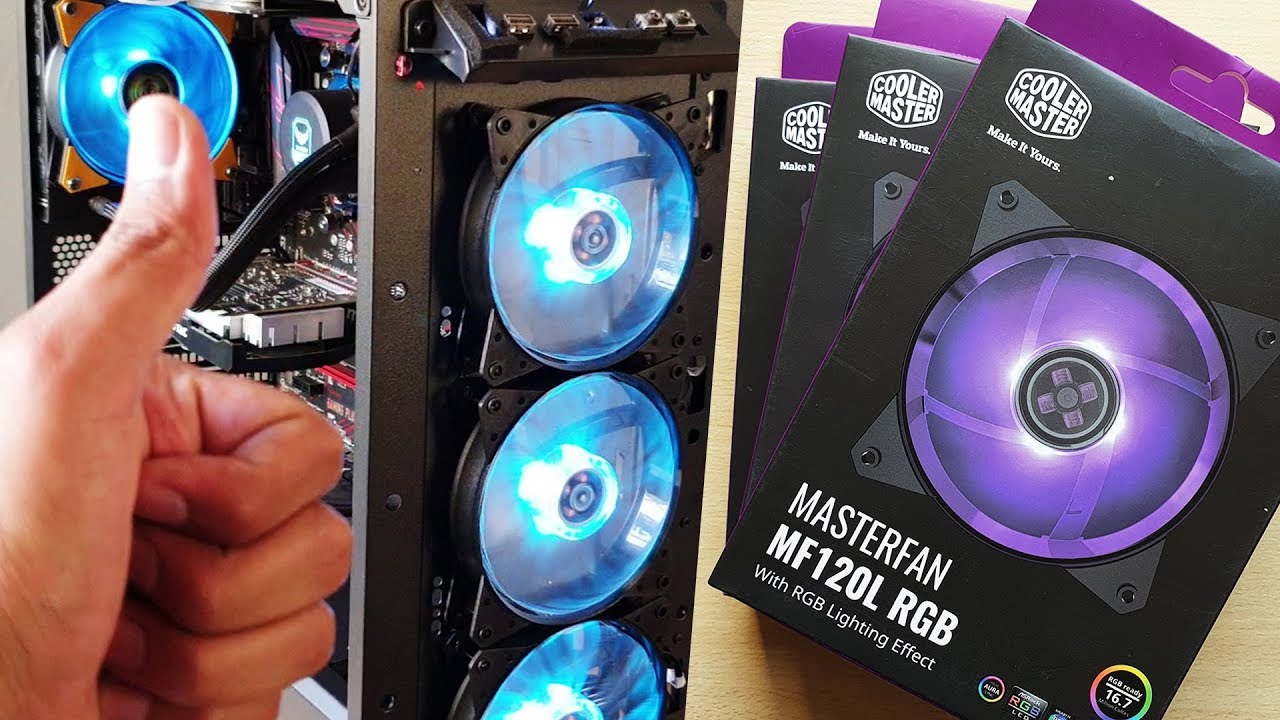
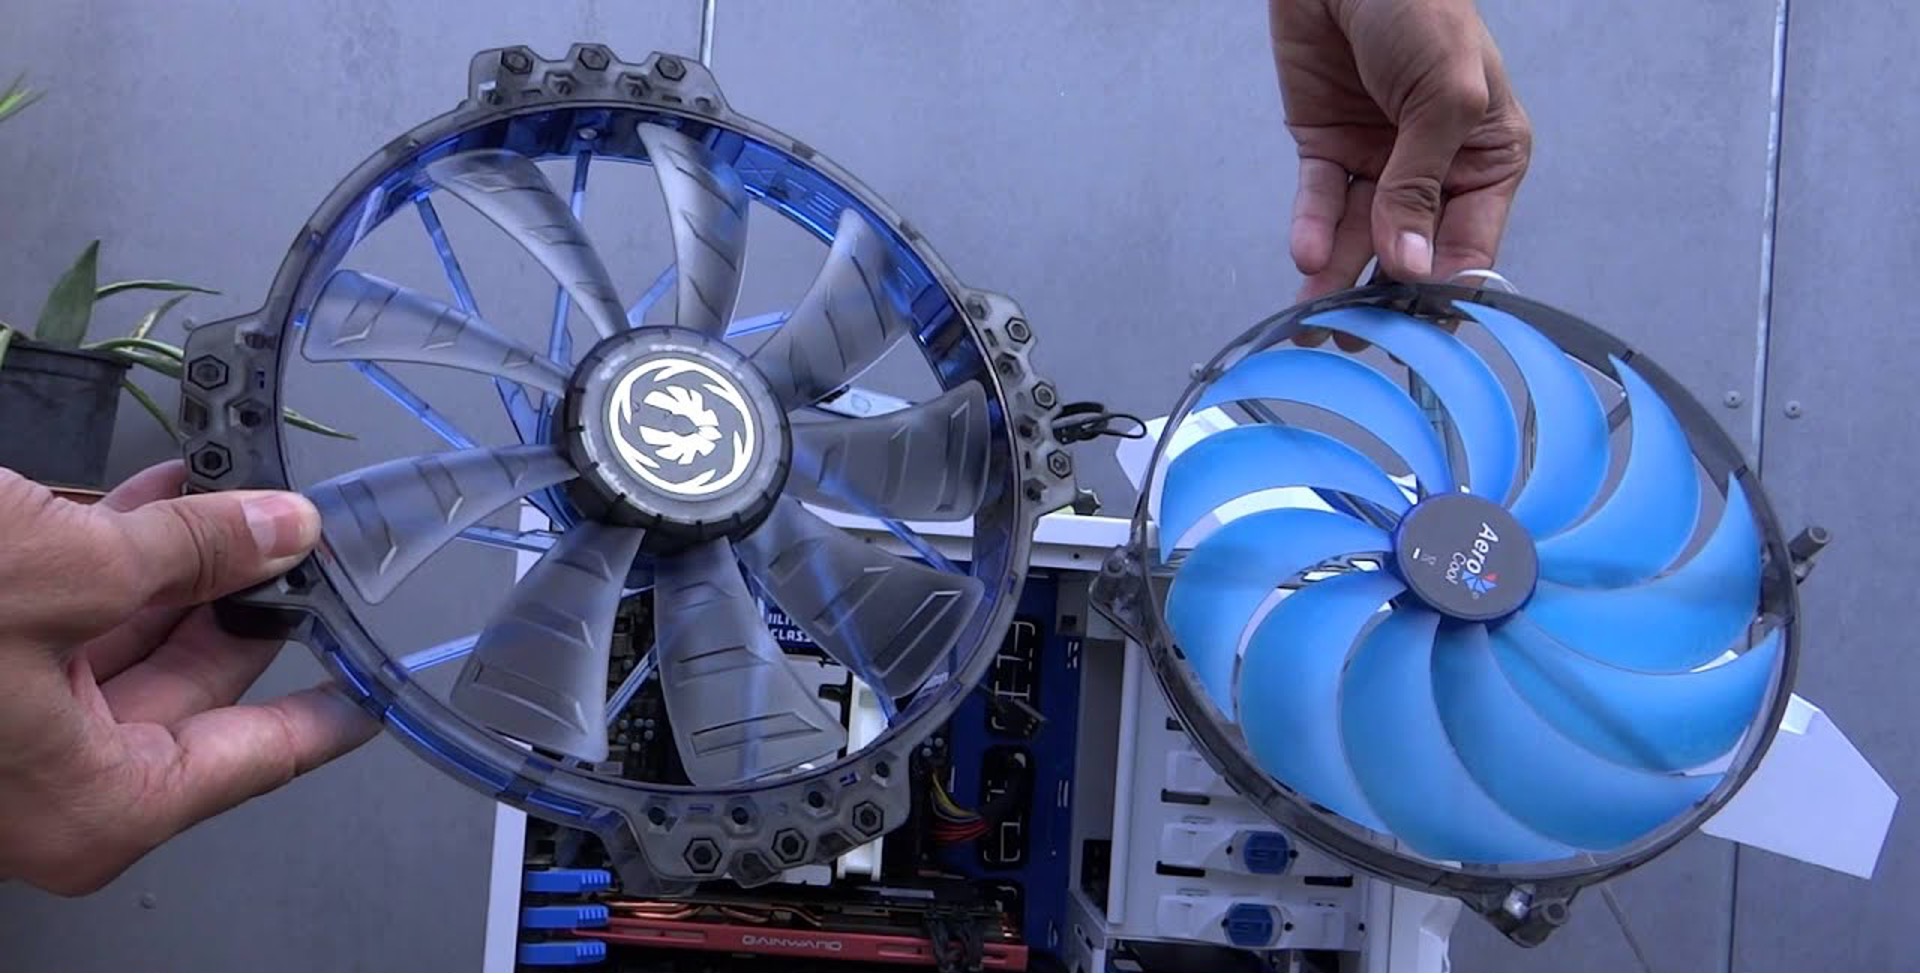
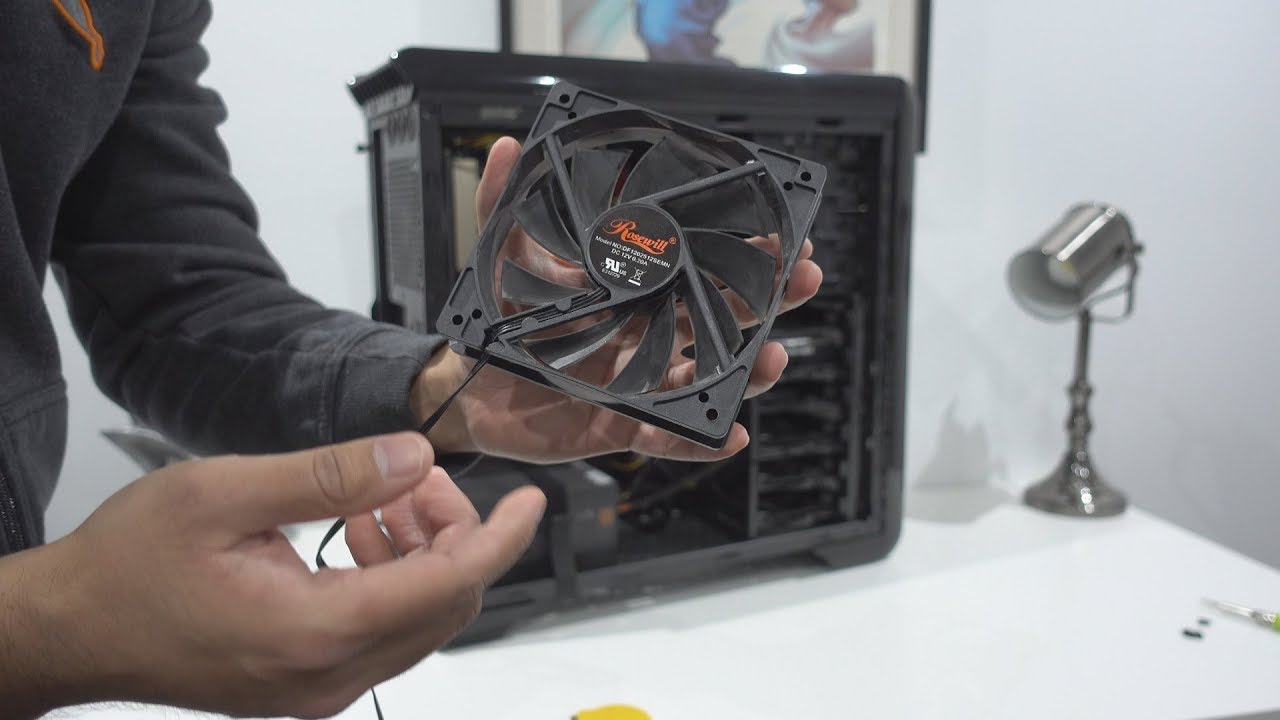
- A case fan – Choose a fan that is compatible with your computer case. Check the size and specifications of your case to determine the appropriate fan size (most commonly 120mm or 140mm).
- Screwdriver – You will need a screwdriver to secure the fan in place.
- Screws – Check the fan package to see if screws are included. If not, make sure you have screws that fit the fan mounting holes.
- Power supply cable – Ensure that you have a spare power supply cable to connect the fan to the motherboard or power supply unit.
- Anti-static wrist strap (optional) – It is recommended to use an anti-static wrist strap to prevent any damage to your computer components due to static electricity.
Once you have gathered these tools and equipment, you are ready to move on to the next step. It’s always a good idea to double-check that you have everything you need before beginning the installation process. This will save you time and prevent any interruptions during the process.
With all the necessary tools and equipment ready, you are now prepared to install your case fan. The next section will guide you through the process of identifying the position for the fan and preparing the case for installation.
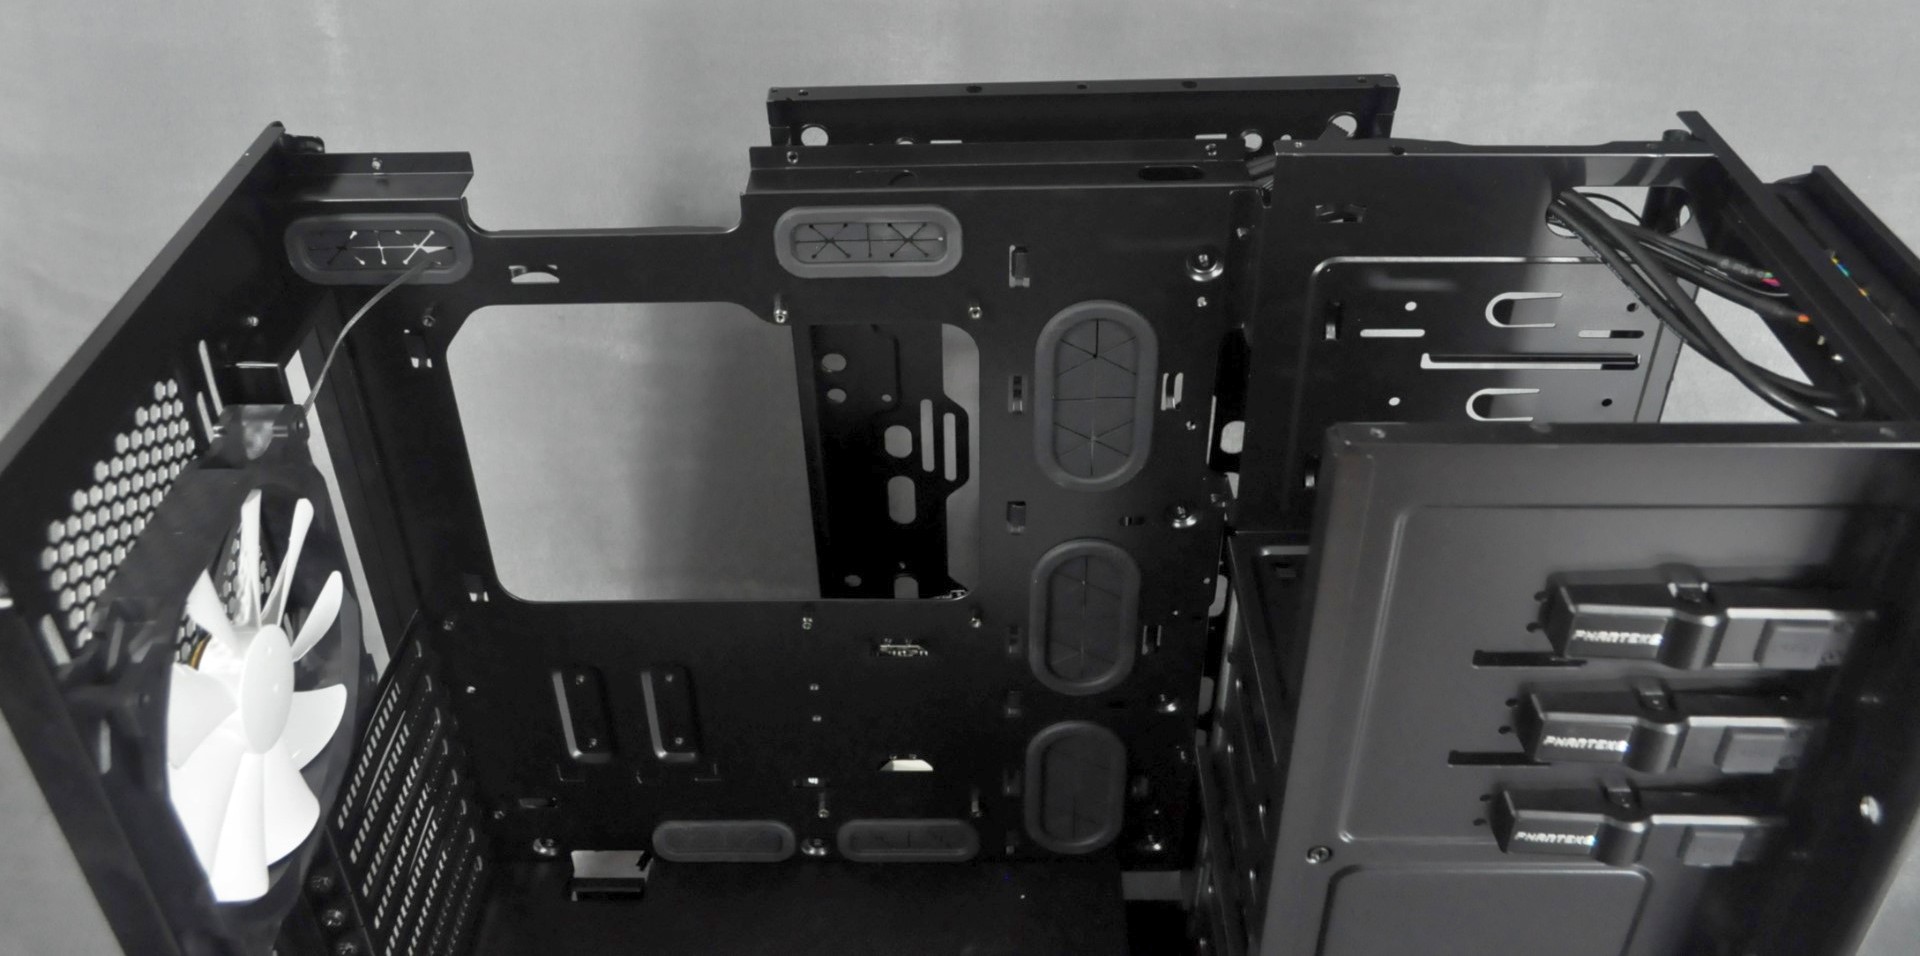
Step 2: Identify the position for the case fan
Choosing the right position for your case fan is crucial for effective cooling. The goal is to maximize airflow and direct it towards the components that generate the most heat. Here are some key factors to consider when identifying the position for your case fan:
- Front intake – Placing a fan at the front of your case can help draw in cool air from the outside. This is especially beneficial if your case has a mesh or vented front panel. The front intake fan should be positioned to blow air towards the components, such as the CPU and GPU, as they tend to generate a significant amount of heat.
- Top exhaust – Adding a fan at the top of your case can aid in expelling hot air that rises. This helps maintain steady airflow and prevents heat from getting trapped inside the case. The top exhaust fan should be positioned to blow air out of the case.
- Rear exhaust – Most cases come with a rear exhaust fan pre-installed. If you have an empty rear fan mount, consider adding a fan to improve the airflow and assist in expelling hot air. The rear exhaust fan should be positioned to blow air out of the case.
- Side intake or exhaust – Some computer cases have side panels with mounting options for fans. These fans can either intake cool air or exhaust hot air, depending on the setup. If your case supports side fans, consider the airflow pattern within your case and choose the configuration that best suits your needs.
To determine the ideal position for your case fan, it is recommended to consider the layout and design of your computer case. Look for areas that allow for easy mounting and sufficient airflow. Additionally, take note of any obstructions, such as cables or drive bays, that may affect the installation process or airflow.
Once you have decided on the position for your case fan, ensure that there are proper mounting holes or brackets available in that location. This will allow you to securely attach the fan to the case. In some cases, you may need to remove a panel or unscrew existing components to create space for the fan.
By carefully selecting the position for your case fan, you can effectively optimize the cooling performance of your computer. The next section will guide you through the process of preparing the case for installation.
Step 3: Prepare the case for installation
Before installing the case fan, it is essential to prepare the computer case to ensure a proper and secure fit. Follow these steps to prepare the case for the fan installation:
- Power off the computer – Before working inside the case, shut down your computer and unplug it from the power source. This will prevent any accidents or damage to the components.
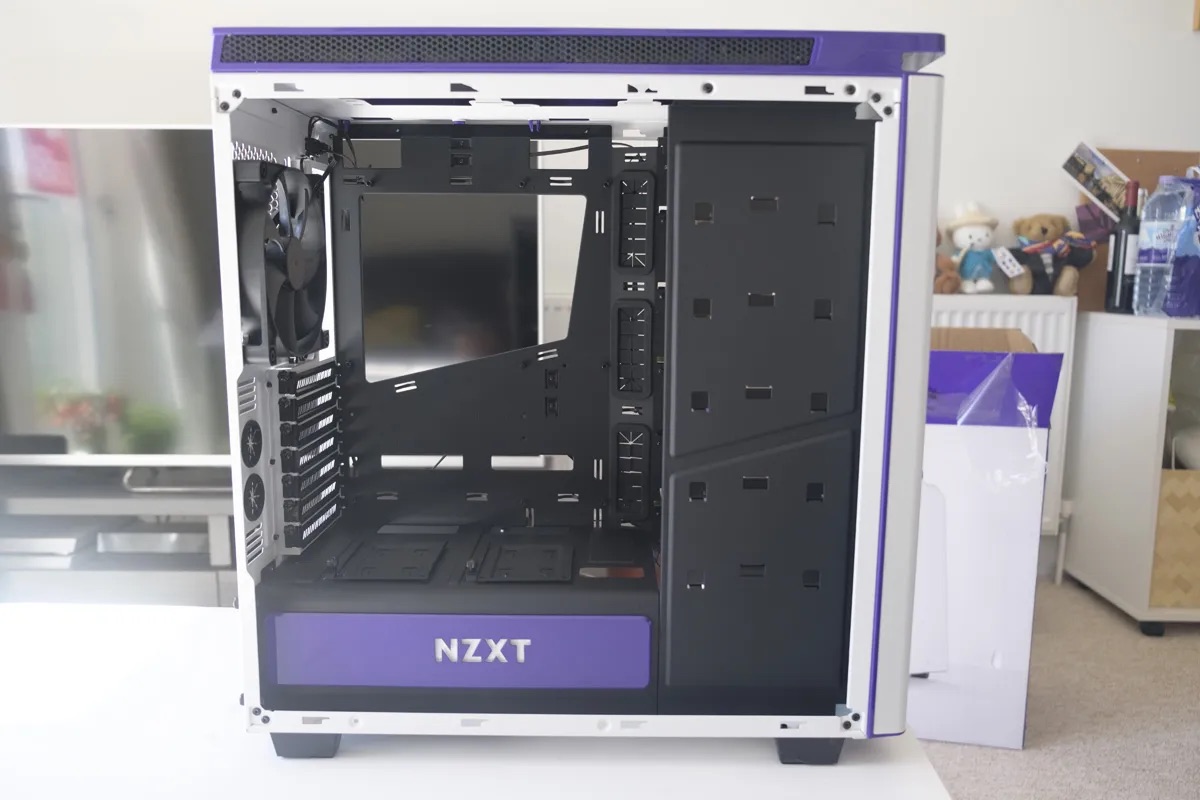
- Remove the side panel – Open the computer case by removing the side panel. Most cases have screws or latches holding the panel in place. Use a screwdriver or follow the manufacturer’s instructions to remove the panel safely.
- Locate the fan mounting area – Identify the area in the case where you will mount the fan. This will typically be near the front, top, or rear of the case, depending on the chosen position for the fan.
- Clear any obstructions – Check for any obstructions, such as cables or components, that may hinder the installation of the fan. Move or rearrange any cables to provide a clear path for the fan installation.
- Prepare the mounting holes – If the case has screw holes for fan installation, make sure they are clear and free from any debris or dust. Use compressed air or a soft brush to clean the holes if necessary.
Preparing the case for fan installation is a crucial step to ensure a smooth and secure installation process. By following these steps, you can create a clean and safe working environment inside the case.
Once you have prepared the case, you are ready to move on to the next step: connecting the fan to the power supply. This will ensure that the fan receives the necessary power to operate. The following section will guide you through this process.
Step 4: Connect the fan to the power supply
Now that you have prepared the case, it’s time to connect the case fan to the power supply to provide it with the necessary power for operation. Here’s what you need to do:
- Locate the fan power connector – Check the fan cables for a power connector. It is usually a 3 or 4-pin connector located at the end of the cable.
- Identify the appropriate connection – Depending on your computer setup and available connectors, determine whether you will connect the fan to the motherboard or directly to the power supply unit.
- Connect to the motherboard – If you choose to connect the fan to the motherboard, locate the fan headers on the motherboard. These headers are usually labeled “SYS_FAN” or “CHA_FAN” and can be found near the CPU socket. Align the fan power connector with the corresponding pins on the motherboard and gently press it in until it clicks into place.
- Connect to the power supply unit – If you opt to connect the fan directly to the power supply unit, locate a spare peripheral power connector. These connectors are usually labeled “Molex” and have 4 pins. Connect the fan power connector to the peripheral power connector, ensuring that the pins align correctly.
- Secure the cables – After connecting the fan, secure the cables using zip ties or cable management solutions to keep them organized and prevent any interference with other components.
Connecting the fan to the power supply is a crucial step to ensure that it receives the necessary power to function. Whether you choose to connect it to the motherboard or directly to the power supply unit, make sure the connection is secure and properly aligned.
With the fan connected to the power supply, you are one step closer to completing the installation process. The next section will guide you through securing the fan in place.
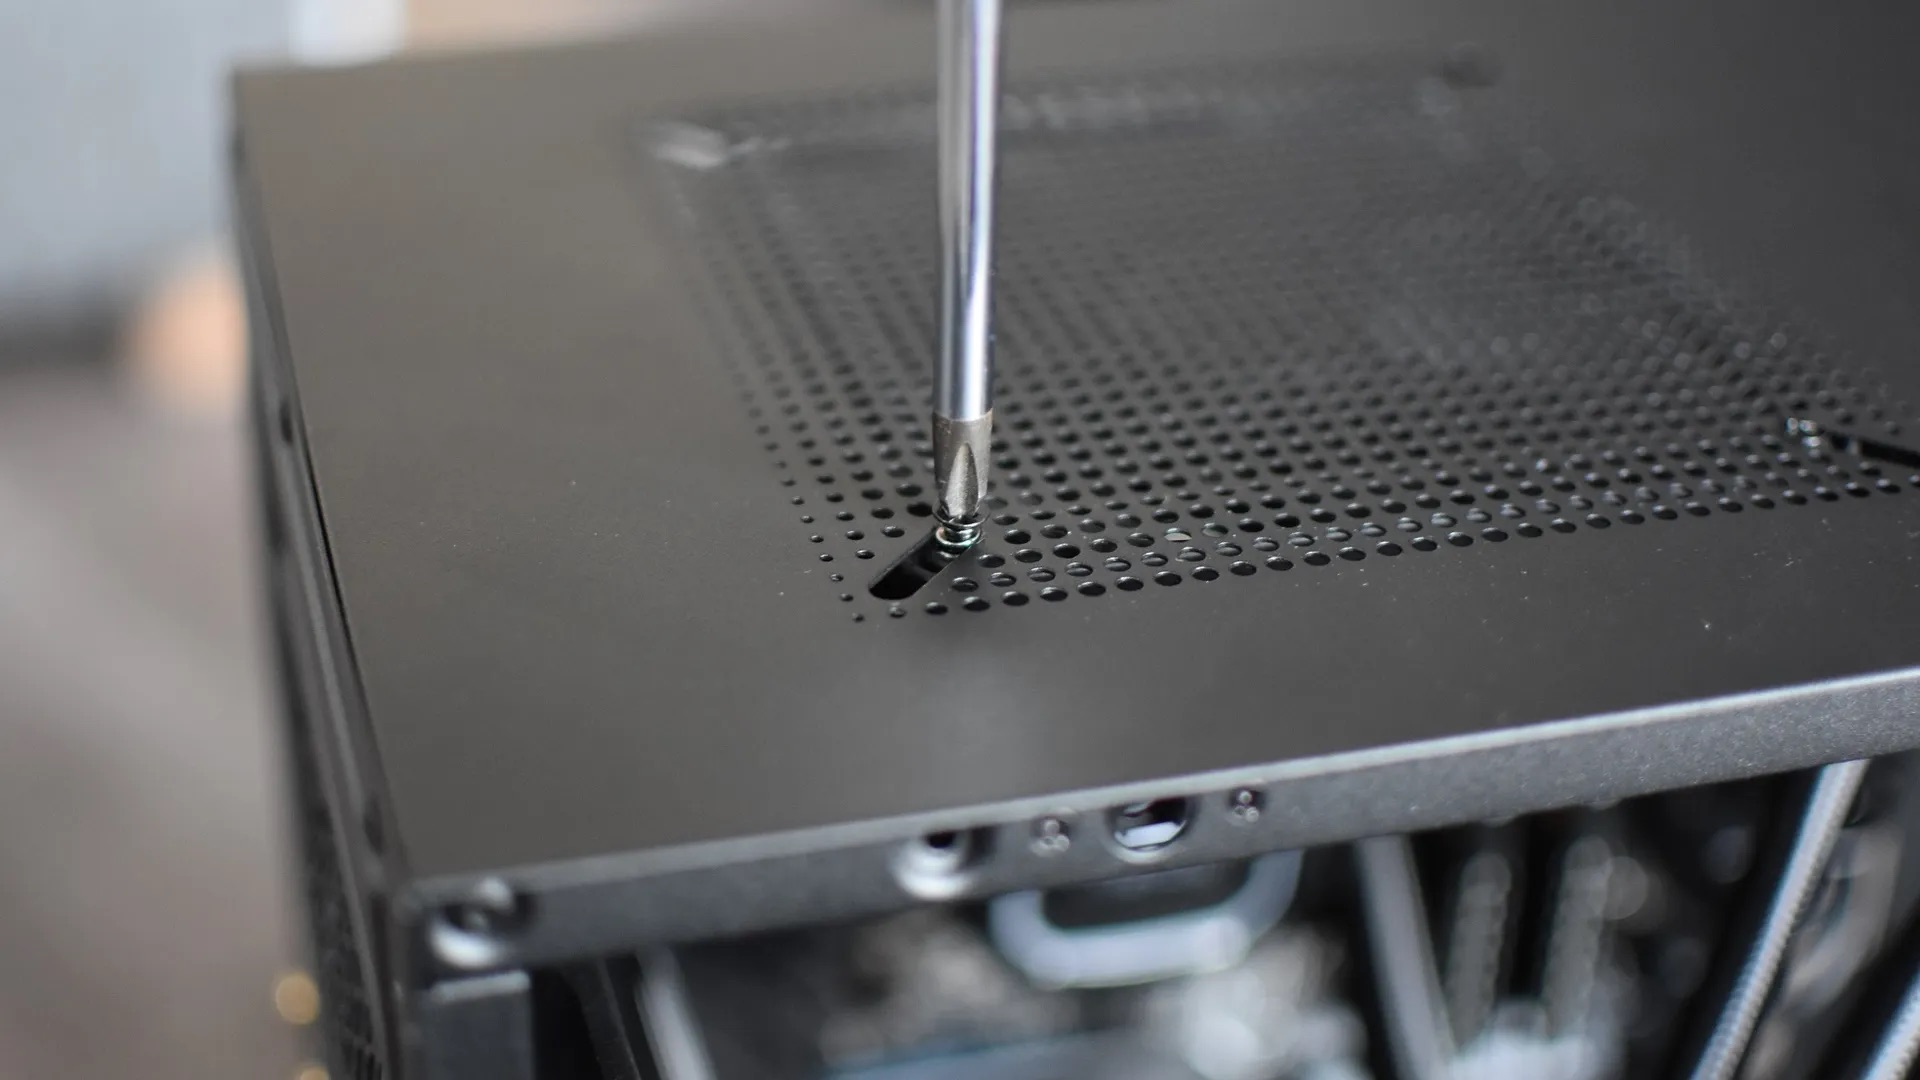
Step 5: Secure the fan in place
After connecting the case fan to the power supply, the next step is to secure it in place within the computer case. This will ensure that the fan remains stable and functions optimally. Follow these steps to secure the fan:
- Align the fan with the mounting holes – Position the fan in the chosen location, aligning the mounting holes on the fan’s corners with the corresponding holes or brackets in the case.
- Insert screws into the mounting holes – Take the screws that came with the fan or use compatible screws and insert them into the mounting holes. Ensure that each screw is inserted firmly but not overly tightened, as this may damage the fan or case.
- Tighten the screws – Using a screwdriver, gently tighten the screws in a diagonal or crisscross pattern. This ensures an even distribution of pressure and prevents the fan from wobbling or becoming loose. Be cautious not to overtighten the screws, as it can cause damage to the fan or case threads.
Once the fan is securely fastened with the screws, give it a gentle shake to ensure it is stable and properly seated. If you feel any movement, double-check the screws’ tightness and adjust them as needed.
It is important to note that some cases may have different mechanisms for securing fans, such as clips or latches. Refer to your case’s manual for specific instructions on how to secure the fan, using the appropriate method provided.
By securing the fan in place, you ensure that it remains stable during operation and effectively directs airflow to cool your components. With this step completed, you’re almost finished with the installation process. The next step will guide you through testing the fan and ensuring its proper functionality.
Step 6: Test the fan and ensure proper functionality
After securing the case fan in place, it’s crucial to test its functionality to ensure that it is working correctly and providing the desired cooling effect. Follow these steps to test the fan:
- Connect the power supply – Plug your computer back into the power source and turn it on.
- Observe the fan’s operation – Pay attention to the fan’s blades and listen for any unusual noises. The fan should spin smoothly and quietly without any signs of wobbling or scraping sounds.
- Monitor fan speeds (optional) – If your motherboard or computer case supports it, you can monitor the fan speeds using software utilities or BIOS settings. Ensure that the fan is receiving the appropriate power and running at the desired speed.
- Check airflow – Place your hand near the fan or use a piece of tissue paper to feel if the fan is creating airflow. You should feel a gentle breeze or see the tissue paper move slightly.
- Monitor system temperatures (optional) – Use software utilities or BIOS settings to monitor your system’s temperatures. Over time, observe if the case fan helps maintain lower temperatures and prevents overheating during heavy usage.
If the fan is not functioning properly or you notice any issues during testing, double-check the connections, ensure that the fan is correctly mounted, and verify the power supply. If problems persist, consult the fan’s manual or contact technical support for further assistance.
Once you are satisfied with the fan’s operation and functionality, you have successfully completed the installation process! Your computer system should now benefit from improved cooling and better overall performance. Enjoy your optimized and cooler computing experience!
Conclusion
Installing a case fan is a relatively simple process that can greatly enhance the cooling performance of your computer. By following the step-by-step guide outlined in this article, you have learned how to gather the necessary tools, identify the position for the fan, prepare the case, connect the fan to the power supply, secure it in place, and test its functionality.
A properly installed case fan helps dissipate heat, improves airflow, and prevents components from overheating. This can lead to better overall system performance, increased hardware lifespan, and a quieter computing experience.
Remember to choose the right position for the case fan based on your computer case’s layout and the components generating the most heat. Take the time to properly prepare the case, ensuring clear airflow paths and clean mounting holes or brackets.
Securely connect the fan to either the motherboard or power supply unit, and ensure that it is firmly mounted using the appropriate screws or clips. Testing the fan’s functionality by observing its operation, airflow, and monitoring system temperatures further verifies its effectiveness.
By following these steps, you can successfully install a case fan and enjoy the benefits of improved cooling and system performance. With proper ventilation, your computer can run more efficiently and reliably, even during resource-intensive tasks like gaming or content creation.
As technology advances and components become more powerful, maintaining optimal temperatures inside your computer case is crucial. Regularly clean the fan and ensure that it is functioning correctly to maximize its effectiveness and prevent dust accumulation.
Now that you have completed the installation process, it’s time to sit back, relax, and enjoy a cooler and more efficient computing experience. Happy computing!