Introduction
Welcome to our guide on how to get a case fan to work with Raspberry Pi. The Raspberry Pi is a popular and versatile single-board computer that is widely used for various projects, including home automation, media centers, and gaming consoles. While the Raspberry Pi is known for its excellent performance, it can sometimes generate heat, especially when running demanding applications or operating in a confined space.
To prevent overheating and ensure optimal performance, it is recommended to use a case fan with your Raspberry Pi. A case fan helps to dissipate heat and maintain the temperature within acceptable limits, thus ensuring the longevity and reliability of your Raspberry Pi. In this guide, we will walk you through the process of installing and configuring a case fan on your Raspberry Pi.
Before we dive into the details of getting a case fan to work with Raspberry Pi, it is important to note that the Raspberry Pi board itself does not have native support for powering a fan. Therefore, we will need to use some additional components and make specific configurations to achieve this.
In the following sections, we will cover the essential steps required to get your case fan up and running on Raspberry Pi, including checking compatibility, installation, wiring, configuration, testing, and troubleshooting. So, let’s get started and learn how to keep your Raspberry Pi cool and functioning at its best!
What is a case fan?
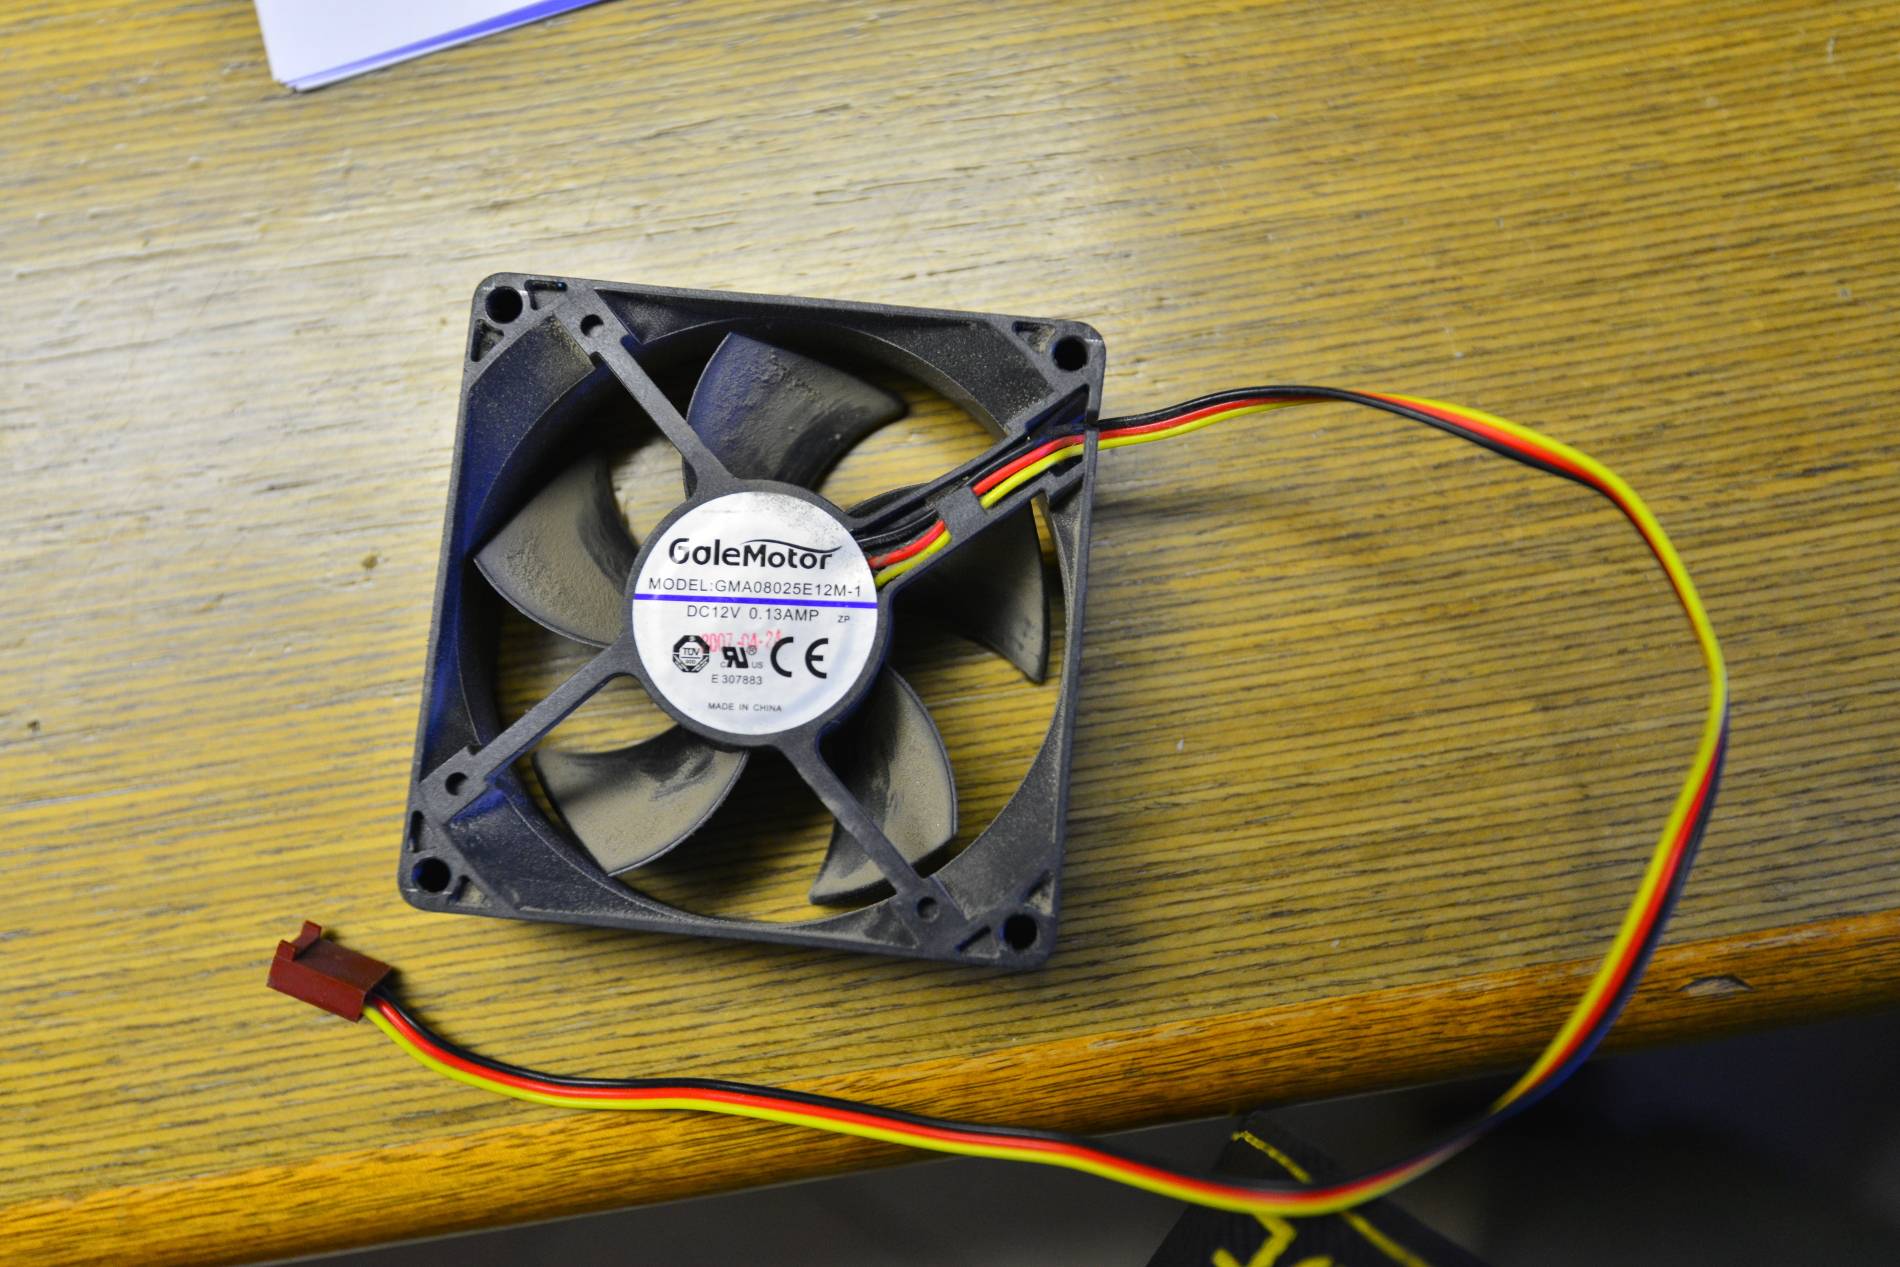
A case fan, also known as a computer fan or cooling fan, is a component designed to provide active cooling to a computer system. It consists of a rotor with blades that rotate at high speeds, drawing in cool air and expelling hot air from the computer case. Case fans are primarily used to disperse heat generated by the components inside the computer, such as the CPU, graphics card, and hard drives.
The main purpose of a case fan is to prevent the overheating of computer components. As electronic devices operate, they generate heat, and if not properly cooled, this heat can cause damage to the hardware or result in system instability. Case fans work by circulating air within the computer case, effectively dissipating excess heat and maintaining a suitable temperature for the components to operate optimally.
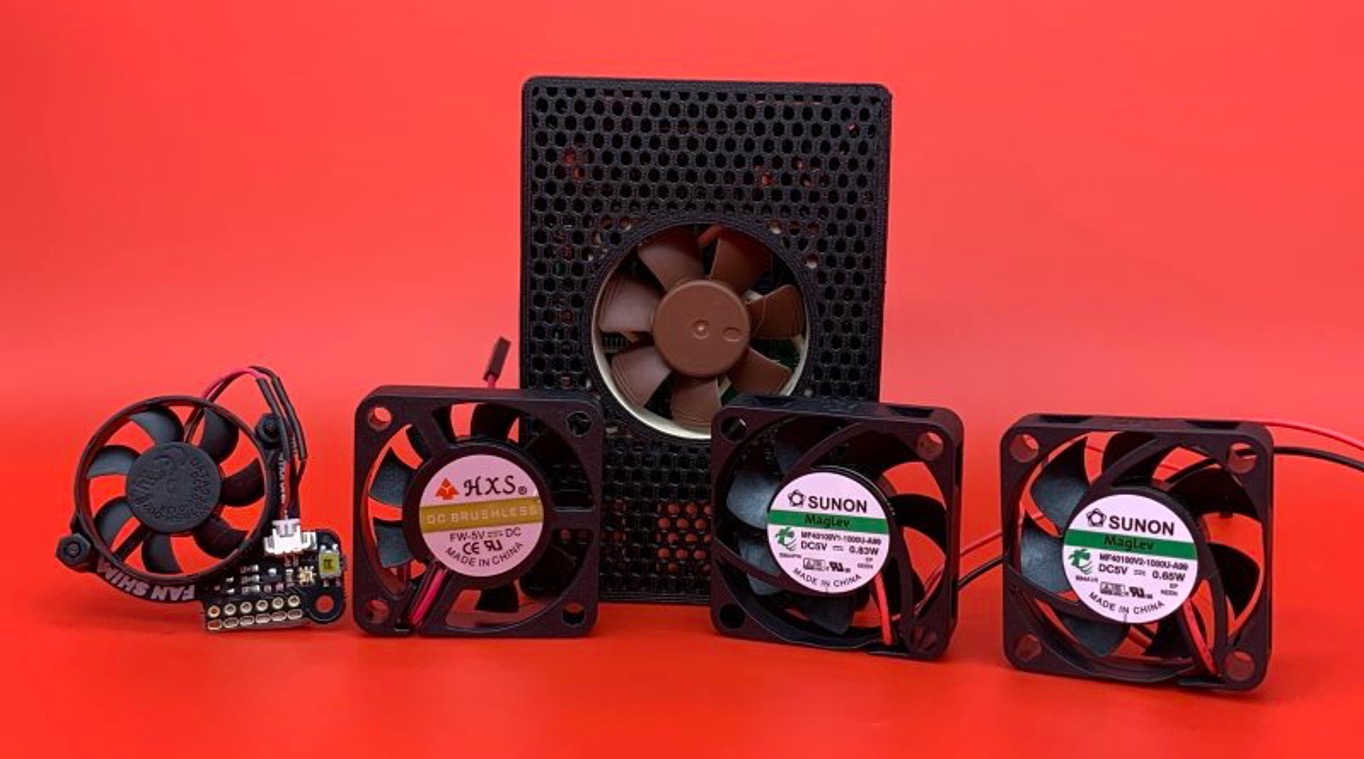
Typically, case fans come in different sizes, ranging from 80mm to 140mm, with larger fans generally providing better airflow and cooling performance. They are usually mounted on the front, rear, or side panels of the computer case, and their rotation speed can be adjusted to suit the cooling requirements of the system.
In addition to cooling the internal components, case fans also play a crucial role in maintaining the overall airflow within the computer case. By ensuring a steady flow of fresh air into the case and expelling hot air, they help in preventing the buildup of dust and maintaining a clean and dust-free environment for the hardware.
It is essential to choose the right case fan for your computer system, considering factors such as the size of the fan, noise level, and airflow capacity. Additionally, compatibility with your specific computer case and ease of installation should also be taken into account.
Now that we understand what a case fan is and why it is important let’s move on to why you need a case fan for your Raspberry Pi.
Why do you need a case fan for Raspberry Pi?
Raspberry Pi, being a small but mighty computer, can generate heat during intensive tasks or when confined in a small space. As heat builds up, it can cause the Raspberry Pi’s performance to suffer or even lead to system failures. This is where a case fan becomes essential for your Raspberry Pi setup. Here are a few key reasons why you need a case fan:
- Improved cooling: A case fan helps to dissipate the heat generated by the Raspberry Pi’s components, such as the CPU and GPU. By circulating air and reducing the overall temperature, it prevents potential performance throttling and extends the lifespan of your Raspberry Pi.
- Stability and reliability: Heat can lead to instability and crashes, especially when running resource-intensive applications or prolonged use. With a case fan, you can maintain a consistent and optimal temperature, ensuring a stable and reliable operation of your Raspberry Pi.
- Overclocking support: Overclocking the Raspberry Pi can provide a significant boost in performance, but it also results in increased heat generation. With a case fan, you can effectively manage the heat and push your Raspberry Pi to its maximum potential without compromising stability.
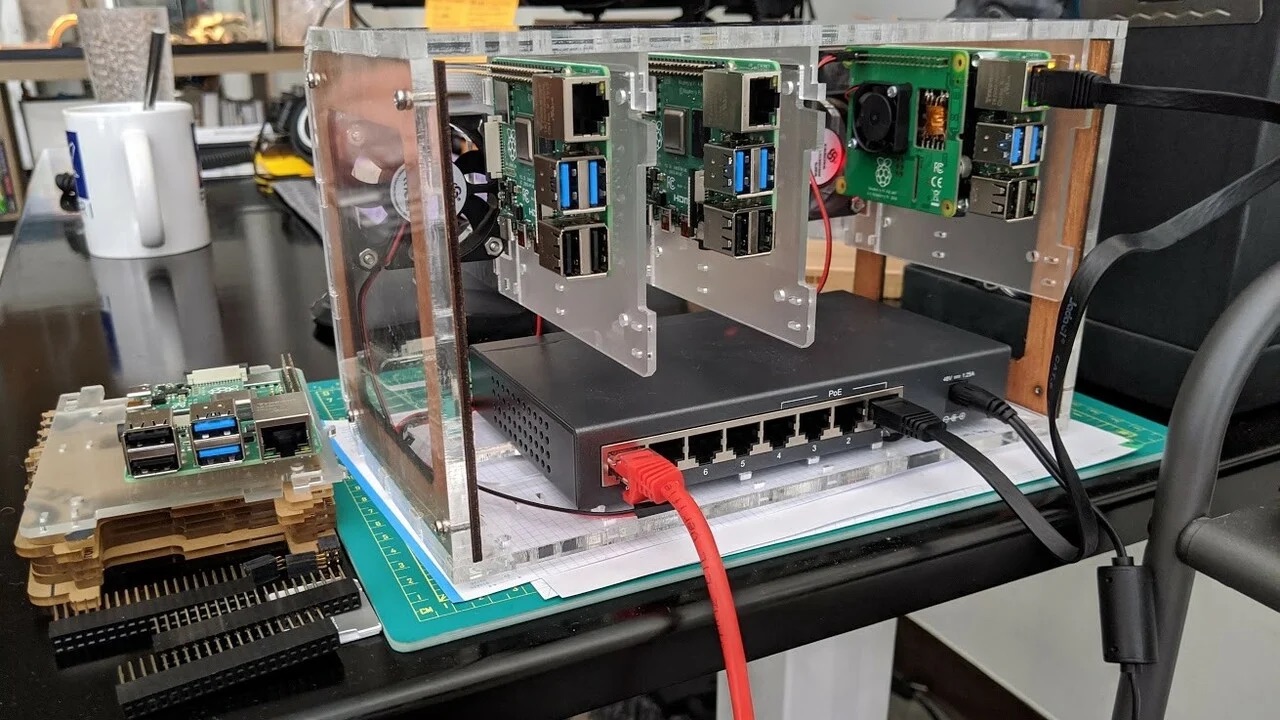
- Compact case compatibility: Some compact Raspberry Pi cases may limit airflow, leading to heat buildup. A case fan can help mitigate this issue by actively pushing out the hot air and pulling in cooler air, ensuring that your Raspberry Pi operates within safe temperature limits.
- Noise reduction: While not exclusive to all case fans, some models are designed to be whisper-quiet, reducing the overall noise level of your Raspberry Pi setup. This can be particularly beneficial if you are using your Raspberry Pi in a noise-sensitive environment or for media playback.
It is important to note that the need for a case fan may vary depending on your Raspberry Pi usage. Simple tasks like browsing the web or light coding may not require active cooling, but when engaging in more demanding activities like gaming, media streaming, or running multiple applications simultaneously, a case fan becomes increasingly necessary.
Now that we understand the importance of a case fan for your Raspberry Pi, let’s move on to checking the compatibility of the case fan with your Raspberry Pi before installation.
Checking the compatibility of the case fan with Raspberry Pi
Before installing a case fan on your Raspberry Pi, it is crucial to ensure that the fan is compatible with your specific model. Here are the key factors to consider when checking the compatibility:
- Power requirements: The Raspberry Pi board does not have native support for powering a case fan. Therefore, you will need to check if the fan can be powered either by the 3.3V, 5V, or 12V pins on the Raspberry Pi’s GPIO header, or if it requires a separate power source. Make sure to review the fan’s specifications to determine the power requirements.
- Pin configuration: Verify the number of pins on the fan’s connector and compare it with the GPIO pin layout of your Raspberry Pi model. The most common configurations are 3-pin and 4-pin connectors, where the additional pin on the 4-pin connector allows for PWM (Pulse Width Modulation) control of fan speed.
- Physical dimensions: Measure the available space inside your Raspberry Pi case to ensure that the fan will fit without obstructing other components or interfering with cables. Check the fan’s dimensions, including height, width, and depth, and compare them with the available space in your case.
- Noise level: Consider the noise level produced by the fan, especially if you are aiming for a quieter Raspberry Pi setup. Check the fan’s noise rating, usually measured in decibels (dB), to ensure it meets your desired noise level requirements.
- Airflow and cooling capacity: Review the fan’s airflow rating, usually expressed in cubic feet per minute (CFM), to ensure it provides sufficient cooling for your Raspberry Pi. A higher CFM rating indicates better airflow and cooling performance.
Once you have gathered the necessary information about the fan’s compatibility, cross-reference it with your Raspberry Pi model’s specifications and the available space in your case. This way, you can ensure that the fan will fit properly and operate effectively.
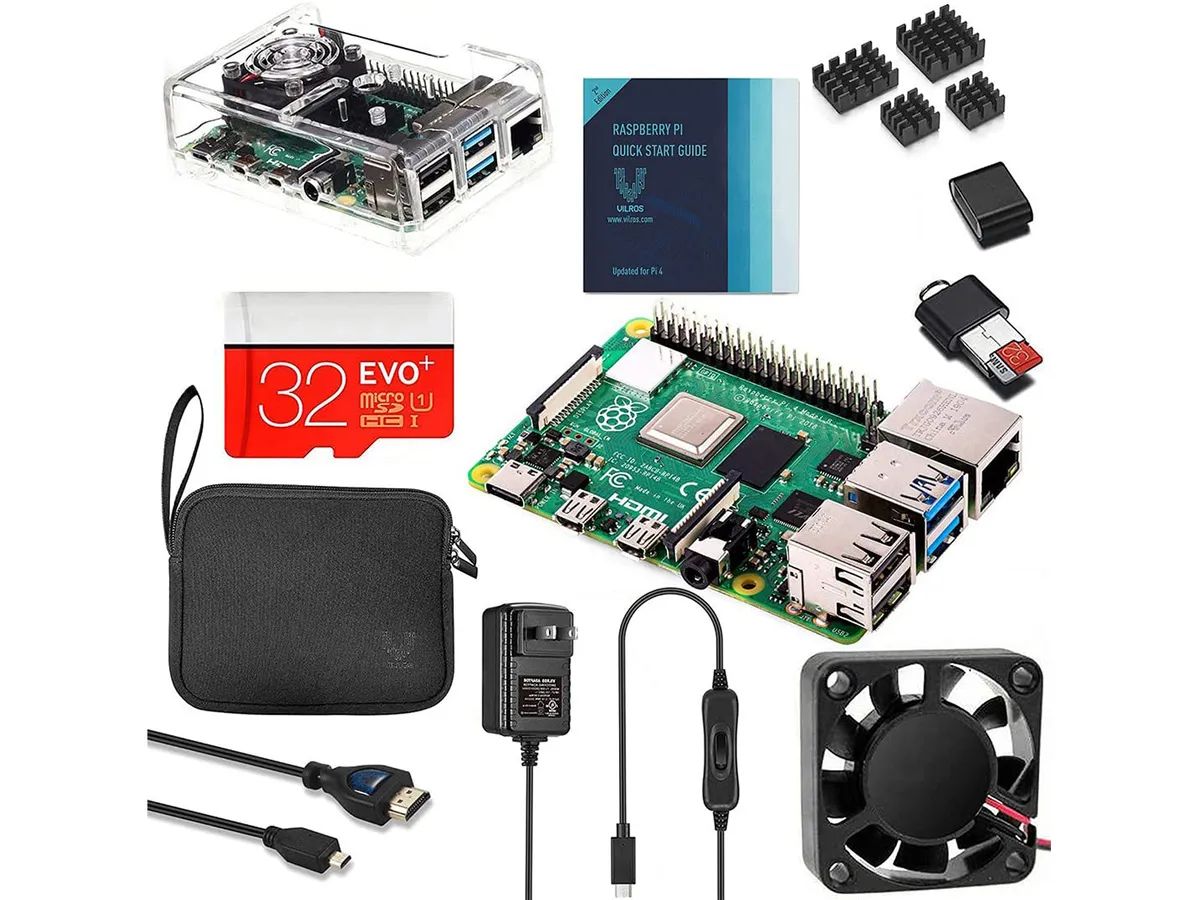
Keep in mind that there are various case fan options available in the market, specifically designed for Raspberry Pi. These fans often come with pre-configured power and pin setups that are compatible with the GPIO headers of Raspberry Pi boards. These dedicated fans can simplify the compatibility checking process and ensure an easier installation experience.
Now that you have checked the compatibility of the case fan with your Raspberry Pi, it’s time to move on to the next step – installing the case fan on your Raspberry Pi.
Installing the case fan on Raspberry Pi
Once you have confirmed the compatibility of the case fan with your Raspberry Pi, it’s time to proceed with the installation. Follow these steps to install the case fan on your Raspberry Pi:
- Prepare the necessary tools: Gather the tools required for the installation, including a screwdriver, a pair of pliers (if necessary), and any additional hardware included with the case fan.
- Power down your Raspberry Pi: Before making any connections or modifications, turn off your Raspberry Pi and unplug it from the power source. This ensures safety during the installation process.
- Open the Raspberry Pi case: Depending on your case model, you may need to remove screws or detach specific panels to access the internal components. Refer to the user manual or documentation that came with your case for detailed instructions.
- Identify the fan mounting location: Look for a designated spot inside the case where the fan can be mounted securely without obstructing other components. Some cases may have pre-determined fan mounting points, while others may require you to mark and create holes for the mounting screws.
- Attach the case fan: Place the fan in the designated mounting location and align the mounting holes of the fan with those of the case. Use the provided screws or any suitable screws to secure the fan in place. Ensure that the fan is firmly attached but not overly tightened, as this may cause damage to the fan or the case.
- Connect the fan power: Depending on the fan’s power requirements and the available options on your Raspberry Pi, connect the fan’s power cable to the appropriate GPIO pins or a separate power source. Take care to match the pin configuration and follow any specific wiring instructions provided by the fan manufacturer.
- Double-check the connections: Before closing the case, double-check all the connections to ensure they are secure and properly aligned. Check that the fan is connected to the correct pins and that there are no loose wires or connections that may cause issues.
- Close the Raspberry Pi case: Once you are satisfied with the installation, carefully close the Raspberry Pi case, ensuring that all panels are back in place and properly secured. Follow the manufacturer’s instructions for closing the case, as this may vary depending on the case model.
With the case fan successfully installed, you are one step closer to ensuring optimal cooling for your Raspberry Pi. Next, we will move on to wiring the case fan to your Raspberry Pi.
Wiring the case fan to Raspberry Pi
After successfully installing the case fan on your Raspberry Pi, the next step is to wire the fan to the appropriate pins on the Raspberry Pi’s GPIO header. Follow these steps to wire the case fan:
- Identify the GPIO pins: Locate the GPIO (General Purpose Input/Output) header on your Raspberry Pi. The GPIO header consists of a row of pins, usually located on one side of the Raspberry Pi board. Refer to the documentation or the board’s schematic to identify the pin numbers and functions.
- Refer to the fan’s specifications: Consult the fan’s documentation or specifications to determine the power requirements and appropriate pins for connection. This information may include the voltage (3.3V or 5V) and the pin configuration (3-pin or 4-pin).
- Connect the ground (GND) wire: Locate the ground (GND) pin on the GPIO header and connect the fan’s ground wire to it. The GND pin is typically labeled as ‘GND’ or has a ground symbol. Ensure a secure connection between the fan’s ground wire and the GPIO GND pin, as a loose connection may lead to fan malfunctions.
- Connect the power wire (if applicable): If your fan requires a separate power source, follow the manufacturer’s specifications to connect the power wire to the appropriate GPIO pin providing the required voltage (3.3V or 5V). Double-check the polarity to make sure the red (positive) wire is connected to the power pin.
- Connect the PWM wire (if applicable): If your fan has a 4-pin configuration with a PWM control wire, locate the corresponding GPIO pin that supports PWM functionality. This pin allows the Raspberry Pi to control the fan’s speed dynamically. Connect the fan’s PWM wire to the designated GPIO pin.
- Secure the connections: Once all the necessary wires are connected, ensure that the connections are secure and properly aligned. Double-check the wiring against the fan’s specifications to confirm accuracy.
After wiring the case fan to the Raspberry Pi, it is recommended to power on the Raspberry Pi and check if the fan is working correctly. You should notice the fan spinning and feel the airflow generated by the fan.
Keep in mind that the specific pin configuration and wiring instructions may vary depending on the fan and Raspberry Pi model. Always refer to the fan’s documentation and the Raspberry Pi’s pin layout to ensure accurate and safe wiring.
Now that the case fan is properly wired to the Raspberry Pi, we will move on to configuring the case fan settings on your Raspberry Pi.
Configuring the case fan settings on Raspberry Pi
After the case fan is wired and physically connected to your Raspberry Pi, the next step is to configure the fan settings to ensure proper operation. Depending on the fan’s requirements and your preferences, you may need to adjust the fan speed or set up temperature-based fan control. Here’s how you can configure the case fan settings on your Raspberry Pi:
- Software installation: To control the case fan, you will need to install the necessary software on your Raspberry Pi. One common software tool for fan control is
fancontrol, which is part of thelm-sensorspackage. Install the package by running the commandsudo apt-get install lm-sensorsin the terminal. - Run sensor detection: Once
lm-sensorsis installed, run the commandsensors-detectin the terminal. This command will detect the sensors on your Raspberry Pi and ask you some questions. Accept the default options unless you have a specific reason to choose otherwise. - Edit fancontrol configuration: Open the
fancontrolconfiguration file using a text editor with root privileges. For example, you can use the commandsudo nano /etc/fancontrol. In this file, you will find sections to define the fan’s settings. - Set up fan control: In the
fancontrolconfiguration file, you will find options to set the fan’s control method, target temperature, and other related parameters. The exact options may vary depending on your Raspberry Pi model and the software version you are using. Follow the instructions within the file to adjust these settings according to your needs. - Save and exit the file: After making the necessary changes, save the configuration file and exit the text editor.
- Start the fan control service: Start the
fancontrolservice by running the commandsudo fancontrolin the terminal. This will activate the fan control based on the configured settings. - Monitor fan operation: Observe the fan’s operation and observe if it adjusts its speed according to the set parameters. You can monitor the temperature and fan speed by running the command
sensorsin the terminal. Ensure that the fan responds appropriately to changes in temperature and maintains the desired cooling performance.
Remember to regularly check the fan’s operation and make adjustments to the configuration as needed. Monitoring the temperature and ensuring that the fan is adequately cooling your Raspberry Pi will help maintain optimal performance and prevent overheating.
Note that the specific software and configuration process may vary depending on your Raspberry Pi model, fan type, and the software packages installed. Always refer to the documentation and community resources for your specific setup to ensure accurate configuration.
With the case fan successfully configured on your Raspberry Pi, you can now move on to testing the fan to ensure it is working as expected.
Testing the case fan on Raspberry Pi
After installing and configuring the case fan on your Raspberry Pi, it is crucial to test its functionality to ensure that it is working correctly and providing the expected cooling performance. Here are the steps to test the case fan on your Raspberry Pi:
- Power on your Raspberry Pi: Start by powering on your Raspberry Pi and allowing it to boot up properly.
- Monitor the temperature: Keep an eye on the temperature of your Raspberry Pi. You can use software tools like
vcgencmdorsensorsto monitor the temperature in real-time. - Trigger heat generation: To test the case fan’s functionality, you can run resource-intensive tasks or execute commands that stress the components of your Raspberry Pi. This will generate heat and allow you to observe how the fan responds to the increased temperature.
- Observe the fan operation: As the temperature rises, the fan should start spinning and increasing its speed to dissipate the heat. Monitor the fan’s operation and ensure that it increases its speed properly in response to the rising temperature.
- Check for proper cooling: While the stress-inducing tasks are running, carefully touch the Raspberry Pi case around the fan to feel the airflow. Ensure that the fan is effectively expelling hot air and that the temperature of the Raspberry Pi remains within safe limits.
- Verify fan speed control (if applicable): If your case fan supports PWM control, you can test the fan’s speed control functionality by adjusting the target temperature in the fan control settings. Observe how the fan speed adjusts according to the set parameters.
- Repeat the test as necessary: If you have made any changes to the fan control settings, retest the fan to ensure that it performs as intended and maintains the desired cooling performance.
It is essential to note that the specific testing process may vary depending on your Raspberry Pi model, case fan type, and the software configuration. Always refer to the documentation and guidance specific to your setup.
If, during testing, you encounter any issues such as the fan not spinning, excessive noise, or inadequate cooling, revisit the installation and wiring steps to ensure everything is properly connected and configured. Additionally, consult the fan manufacturer’s documentation or seek help from online communities to troubleshoot and resolve any problems.
Once you have confirmed that the case fan is functioning correctly and effectively cooling your Raspberry Pi, you can have peace of mind knowing that your system is protected against overheating during demanding tasks or when operating in confined spaces.
With the case fan successfully tested and functioning as expected, you are now ready to use your Raspberry Pi with improved cooling and optimal performance.
Troubleshooting common issues with case fans on Raspberry Pi
While setting up a case fan on your Raspberry Pi, you may encounter some common issues that can affect the fan’s functionality. Here are a few troubleshooting tips to help you resolve these issues:
- The fan is not spinning: If the case fan is not spinning, double-check the wiring connections to ensure they are properly connected. Ensure that the power and ground wires are correctly attached to the appropriate pins on the GPIO header.
- Insufficient cooling: If you notice inadequate cooling from the case fan, first verify that the fan is spinning at an appropriate speed. Check the fan control settings and make sure they are configured correctly to adjust the fan speed according to the temperature. If needed, adjust the target temperature or fan control parameters to ensure better cooling performance.
- Excessive noise: If the case fan is producing excessive noise, it might be due to the fan running at maximum speed continuously. Check the fan control settings and adjust the fan speed to a lower setting. Additionally, consider using a fan with a lower noise rating or installing noise dampening materials in the Raspberry Pi case to reduce noise levels.
- Interference with other components: In some cases, the case fan’s placement or size may obstruct other components or cables inside the Raspberry Pi case. Ensure that the fan is securely mounted without interfering with any crucial components or obstructing proper airflow. Consider relocating the fan or adjusting its position to alleviate any interference.
- Improper power supply: If the fan is not receiving sufficient power or is not spinning at the expected speed, verify that the power source meets the fan’s requirements. Some fans may require a separate power supply, while others can be powered directly from the Raspberry Pi’s GPIO pins. Refer to the fan’s specifications and ensure that the correct power supply method is used.
- Software configuration issues: If the fan control settings are not functioning as expected, double-check the software configuration. Ensure that you have installed the necessary software and correctly edited the fan control settings file. Verify that the fan control service is running and adjust the settings as needed.
If you have followed these troubleshooting tips and are still experiencing issues with your case fan, consider reaching out to the fan manufacturer’s support or consulting online forums and communities dedicated to Raspberry Pi enthusiasts. These platforms can provide additional guidance and specific solutions based on your setup.
Remember that ensuring the proper functioning of the case fan is crucial for maintaining the optimal performance and longevity of your Raspberry Pi. Troubleshooting and resolving any issues promptly will help you enjoy the benefits of a well-cooled Raspberry Pi setup.
Conclusion
In this guide, we have covered the essential steps to get a case fan to work with Raspberry Pi. By installing a case fan, you can effectively dissipate heat and maintain a suitable temperature for your Raspberry Pi, ensuring optimal performance and reliability.
We started by understanding what a case fan is and why it is crucial for the Raspberry Pi. We then discussed the importance of checking the compatibility of the case fan with your specific Raspberry Pi model to ensure a proper fit and functionality.
After that, we walked through the installation process, guiding you on how to mount the case fan securely inside your Raspberry Pi case. We also explained the wiring process, emphasizing the importance of correctly connecting the fan to the appropriate GPIO pins and power sources.
Next, we delved into the configuration of the case fan settings, instructing you on how to use software tools like fancontrol to adjust the fan’s speed and temperature-based control parameters.
We then covered the crucial step of testing the case fan to verify its proper operation. By monitoring the temperature, observing the fan’s speed, and ensuring adequate cooling, you can ensure that the fan is functioning as intended.
Lastly, we addressed common troubleshooting issues that you may encounter, providing tips to help you resolve them and overcome any challenges you may face during the installation and configuration process.
By following the steps outlined in this guide, you can successfully incorporate a case fan into your Raspberry Pi setup, enabling efficient cooling and safeguarding your Raspberry Pi from overheating. Whether you are engaged in resource-intensive tasks or operating your Raspberry Pi in a confined space, the case fan will contribute to the longevity and optimal performance of your device.
Remember to consult the documentation and resources specific to your Raspberry Pi model and case fan to ensure accurate installation, configuration, and troubleshooting. With proper care and attention, your Raspberry Pi can operate smoothly with an enhanced cooling system, allowing you to explore a wide range of projects and enjoy your Raspberry Pi to its fullest potential.