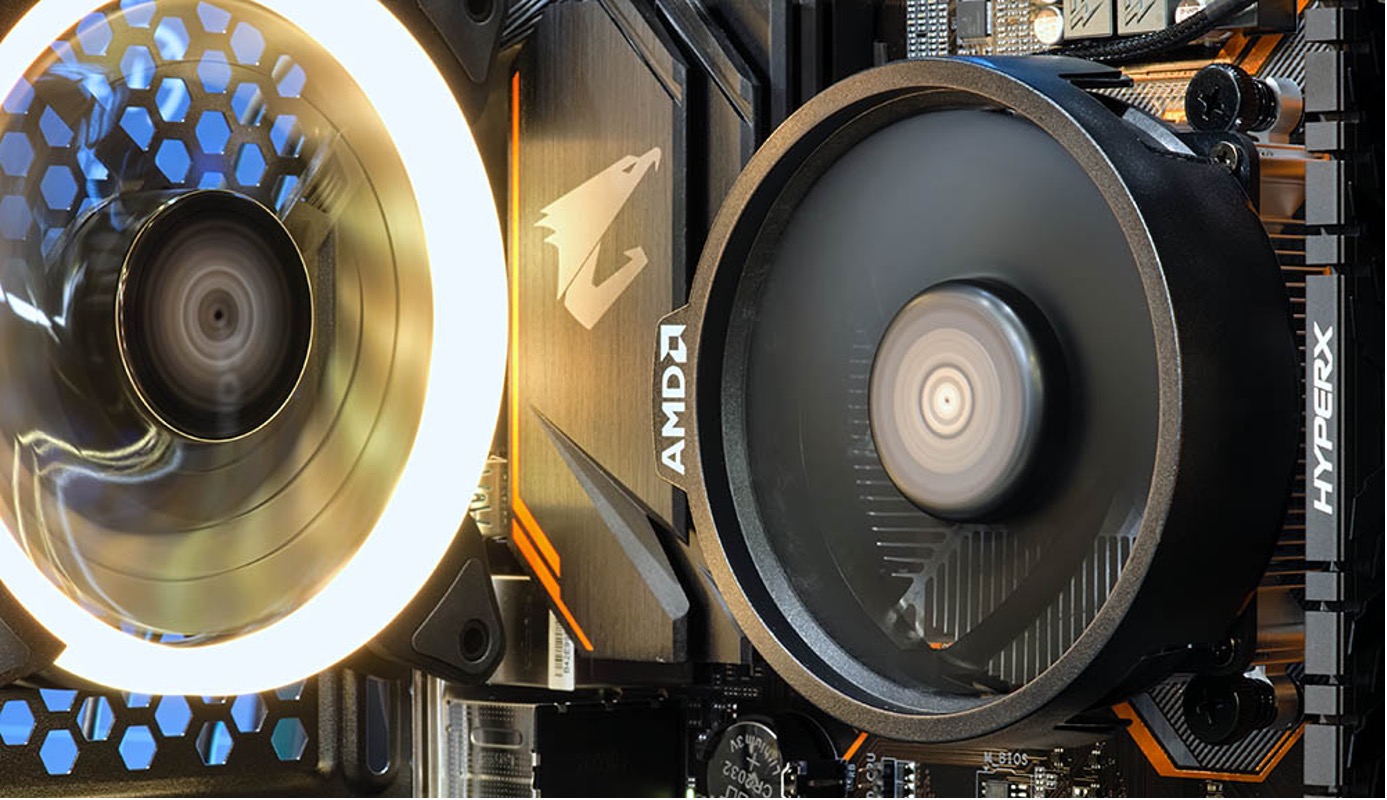
Introduction
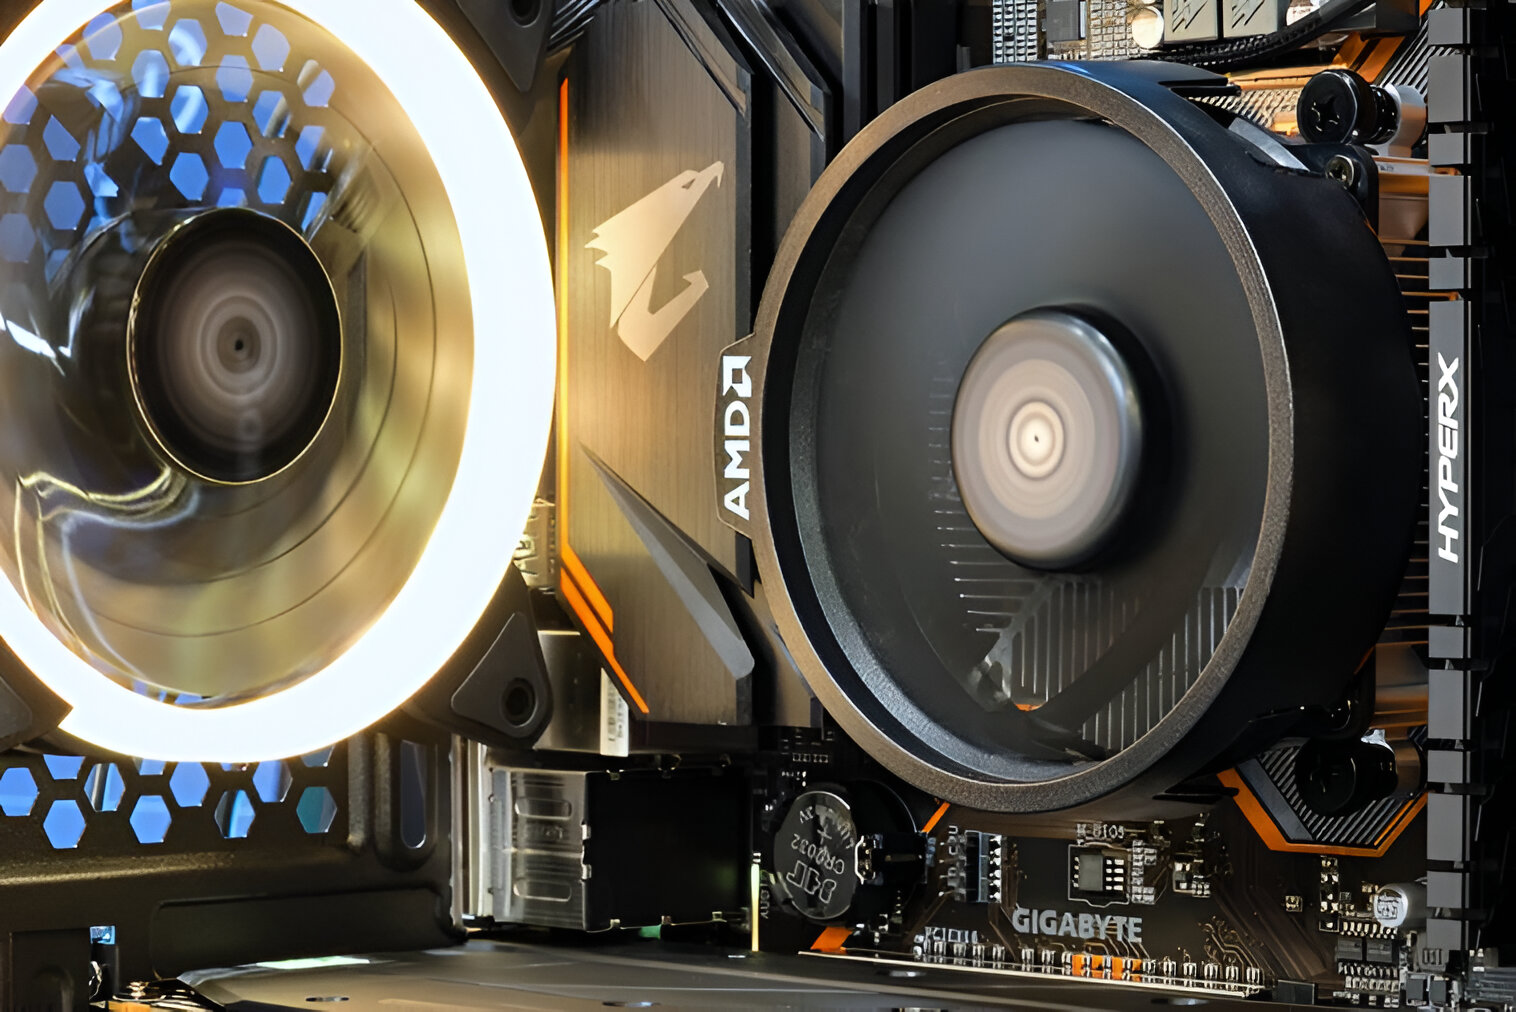
Mounting a CPU fan as a case fan can be a great way to improve the cooling efficiency of your computer system. While most CPUs come with their own dedicated cooler, utilizing an additional CPU fan as a case fan can help dissipate heat more effectively, ensuring your system runs smoothly even under heavy workloads.
By strategically placing a CPU fan in the case, you can enhance the airflow and prevent overheating, which can lead to performance issues and hardware damage. Whether you’re an experienced computer enthusiast or a novice builder, this guide will walk you through the process of mounting a CPU fan as a case fan, allowing you to optimize the cooling system of your computer system.
In this step-by-step guide, you’ll learn how to gather the necessary tools and materials, determine the appropriate location for mounting the CPU fan, remove the fan from the heat sink, prepare the case for fan installation, mount the CPU fan to the case, connect it to the power source, test and adjust its speed and airflow, secure any loose cables, and troubleshoot potential issues along the way.
Before you begin, it’s important to note that the specific steps and requirements may vary depending on the brand and model of your CPU fan and case. Be sure to consult the user manuals or online resources provided by the manufacturers for any specific instructions or precautions.
So, whether you’re looking to upgrade your computer’s cooling system or simply explore DIY computer modifications, let’s dive into the step-by-step process of mounting a CPU fan as a case fan and take your system’s cooling capabilities to the next level!
Step 1: Gather the necessary tools and materials
Before you begin the process of mounting a CPU fan as a case fan, it’s essential to ensure you have all the required tools and materials on hand. Gathering these items in advance will help streamline the installation process and make it more efficient.
Here’s a list of the tools and materials you’ll need:
- Screwdriver – Depending on your case and fan, you may need a Phillips or flathead screwdriver to secure the fan in place.
- Thermal paste – It’s crucial to have thermal paste on hand to ensure proper heat transfer between the CPU and the fan.
- Fan mounts or screws – Check your case to determine if it requires fan mounts or screws for proper installation.
- Cable ties – These are handy for securing cables and keeping them organized within the case.
- Isopropyl alcohol and a lint-free cloth – These items are useful for cleaning the CPU and heat sink before applying thermal paste.
- Anti-static wrist strap – Although not mandatory, an anti-static wrist strap can help prevent static electricity from damaging sensitive components during the installation process.
Make sure you have all the necessary tools and materials ready before proceeding to the next steps. It’s also a good idea to have a clean and organized workspace to ensure a smooth installation process.
Now that you have everything you need, you’re ready to move on to the next step: determining the appropriate location for mounting the CPU fan as a case fan.
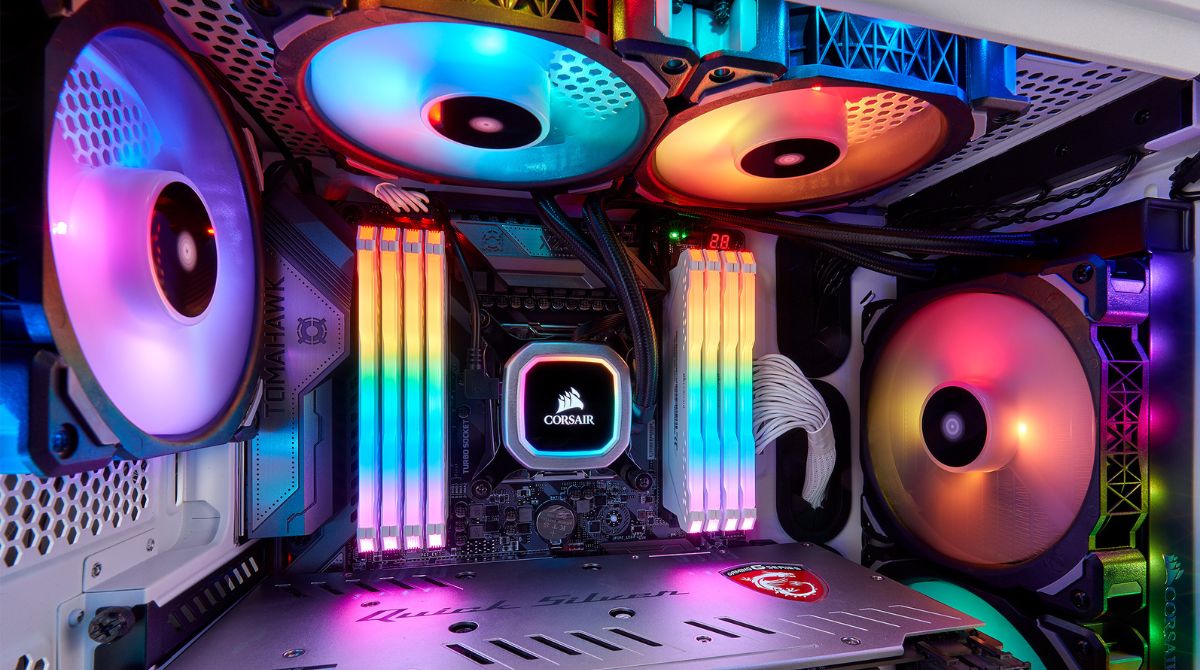
Step 2: Determine the appropriate location for mounting the CPU fan as a case fan
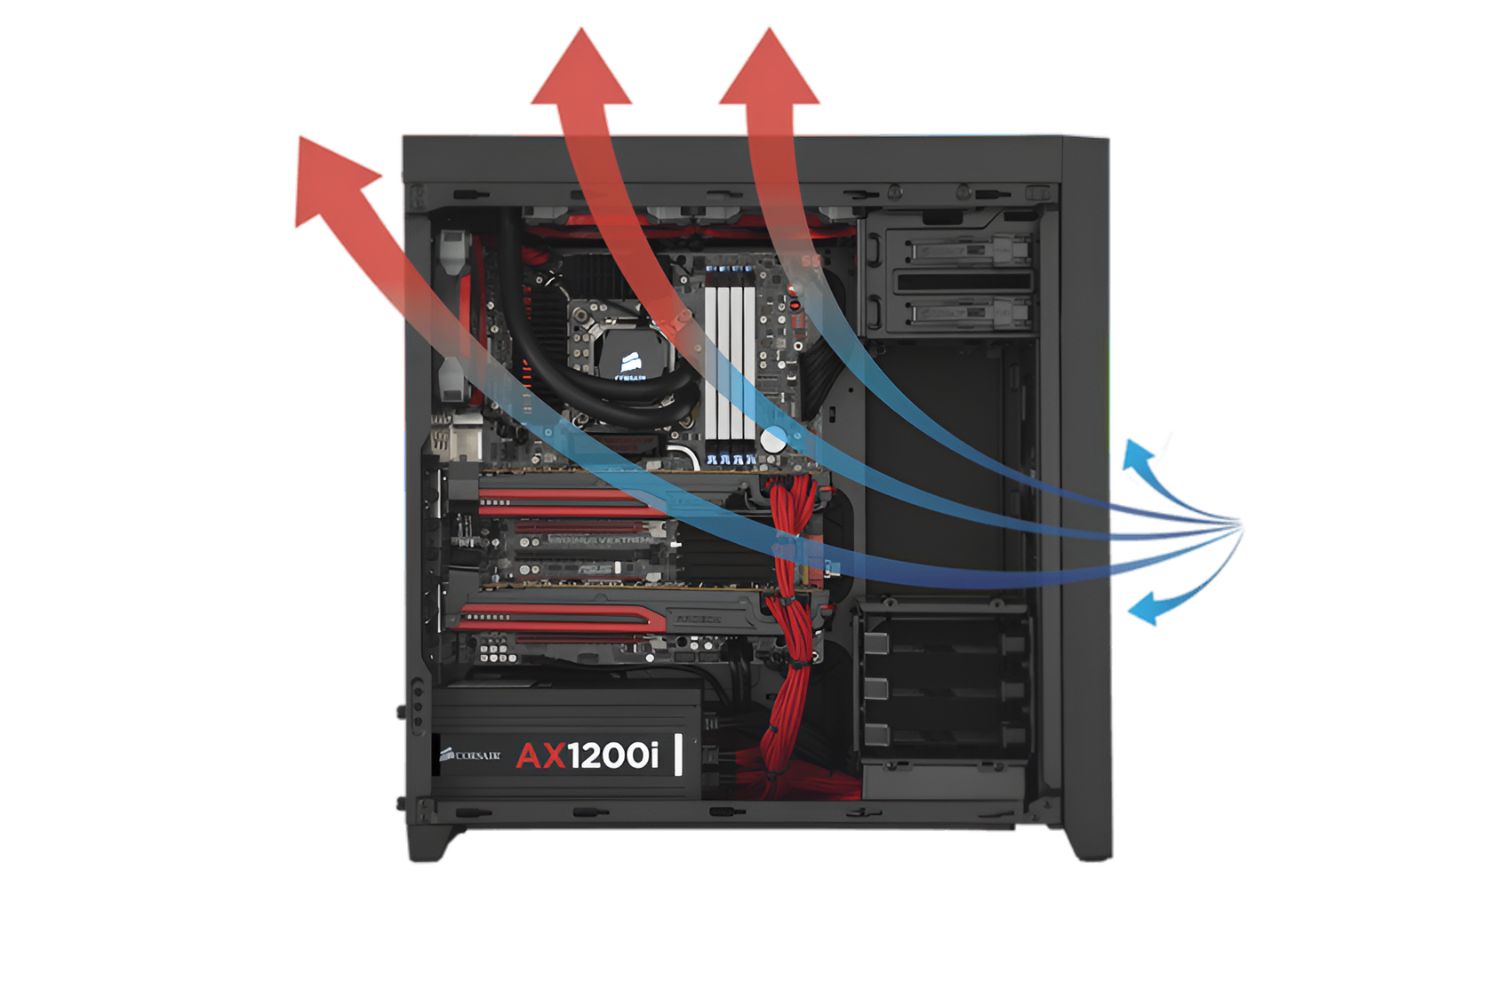
When it comes to mounting a CPU fan as a case fan, choosing the right location is crucial for optimal performance. The location should provide efficient airflow and help dissipate heat effectively. Here are a few considerations to keep in mind while determining the appropriate location:
- Existing case fan placement – Take a look at the current case fan setup. Locate the existing fans and identify any available slots or mounting points for additional fans. This will help you determine if there are any pre-designated locations for mounting the CPU fan.
- Heat source proximity – Consider the proximity of heat sources such as the CPU, graphics card, and power supply. Mounting the CPU fan near these components can aid in extracting the hot air and maintaining lower temperatures.
- Obstructions – Ensure that there are no obstructions such as cables, RAM modules, or other components that may obstruct the airflow from the CPU fan. Clear any obstacles to ensure optimal airflow through the case.
- Intake or exhaust – Decide whether you want the CPU fan to function as an intake or an exhaust fan. An intake fan pulls fresh air into the case, while an exhaust fan removes hot air. The decision should be based on the overall airflow configuration that best suits your system.
Consider these factors in combination with the layout and design of your case to determine the most suitable location for mounting the CPU fan. Keep in mind that the installation process may differ depending on the specific case and fan setup, so refer to the manufacturer’s instructions for any additional guidance.
Once you have determined the appropriate location, you can proceed to the next step, which involves removing the CPU fan from the heat sink.
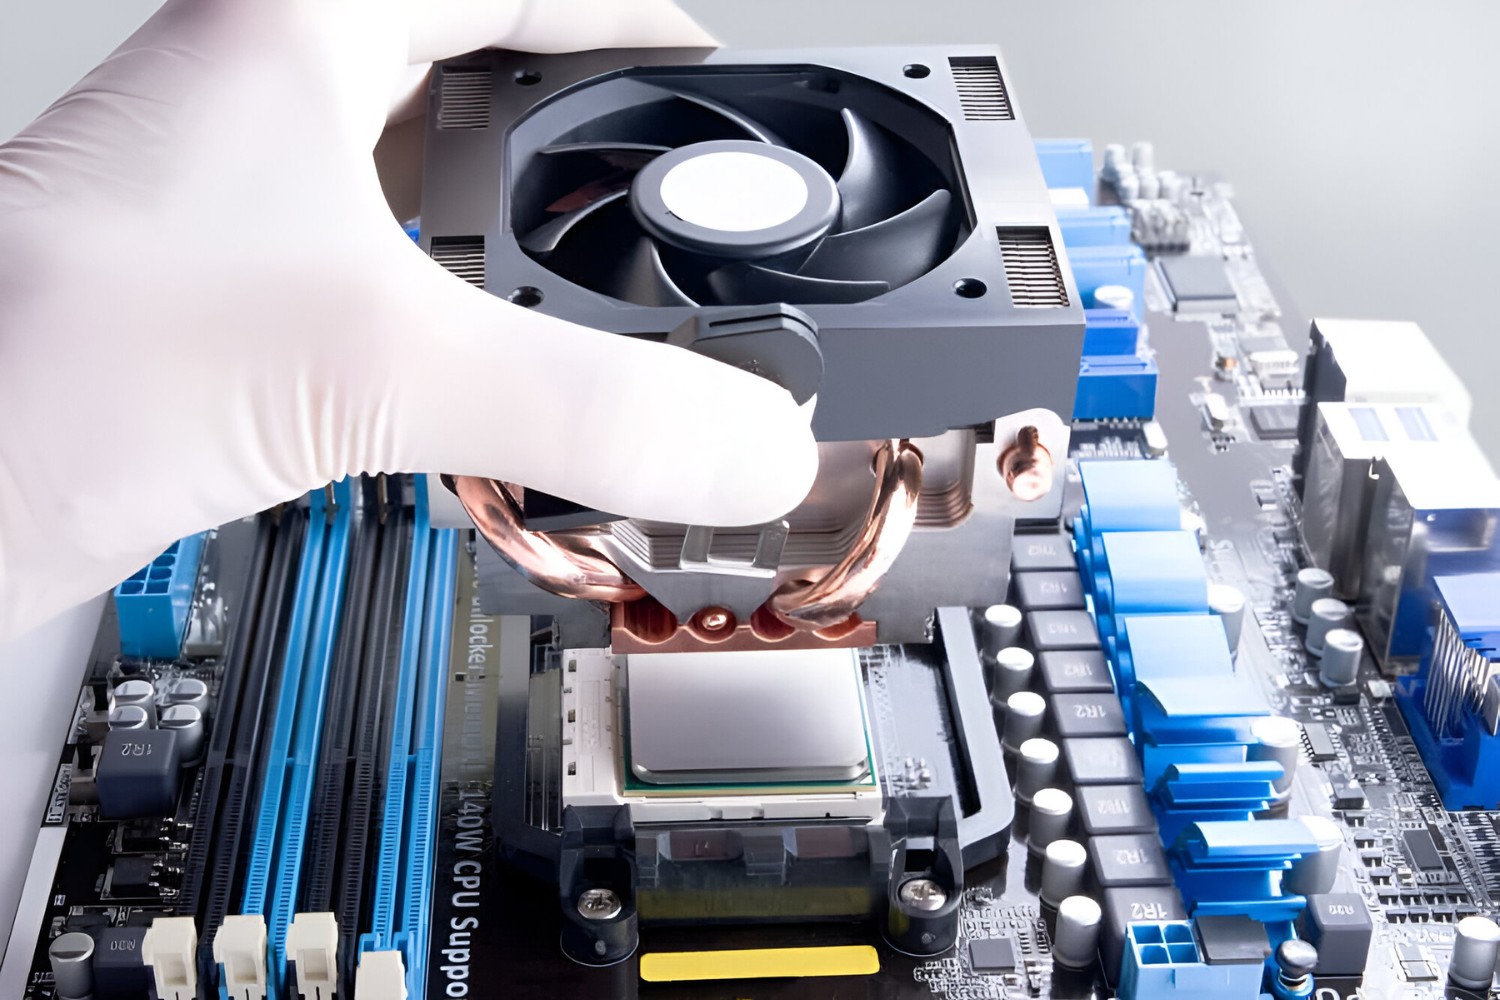
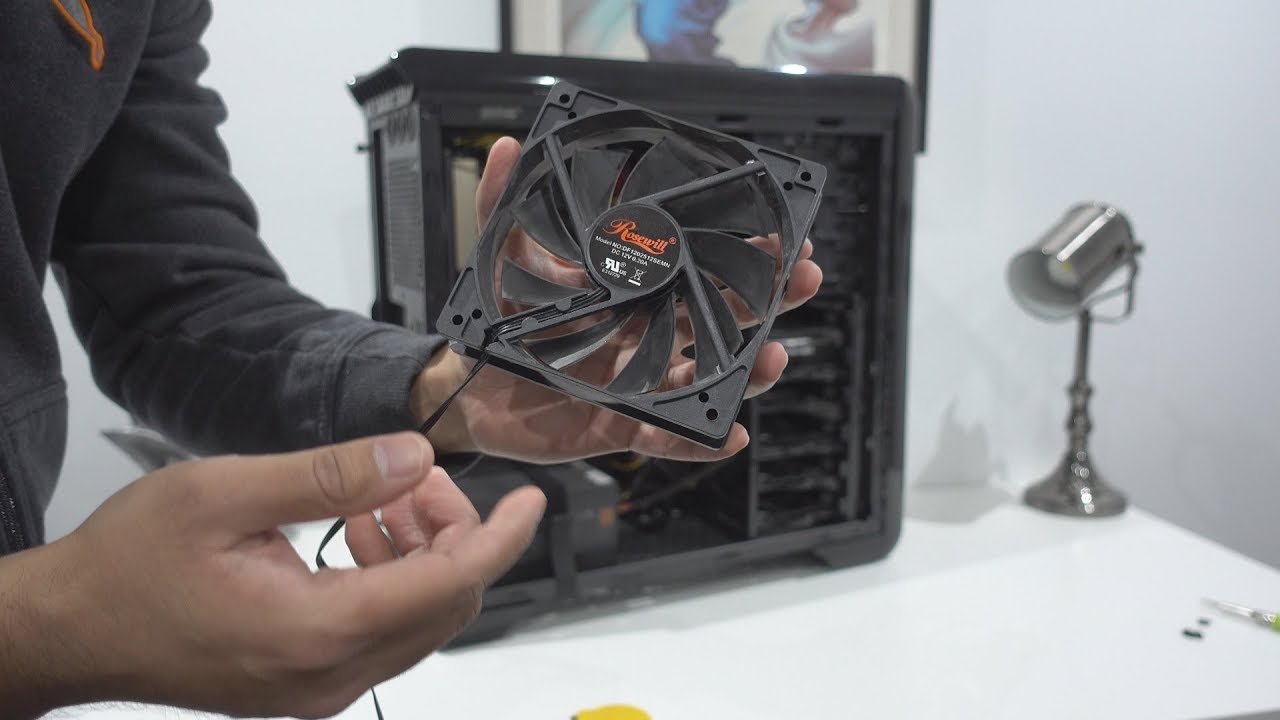
Step 3: Remove the CPU fan from the heat sink
Before you can mount the CPU fan as a case fan, you’ll need to remove it from the heat sink. This step allows for easier and more flexible installation within the case. Follow these steps to safely remove the CPU fan:
- Power down your computer – Shut down your computer and unplug it from the power source. This ensures your safety and prevents any potential damage to the components.
- Disconnect the fan cables – Locate the cables connecting the CPU fan to the motherboard or fan controller. Gently unplug the connectors by pulling them straight out. Take note of how the cables were connected, as you’ll need to reconnect them later.
- Remove any additional clips or brackets – Some CPU fan setups may have additional clips or brackets securing the fan to the heat sink. Carefully remove these clips or brackets according to the manufacturer’s instructions. Be cautious not to damage any components while doing so.
- Detach the fan from the heat sink – Depending on your CPU fan model, it may be attached to the heat sink with screws, clips, or a locking mechanism. Locate and unscrew the screws, release the clips, or unlock the mechanism to detach the fan from the heat sink. Take your time and be gentle to avoid any accidental damage.
- Clean the heat sink – While optional, it’s a good idea to clean the heat sink before remounting the CPU fan. Use a can of compressed air or a soft brush to remove any dust or debris accumulated on the heat sink. This will help maintain optimal cooling performance.
Once you have successfully removed the CPU fan from the heat sink, you can proceed to the next step, which involves preparing the case for fan installation.
Step 4: Prepare the case for fan installation
Before mounting the CPU fan as a case fan, you need to prepare the case to ensure a proper and secure installation. Follow these steps to prepare the case for fan installation:
- Identify the mounting points – Check your case to identify the mounting points for additional fans. These are usually located on the front, top, or rear panels of the case. Refer to your case manual or manufacturer’s website for specific details on mounting locations.
- Remove any dust filters – If your case has dust filters in the mounting locations, remove them to ensure a clear path for airflow. Dust filters can hinder the efficiency of the fan by restricting the airflow. Clean the filters by rinsing them with water or using compressed air, if necessary.
- Prepare the case fan mounts or screws – Depending on your case, you may need to use fan mounts or screws to secure the CPU fan in place. Make sure you have the appropriate mounts or screws readily available and organized for easy installation.
- Clear the installation area – Remove any obstructions such as cables, drive bays, or other components that may interfere with the CPU fan installation. Create a clear space where the fan can be mounted without obstruction to maximize its cooling performance.
Once you have prepared the case, double-check that everything is clean, organized, and ready for fan installation. Having everything set up beforehand will ensure a smooth and efficient process when mounting the CPU fan.
Now that the case is ready, you can move on to the next step, which involves mounting the CPU fan to the case.
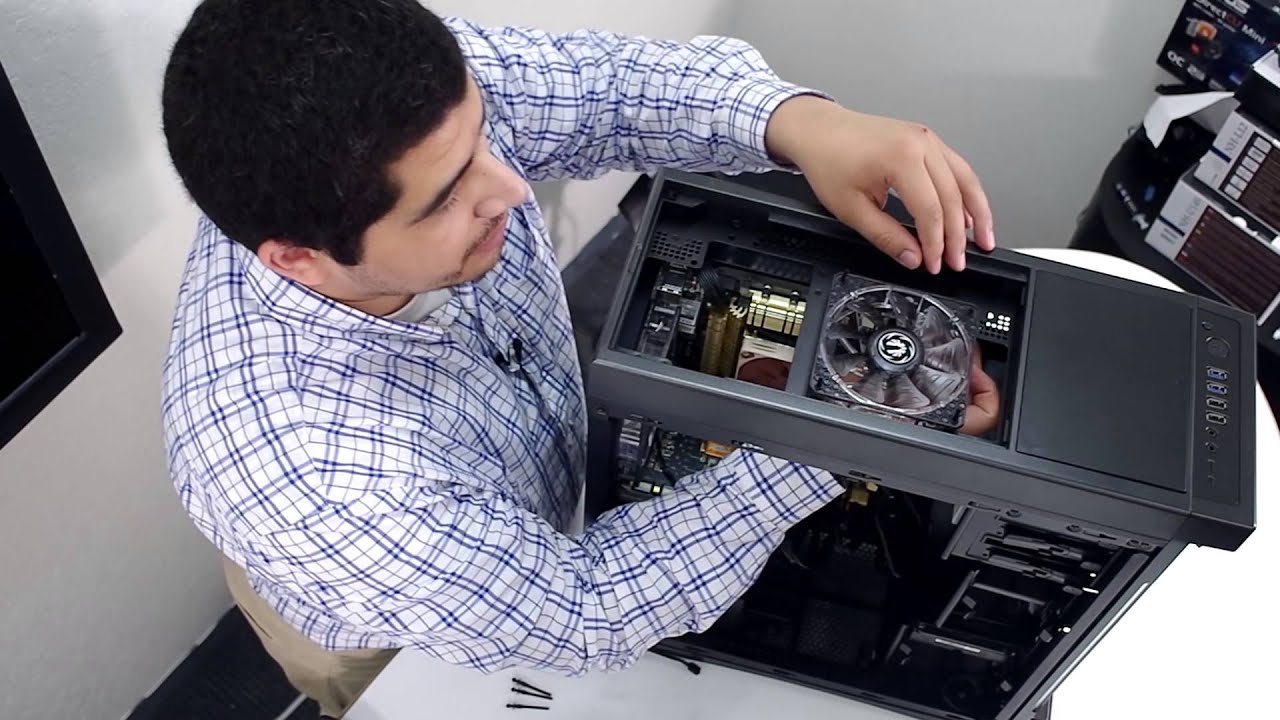
Step 5: Mount the CPU fan to the case
Now that you have prepared the case, it’s time to mount the CPU fan in its designated location. Follow these steps to securely mount the CPU fan to the case:
- Position the CPU fan – Align the CPU fan with the mounting points in the case. Take note of the orientation of the fan, ensuring that the airflow direction aligns with your desired intake or exhaust configuration.
- Insert the fan mounts or screws – Depending on your case, use the appropriate fan mounts or screws to secure the CPU fan in place. Insert the mounts or screw them carefully through the fan mounting holes and into the corresponding holes or slots in the case.
- Tighten the mounts or screws – Using a screwdriver or your fingertips, tighten the mounts or screws until the CPU fan is securely fastened to the case. Ensure that the fan is stable and doesn’t wobble or move excessively.
- Double-check the alignment – Verify that the CPU fan is properly aligned and mounted in the desired location. Make any necessary adjustments to ensure optimal airflow and fit within the case.
It’s crucial to follow the manufacturer’s instructions for your specific case and CPU fan model during the mounting process. Pay attention to any additional steps or precautions that may be mentioned to avoid damaging components or compromising the performance of the fan.
Once the CPU fan is securely mounted, you can proceed to the next step, which involves connecting the fan to the appropriate power source.
Step 6: Connect the fan to the appropriate power source
With the CPU fan securely mounted to the case, the next step is to connect it to the appropriate power source. Ensuring the fan has a reliable power supply is essential for proper operation. Follow these steps to connect the fan:
- Locate the fan header – Identify the fan header on your motherboard or fan controller where the CPU fan will be connected. The fan header is typically labeled, and you may find multiple headers depending on your motherboard’s design.
- Align the fan connector – Take the fan connector, which is attached to the CPU fan’s cable, and align it with the orientation of the fan header. The header and connector typically have a small plastic guide or notch that ensures the correct alignment.
- Connect the fan cable – Gently push the fan connector onto the fan header, ensuring a secure and snug connection. You should feel or hear a click when the connector is fully seated. Double-check that the connection is firm and doesn’t come loose easily.
- Manage the cables – Route and manage the fan’s cable to keep it tidy and avoid any interference with other components or fans. Use cable ties or other cable management techniques to secure the cable and prevent it from obstructing airflow or getting tangled.
- Repeat the process – If you have multiple CPU fans to connect, repeat the steps above for each fan, making sure to connect them to the appropriate fan headers on the motherboard or fan controller.
Ensure that you connect the CPU fan to the correct fan header to enable the motherboard’s BIOS or any fan control software to monitor and control the fan’s speed. This allows for optimal cooling performance and noise reduction based on the system’s temperature.
After connecting the fan to the power source, you can move on to the next step, which involves testing and adjusting the fan’s speed and airflow.
Step 7: Test and adjust the fan’s speed and airflow
After connecting the CPU fan to the power source, it’s important to test and adjust the fan’s speed and airflow to ensure optimal performance and cooling efficiency. Follow these steps to test and adjust the fan:
- Power on your computer – Plug in your computer and power it on to start the testing process. Monitor the CPU fan and listen for any unusual noises or vibrations that may indicate a problem.
- Access BIOS or fan control software – Depending on your motherboard or fan control system, access the BIOS or fan control software to adjust the fan speed and monitor the system’s temperature. Refer to your motherboard’s manual or the manufacturer’s instructions for specific details on accessing and using the BIOS or fan control software.
- Monitor the fan speed and temperature – In the BIOS or fan control software, you can usually find the current fan speed and CPU temperature readings. Keep an eye on these readings while performing different tasks or running stress tests to ensure that the fan is functioning optimally and keeping the temperature within an acceptable range.
- Adjust the fan speed – If the CPU temperatures are higher than desired, you can adjust the fan speed settings in the BIOS or fan control software to increase the airflow. This will help in cooling the CPU more effectively. However, be mindful of the noise levels as higher fan speeds may result in increased noise.
It’s recommended to run stress tests or perform tasks that put the CPU under heavy load to evaluate the fan’s performance and cooling capabilities. Monitor the temperature closely and make adjustments as necessary to strike a balance between cooling performance and noise levels.
If you encounter any issues or notice abnormal temperatures or fan behavior, refer to the troubleshooting tips in the next step to identify and resolve any potential problems.
Once you have tested and adjusted the fan’s speed and airflow, you can move on to the next step, which involves securing any loose cables and tidying up the case.
Step 8: Secure any loose cables and tidy up the case
After testing and adjusting the fan’s speed and airflow, it’s important to secure any loose cables and ensure a tidy and organized interior of the case. This step not only improves the aesthetics of your computer but also ensures proper airflow and prevents potential damage or interference with the components. Follow these steps to secure the cables and tidy up the case:
- Identify loose cables – Inspect the interior of your case and identify any cables that are hanging loosely or obstructing the airflow. These can be power cables, data cables, or any other peripherals connected to your system.
- Route and secure cables – Carefully reroute the cables to their appropriate paths, ensuring they are neatly organized and not blocking any fans or air vents. Use cable ties or Velcro straps to secure the cables together and fix them in place, preventing them from shifting or tangling.
- Clear cable clutter – Remove any unnecessary cables or peripherals that are no longer in use. This helps reduce cable clutter and improves airflow within the case.
- Check components and connections – As you secure the cables, double-check that all components, connections, and screws are properly tightened and secure. This ensures a stable and safe operation of your system.
- Inspect for dust or debris – Take this opportunity to inspect the case for any dust or debris that may have accumulated. Use a can of compressed air or a soft brush to carefully clean the case, fans, and components, improving the overall airflow and cooling efficiency.
By securing the cables and tidying up the case, you not only enhance the aesthetics of your computer but also ensure proper airflow and minimize the risk of cable-related issues or component damage. It’s a good practice to periodically check and tidy up your case to maintain optimal performance and longevity of your system.
With the cables secured and the case tidied up, you’re now ready to move on to the final step, which provides troubleshooting tips to help you address any potential issues that may arise during the installation process.
Step 9: Troubleshooting tips
While mounting a CPU fan as a case fan is generally a straightforward process, occasional issues may arise. Here are some troubleshooting tips to help you address common problems that may occur during or after the installation:
- No power or fan not spinning – If the CPU fan is not receiving power or not spinning, double-check the fan connections. Ensure that the fan is properly connected to the correct fan header on the motherboard. Additionally, ensure that the fan cable is not damaged or loose. If the issue persists, try connecting the fan to a different fan header or test it with another system to verify if it’s a fan or motherboard issue.
- Noisy fan – If the fan is producing excessive noise, it could indicate a misalignment or a faulty bearing. Ensure that the fan is mounted securely and aligned properly. If the noise persists, consider replacing the fan with a quieter model or contacting the manufacturer for assistance.
- High temperatures – If the CPU temperatures are too high even after mounting the CPU fan as a case fan, there may be an issue with the airflow or thermal paste application. Check if the fan is spinning correctly and that there are no obstructions blocking the airflow. Additionally, ensure that the thermal paste is evenly and properly applied between the CPU and the heat sink.
- Overheating and system instability – If the system experiences random shutdowns or instability after installing the CPU fan, it could indicate insufficient cooling or improper fan installation. Double-check the fan mounting, airflow, and thermal paste application. Consider testing the system under different loads or using stress testing software to evaluate its stability under heavy usage.
- Compatibility issues – It’s important to ensure that the CPU fan is compatible with your motherboard and case. Check the fan’s specifications and compare them with the motherboard’s documentation to ensure compatibility. Additionally, check if the fan’s dimensions are suitable for the available mounting points in your case.
If you encounter any of these issues or other related problems, refer to the manufacturer’s documentation for specific troubleshooting advice. Additionally, reaching out to the manufacturer’s technical support or seeking assistance from knowledgeable computer enthusiasts can help identify and resolve the issue.
By following these troubleshooting tips, you can overcome common obstacles and ensure the smooth operation of your CPU fan as a case fan.
Conclusion
Mounting a CPU fan as a case fan is a practical and effective way to improve the cooling performance of your computer system. By following the step-by-step process outlined in this guide, you can enhance the airflow, maintain optimal temperatures, and prevent overheating issues.
Starting with gathering the necessary tools and materials, determining the appropriate location for the fan, and removing it from the heat sink, you have laid the foundation for a successful installation. Preparing the case, mounting the fan securely, and connecting it to the appropriate power source are vital steps in ensuring proper functioning and performance.
After the installation, it’s important to test and adjust the fan’s speed and airflow to optimize cooling efficiency and noise levels. Securing loose cables, tidying up the case, and troubleshooting any potential issues further contribute to a well-functioning and visually pleasing system.
Remember to consult your motherboard and fan manufacturer’s instructions for any specific details or precautions relevant to your particular hardware. Additionally, periodic maintenance and cleaning of the fan and case, along with monitoring temperatures and performance, will help maintain the longevity and efficiency of your system.
By mounting a CPU fan as a case fan, you have taken a proactive step towards enhancing the cooling capabilities of your computer system, ensuring optimal performance, and protecting your valuable components from overheating. Enjoy the benefits of a cooler and more efficient system!