Introduction
The Raspberry Pi is a powerful and versatile single-board computer that is widely used for various projects and applications. With its compact size and low power consumption, the Raspberry Pi has become a popular choice for hobbyists, students, and professionals alike. However, just like any other computer, the Raspberry Pi can generate heat during operation, which can affect its performance and even cause damage if not properly monitored.
Monitoring the CPU temperature of your Raspberry Pi is crucial to ensure its stable and efficient operation. Overheating can lead to throttling, where the CPU clock speed is reduced to prevent damage, resulting in slower performance. In extreme cases, it can lead to system instability and even permanent hardware failure.
By regularly checking the CPU temperature, you can identify if the Raspberry Pi is running within safe operating limits and take necessary steps to prevent overheating. Fortunately, there are several methods available to check the CPU temperature on your Raspberry Pi.
This article will guide you through different methods to monitor the CPU temperature of your Raspberry Pi so that you can keep it running at its best. Whether you prefer using the command line interface, a graphical user interface, or dedicated temperature monitoring software, we have you covered.
Why is it important to check CPU temperature on Raspberry Pi?
Monitoring the CPU temperature on your Raspberry Pi is crucial for several reasons:
- Preventing overheating: The CPU on your Raspberry Pi generates heat during operation. If the temperature rises too high, it can lead to instability, reduced performance, and even permanent damage to the components. By regularly checking the CPU temperature, you can take necessary measures to prevent overheating and ensure the longevity of your Raspberry Pi.
- Optimizing performance: Higher temperatures can lead to thermal throttling, where the CPU clock speed is automatically lowered to maintain a safe temperature. This causes a decrease in performance, affecting the responsiveness and speed of your Raspberry Pi. By monitoring the CPU temperature, you can identify if thermal throttling is occurring and take steps to mitigate it.
- Ensuring stable operation: Excessive heat can cause system instability, leading to crashes, freezes, and unexpected shutdowns. By keeping an eye on the CPU temperature, you can detect any unusual spikes or fluctuations that may indicate potential issues. It allows you to troubleshoot and address the problem before it escalates.
- Protecting your data: Overheating can not only affect the CPU but also impact other components, such as the SD card used for storage. High temperatures can reduce the lifespan of the SD card and increase the risk of data corruption or loss. Monitoring the CPU temperature helps you maintain a safe operating environment for your Raspberry Pi and protect your valuable data.
Overall, checking the CPU temperature on your Raspberry Pi is essential for maintaining its performance, stability, and longevity. It allows you to proactively detect and address any potential issues related to overheating, ensuring that your Raspberry Pi operates smoothly for all your projects and applications.
Method 1: Using Command Line Interface
One of the simplest and most straightforward ways to check the CPU temperature on your Raspberry Pi is by using the command line interface (CLI). The CLI provides direct access to the Raspberry Pi’s system information, including the CPU temperature.
Follow these steps to check the CPU temperature via the command line:
- Open the terminal on your Raspberry Pi. You can do this by clicking on the terminal icon on the taskbar or by pressing
Ctrl+Alt+Ton your keyboard. - In the terminal, type the following command:
- Press
Enterto execute the command. The CPU temperature will be displayed in degrees Celsius.
vcgencmd measure_tempThis method provides a quick and direct way to check the CPU temperature without the need for additional software or applications. It is especially useful if you prefer working with the command line or if you need a simple solution for scripting or automation purposes.
Keep in mind that the command vcgencmd measure_temp provides the CPU temperature as reported by the Raspberry Pi’s system monitor, which is typically accurate enough for most purposes. However, if you require more precise or detailed temperature readings, you may need to explore other methods or dedicated temperature monitoring software.
Note that it is important to monitor the CPU temperature periodically to detect any abnormal spikes or sustained high temperatures. If you notice that the temperature is consistently high during normal operation, it may be indicative of inadequate cooling or ventilation. In such cases, you may need to take additional measures, such as adding a fan or heatsink, to keep your Raspberry Pi within optimal temperature ranges.
Method 2: Using a Graphical User Interface
If you prefer a more user-friendly and visually intuitive approach to checking the CPU temperature on your Raspberry Pi, you can utilize graphical user interface (GUI) tools. Several applications offer temperature monitoring capabilities with a user-friendly interface.
Here’s a method to check the CPU temperature using a GUI:
- Open the Raspberry Pi’s application menu by clicking on the Raspberry icon in the top-left corner of the screen.
- Navigate to the “System Tools” or “Accessories” category, depending on your operating system and desktop environment.
- Look for an application that provides system monitoring or hardware information. Some popular options include “Raspberry Pi Configuration”, “Desktop Configuration”, or “System Monitor”.
- Launch the application and navigate to the section that displays the CPU temperature. It may be labeled as “Temperature”, “Hardware Monitor”, or something similar.
- The application should display the CPU temperature in real-time or provide a refresh option to update the temperature value.
Using a GUI tool for monitoring CPU temperature can be convenient, especially if you prefer a visual representation of the temperature readings. Additionally, some GUI tools may offer extra features such as temperature graphs, customizable alarms, and logging options to keep track of temperature fluctuations over time.
It’s worth noting that the availability and functionality of GUI tools can vary depending on the operating system and desktop environment you are using on your Raspberry Pi. If you cannot find a pre-installed tool or if you’re using a minimal installation of the operating system, you can explore third-party software options specifically designed for monitoring system temperature on Raspberry Pi.
Remember to monitor the CPU temperature regularly to detect any abnormal changes that may indicate overheating or inadequate cooling. If you notice consistently high temperatures, consider improving the cooling solution for your Raspberry Pi, such as using a fan or heatsink, to keep the CPU within safe operating limits.
Method 3: Using Temperature Monitoring Software
If you prefer a more comprehensive and feature-rich solution for monitoring the CPU temperature on your Raspberry Pi, dedicated temperature monitoring software can be a great option. These software applications provide detailed information and advanced features to help you monitor and manage the temperature of your Raspberry Pi effectively.
Here’s how you can use temperature monitoring software to check the CPU temperature on your Raspberry Pi:
- Access the software repository or package manager on your Raspberry Pi’s operating system.
- Search for temperature monitoring software compatible with Raspberry Pi. Some popular options include “lm_sensors”, “psensor”, and “HardInfo”.
- Select the desired software and install it on your Raspberry Pi, following the instructions provided by your operating system.
- Launch the installed software from the application menu or by typing its name into the terminal.
- The software will display the current CPU temperature, along with other system information such as fan speed, voltages, and sensor readings.
- Explore the software’s settings and options to customize temperature thresholds, enable notifications or alarms, and access additional features like temperature logging and graphing.
Utilizing temperature monitoring software provides you with a more detailed and customizable approach to monitoring the CPU temperature on your Raspberry Pi. These software applications often offer real-time temperature readings, historical temperature graphs, and configurable alerts to help you maintain optimal thermal conditions for your Raspberry Pi.
It’s important to note that while temperature monitoring software can provide valuable insights into the CPU temperature, it is essential to regularly check and confirm the accuracy of the readings. Comparing the software readings with other methods, such as the command line interface or physical temperature sensors, can help ensure accurate and reliable temperature monitoring.
Remember, keeping your Raspberry Pi within the safe temperature range is crucial for performance, stability, and longevity. If you notice consistently high temperatures or unusually rapid temperature increases, consider improving the cooling solution for your Raspberry Pi, such as using a heatsink, fan, or active cooling system, to prevent overheating and ensure optimal performance.
Tips to Keep Your Raspberry Pi Cool
Keeping your Raspberry Pi cool is crucial for maintaining its performance, stability, and longevity. Here are some tips to help you prevent overheating and ensure optimal temperature management:
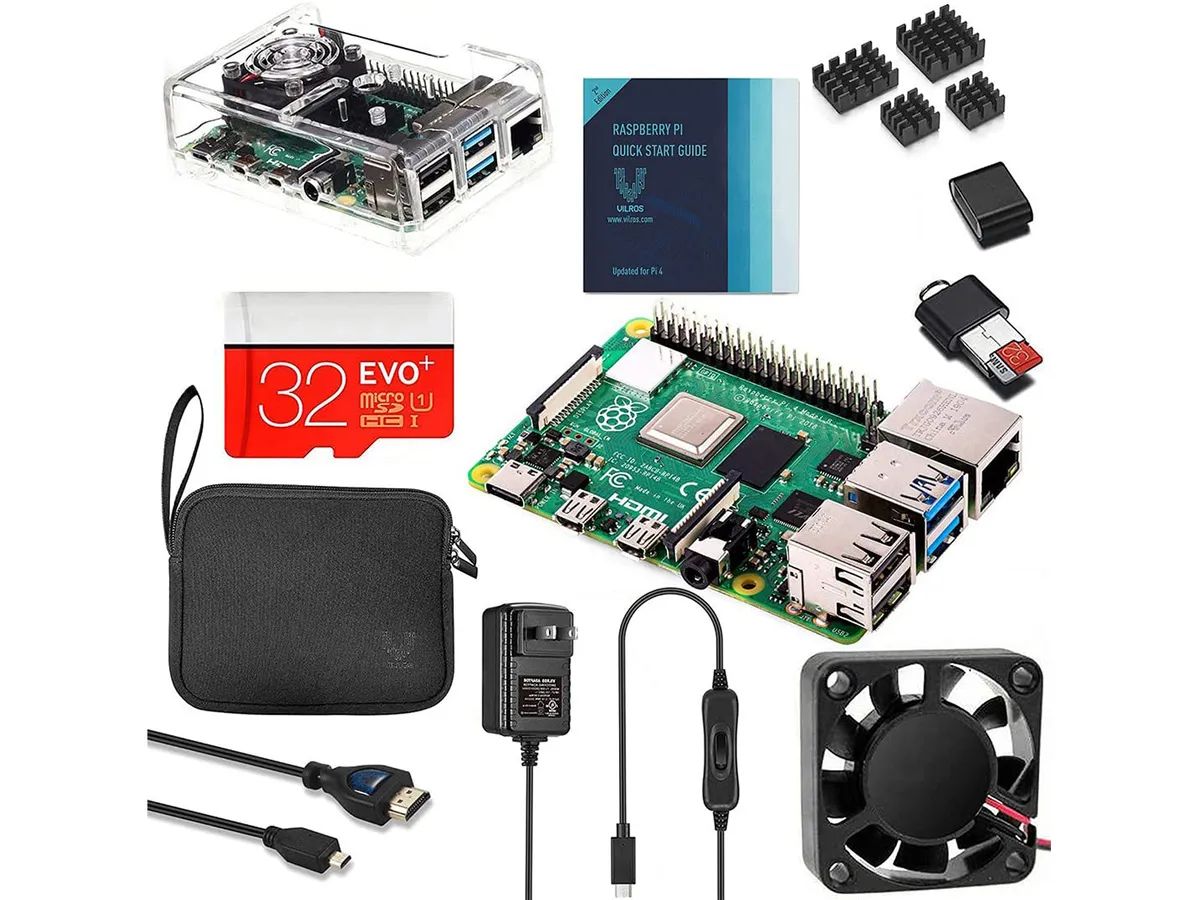
- Use a heatsink: Installing a small heatsink on the CPU can significantly improve heat dissipation. Heatsinks work by increasing the surface area available for heat transfer, allowing the CPU to cool down more efficiently.
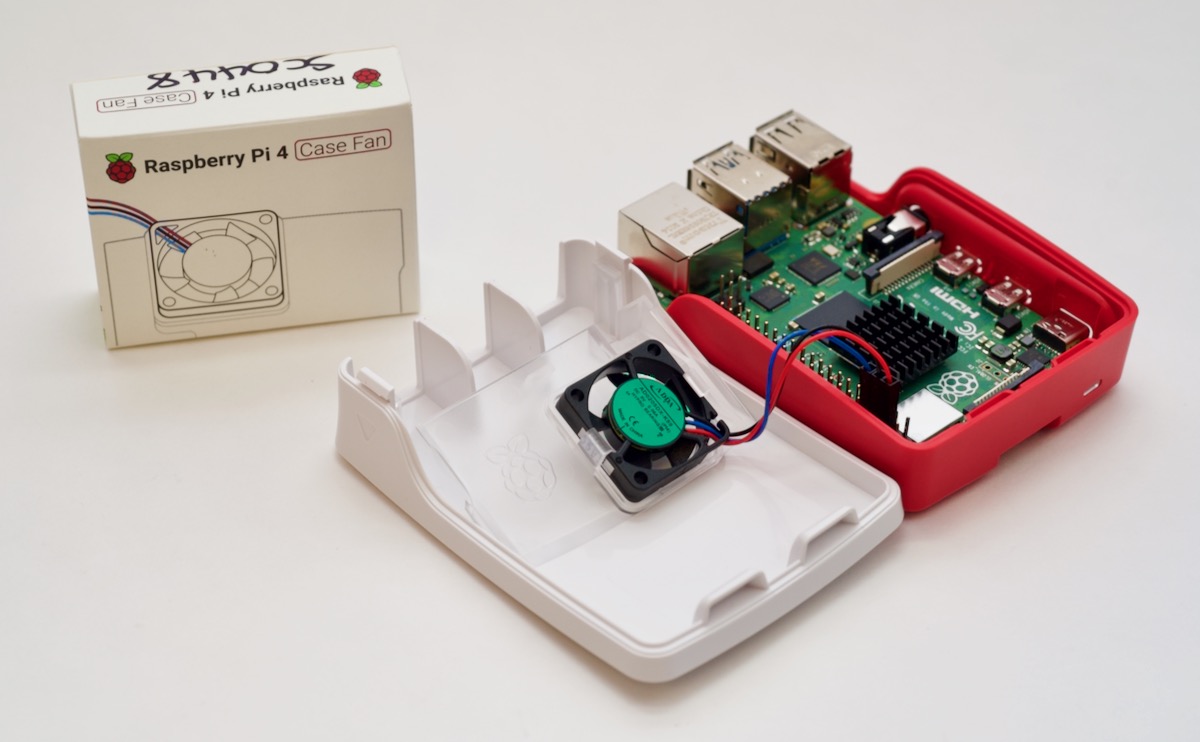
- Utilize a fan: Adding a fan to your Raspberry Pi setup can significantly enhance air circulation and heat dissipation. Fans can be easily attached to the case or directly to the heatsink, ensuring continuous airflow to keep the CPU and other components cool.
- Optimize the case: Choose a case that has ventilation holes or slots to allow adequate airflow. Avoid enclosing the Raspberry Pi in tight spaces or using cases that trap heat, as this can lead to increased temperatures.
- Keep it away from heat sources: Ensure that your Raspberry Pi is placed away from direct sunlight, heat-emitting devices, and other heat sources. Excessive external heat can raise the ambient temperature around the Raspberry Pi, making it harder for the CPU to stay cool.
- Provide proper ventilation: If using a case, make sure to position it in a well-ventilated area. Avoid placing it on soft surfaces or near fabrics that can obstruct airflow. Adequate ventilation helps dissipate heat efficiently and keeps the Raspberry Pi cool.
- Consider active cooling: For more demanding tasks or when working in high-temperature environments, you might need to implement active cooling solutions. These can include powerful fans, liquid cooling systems, or even dedicated cooling cases.
- Monitor with temperature software: Continuously monitor the CPU temperature using software or tools designed for temperature monitoring on Raspberry Pi. This allows you to stay informed about the temperature levels and take appropriate action if necessary.
- Avoid overclocking: While overclocking the Raspberry Pi can boost performance, it also increases power consumption and generates more heat. If heat management is a concern, consider running the Raspberry Pi at stock frequencies to minimize the strain on the CPU.
Implementing these tips can help you maintain a cool operating temperature for your Raspberry Pi, ensuring its reliability and longevity. By actively managing the temperature, you can prevent overheating issues and enjoy optimal performance for all your projects and applications.
Conclusion
Monitoring the CPU temperature on your Raspberry Pi is essential for maintaining its performance, stability, and longevity. Overheating can result in throttling, reduced performance, system instability, and even permanent hardware damage. By regularly checking the CPU temperature, you can detect potential issues early on and take necessary measures to prevent damage.
In this article, we explored three different methods to check the CPU temperature on your Raspberry Pi:
- Using the command line interface (CLI): This method provides a quick and direct way to check the CPU temperature without the need for additional software. It is ideal for those who prefer working with the command line or need a simple solution for scripting or automation purposes.
- Using a graphical user interface (GUI): GUI tools provide a more user-friendly and visually intuitive approach to monitoring the CPU temperature. They offer features like real-time temperature readings, customizable alarms, and temperature graphs to help you keep track of the temperature with ease.
- Using temperature monitoring software: Dedicated software applications provide detailed information and advanced features for comprehensive temperature monitoring. They often offer real-time readings, historical temperature graphs, and customizable alerts to help you maintain optimal thermal conditions for your Raspberry Pi.
Additionally, we provided some tips to keep your Raspberry Pi cool, such as using heatsinks, fans, and optimizing the case for improved airflow. Proper ventilation, avoiding heat sources, and considering active cooling solutions are also crucial steps in maintaining optimal temperature levels.
By following these methods and implementing temperature management techniques, you can ensure that your Raspberry Pi operates within safe temperature limits, leading to improved performance, stability, and longevity for your projects and applications.