Introduction
Welcome to our guide on how to connect your Android device to your PC! In today’s digital world, the need to transfer files, sync contacts, and control our devices from our computers has become more important than ever. Whether you want to transfer photos, backup important files, or simply stream media from your device on a larger screen, establishing a seamless connection between your Android device and PC is crucial.
There are several methods to connect your Android device to your PC, including using a USB cable or establishing a wireless connection through Wi-Fi. Additionally, we will explore how to enable USB debugging, configure file transfer settings, and troubleshoot common connection issues that may arise.
For added convenience, we will also discuss the use of third-party software, such as Android File Transfer for Mac users, to simplify the file transfer process. Moreover, we will explore how to sync contacts and calendar events between your Android device and PC, allowing for a seamless integration of data across both platforms.
Whether you are a tech-savvy individual or a beginner in the world of Android, this guide will provide you with step-by-step instructions and tips to successfully connect your Android device to your PC. So, let’s dive in and explore the various methods and techniques to establish a solid connection between your Android device and PC!
Preparing Your Android Device and PC
Before we can begin the process of connecting your Android device to your PC, there are a few essential steps that need to be taken to ensure a smooth and successful connection. Let’s explore the necessary preparations for both your Android device and PC.
1. Update Your Android Device: It is crucial to keep your Android device up to date with the latest software updates. Updates often contain bug fixes and improvements, including enhancements to connectivity features. To update your Android device, go to Settings > System > Advanced > System Update.
2. Install USB Drivers: If you plan on connecting your Android device to your PC via a USB cable, you may need to install USB drivers specific to your device manufacturer. Most popular Android device manufacturers provide USB drivers on their official websites. Download and install the appropriate USB drivers for your device to ensure compatibility with your PC.
3. Check USB Cable and Ports: Ensure that the USB cable you are using to connect your Android device to your PC is in good condition and capable of data transfer. Additionally, verify that the USB ports on both your Android device and PC are functioning properly. Faulty cables or ports can cause connectivity issues, so it’s important to check these components before proceeding.
4. Connect to a Stable Wi-Fi Network: If you prefer to establish a wireless connection between your Android device and PC, ensure that both devices are connected to the same Wi-Fi network. A stable and high-speed Wi-Fi network is recommended to avoid any interruptions during file transfers or other activities.
5. Install Required Software: Depending on the method you choose to connect your Android device to your PC, you may need to install specific software. For example, if you’re using Android File Transfer on a Mac, you’ll need to download and install the software before proceeding. Make sure you have all the necessary software installed and updated on your PC prior to connecting your Android device.
By following these preparatory steps, you’ll ensure that both your Android device and PC are ready for the connection process. Taking the time to properly prepare will minimize any potential issues and set the stage for a seamless and efficient connection between your Android device and PC.
Connecting via USB Cable
One of the most common methods to connect your Android device to your PC is by using a USB cable. This method is straightforward and reliable, allowing for easy file transfer and device management. Let’s walk through the steps to establish a connection via USB cable:
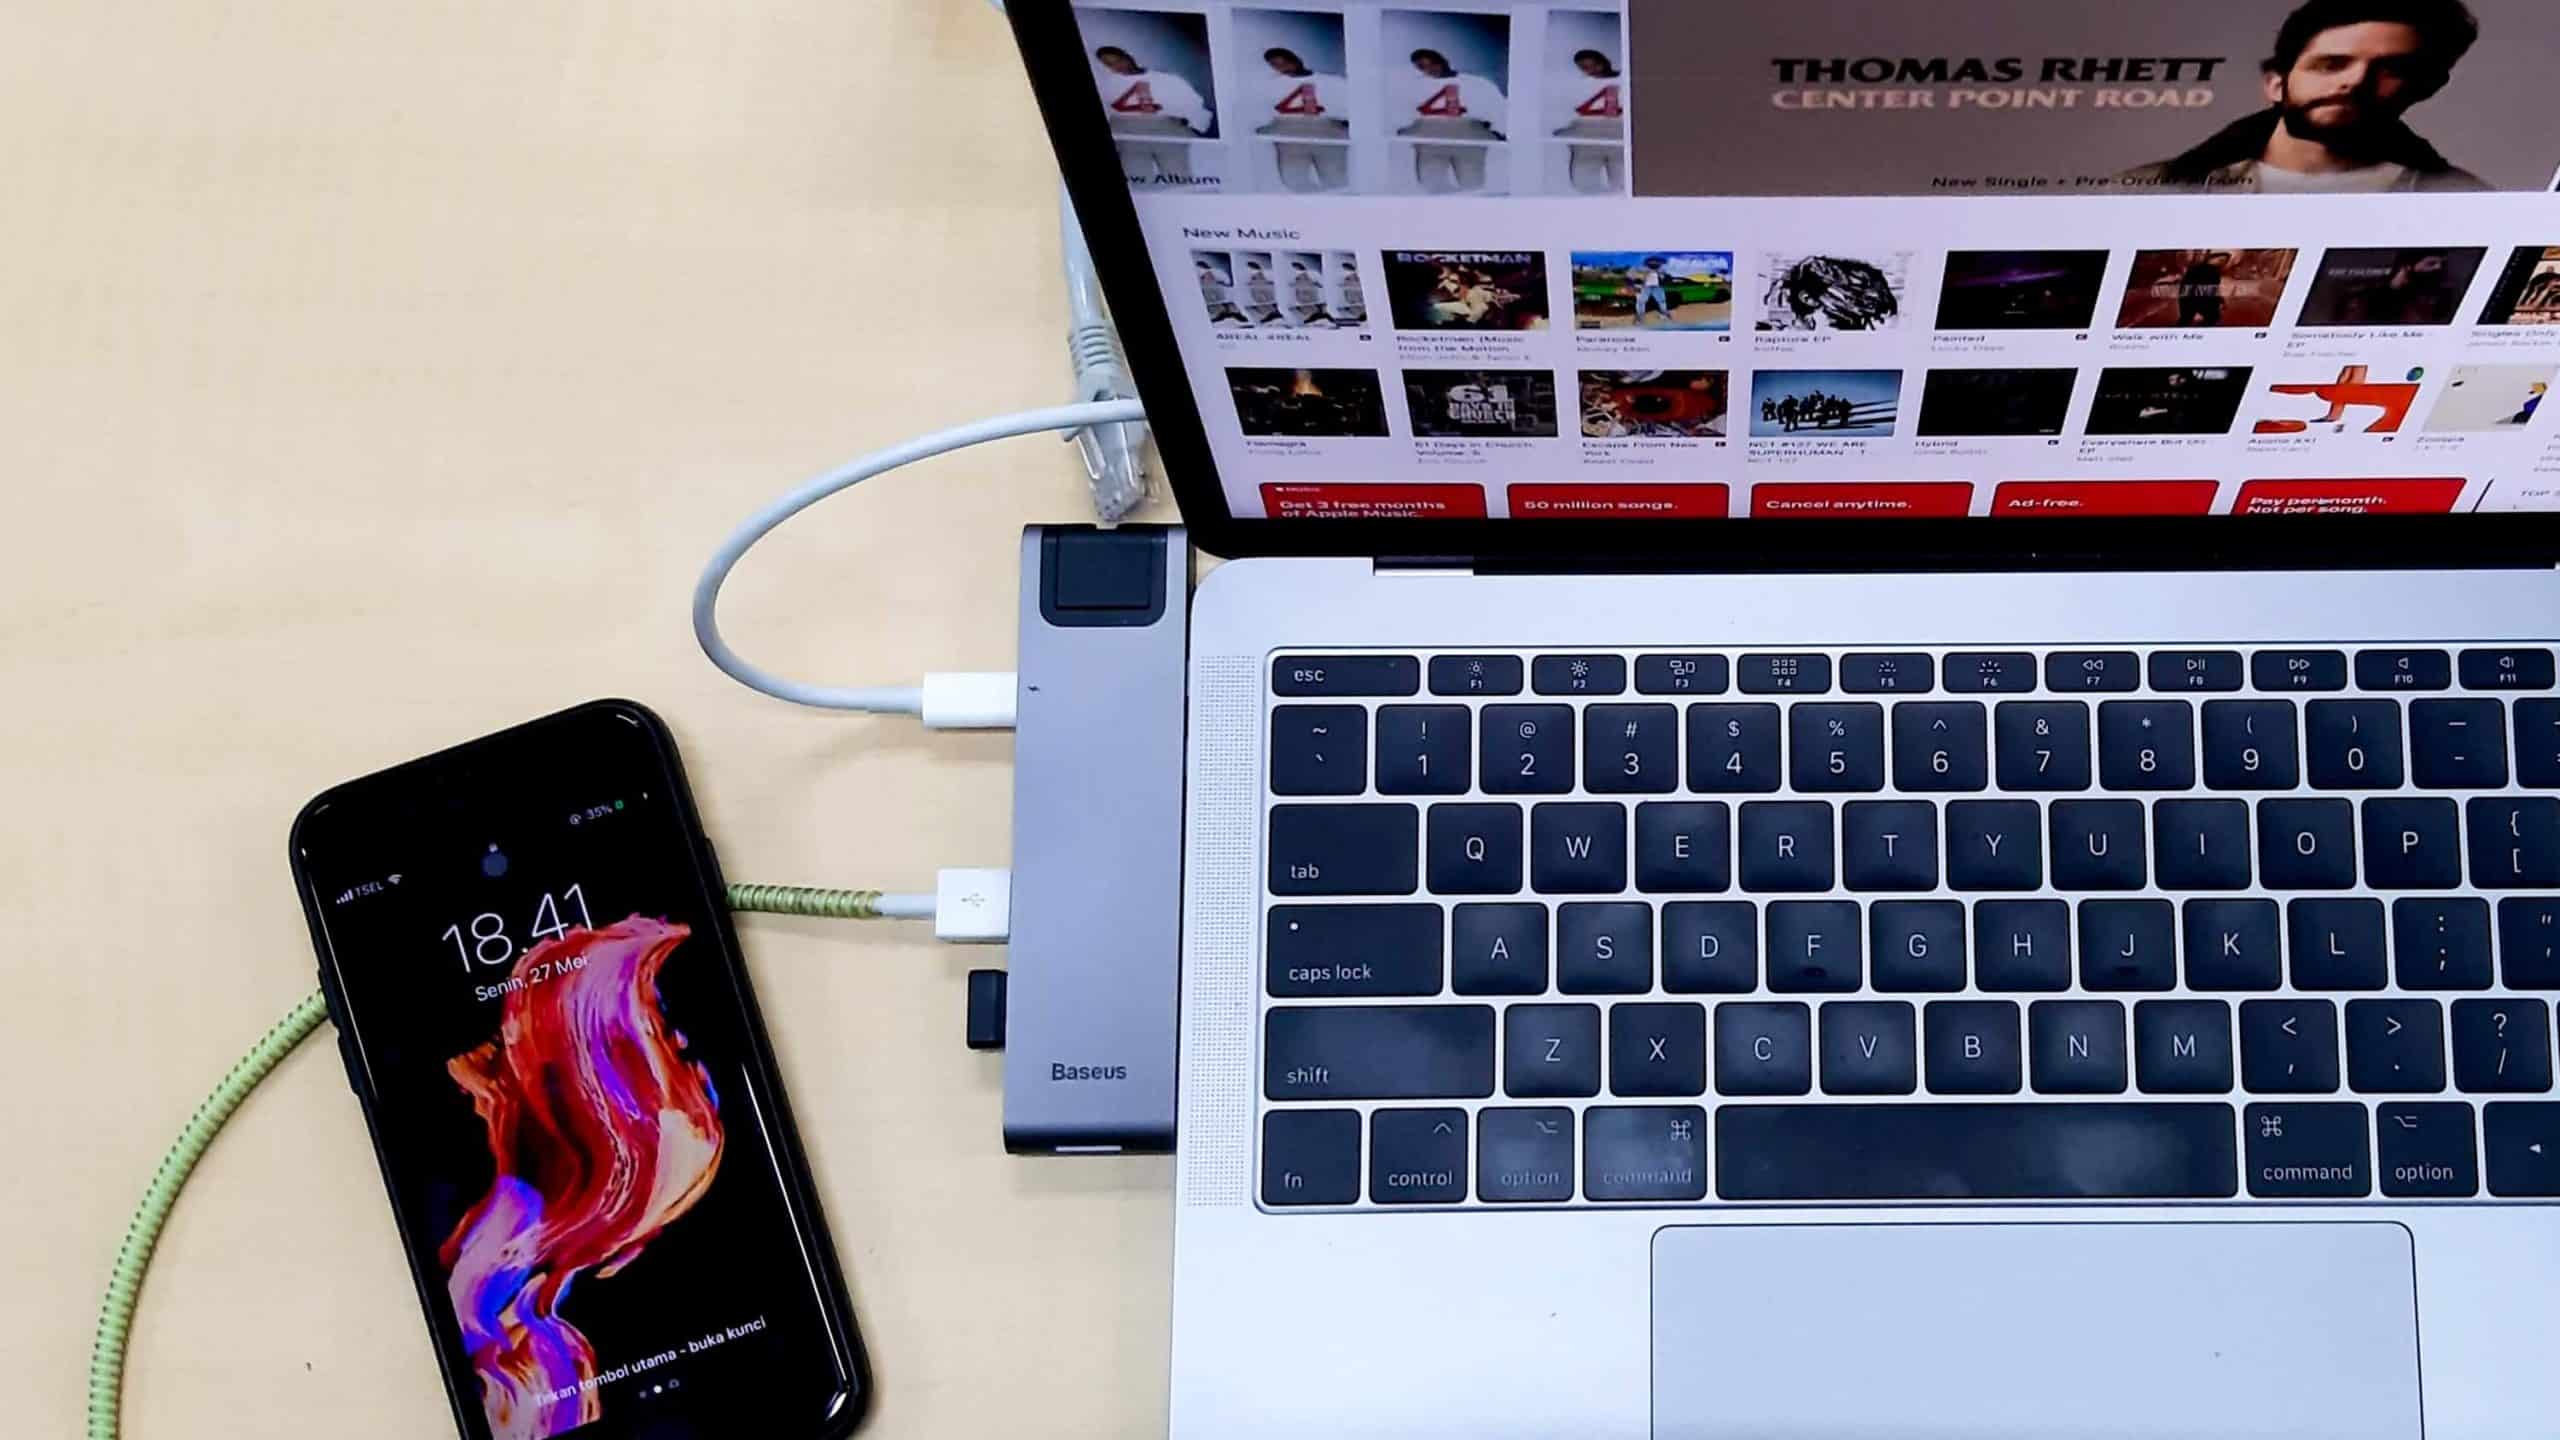
1. Connect the USB Cable: Start by locating the USB port on your Android device and the corresponding USB port on your PC. Take the USB cable that came with your device and insert one end into the USB port on your Android device, and the other end into an available USB port on your PC.
2. Enable File Transfer Mode: By default, your Android device may be set to charge only when connected to a PC. To enable file transfer mode, unlock your Android device and swipe down from the top of the screen to access the notification panel. Look for the USB connection options and select “File Transfer” or “Transfer files” from the available options.
3. Grant USB Debugging Permission (Optional): If you plan on performing advanced operations or debugging your Android device, you may need to enable USB debugging. To do this, go to Settings > Developer Options (if enabled) or About phone > Tap on Build number multiple times to enable Developer options > Go back to Settings > Developer Options > Enable USB Debugging.
4. Verify Connection Notification: Upon successful connection, your Android device may display a notification indicating that it is connected as a media device or in file transfer mode. You will now be able to access and manage the files on your Android device from your PC.
5. Access Your Android Device on PC: Open My Computer (Windows) or Finder (Mac) on your PC, and you should see your Android device listed as a removable storage device or under “My Devices.” Double-click on your device’s icon to access its internal storage or SD card, depending on your device’s configuration.
Now that you have successfully connected your Android device to your PC via a USB cable, you can easily transfer files between the two devices. Simply drag and drop files from your PC to your Android device or vice versa. You can also create new folders, delete files, and organize your Android device’s content directly from your PC.
Note that the steps mentioned above may vary slightly depending on your device manufacturer and Android version. However, the general concept remains the same. USB cable connections provide a versatile and reliable method to establish a connection between your Android device and PC, allowing for seamless file transfer and device management capabilities.
Connecting via Wi-Fi
If you prefer a wireless connection, you can connect your Android device to your PC via Wi-Fi. This method allows for convenient connectivity without the need for a physical USB cable. Follow the steps below to establish a wireless connection:
1. Connect to the Same Wi-Fi Network: Make sure that both your Android device and PC are connected to the same Wi-Fi network. You can check the Wi-Fi network your Android device is connected to by going to Settings > Wi-Fi. Similarly, ensure that your PC is connected to the same Wi-Fi network.
2. Enable Wi-Fi File Sharing on Your Android Device: On your Android device, open the Settings app and navigate to the Wi-Fi or Network & Internet section. Look for the option that allows you to share/transfer files over Wi-Fi or Wi-Fi Direct. Enable this option to activate Wi-Fi file sharing.
3. Locate the IP Address: To establish a connection, you will need to know the IP address of your Android device. On your Android device, go to Settings > About phone > Status (or similar). Look for the IP address listed under the Wi-Fi section. Take note of this IP address as you will need it to connect from your PC.
4. Access Your Android Device from Your PC: On your PC, open your preferred web browser and enter the IP address of your Android device in the address bar. Press Enter to connect to your Android device. You may be prompted to enter a username and password, depending on your Android device’s settings. Enter the required credentials to log in.
5. Manage Your Android Device from Your PC: Once connected, you will see a web-based interface on your PC that allows you to access and manage the files on your Android device. You can transfer files, create folders, delete files, and perform various other operations directly from your PC’s web browser.
Connecting via Wi-Fi provides the flexibility to access your Android device from your PC without the limitations of a physical cable. It allows for seamless file transfer and management, making it an ideal choice for those who frequently transfer files or manage their Android devices. However, it’s important to note that Wi-Fi transfer speeds may be slower than USB transfer speeds, especially when transferring large files.
Remember to disable Wi-Fi file sharing once you have finished transferring files or managing your Android device to ensure the security of your device and network.
Enabling USB Debugging
USB debugging is an essential feature for advanced Android users, developers, and anyone who needs to establish a connection between their Android device and PC for tasks like app development, device debugging, or accessing hidden settings. To enable USB debugging on your Android device, follow the steps below:
1. Enable Developer Options: The Developer Options menu is hidden by default on Android devices to prevent accidental changes. To access it, go to Settings > About phone (or About device). Look for the “Build number” or “Software information” section and tap on it seven times. This will activate Developer Options on your Android device.
2. Access Developer Options: Once you have enabled Developer Options, go back to the main Settings screen and you should see a new option called “Developer Options” or “Developer settings.” Tap on it to access the developer settings.
3. Enable USB Debugging: In the Developer Options menu, locate the “USB debugging” toggle switch or checkbox. Enable it by sliding the switch to the “On” position or checking the box next to USB debugging. You may see a warning message informing you about the potential risks of enabling USB debugging. Read the message and confirm if prompted.
4. Grant USB Debugging Permission: After enabling USB debugging, you may need to grant permission for your PC to access your Android device’s debugging features. When you connect your Android device to your PC via USB, a pop-up notification will appear on your device asking for permission to allow USB debugging from the connected PC. Tap “OK” or “Allow” to grant the permission.
5. Verify USB Debugging Connection: To verify that USB debugging is successfully enabled, connect your Android device to your PC using a USB cable. Open a command prompt or terminal window on your PC and enter the following command: adb devices. If your Android device is listed, it means USB debugging is enabled and your PC can now communicate with your device via USB.
Enabling USB debugging on your Android device provides you with enhanced control and access to advanced features when connected to your PC. However, it’s important to exercise caution when enabling USB debugging and only enable it when necessary. Keep in mind that USB debugging allows for deep-level access to your device, including the potential for unauthorized access if connected to an untrusted PC.
Remember to disable USB debugging when you’re done with any debugging tasks or if you no longer need it. This will help ensure the security of your Android device and protect your personal data.
Configuring File Transfer Settings
Configuring file transfer settings on your Android device is crucial to ensure seamless and efficient file transfers between your device and your PC. By adjusting these settings, you can optimize the file transfer process and enable the smooth exchange of files. Here’s how you can configure the file transfer settings on your Android device:
1. Connect your Android device to your PC: Start by connecting your Android device to your PC using a USB cable. Ensure that the USB cable is properly connected and that your PC recognizes your device.
2. Access the USB Connection Options: On your Android device, swipe down from the top of the screen to open the notification panel. Look for the USB connection options or the USB settings icon. Tap on it to open the USB connection menu.
3. Choose the File Transfer (MTP) mode: In the USB connection menu, you’ll find various options such as charging only, MIDI, PTP, or MTP. Select the File Transfer (MTP) mode or the Media Transfer mode. This mode allows you to transfer files between your Android device and your PC.
4. Enable USB Debugging (optional): If you have enabled USB debugging for advanced tasks, such as app development, ensure that USB debugging is still enabled in the developer options of your device. This will allow your PC to access your device’s file system and other debugging functions.
5. Verify the Connection: Once you have configured the file transfer settings and selected the appropriate mode, your Android device should appear as a connected device on your PC. You will now be able to access and transfer files between your Android device and your PC using file explorer or other file management software.
By configuring these file transfer settings, you can ensure that your Android device and PC communicate smoothly during file transfers. The File Transfer (MTP) mode is specifically designed for transferring media files such as photos, videos, and documents. It provides a convenient way to access your Android device’s storage on your PC, allowing you to quickly transfer files back and forth.
Remember to disconnect your Android device safely from your PC once you’ve finished transferring files. This can typically be done by right-clicking on your device’s icon and selecting the “Eject” or “Disconnect” option. Properly disconnecting your device helps prevent data corruption and ensures the integrity of your transferred files.
Using Android File Transfer (for Mac users)
If you are a Mac user, you can use the Android File Transfer application to facilitate the file transfer process between your Android device and your Mac. Android File Transfer is a free utility provided by Google specifically designed for Mac users. To use Android File Transfer on your Mac, follow the steps below:
1. Download and Install Android File Transfer: Open a web browser on your Mac and search for “Android File Transfer.” Go to the official Android File Transfer website and download the application. Once the download is complete, locate the downloaded file and double-click on it to start the installation. Follow the on-screen instructions to install Android File Transfer on your Mac.
2. Connect your Android device to your Mac: Connect your Android device to your Mac using a USB cable. Ensure that the USB cable is properly connected and that your Mac recognizes your device. Your Android device should be in File Transfer (MTP) mode for successful connection.
3. Open Android File Transfer: Once your Android device is connected, open the Android File Transfer application on your Mac. The application should automatically detect and display the contents of your Android device’s storage on your Mac.
4. Transfer Files: You can now browse and navigate through the folders on your Android device using the Android File Transfer interface on your Mac. To transfer files from your Mac to your Android device, simply drag and drop files from your Mac’s Finder into the Android File Transfer window. To transfer files from your Android device to your Mac, select the files you want to transfer in the Android File Transfer window and drag them to a desired location on your Mac.
5. Safely Disconnect your Android device: After you have finished transferring files, it is important to safely disconnect your Android device from your Mac. To do this, simply close the Android File Transfer application, then disconnect the USB cable from both your Android device and your Mac.
Android File Transfer provides a user-friendly and intuitive interface for seamless file transfer between your Android device and your Mac. It allows you to easily transfer photos, videos, music, documents, and other files without the need for complex setups or additional software.
Make sure to keep Android File Transfer updated to ensure compatibility with the latest versions of macOS and your Android device. This will ensure that you can continue to enjoy a smooth and hassle-free file transfer experience between your Android device and your Mac.
Transferring Files between Android and PC
Transferring files between your Android device and PC is essential for tasks such as backup, file sharing, and media management. There are various methods you can use to transfer files between these devices. Let’s explore a few popular methods:
1. USB Cable: One of the simplest and most common methods is using a USB cable. Connect your Android device to your PC using a USB cable, and it will be recognized as a storage device. Open the file explorer on your PC, locate your Android device, and navigate through its folders to select and transfer files between devices.
2. Wi-Fi File Transfer: If you prefer a wireless method, you can transfer files using Wi-Fi. Several apps available in the Google Play Store allow you to establish a Wi-Fi connection between your Android device and PC, such as AirDroid, Pushbullet, or FileDrop. After installing the app on both devices, follow the instructions provided within the app to start the file transfer process.
3. Cloud Storage Services: Cloud storage services like Google Drive, Dropbox, or OneDrive provide a convenient way to transfer files between your Android device and PC. Upload files from your Android device to your cloud storage account, and they will be accessible on your PC. Similarly, upload files from your PC to the cloud, and they will be available for download on your Android device.
4. Email or Messaging Apps: For smaller files, you can transfer them via email or messaging apps like WhatsApp, Telegram, or Messenger. Simply attach the files to an email or share them through a messaging app, and then download them on the other device.
5. Bluetooth File Transfer: If both your Android device and PC have Bluetooth capabilities, you can use Bluetooth to transfer files. Enable Bluetooth on both devices, pair them, and then use the file transfer feature to send or receive files wirelessly.
Regardless of the method you choose, always check the file compatibility between your Android device and PC. Different file formats might require specific apps or software to be installed on both devices to ensure proper playback or access.
Keep in mind that file transfer speeds may vary depending on the method you use, the file size, and the devices involved. USB cable transfers generally offer faster speeds compared to wireless methods, while cloud storage services rely on your internet connection speed.
Choose the method that suits your needs, whether it’s the convenience of wireless transfer or the speed of a direct USB connection. With these various methods, transferring files between your Android device and PC has never been easier.
Syncing Contacts and Calendar Events
Syncing contacts and calendar events between your Android device and PC is essential for keeping your personal information up to date and easily accessible across different devices. By syncing these data, you can ensure that any changes made on one device are reflected on the other device. Let’s explore how you can sync contacts and calendar events between your Android device and PC:
1. Google Account Sync: The most common method to sync contacts and calendar events is through your Google account. On your Android device, go to Settings > Accounts > Add account > Google. Sign in with your Google account or create a new Google account if you don’t have one. Make sure to enable syncing for Contacts and Calendar under the account settings. On your PC, open the Google Contacts website and Google Calendar website using the same Google account login to access your synchronized contacts and calendar events.
2. Email Client Sync: If you use an email client on your Android device, such as Gmail or Outlook, you can sync contacts and calendar events with your PC’s email client. Add your email account to both your Android device and PC’s email client, and ensure that contact and calendar syncing is enabled in the email account settings. Any changes made in your contacts or calendar will sync across devices.
3. Third-party Apps: There are third-party apps available on the Google Play Store that offer contact and calendar syncing between your Android device and PC. Apps like Microsoft Outlook, Sync2, or DAVx5 provide the ability to sync contacts and calendars with your PC’s software or web-based applications using various protocols such as CalDAV or CardDAV.
4. USB Cable Transfer: If you prefer a more manual approach, you can use a USB cable to transfer contacts and calendar events between your Android device and PC. Export your contacts and events from your Android device as vCard (.vcf) or iCalendar (.ics) files, transfer them to your PC, and then import them into your PC’s contact and calendar applications. This method requires manual transfer whenever changes are made.
Syncing contacts and calendar events between your Android device and PC ensures that you have the same information available on multiple devices. It allows you to seamlessly manage and update your personal data, whether you’re adding new contacts or scheduling events.
Remember to regularly check the sync settings and ensure that they are enabled on both your Android device and PC for a smooth and automatic synchronization process. It’s also important to back up your contacts and calendar events periodically to prevent any data loss.
Choose the synchronization method that works best for you, based on your preferences and the software or applications you use on both your Android device and PC. With syncing in place, you can stay organized and keep track of your contacts and calendar events across devices effortlessly.
Controlling Your Android Device from PC
Controlling your Android device from your PC can be incredibly convenient, especially when you want to access and manage your device remotely or perform tasks that are more efficiently done on a larger screen. There are several methods available that allow you to control your Android device from your PC. Let’s explore a few popular options:
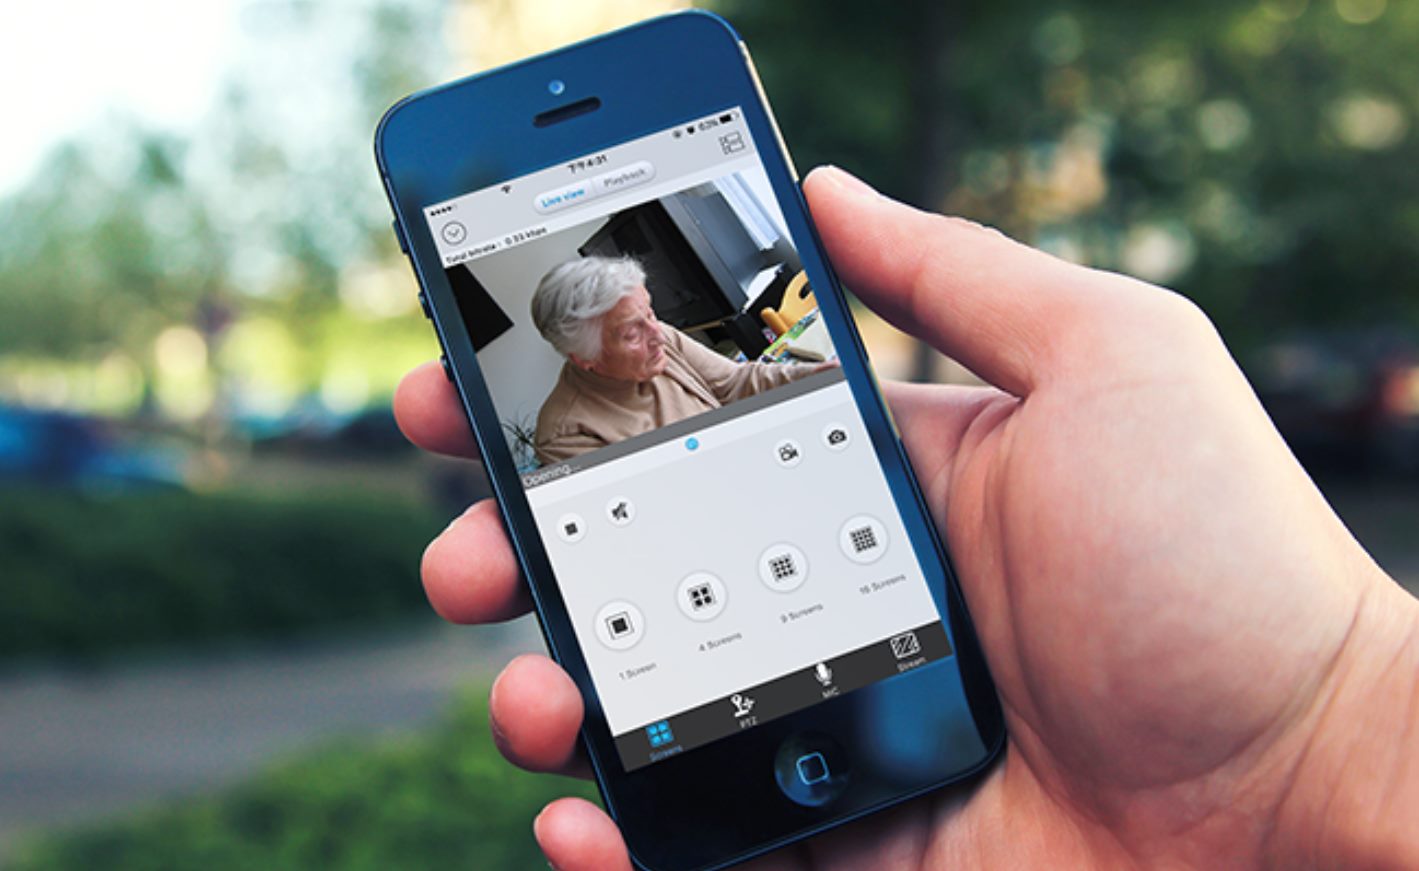
1. VNC Viewer: VNC (Virtual Network Computing) Viewer is a cross-platform remote desktop control solution. By installing a VNC server app on your Android device and a VNC viewer client on your PC, you can establish a remote connection. This allows you to control your Android device from your PC, view and interact with its screen, access files, and even use your device’s keyboard and mouse.
2. AirDroid: AirDroid is a popular app that lets you control your Android device from your PC wirelessly. After installing the AirDroid app on your Android device and logging in to your AirDroid account, you can access your device remotely through the AirDroid web interface on your PC. This interface allows you to manage and control your Android device, send and receive messages, access files, and more.
3. TeamViewer: TeamViewer is another popular remote control software that allows you to access and control your Android device from your PC. Install the TeamViewer QuickSupport app on your Android device and the TeamViewer client on your PC. With the unique ID generated by the app, you can establish a remote connection from your PC and control your Android device, providing assistance or accessing files and apps.
4. Vysor: Vysor is a Chrome extension that enables you to control your Android device from your PC. After installing the Vysor app on your Android device and the Vysor extension in your Chrome browser, connect your device to your PC using a USB cable. The Vysor extension will then mirror your Android device’s screen on your PC, allowing you to interact with it directly.
5. Samsung SideSync: If you own a Samsung device, you can use Samsung SideSync to control your Android device from your PC. Install the SideSync app on your Android device and the SideSync software on your PC. Connect your device to your PC using a USB cable or Wi-Fi, and you can easily control your device, receive and reply to messages, and transfer files between devices seamlessly.
When controlling your Android device from your PC, it’s important to ensure a secure connection. Use reputable apps or software, preferably from official sources or trusted developers. Protecting your personal data and maintaining the security of your Android device should always be a priority.
Each of these methods provides different functionalities and control options, so choose the one that best suits your needs and preferences. Whether you need to access files, troubleshoot issues, or simply manage your Android device remotely, controlling your Android device from your PC offers greater convenience and efficiency.
Troubleshooting Common Connection Issues
While connecting your Android device to your PC is generally a straightforward process, you may encounter common connection issues that can hinder a successful connection. Understanding these issues and knowing how to troubleshoot them can help you establish a reliable connection. Let’s explore some common connection issues and their troubleshooting steps:
1. USB Cable Connection:
- Ensure that the USB cable you are using is in good condition and capable of data transfer.
- Try using a different USB cable to rule out any cable-related issues.
- Connect the USB cable directly to a USB port on your PC, avoiding USB hubs or extension cables.
- Check that the USB ports on both your Android device and PC are clean and free from debris.
2. USB Debugging:
- Make sure USB Debugging is enabled on your Android device. Go to Settings > Developer Options > USB Debugging and enable it.
- If Developer Options is not visible, go to Settings > About phone (or About device) > Tap on Build number seven times to enable Developer Options.
- Try disabling USB Debugging and enabling it again.
3. Driver Issues:
- Ensure that you have the necessary USB drivers installed on your PC for your specific Android device. Visit the manufacturer’s official website to download and install the drivers.
- Try uninstalling and reinstalling the USB drivers on your PC to resolve any driver-related issues.
- Restart your PC after installing or updating the USB drivers to apply the changes.
4. Wi-Fi Connection:
- Check that both your Android device and PC are connected to the same Wi-Fi network.
- Ensure that your Wi-Fi network is stable and provides a strong enough signal for seamless file transfer or remote control.
- Reset your Wi-Fi router or access point if you are experiencing connectivity issues.
- Try disabling and re-enabling Wi-Fi on both your Android device and PC to establish a fresh connection.
5. Firewall or Antivirus Settings:
- Temporarily disable any firewall or antivirus software on your PC and try connecting your Android device again.
- If the connection is successful after disabling the firewall or antivirus software, adjust the settings to allow the necessary connections between your Android device and PC.
If you have tried the troubleshooting steps above and are still experiencing connection issues, you may want to seek further assistance from the manufacturer’s support or consult online forums for specific device-related issues.
Remember to keep your Android device and PC updated with the latest software updates, as these updates often include bug fixes and improvements related to connectivity. Additionally, ensure that you are using reputable and up-to-date software or apps to establish a secure and reliable connection between your Android device and PC.
By troubleshooting and addressing common connection issues, you can overcome barriers and establish a stable connection, allowing you to smoothly transfer files, sync data, or control your Android device from your PC.
Conclusion
Connecting your Android device to your PC opens up a world of possibilities, from transferring files and syncing data to controlling your device remotely. By following the various methods discussed in this guide, you can establish a seamless and efficient connection between your Android device and PC.
Whether you choose to connect via USB cable, Wi-Fi, or utilize specialized software like Android File Transfer or remote control applications, each method offers unique benefits and caters to different needs.
Remember to properly prepare both your Android device and PC before establishing a connection, ensuring that you have the necessary drivers, software, and settings in place. Enabling USB debugging, configuring file transfer settings, and syncing your contacts and calendar events are essential steps to facilitate smooth communication between your devices.
If you encounter any connection issues, the troubleshooting steps outlined in this guide can help you resolve common problems effectively. It is important to ensure that both your Android device and PC are up to date with the latest software updates and that any security settings or software do not interfere with the connection process.
With a reliable connection established, you can easily transfer files between devices, sync important data, and even control your Android device right from your PC. This convenience and accessibility enhance your productivity and workflow, giving you more flexibility and control over your Android device.
Experiment with different methods and find the one that best suits your needs and preferences. Whether you are a tech-savvy individual or a beginner, connecting your Android device to your PC can greatly enhance your digital experience and streamline your tasks.
Embrace the possibilities that arise when your Android device and PC work together seamlessly, and enjoy the convenience and efficiency that comes with a synchronized and connected digital ecosystem.


