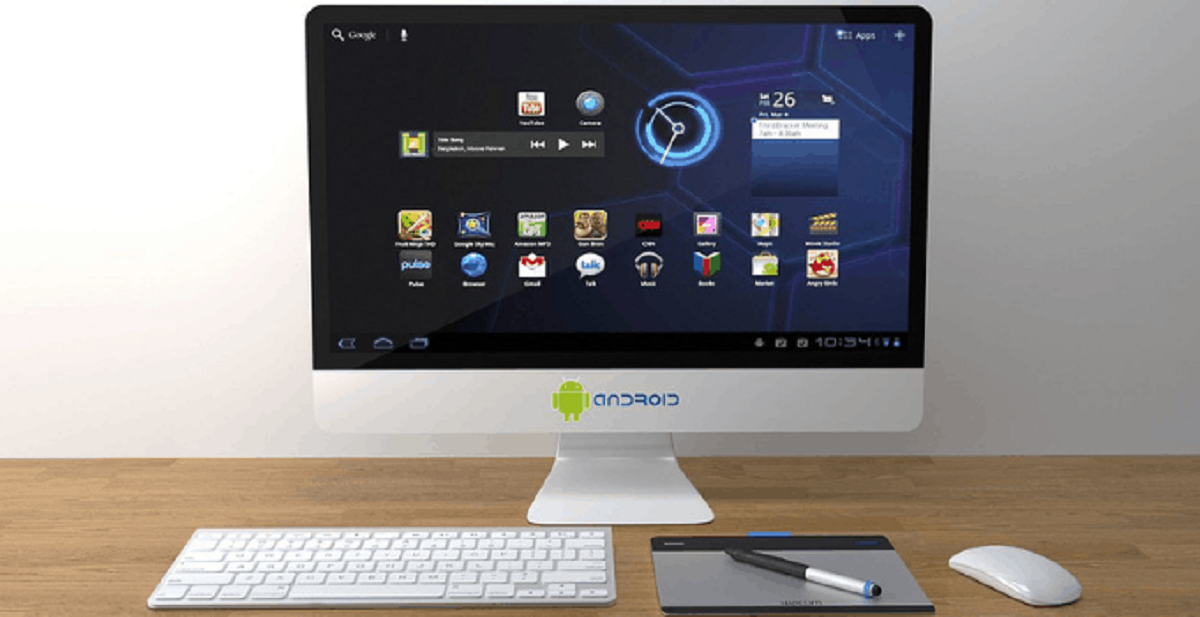
Introduction
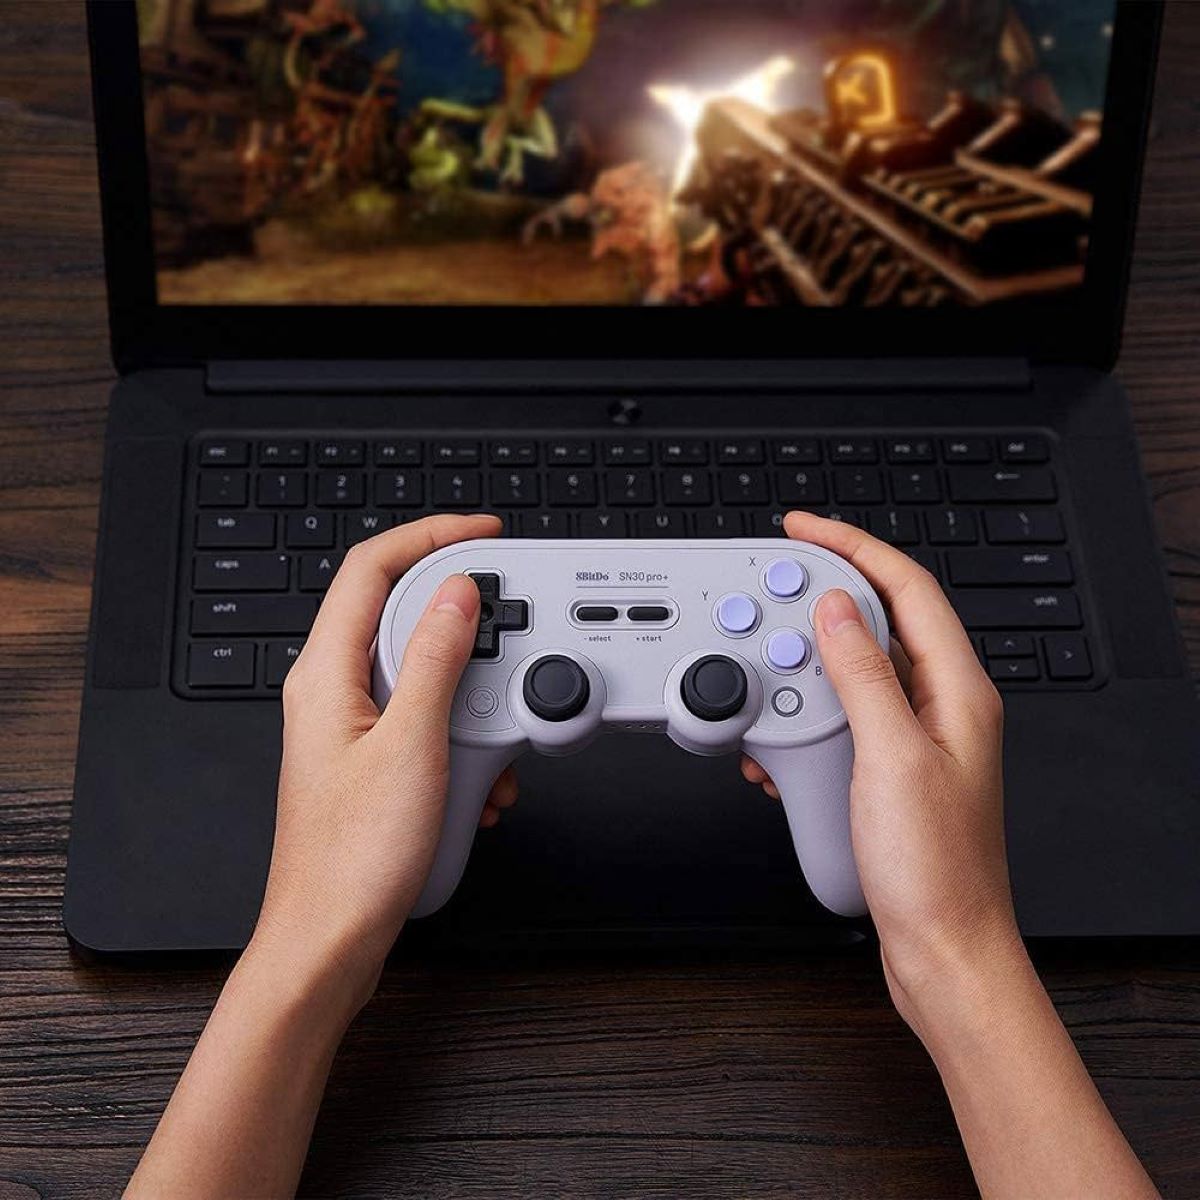
Are you a gaming enthusiast eager to play your favorite Android games on your laptop using a USB PC game controller? With the increasing popularity of mobile gaming, many users are seeking ways to enjoy their favorite Android games on larger screens with the added precision and control offered by a PC game controller. Fortunately, there are simple and effective methods to achieve this, allowing you to elevate your gaming experience to a new level.
In this comprehensive guide, we will explore the process of connecting your USB PC game controller to your laptop and setting up an Android emulator. We will also delve into the configuration of the USB PC game controller for seamless gameplay and provide step-by-step instructions for playing Android games on Google Play using your controller.
By following the instructions outlined in this guide, you will be able to seamlessly connect your USB PC game controller to your laptop and immerse yourself in the captivating world of Android gaming. Whether you're a casual gamer or a dedicated enthusiast, this guide will equip you with the knowledge and tools to enhance your gaming experience and enjoy your favorite Android games on a larger screen with the comfort and precision of a PC game controller. Let's embark on this exciting journey and unlock the potential of Android gaming on your laptop.
Connecting the USB PC Game Controller to Your Laptop
Before delving into the world of Android gaming on your laptop, the first step is to connect your USB PC game controller. Most modern laptops are equipped with USB ports, providing a convenient interface for connecting external devices such as game controllers. Here’s a step-by-step guide to help you seamlessly connect your USB PC game controller to your laptop:
- Locate an Available USB Port: Begin by identifying an available USB port on your laptop. These ports are typically located on the sides or back of the laptop and are easily identifiable by the USB symbol.
- Insert the USB Connector: Once you’ve identified the USB port, gently insert the USB connector of your PC game controller into the port. Ensure that the connector is inserted in the correct orientation to avoid any potential damage.
- Driver Installation (if required): In some cases, your laptop may automatically detect and install the necessary drivers for the USB PC game controller. However, if the controller requires specific drivers, you may need to install them from the manufacturer’s website or the included installation disc.
- Verify the Connection: After connecting the controller, verify that it is recognized by your laptop. You can do this by checking the device manager or using the controller in a supported application to ensure that it is functioning correctly.
Once you have successfully connected your USB PC game controller to your laptop, you are one step closer to immersing yourself in the world of Android gaming. With the physical connection established, the next phase involves setting up an Android emulator on your laptop to emulate the Android environment and enable seamless gameplay with your controller.
Setting Up the Android Emulator on Your Laptop
Now that your USB PC game controller is successfully connected to your laptop, the next crucial step is to set up an Android emulator. An Android emulator replicates the Android environment on your laptop, allowing you to run and play Android games as if you were using a mobile device. Follow these steps to set up an Android emulator and prepare for an immersive Android gaming experience:
- Choose an Android Emulator: There are several reputable Android emulators available, such as Bluestacks, NoxPlayer, and Genymotion. Select an emulator that best suits your requirements and download it from the official website.
- Install the Emulator: Once downloaded, run the installer and follow the on-screen instructions to install the Android emulator on your laptop. The installation process may vary depending on the chosen emulator, but it typically involves accepting the terms of use and selecting the installation directory.
- Launch the Emulator: After the installation is complete, launch the Android emulator from your desktop or the installation directory. The emulator will initialize and present you with an interface resembling an Android device’s home screen.
- Sign in to Google Play: Upon launching the emulator, you will be prompted to sign in to your Google account. Sign in with your credentials to access the Google Play Store within the emulator.
- Access Google Play Store: Once signed in, open the Google Play Store from the emulator’s interface. You can now browse, search for, and download your favorite Android games directly onto the emulator.
With the Android emulator successfully set up on your laptop, you have established the foundation for enjoying Android games with the convenience and precision of your USB PC game controller. The next step involves configuring the controller to seamlessly interact with the Android emulator and optimize your gaming experience.
Configuring the USB PC Game Controller for Android Games
With the Android emulator installed on your laptop, it’s time to configure your USB PC game controller to ensure smooth and responsive gameplay. Most Android emulators offer built-in support for game controllers, allowing you to map the controller’s buttons and joysticks to the corresponding on-screen controls of the games. Follow these steps to configure your USB PC game controller for optimal compatibility with Android games:
- Access Controller Settings: Within the Android emulator, navigate to the settings or preferences menu, where you can typically find options related to input devices and game controllers.
- Connect the Controller: Ensure that your USB PC game controller is connected to your laptop and recognized by the emulator. The emulator should detect the controller automatically, but you may need to configure it manually if automatic detection is not supported.
- Map Controller Buttons: Once the controller is recognized, access the controller mapping or key configuration section within the emulator’s settings. Here, you can map the physical buttons and joysticks of your controller to the corresponding on-screen controls of the games you intend to play.
- Test the Configuration: After mapping the controller buttons, test the configuration by launching a supported game within the emulator. Verify that the controller’s inputs are accurately reflected in the game, allowing you to navigate menus, control characters, and interact with the game environment seamlessly.
- Adjust Sensitivity and Dead Zones: Some emulators offer advanced settings for controller sensitivity and dead zones, allowing you to fine-tune the responsiveness of the controller to suit your preferences. Experiment with these settings to achieve an optimal gaming experience.
By following these steps, you can effectively configure your USB PC game controller to harmonize with the Android emulator, enabling you to enjoy Android games on your laptop with the precision and comfort of a dedicated game controller. Once the controller is configured to your satisfaction, you are ready to embark on an exciting gaming journey with a diverse selection of Android games available on Google Play.
Playing Android Games on Google Play with Your USB PC Game Controller
Now that your USB PC game controller is configured and ready for action, it’s time to explore the vast library of Android games available on Google Play. With your controller seamlessly integrated with the Android emulator on your laptop, you can dive into an immersive gaming experience and enjoy a wide range of titles designed for the Android platform. Here’s how you can start playing Android games on Google Play using your USB PC game controller:
- Browse the Game Library: Open the Google Play Store within the Android emulator and explore the extensive collection of Android games. From action-packed adventures to strategic puzzles and captivating narratives, there is a game for every preference and play style.
- Download and Install Games: Select your desired games from the Google Play Store and proceed to download and install them within the Android emulator. Once installed, these games will be readily accessible from the emulator’s interface.
- Launch a Game: Choose a game from your installed library and launch it within the Android emulator. The game will open in full-screen mode, immersing you in its captivating world and gameplay.
- Enjoy Seamless Gameplay: As the game launches, grab hold of your USB PC game controller and experience seamless gameplay as you navigate through menus, engage in thrilling battles, and embark on epic quests. The precision and comfort offered by the controller elevate your gaming experience to new heights.
- Explore Controller-Optimized Titles: Some games on Google Play are optimized for game controllers, offering enhanced gameplay experiences tailored for controller input. Look for titles that feature controller support to fully leverage the capabilities of your USB PC game controller.
With your USB PC game controller serving as the gateway to an array of captivating Android games, you can immerse yourself in an enriching gaming experience without the constraints of a traditional mobile device. Whether you prefer intense action, mind-bending puzzles, or captivating storytelling, the world of Android gaming on your laptop awaits your exploration and mastery.
Conclusion
Congratulations! You have successfully embarked on a journey to elevate your gaming experience by seamlessly integrating your USB PC game controller with your laptop to enjoy Android games from Google Play. By following the step-by-step instructions outlined in this guide, you have unlocked the potential to immerse yourself in a diverse selection of captivating Android games, all while leveraging the precision and comfort offered by a dedicated game controller.
Through the process of connecting your USB PC game controller to your laptop, setting up an Android emulator, configuring the controller for optimal gameplay, and delving into the world of Android gaming on Google Play, you have gained valuable insights and practical knowledge to enhance your gaming endeavors. With the ability to seamlessly navigate through menus, engage in thrilling battles, and embark on epic quests using your controller, you are poised to experience gaming in a whole new light.
As you continue to explore the multitude of Android games available on Google Play, remember to seek out titles optimized for game controllers to fully leverage the capabilities of your USB PC game controller. Whether you’re drawn to action-packed adventures, strategic challenges, or immersive narratives, the world of Android gaming on your laptop offers a diverse array of experiences to suit your preferences and play style.
With your USB PC game controller serving as the conduit to an enriching gaming experience, you are empowered to immerse yourself in captivating worlds, conquer formidable foes, and embark on thrilling adventures—all from the comfort of your laptop. Embrace the boundless opportunities that Android gaming presents, and let your USB PC game controller be your trusted companion on this exhilarating gaming journey.
So, grab your controller, launch your favorite Android game, and let the immersive world of Android gaming on your laptop unfold before you. The possibilities are endless, and the adventure awaits. Happy gaming!