Introduction
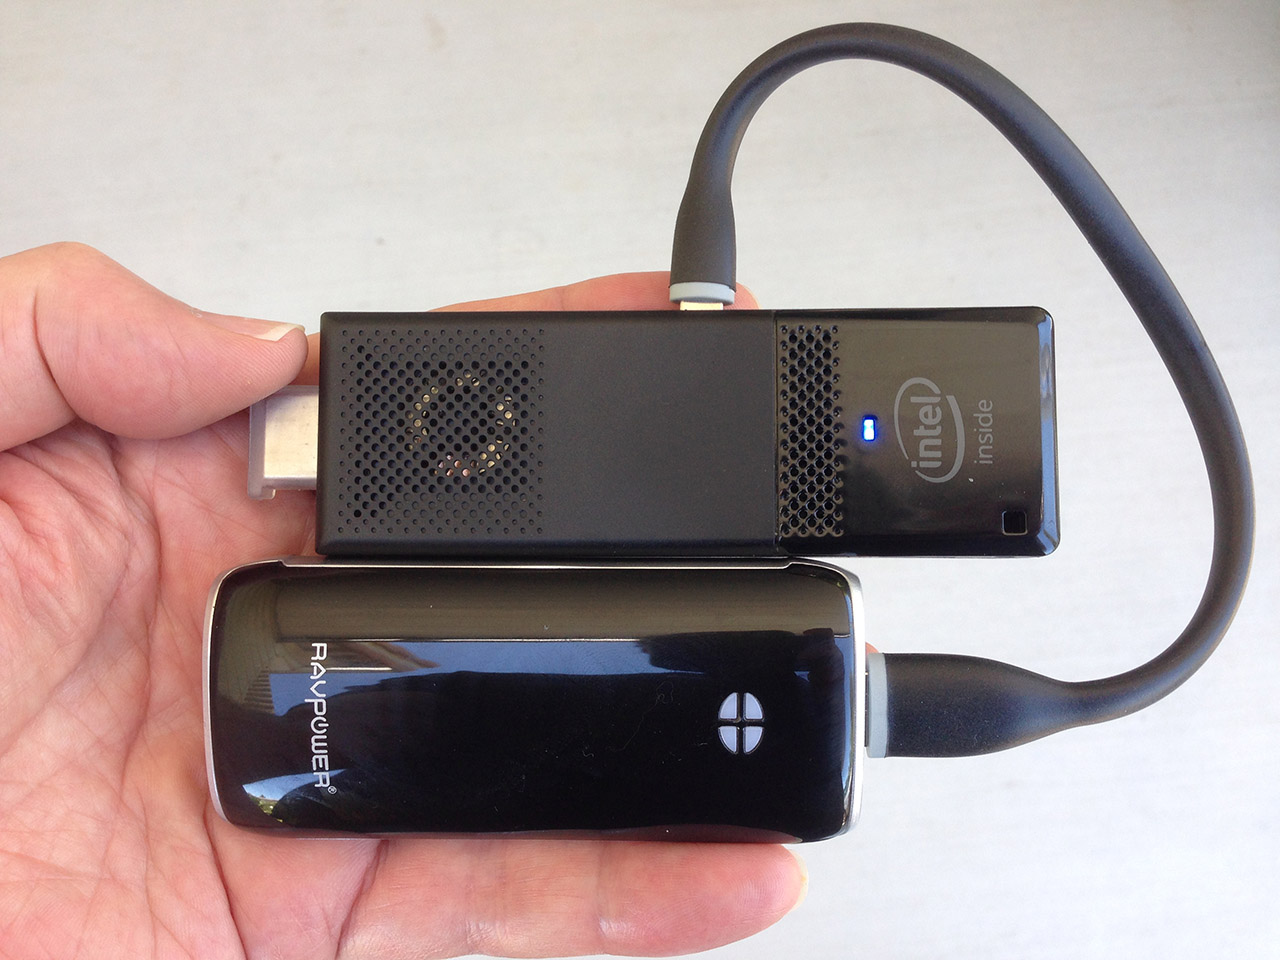
Welcome to the world of Android Mini PCs and Linux! Android Mini PCs are small devices that run on the Android operating system and are known for their compact size and versatility. While Android provides a wide range of features and functionality, you may want to explore other operating systems, such as Linux, to further expand the capabilities of your device.
By installing Linux on your Android Mini PC, you can enjoy the power and flexibility of a full-fledged operating system tailored to your needs. Linux offers a vast range of applications, customization options, and advanced features that can transform your Android Mini PC into a multifunctional device capable of handling various tasks.
In this guide, we’ll walk you through the step-by-step process of installing Linux on your Android Mini PC. Whether you’re a seasoned Linux user or an enthusiastic beginner, we’ll provide clear instructions to ensure a smooth and successful installation.
Before we dive into the installation process, it’s important to note that this guide assumes you have already acquired an Android Mini PC and are comfortable with basic technical tasks. Additionally, the specific steps and software mentioned in this guide may vary depending on your device and Linux distribution of choice. It’s always a good idea to consult the official documentation or community forums for your specific device to ensure compatibility and obtain the most up-to-date instructions.
Now that we’ve covered the essentials, let’s get started on our journey to install Linux on your Android Mini PC!
Step 1: Preparing Your Android Mini PC
Before diving into the installation process, it’s crucial to ensure that your Android Mini PC is ready for the Linux installation. Here are the steps to prepare your device:
- Backup your data: Before making any changes to your device, it’s always a good idea to backup your important files and data. This ensures that even in the rare event of data loss, you’ll still have a copy of your valuable information.
- Check for compatibility: Not all Android Mini PCs are compatible with Linux installations. It’s essential to verify if your device supports the installation of a custom operating system like Linux. Check the manufacturer’s website or consult online forums to determine the compatibility of your device.
- Charge your device: Ensure that your Android Mini PC is adequately charged or connected to a power source. It’s important to have sufficient battery power during the installation process to avoid interruptions or potential issues.
- Enable USB debugging: To connect your Android Mini PC to your computer for the installation process, you need to enable USB debugging. Go to the device’s settings, tap on “About phone” or “About tablet,” locate the build number, and tap on it multiple times until you see a notification that developer options are enabled. Then, go to developer options and enable USB debugging.
- Unlock bootloader: Some Android Mini PCs require you to unlock the bootloader to install a custom operating system like Linux. Check the manufacturer’s instructions or visit online forums to learn how to unlock the bootloader for your specific device model.
By following these steps, you can ensure that your Android Mini PC is ready for the Linux installation process. Once you have completed these preparations, you can proceed to the next step of rooting your device.
Step 2: Rooting Your Android Mini PC
Rooting your Android Mini PC is an important step in the process of installing Linux. It grants you administrator-level access to the device, enabling you to make system-level changes and modifications required for the Linux installation. Here’s how you can root your Android Mini PC:
- Research compatibility: Before proceeding with rooting, make sure to research the compatibility of your specific Android Mini PC model with rooting methods. Different models may require different techniques or tools.
- Unlock developer options: Similar to preparing your device in the previous step, you need to enable developer options on your Android Mini PC. Go to the device’s settings, tap on “About phone” or “About tablet,” locate the build number, and tap on it multiple times until you see a notification that developer options are enabled.
- Enable OEM unlocking: In the developer options menu, locate the option for OEM unlocking and enable it. This step is crucial for unlocking the bootloader, which is necessary for rooting and installing custom software.
- Download and install necessary tools: Various tools and software are available for rooting Android devices. Research and find a reliable rooting tool that is compatible with your Android Mini PC model. Download and install the tool on your computer.
- Connect your device and run the rooting tool: Connect your Android Mini PC to your computer using a USB cable. Open the rooting tool and follow the instructions provided to initiate the rooting process. The tool will guide you through the necessary steps, such as installing drivers and granting necessary permissions.
- Follow on-screen instructions: Once you have started the rooting process, carefully follow the on-screen instructions provided by the rooting tool. This may include putting your Android Mini PC into bootloader mode, confirming permissions, and initiating the rooting process.
- Reboot your device: After the rooting process is complete, reboot your Android Mini PC to ensure that the changes take effect.
Rooting your Android Mini PC opens up new possibilities for customization and installation of custom software. With the device now rooted, we can proceed to the next step of installing a custom recovery.
Step 3: Installing a Custom Recovery
Installing a custom recovery on your rooted Android Mini PC is a crucial step in the process of installing Linux. A custom recovery is a specialized software that allows you to perform advanced operations on your device, such as flashing custom ROMs and making system backups. Here’s how you can install a custom recovery:
- Research and choose a custom recovery: There are several custom recovery options available, such as TWRP (Team Win Recovery Project) or ClockworkMod Recovery. Research and choose a custom recovery that is compatible with your specific Android Mini PC model.
- Download the custom recovery image: Visit the official website of the custom recovery of your choice and download the appropriate recovery image for your device.
- Enable developer options: If you haven’t already done so, enable developer options on your Android Mini PC. Go to the device’s settings, tap on “About phone” or “About tablet,” locate the build number, and tap on it multiple times until you see a notification that developer options are enabled.
- Enable USB debugging: In the developer options menu, enable USB debugging to allow your device to communicate with your computer during the installation process.
- Connect your device to your computer: Use a USB cable to connect your Android Mini PC to your computer.
- Boot your device into bootloader mode: Each Android Mini PC model may have a different method for entering bootloader mode. Consult the documentation for your specific device to learn how to enter this mode.
- Flash the custom recovery: Open the custom recovery tool on your computer and follow the provided instructions to flash the custom recovery image onto your Android Mini PC.
- Restart your device: After the custom recovery has been successfully flashed, reboot your Android Mini PC to ensure that the changes take effect.
Installing a custom recovery provides you with a powerful tool to perform various tasks, including the installation of Linux on your Android Mini PC. With the custom recovery now installed, we can move on to the next step of downloading the Linux operating system.
Step 4: Downloading the Linux Operating System
Now that you have successfully installed a custom recovery on your Android Mini PC, it’s time to download the Linux operating system that you want to install. Here’s how you can do it:
- Choose a Linux distribution: There are various Linux distributions available, each with its own features and user interface. Research and select a distribution that aligns with your preferences and requirements. Popular options include Ubuntu, Debian, and Fedora.
- Visit the official website: Go to the official website of your chosen Linux distribution. Look for the “Downloads” or “Get Linux” section.
- Select the appropriate version: Most Linux distributions provide different versions for desktops, laptops, and ARM-based devices like Android Mini PCs. Make sure to choose the ARM version specifically designed for your Android Mini PC.
- Download the Linux image: Click on the download link provided for the ARM version of the Linux distribution. The download process may take some time, depending on the size of the file and your internet connection speed.
- Verify the integrity of the download: It’s essential to ensure that the downloaded Linux image is intact and hasn’t been tampered with. Most Linux distributions provide checksums or digital signatures for their downloads. Verify the integrity of the file by comparing its checksum or digital signature with the one provided on the official website.
Downloading the Linux operating system is a crucial step in the installation process. Make sure to choose a reputable source and verify the integrity of the download to avoid any issues during the installation.
With the Linux operating system downloaded and verified, we can now proceed to the next step of flashing the Linux system image onto your Android Mini PC.
Step 5: Flashing the Linux System Image
Now that you have downloaded the Linux operating system for your Android Mini PC, it’s time to flash the Linux system image onto your device. This step will replace the existing Android operating system with Linux. Here’s how you can flash the Linux system image:
- Copy the Linux system image to your device: Connect your Android Mini PC to your computer using a USB cable and transfer the downloaded Linux system image to the device’s internal storage.
- Boot your device into recovery mode: Power off your Android Mini PC and then boot it into recovery mode. The process of entering recovery mode can vary depending on the device model. Consult the documentation or search online for the specific key combination or method to boot into recovery mode for your device.
- Create a Nandroid backup (optional): It’s highly recommended to create a Nandroid backup before proceeding with the system image flashing. This backup will create a complete snapshot of your current system, allowing you to restore it if anything goes wrong during the installation process.
- Wipe data and cache: In the recovery mode menu, navigate to the “Wipe” or “Advanced” section and select options to wipe data and cache. This step ensures a clean installation by removing any remnants of the previous operating system.
- Flash the Linux system image: In the recovery mode menu, locate the option to install or flash a system image. Browse to the location where you transferred the Linux system image and select it for installation. Follow the on-screen prompts to initiate and confirm the installation process.
- Wait for the installation to complete: The flashing process may take a few minutes to complete. Avoid interrupting the process or powering off your device during this time. Once the installation is finished, you will see a confirmation message.
- Reboot your device: After the Linux system image is successfully flashed onto your Android Mini PC, reboot your device. It will now boot into the newly installed Linux operating system.
Flashing the Linux system image replaces the Android operating system on your Android Mini PC with Linux, allowing you to fully utilize the power and functionality of Linux on your device.
With the Linux system image flashed onto your Android Mini PC, we can now move on to the next step of setting up Linux on your device.
Step 6: Setting Up Linux on Your Android Mini PC
Now that you have successfully flashed the Linux system image onto your Android Mini PC, it’s time to set up and configure Linux on your device. This step will help you get started with the newly installed operating system. Here’s how to set up Linux on your Android Mini PC:
- Initial boot: After rebooting your device, you will be greeted with the Linux login screen or desktop environment. Follow the on-screen instructions to log in or create a new user account.
- System updates: It’s always a good idea to update your Linux system to ensure you have the latest security patches and bug fixes. Use the package manager of your Linux distribution to update the system. This can usually be done through the terminal or a dedicated software update application.
- Software installation: Start exploring the software available in the Linux distribution’s repositories. Use the package manager to install the applications and tools you need for your specific use cases. You can also explore third-party software repositories or manually install software if required.
- Customizations: Make the Linux environment feel more tailored to your preferences by customizing various settings. This may include changing the desktop wallpaper, theme, fonts, and configuring system preferences such as language, time zone, and input methods.
- Hardware compatibility: Ensure that your Android Mini PC’s hardware components are fully supported in Linux. Test the functionality of your Wi-Fi, Bluetooth, sound, and other hardware features. If any issues arise, search online forums or consult the Linux distribution’s documentation for possible solutions.
- Data migration: If you have important files or data from your previous Android operating system, transfer them to your Linux system. This can be done through USB storage, cloud services, or network transfers.
- Explore the Linux ecosystem: Take the time to familiarize yourself with the Linux operating system, its file system, terminal commands, and application ecosystem. This will help you get the most out of your Linux-powered Android Mini PC.
Setting up Linux on your Android Mini PC allows you to utilize the vast array of open-source software and customize your device to your liking. Take your time to explore and discover the capabilities of your Linux system, and enjoy the freedom and flexibility it offers.
With Linux now set up on your Android Mini PC, we can move on to the final step of troubleshooting common issues that may arise during the installation process.
Step 7: Troubleshooting Common Issues
While installing Linux on your Android Mini PC can be a smooth process, there may be some common issues that you could encounter along the way. Here are some troubleshooting tips to help you address these issues:
- Boot failure: If your Android Mini PC fails to boot into the newly installed Linux system, check if you properly flashed the Linux system image and if the installation was successful. Double-check the compatibility of the Linux distribution with your device. You may also need to re-flash the system image or try a different Linux distribution if the issue persists.
- Hardware compatibility: If certain hardware components, such as Wi-Fi or sound, are not working correctly, it could be due to drivers missing or not being compatible with your device. Search online forums or the Linux distribution’s documentation for specific solutions, updates, or alternative drivers that may resolve the compatibility issue.
- Application compatibility: While most Linux applications are designed to work universally, there may be some software that is not compatible with the ARM architecture of your Android Mini PC. Make sure to check the compatibility of the software you want to use with your specific Linux distribution and device.
- Performance issues: If you experience slowdowns or sluggishness in your Linux system, it could be due to limited system resources or inefficient settings. Just like with any operating system, optimizing your Linux system can help improve performance. This includes closing unnecessary background applications, disabling visual effects, and optimizing power settings if applicable.
- Software installation issues: If you encounter difficulties installing specific software packages or dependencies, ensure that you have a stable internet connection and that the necessary repositories or sources are correctly configured in your package manager. You can also manually download and install software packages if necessary.
- Community support: If you are still experiencing issues or need further assistance, don’t hesitate to seek help from online forums, dedicated Linux communities, or the official support channels of your chosen Linux distribution. The Linux community is known for its helpfulness, and there are plenty of resources available to assist you in resolving any challenges you may encounter.
Troubleshooting common issues during the installation and setup process is part of the learning experience with Linux. By actively seeking solutions and utilizing the support available, you can overcome any hurdles and fully enjoy the benefits of having Linux on your Android Mini PC.
Congratulations! You have successfully installed Linux on your Android Mini PC and learned how to troubleshoot common issues. Now you can explore the vast possibilities and limitless potential that Linux offers.
Conclusion
Congratulations on successfully installing Linux on your Android Mini PC! By following the step-by-step process outlined in this guide, you have unlocked a whole new world of possibilities for your device. Linux offers a wide range of features, customization options, and a vast ecosystem of open-source software to enhance your Android Mini PC’s capabilities.
Throughout this guide, we covered the essential steps from preparing your Android Mini PC to flashing the Linux system image and setting up the operating system. We also provided troubleshooting tips for common issues that you may encounter along the way.
Remember, the process of installing and using Linux on your Android Mini PC may require some technical skills and research, but with determination and the resources available, you can overcome any challenges. The Linux community is known for its support and willingness to help, so don’t hesitate to seek assistance from forums, communities, or official support channels.
Now that you have Linux up and running on your Android Mini PC, it’s time to explore and make the most of your new operating system. Customize your desktop environment, install software tailored to your needs, and take advantage of the flexibility and power that Linux offers.
Enjoy the journey of discovering new applications, learning new commands, and diving into the world of open-source software. Linux on your Android Mini PC opens up opportunities for productivity, creativity, and experimentation.
Thank you for following this guide, and we hope you have found it helpful in installing Linux on your Android Mini PC. Embrace the possibilities, enjoy the benefits, and have a great time exploring the world of Linux!