Introduction
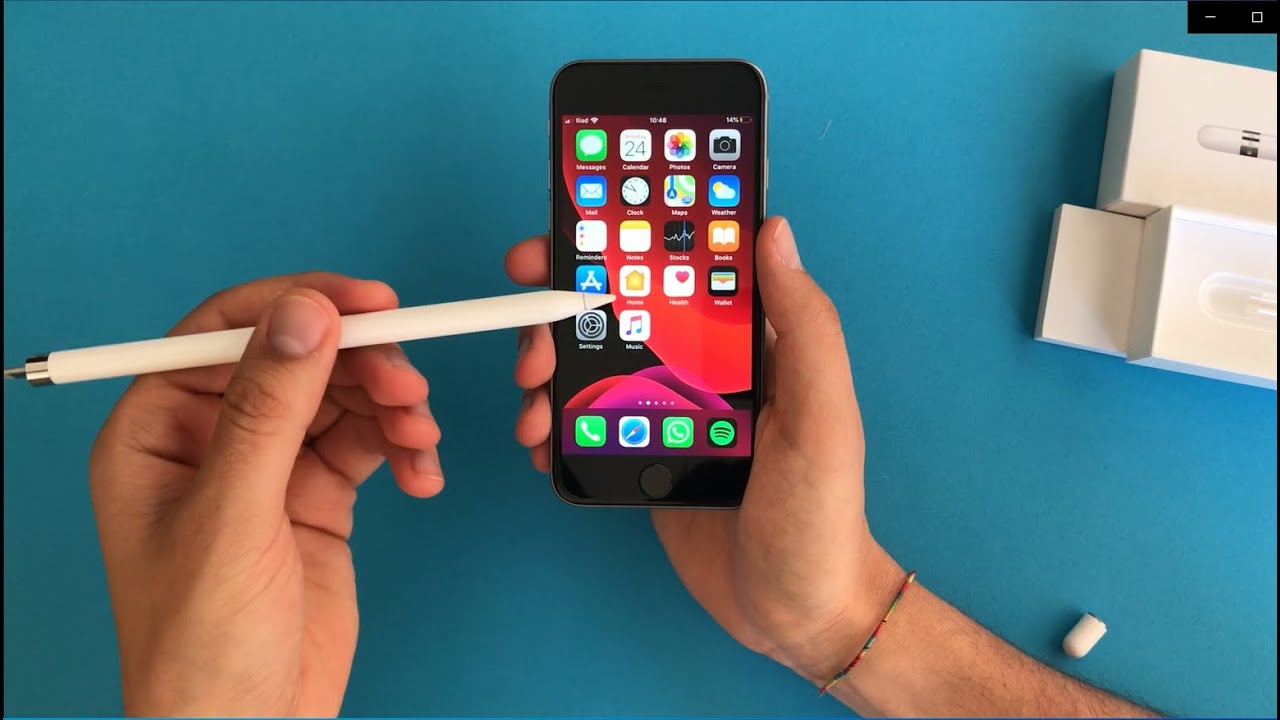
Connecting an Apple Pencil to an iPhone can greatly enhance your creative possibilities and productivity, allowing you to unleash your artistic talents or take precise notes with ease. The Apple Pencil is a sleek and advanced stylus that offers a seamless experience for iPhone users, making it a popular accessory for artists, designers, and students.
In this guide, we will walk you through the simple steps to connect an Apple Pencil to your iPhone. Whether you’re a seasoned Apple enthusiast or new to the world of Apple products, this tutorial will help you get started in no time.
Before we begin, it’s essential to note that not all iPhones are compatible with the Apple Pencil. Currently, only certain models support this feature. Therefore, the first step is to ensure that your iPhone is compatible before attempting to connect the Apple Pencil.
Without further ado, let’s dive into the steps necessary to connect your Apple Pencil to your iPhone, so you can begin enjoying its full potential!
Step 1: Check Compatibility
Before attempting to connect your Apple Pencil to your iPhone, it’s crucial to determine if your iPhone model is compatible. The Apple Pencil is designed to work with specific iPhone models that have the necessary hardware and software capabilities.
Currently, the Apple Pencil is compatible with the following iPhone models:
- iPhone 11 Pro Max
- iPhone 11 Pro
- iPhone 11
- iPhone XS Max
- iPhone XS
- iPhone XR
- iPhone X
- iPhone 8 Plus
- iPhone 8
- iPhone 7 Plus
- iPhone 7
If you have one of the compatible iPhone models listed above, you are good to go. However, if you have an older iPhone model or a different Apple device, such as an iPad, you may need a different version of the Apple Pencil. It’s always recommended to check the official Apple website or consult the user manual for your specific device to ensure compatibility.
Once you have confirmed that your iPhone is compatible with the Apple Pencil, you can proceed to the next step, which is charging the Apple Pencil.
Step 2: Charge the Apple Pencil
Before connecting your Apple Pencil to your iPhone, it’s essential to make sure that it has sufficient battery life. The Apple Pencil charges via the Lightning connector, which is located on the end of the pencil opposite the tip.
To charge your Apple Pencil, follow these steps:
- Remove the cap on the end of the Apple Pencil.
- Insert the Lightning connector of the Apple Pencil into the Lightning port of your iPhone.
- Leave it connected for a few minutes to allow the Apple Pencil to charge.
- You can also use an Apple Lightning adapter and connect the Apple Pencil to a power source via a Lightning cable.
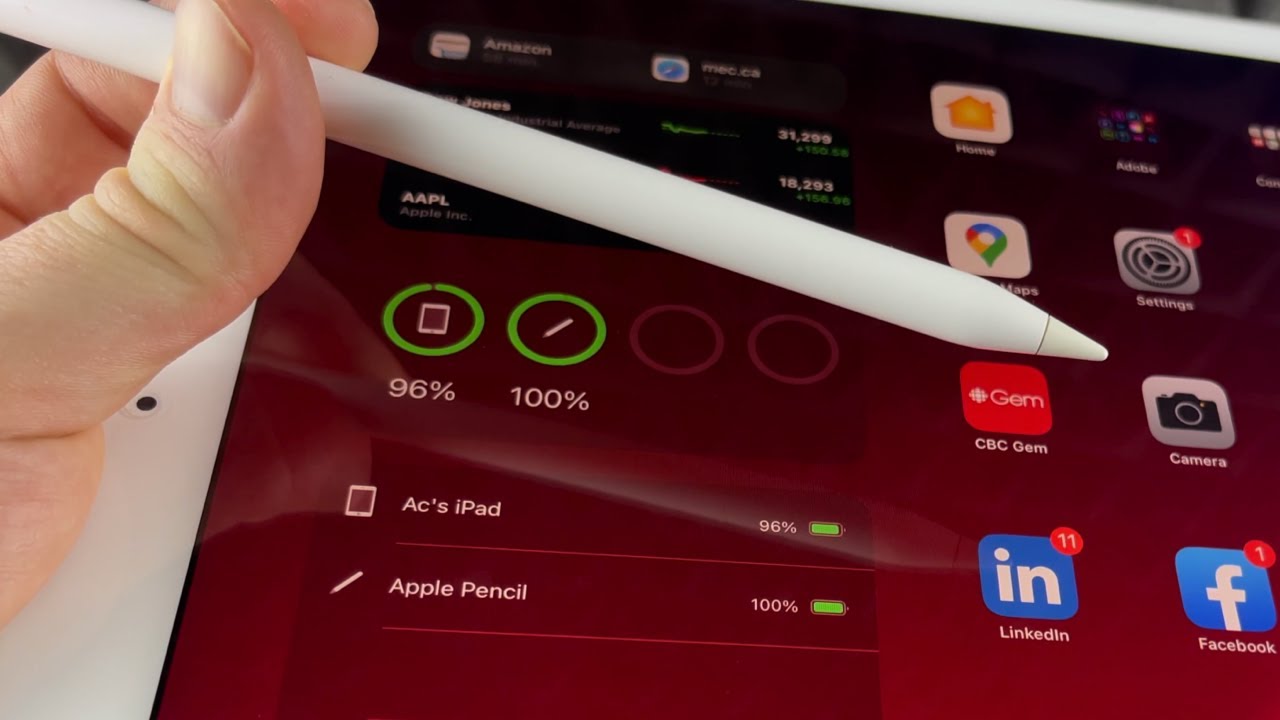
While the Apple Pencil is charging, you will see a battery indicator on the screen of your iPhone, indicating the current charge level of the Apple Pencil. When the charge is complete, the indicator will display a small lightning bolt icon.
It’s important to note that fully charging your Apple Pencil can take around 15-20 minutes, providing you with ample usage time for your creative or note-taking needs. Additionally, a full charge can last for several hours of continuous use, ensuring that you can enjoy your Apple Pencil for an extended period before needing to recharge it again.
Once your Apple Pencil is adequately charged, you’re ready to move on to the next step, which involves enabling Bluetooth on your iPhone to establish a connection between the devices.
Step 3: Enable Bluetooth on your iPhone
Before you can connect your Apple Pencil to your iPhone, you need to make sure that Bluetooth is enabled on your device. Bluetooth is the technology that allows wireless communication between your iPhone and the Apple Pencil.
To enable Bluetooth on your iPhone, follow these simple steps:
- Open the Settings app on your iPhone.
- Scroll down and tap on “Bluetooth”.
- You will see a toggle switch next to “Bluetooth”. Slide it to the right to turn it on. If it’s already on, you can skip this step.
Once Bluetooth is enabled on your iPhone, it will start scanning for nearby devices, including the Apple Pencil. Make sure your Apple Pencil is nearby and charged.
Now that Bluetooth is enabled on your iPhone, it’s time to move on to the next step, which involves connecting the Apple Pencil to your iPhone.
Step 4: Connect the Apple Pencil to your iPhone
Now that your iPhone is ready and Bluetooth is enabled, you can proceed to connect your Apple Pencil to your iPhone. The pairing process is quick and straightforward.
Follow these steps to connect your Apple Pencil to your iPhone:
- Remove the cap from the end of the Apple Pencil.
- Plug the Lightning connector into the Lightning port of your iPhone.
- Wait for a few seconds while your iPhone recognizes the Apple Pencil and establishes the connection.
- A prompt may appear on your iPhone’s screen, asking if you want to pair and connect the Apple Pencil. Tap “Pair” to continue.
Once the Apple Pencil is successfully connected to your iPhone, you’re all set to start using it for various tasks like drawing, writing, or navigating through your device with precision.
It’s worth noting that once the Apple Pencil is connected, you don’t need to repeat the pairing process every time you want to use it. The connection is established automatically when the Apple Pencil is in range and Bluetooth is enabled on your iPhone.
With your Apple Pencil now connected to your iPhone, let’s move on to the final step to confirm the successful connection.
Step 5: Confirm the Connection
After connecting your Apple Pencil to your iPhone, it’s essential to confirm that the connection is successful before you start using it for your creative endeavors or note-taking tasks. Verifying the connection will ensure that the Apple Pencil is functioning correctly and ready for use.
To confirm the connection between your Apple Pencil and iPhone, follow these steps:
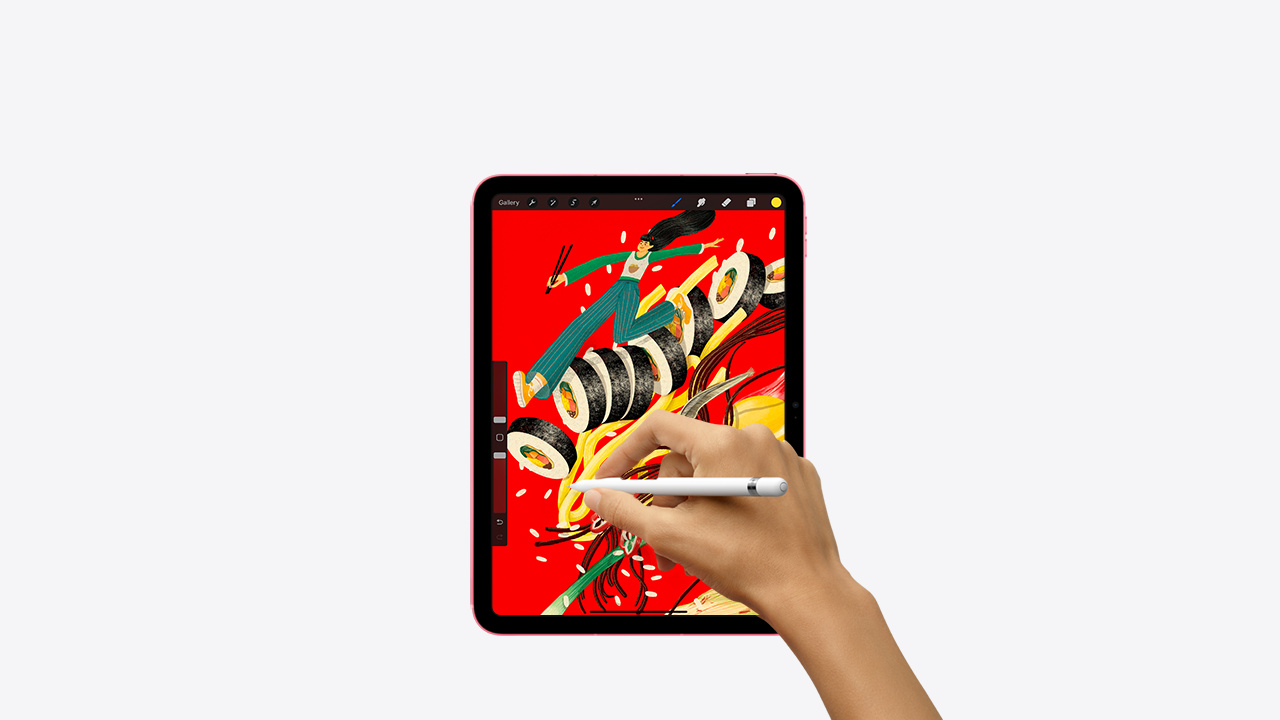
- Open a compatible app that supports Apple Pencil input, such as Notes or Procreate.
- Create a new canvas or open an existing document.
- Touch the Apple Pencil’s tip to the screen and start writing or drawing.
- If you see your strokes or input appear on the screen, it means that the Apple Pencil is successfully connected and working with your iPhone.
- Experiment with different pen pressures and angles to explore the full range of capabilities offered by the Apple Pencil.
If you encounter any issues during this step, such as unresponsiveness or erratic behavior, you may need to troubleshoot the connection. Ensure that Bluetooth is still enabled on your iPhone, try restarting your device, or disconnect and reconnect the Apple Pencil.
Once you have confirmed that the Apple Pencil is working properly with your iPhone, you are now ready to unleash your creativity or take precise notes using this powerful accessory.
Remember to periodically charge your Apple Pencil to ensure uninterrupted usage and enjoy all the benefits it brings to your iPhone experience.
Congratulations! You have successfully connected your Apple Pencil to your iPhone and can now make the most of its versatility and capabilities.
Conclusion
Connecting an Apple Pencil to your iPhone opens up a world of creative possibilities and productivity. Whether you are an artist, designer, or student, the Apple Pencil offers a seamless and intuitive experience for precise drawing, sketching, note-taking, and more.
In this guide, we walked you through the step-by-step process of connecting an Apple Pencil to your iPhone:
- Checked compatibility to ensure your iPhone model supports the Apple Pencil.
- Charged the Apple Pencil using the Lightning connector.
- Enabled Bluetooth on your iPhone to establish a wireless connection.
- Connected the Apple Pencil to your iPhone by plugging it into the Lightning port.
- Confirmed the connection by testing the Apple Pencil in a compatible app.
With the successful connection of your Apple Pencil, you are now ready to explore your artistic abilities or enhance your productivity on your iPhone. Whether you’re sketching, annotating documents, or taking handwritten notes, the Apple Pencil provides a natural and precise input method.
Remember to periodically charge your Apple Pencil to ensure uninterrupted use, and keep exploring the various apps and features that fully utilize the capabilities of your Apple Pencil and iPhone combination.
Now that you have successfully connected your Apple Pencil to your iPhone, it’s time to unleash your creativity and make the most of this powerful tool!