Introduction
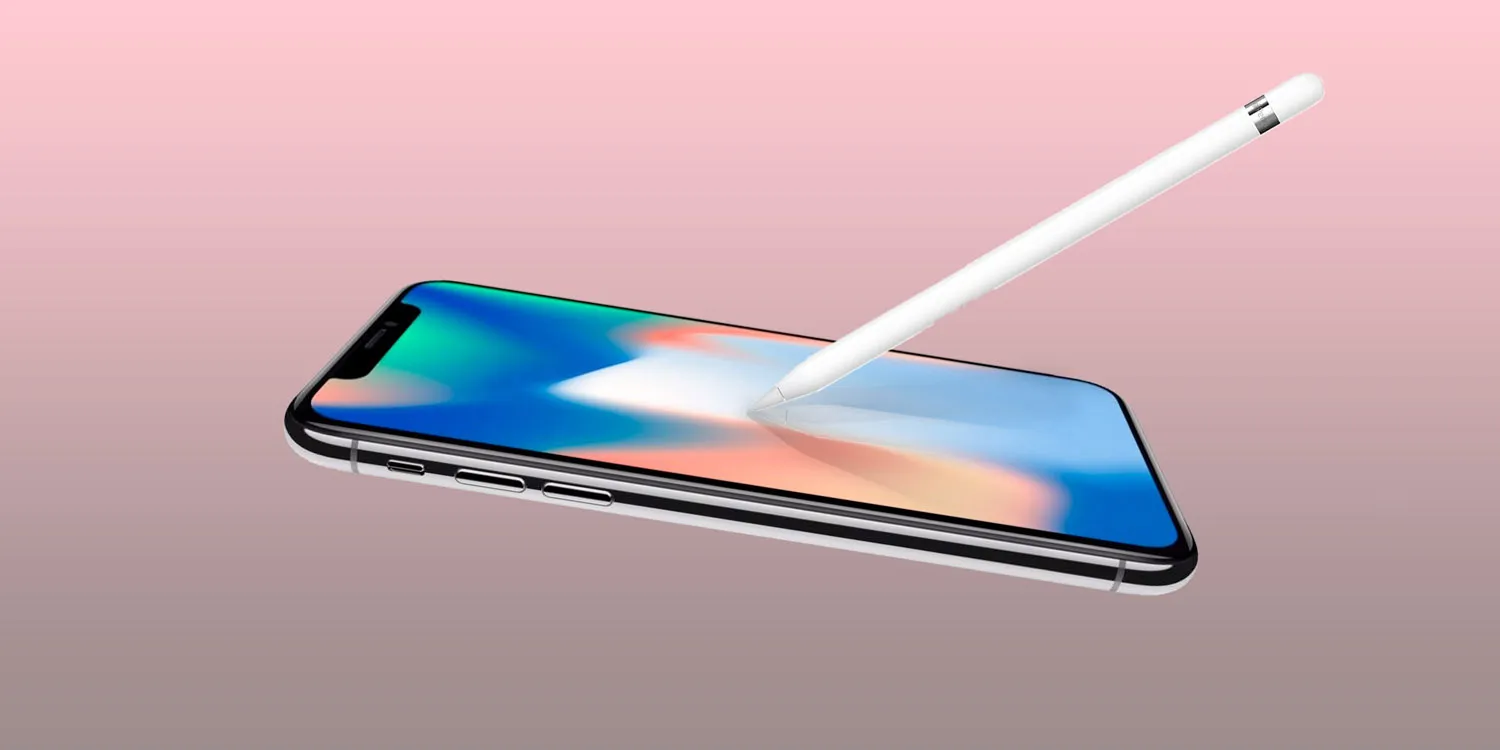
The Apple Pencil is a powerful tool that allows you to be more creative and productive on your iPhone. Whether you’re an artist, note-taker, or simply want more precision when using your device, the Apple Pencil is a game-changer. In this article, we will guide you through the process of using the Apple Pencil with your iPhone and explore its various capabilities and features.
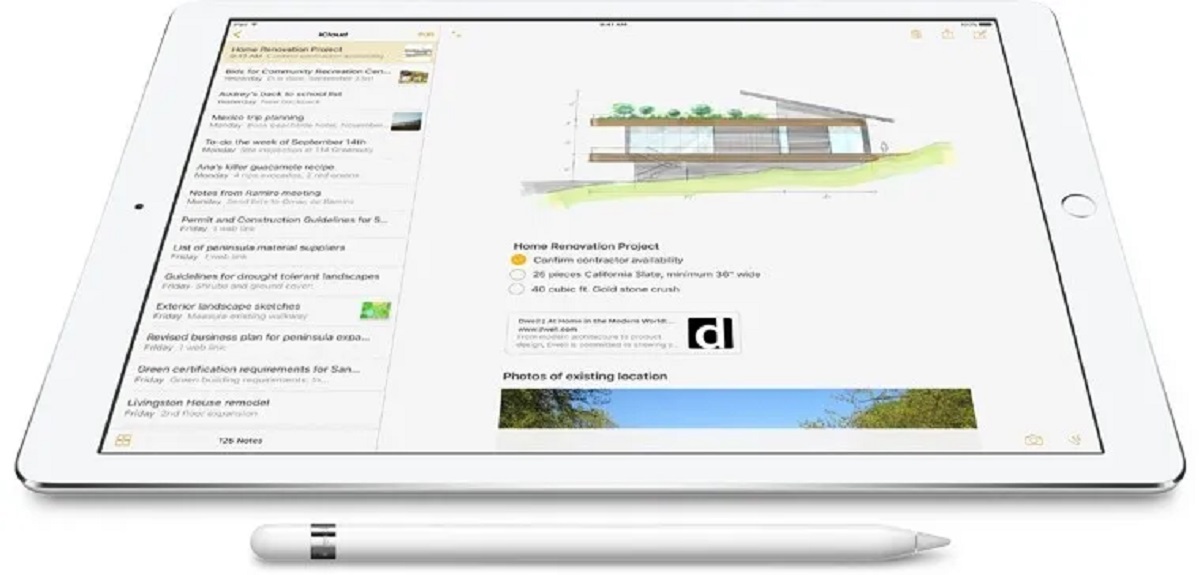
The Apple Pencil is a stylus designed specifically for the iPhone, offering enhanced functionality for drawing, sketching, and writing. It seamlessly integrates with your device, providing a natural and responsive experience. With its advanced technology, the Apple Pencil detects pressure and tilt, allowing for precise control when creating digital art or taking notes.
Many iPhone models are compatible with the Apple Pencil, including the iPhone 11, iPhone 12, and iPhone SE (2nd generation). Whether you’re a professional artist or a casual user, the Apple Pencil can unlock a whole new level of creativity and productivity on your iPhone.
In the following sections, we will guide you through the process of pairing your Apple Pencil with your iPhone, how to charge it, and how to customize its settings. We’ll also explore some popular apps that support the Apple Pencil, allowing you to make the most out of this versatile tool. Let’s delve into the world of the Apple Pencil and discover the endless possibilities it offers!
Getting Started
Before you can start using the Apple Pencil with your iPhone, there are a few steps you need to follow to set it up. Here’s a simple guide to get you started:
- Check compatibility: Ensure that your iPhone model is compatible with the Apple Pencil. Not all iPhones support the use of the Apple Pencil, so it’s important to verify compatibility before proceeding.
- Charge the Apple Pencil: Before using the Apple Pencil, make sure it is fully charged. Connect the Apple Pencil to your iPhone’s lightning port using the included adapter or plug it directly into the device’s charging port. The Apple Pencil charges quickly, so you’ll be ready to go in no time.
- Turn on Bluetooth: The Apple Pencil relies on Bluetooth to connect and communicate with your iPhone. To ensure a seamless connection, make sure Bluetooth is enabled on your iPhone. You can do this by going to the Settings app, selecting “Bluetooth,” and toggling the switch to the “On” position.
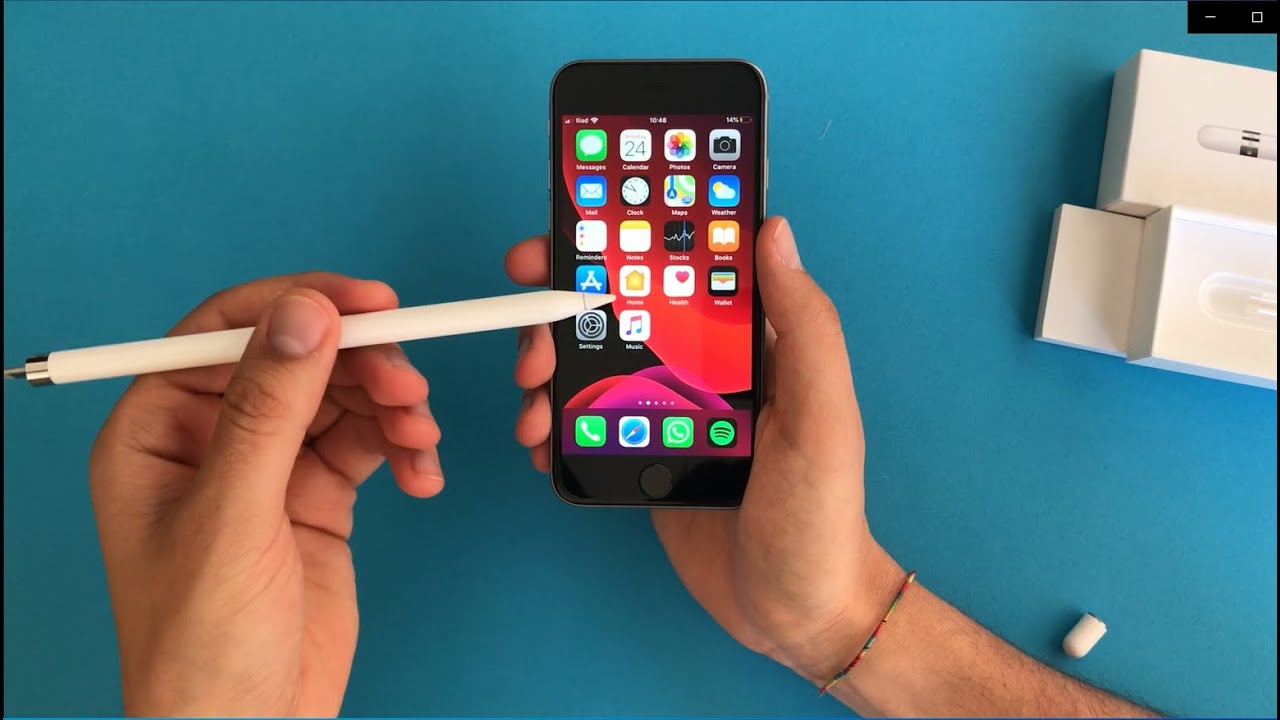
- Pair the Apple Pencil: To pair your Apple Pencil with your iPhone, simply remove the cap from the end of the pencil to reveal the lightning connector. Plug the connector into your iPhone’s charging port, and a popup will appear on your screen, asking if you want to pair the Apple Pencil. Tap “Pair” to complete the process. Once paired, the Apple Pencil will automatically connect to your iPhone whenever it is detected.
Congratulations! You have successfully set up your Apple Pencil with your iPhone. Now let’s move on to explore the various ways you can use this versatile tool.
Pairing the Apple Pencil with your iPhone
Pairing the Apple Pencil with your iPhone is a simple process that allows you to start using it right away. Here’s how you can pair your Apple Pencil with your iPhone:
- Remove the cap: Start by removing the cap from the end of your Apple Pencil. This will expose the lightning connector, which is used for pairing and charging.
- Insert the connector: Insert the lightning connector of the Apple Pencil into the lightning port of your iPhone. It should fit snugly and make a satisfying click when properly inserted.
- Follow the on-screen instructions: Once the Apple Pencil is connected to your iPhone, an on-screen prompt will appear, asking if you want to pair the device. Tap “Pair” to initiate the pairing process.
- Wait for pairing confirmation: Your iPhone will take a few moments to pair with the Apple Pencil. During this time, you may see a progress indicator on your screen. Once the pairing is successful, you will receive a confirmation message.
- Test the connection: To ensure that the pairing was successful, start using the Apple Pencil on your iPhone’s screen. You should notice a responsive and accurate input, indicating that the pairing was successful.
It’s worth noting that once the Apple Pencil is paired with your iPhone, it will automatically connect whenever it is within range. You don’t need to repeat the pairing process every time you want to use the Apple Pencil. However, if you switch to a different iPhone or reset your current device, you may need to repeat the pairing process to establish the connection.
Now that your Apple Pencil is paired with your iPhone, you can start taking advantage of its advanced features and unleash your creativity. In the next section, we will explore how to charge the Apple Pencil to ensure it is always ready for use.
Charging the Apple Pencil
The Apple Pencil is a battery-powered device that requires charging to ensure optimal performance. Here’s everything you need to know about charging your Apple Pencil:
There are two methods to charge the Apple Pencil, depending on the model you have. If you have the first-generation Apple Pencil, you can charge it by attaching it to the lightning port of your iPhone. Simply remove the cap from the end of the Apple Pencil, and connect it to the lightning port. The Apple Pencil will begin charging, and you can monitor its progress on the screen.
On the other hand, if you have the second-generation Apple Pencil, you can charge it wirelessly by attaching it magnetically to the side of your iPhone. The Apple Pencil will automatically snap into place and start charging. This method offers convenience as you can charge your Apple Pencil while carrying it with your iPhone.
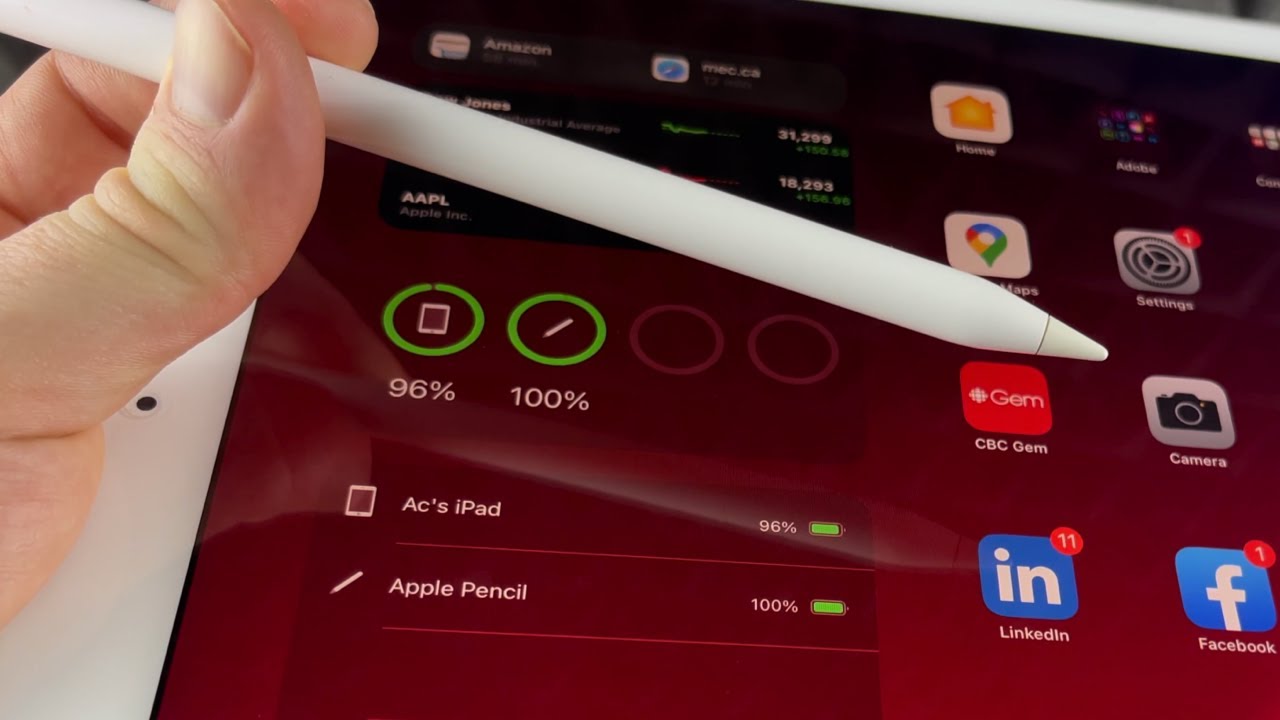
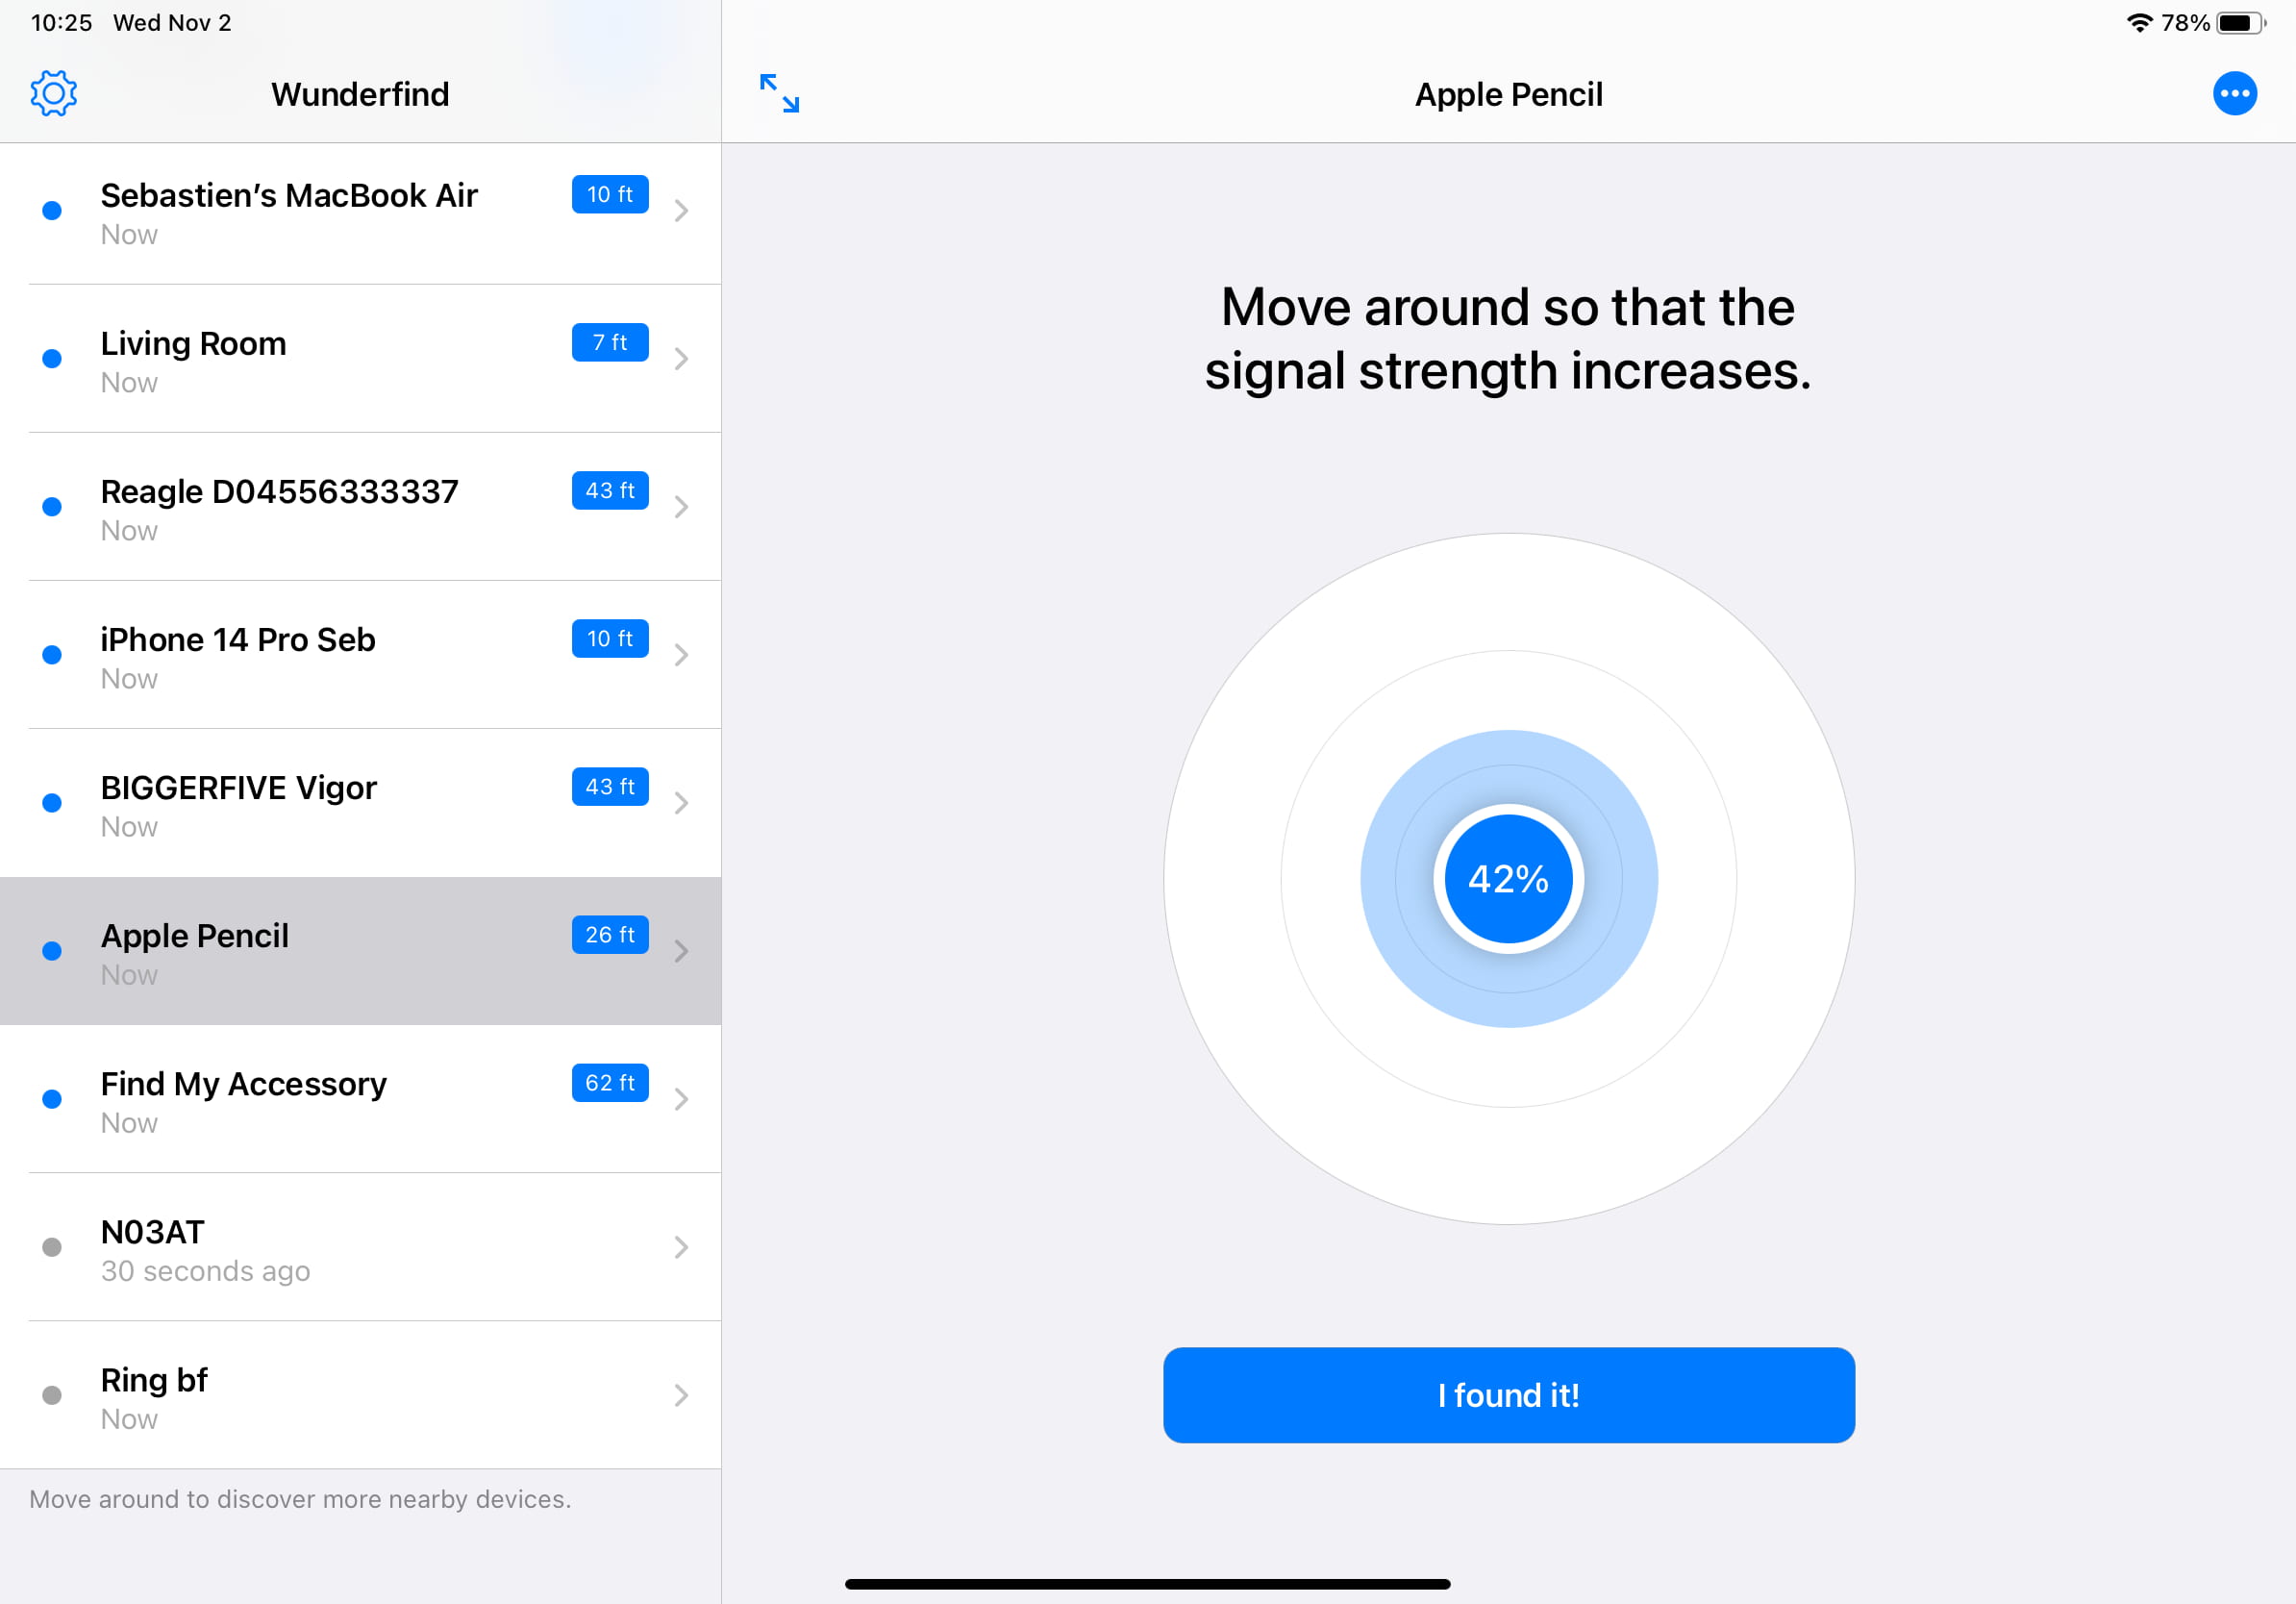
Regardless of the charging method, it is essential to ensure that your Apple Pencil has sufficient battery life. To check the battery level of your Apple Pencil, you can swipe down from the top-right corner of your iPhone’s screen to access the Control Center. Here, you will find a battery widget that displays the remaining battery percentage of your Apple Pencil.
The Apple Pencil can charge quickly, allowing you to resume using it in no time. It is recommended to charge your Apple Pencil whenever the battery level is low to avoid any interruptions during your creative or productive sessions.
It’s important to note that the charging method for the Apple Pencil may vary depending on the model and iPhone compatibility. Always refer to the user manual or Apple’s official website for specific instructions related to your device.
With the Apple Pencil charged and ready, let’s move on to the next section to discover how to use it with various apps and unleash its full potential.
Using the Apple Pencil with various apps
The Apple Pencil opens a world of possibilities when it comes to using creative and productivity apps on your iPhone. Many apps have been optimized to take advantage of the Apple Pencil’s features and provide a more immersive and interactive experience. Here are some popular apps that work seamlessly with the Apple Pencil:
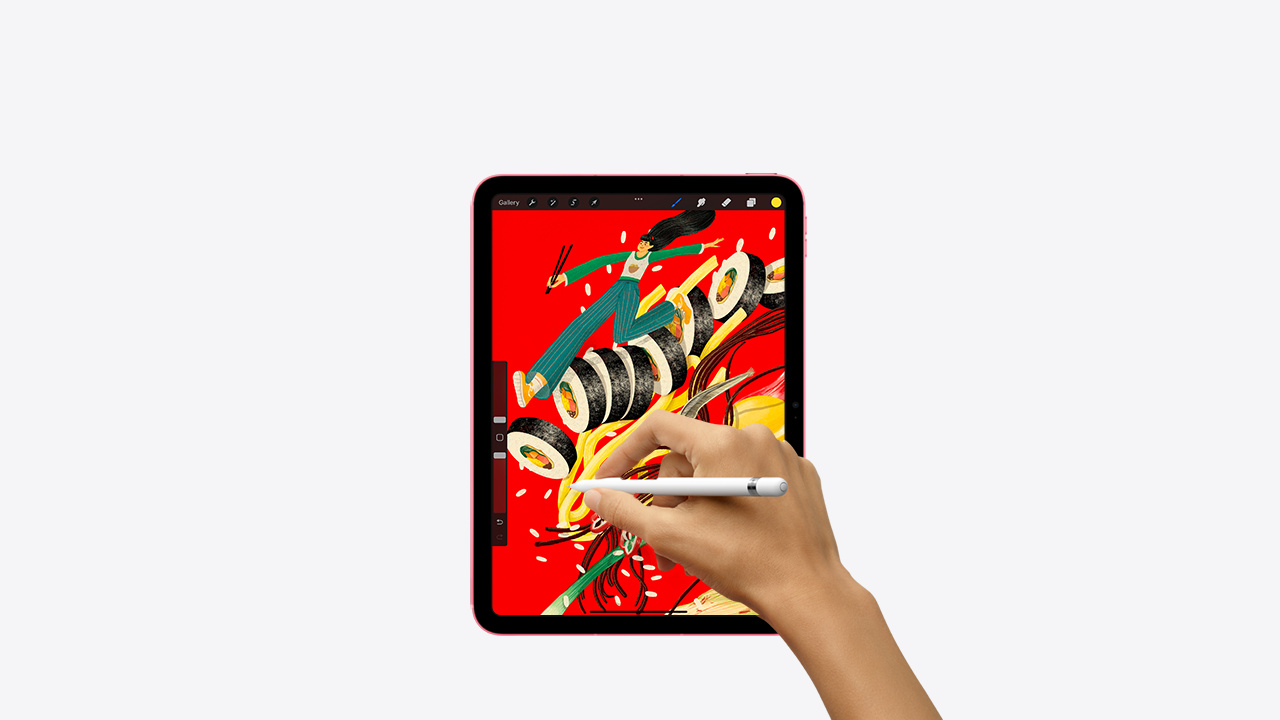
- Procreate: Procreate is a powerful digital illustration app that allows you to create stunning artworks. With the Apple Pencil, you can enjoy precise control over your strokes, take advantage of pressure sensitivity, and utilize various tools to bring your ideas to life.
- Notability: Notability is a versatile note-taking app that lets you jot down ideas, annotate documents, and create interactive presentations. The Apple Pencil makes it easy to write and draw with natural precision, making your note-taking experience more efficient and enjoyable.
- GoodNotes: GoodNotes is another popular note-taking app that combines the convenience of digital note-taking with the feel of pen and paper. Whether you’re taking class notes, brainstorming, or organizing your thoughts, the Apple Pencil enhances the writing experience and allows for seamless handwritten input.
- Adobe Photoshop: Adobe Photoshop is a well-known photo editing software, and the mobile app offers a comprehensive range of editing tools. With the Apple Pencil, you can make precise selections, paint, and retouch images with greater control and accuracy.
- Concepts: Concepts is an advanced sketching and design app that caters to professionals and enthusiasts alike. The Apple Pencil’s pressure sensitivity and palm rejection feature make it the perfect tool for creating intricate sketches, architectural designs, and digital artwork.
These are just a few examples of the many apps that support the Apple Pencil. Whether you’re interested in drawing, note-taking, photo editing, or graphic design, there’s an app out there that can harness the full potential of the Apple Pencil.
Remember to explore the App Store regularly to discover new apps and updates that further enhance the Apple Pencil experience. With the right apps and the Apple Pencil, you can unlock your creativity and maximize productivity on your iPhone.
In the next section, we will explore how to customize and adjust settings for the Apple Pencil to suit your preferences and workflow.
Adjusting Apple Pencil settings
The Apple Pencil comes with a range of customizable settings that allow you to personalize your experience and optimize its performance on your iPhone. Here’s how you can adjust the Apple Pencil settings:
Open the “Settings” app on your iPhone and scroll down to find the “Apple Pencil” section. Tap on it to access a variety of options that can be customized to suit your preferences. Some common settings you may find include:
- Double-tap function: The Apple Pencil’s double-tap function can be configured to perform various actions. You can set it to switch between tools, activate the eraser, display the color picker, or even open specific apps. Choose the option that best aligns with your workflow and enables quick access to frequently used features.
- Pressure sensitivity: Adjusting the pressure sensitivity of the Apple Pencil allows you to fine-tune how it responds to different levels of pressure when drawing or writing. Experiment with different settings to find the sensitivity that feels most comfortable and natural to you.
- Palm rejection: Palm rejection is a crucial feature that prevents unwanted touch input from your hand while using the Apple Pencil. Ensure that palm rejection is enabled to avoid accidental marks or gestures while drawing or writing.
- Switch between devices: If you have multiple Apple devices, such as an iPad and an iPhone, you can use the Apple Pencil with both devices. The settings menu allows you to switch between paired devices easily, ensuring a seamless transition when you want to use the Apple Pencil on a different device.
Play around with the settings to find the configuration that works best for you. Remember, you can always adjust and fine-tune the settings based on your preferences and needs.
By customizing the Apple Pencil settings, you can optimize your workflow, improve productivity, and enhance your creative endeavors. Experiment with different settings and discover the perfect setup that empowers you to unleash the full potential of the Apple Pencil.
In case you encounter any issues or have questions regarding the Apple Pencil settings, refer to the user manual or visit Apple’s official support website for detailed guidance and troubleshooting tips.
With the Apple Pencil settings adjusted to your liking, let’s move on to the next section to address some common issues you may encounter and how to troubleshoot them effectively.
Troubleshooting common issues
While the Apple Pencil is a reliable and versatile tool, you may encounter some issues during its usage. Here are some common issues and troubleshooting steps to resolve them:
Connection issues:
- Make sure that Bluetooth is enabled on your iPhone. You can check this in the Settings app under “Bluetooth.”
- If the Apple Pencil is not connecting or pairing with your iPhone, try removing it from the Bluetooth settings and re-pairing it following the instructions mentioned earlier in this article.
- Ensure that your Apple Pencil is charged sufficiently to establish a stable connection. If the battery level is low, charge the Apple Pencil for a while and try again.
Responsiveness issues:
- If the Apple Pencil is not responding or registering touch properly, make sure the tip of the Apple Pencil is clean. You can use a soft cloth or a cleaning solution specifically designed for electronic devices to clean the tip.
- Check if there are any firmware updates available for your iPhone or the Apple Pencil. Keeping your device and the Apple Pencil up to date can help resolve compatibility issues and improve performance.
- For apps that support pressure sensitivity, ensure that the pressure sensitivity option is enabled in the app’s settings. Some apps may have this option disabled by default, and enabling it will ensure the Apple Pencil responds to varying pressure levels correctly.
Charging issues:
- If the Apple Pencil is not charging when connected to your iPhone, try unplugging and re-plugging it to ensure a secure connection.
- Check if the lightning port on your iPhone is clean and free from dirt or debris. Use a soft brush or compressed air to gently clean the port if necessary.
- If you have the second-generation Apple Pencil, ensure that it is magnetically attached to the side of your iPhone securely. A weak or loose connection may cause charging issues.
If you have tried the troubleshooting steps above and are still experiencing issues with your Apple Pencil, it is recommended to contact Apple Support or visit an Apple Store for further assistance. They can provide specialized guidance and help resolve any persistent problems you may encounter.
By troubleshooting common issues with your Apple Pencil, you can ensure a smooth and uninterrupted experience while using this powerful tool. Now that we have covered troubleshooting, let’s wrap up this article with some final thoughts on the Apple Pencil and its impact on your productivity and creativity.
Conclusion
The Apple Pencil has revolutionized the way we interact with our iPhones, allowing for precise and intuitive input for various tasks. Whether you’re an artist exploring your creativity, a student taking notes, or a professional needing precise control, the Apple Pencil offers a seamless and immersive experience.
In this article, we covered everything you need to know about using the Apple Pencil with your iPhone. We started with the setup process, guiding you through pairing the Apple Pencil with your iPhone and ensuring that it is charged and ready for use. We then delved into the world of apps, discussing how the Apple Pencil enhances your experience in popular apps like Procreate, Notability, and Adobe Photoshop.
We also explored the customization options available with the Apple Pencil, allowing you to adjust settings to suit your preferences and optimize your workflow. And in case you encounter any issues, we provided troubleshooting tips to help you resolve common problems and ensure a smooth experience with your Apple Pencil.
The Apple Pencil opens up endless possibilities, empowering you to express yourself creatively, take precise notes, and accomplish tasks with ease on your iPhone. As technology continues to evolve, we can expect even more exciting features and advancements in future iterations of the Apple Pencil.
So, embrace the power of the Apple Pencil and let your imagination soar. Explore the world of digital art, revolutionize your note-taking, and take your productivity to new heights. With the Apple Pencil in hand, your iPhone becomes an even more versatile and powerful tool. Enjoy the journey and unlock your true potential!