Introduction
The Apple Pencil is a powerful tool designed to bring precision and versatility to your iPad experience. Whether you’re an artist wanting to sketch and draw with precision, a student taking notes and annotating documents, or a professional in need of a precise input method, connecting the Apple Pencil to your iPad opens up a world of possibilities.
In this guide, we will walk you through the steps to connect your Apple Pencil to your iPad. By following these simple steps, you’ll be able to unleash the full potential of your Apple Pencil and enjoy a seamless and immersive writing and drawing experience.
Before we dive into the process, it’s important to note that not all iPad models support the Apple Pencil. Only certain iPad models are compatible with this innovative pen-like device. Therefore, it’s essential to check the compatibility of your iPad before attempting to connect the Apple Pencil. Let’s now move on to the first step of the process: checking compatibility.
Step 1: Check Compatibility
Before you begin connecting the Apple Pencil to your iPad, it’s crucial to ensure that your iPad model supports this innovative accessory. The Apple Pencil is compatible with certain iPad models, so it’s essential to check if your device supports it. Here’s how you can do it:
- Check the Apple Pencil compatibility list: Apple provides a comprehensive list of compatible iPads on their official website. You can visit the Apple website and search for “Apple Pencil compatibility” to find the list. Make sure your iPad is on the list before proceeding further.
- Check the model number: You can also verify the compatibility by checking the model number of your iPad. Go to the Settings app on your iPad, tap on “General,” and then select “About.” Look for the “Model” or “Model Number” option. Compare your model number with the compatibility list provided by Apple to ensure compatibility.
- Consult the user manual: If you still have doubts about your iPad’s compatibility with the Apple Pencil, refer to the user manual that came with your device. The manual usually contains information about accessories that are compatible with your specific iPad model.
It’s important to note that the Apple Pencil works with different generations of iPads, so even if your current iPad isn’t compatible, you may have the option to upgrade to a newer model that supports the Apple Pencil.
Once you have verified the compatibility of your iPad, you can proceed to the next step: charging the Apple Pencil.
Step 2: Charge the Apple Pencil
Before you start using the Apple Pencil, it’s essential to ensure that it’s fully charged. The Apple Pencil uses a built-in rechargeable battery, which can be charged using your iPad. Here’s how you can charge your Apple Pencil:
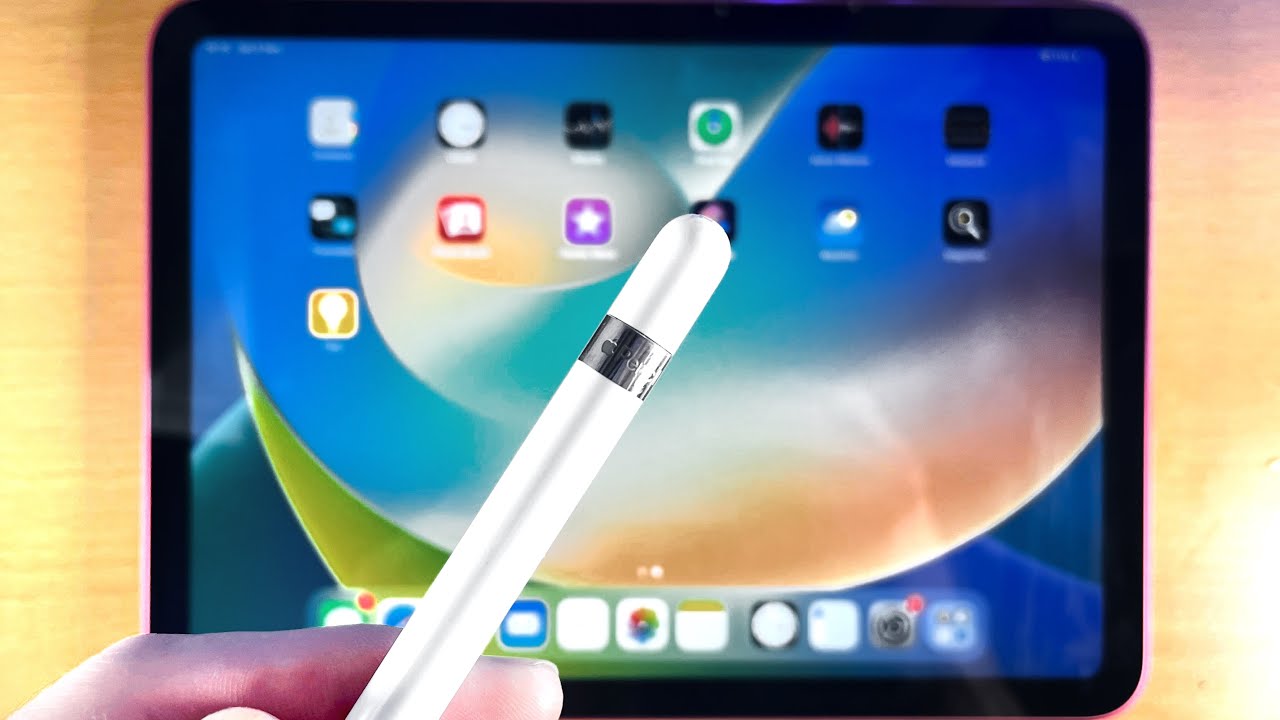
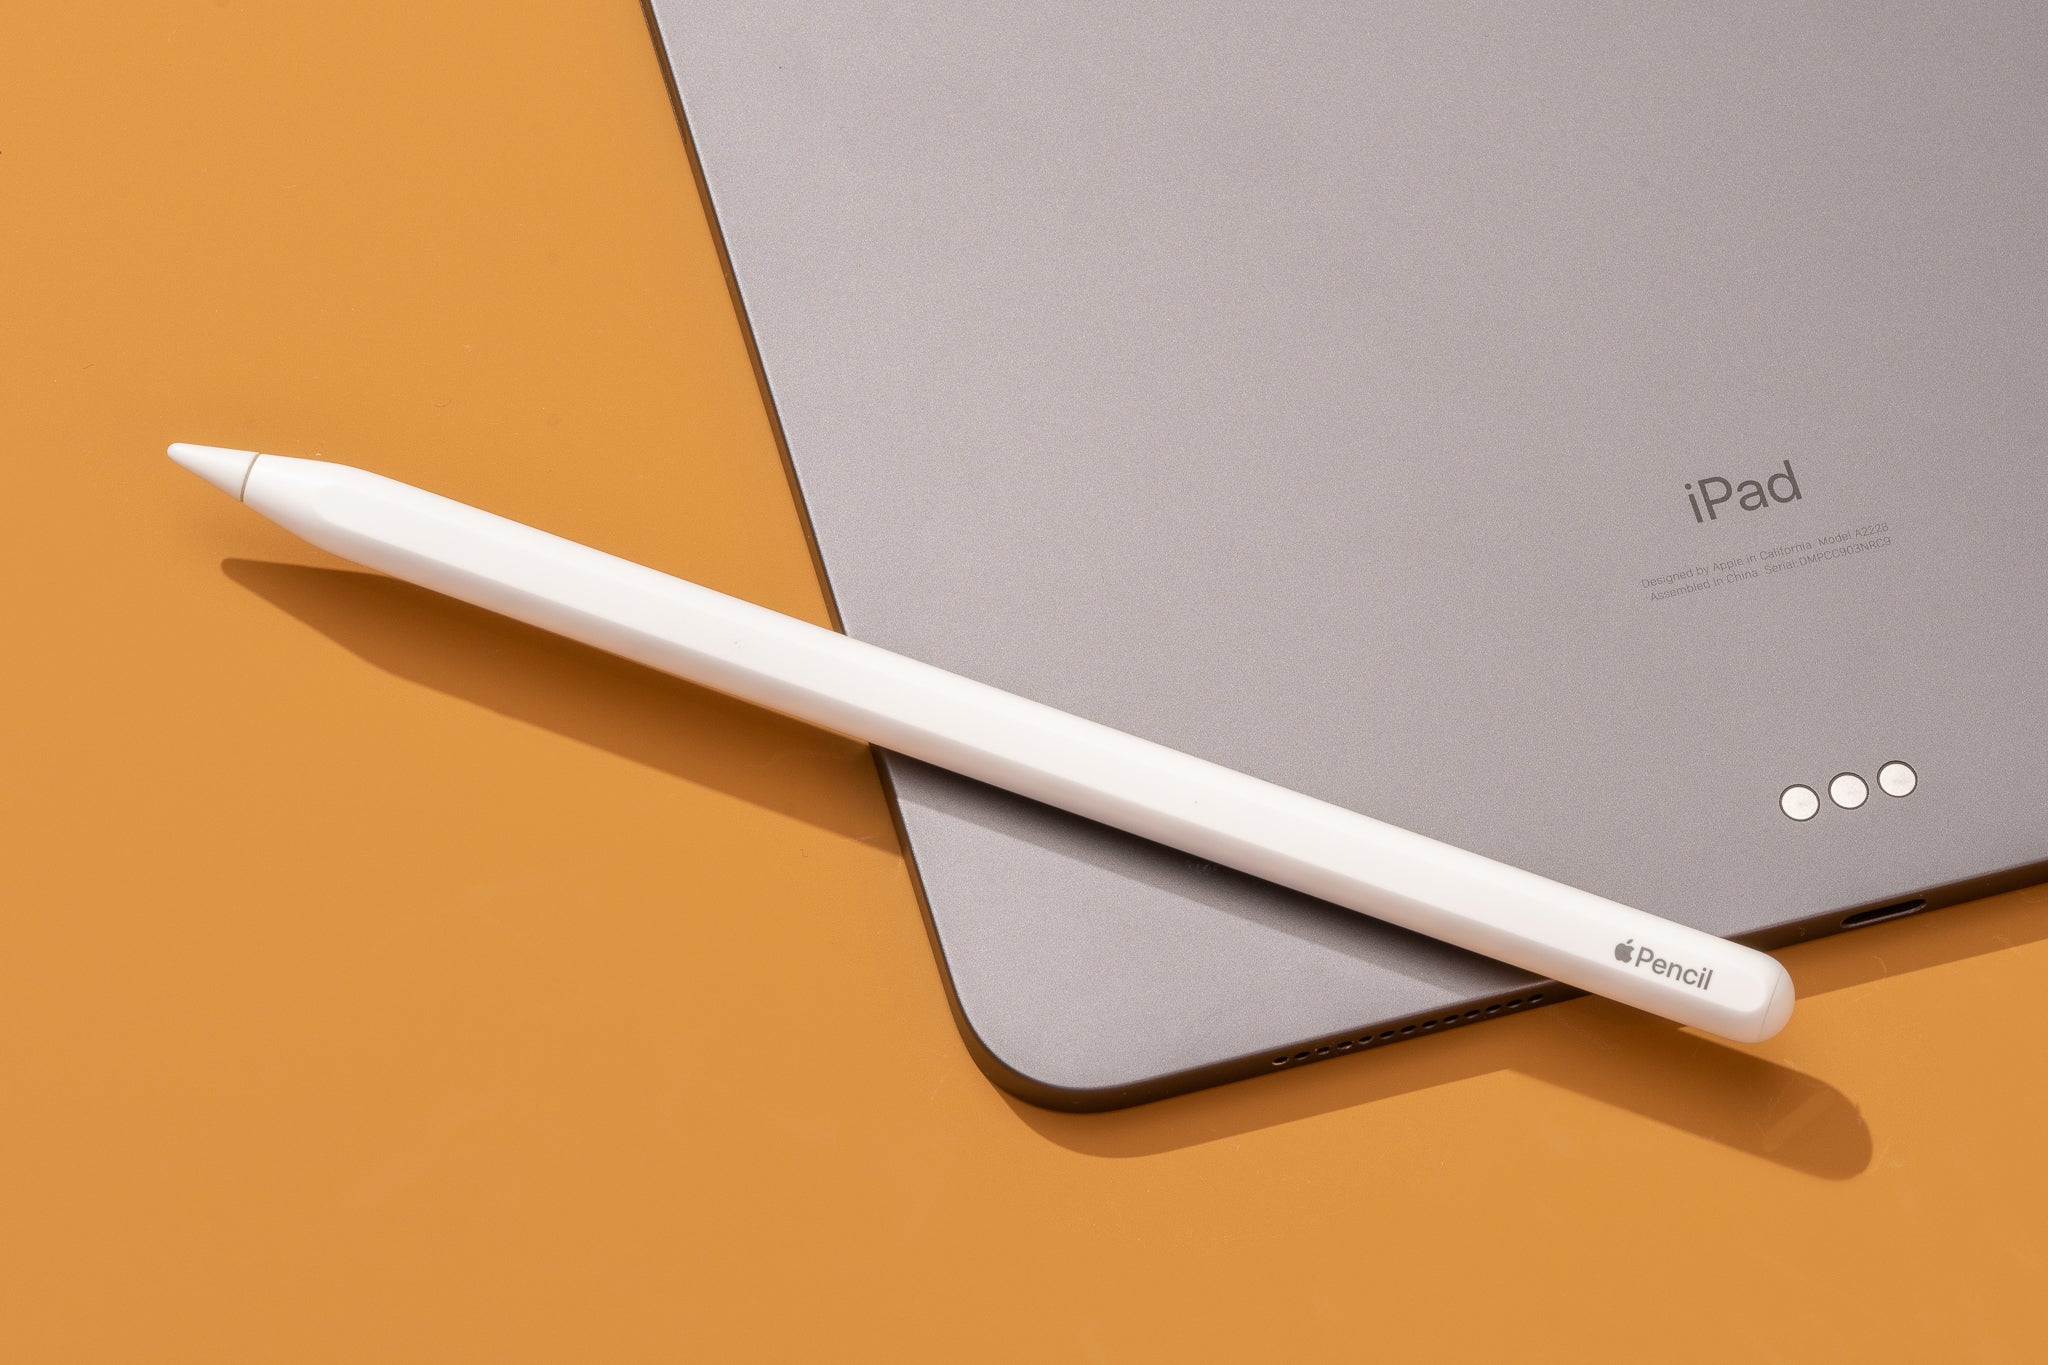
- Remove the cap: Start by removing the cap at the end of the Apple Pencil. The cap covers the Lightning connector, which is used for charging.
- Connect the Apple Pencil to the iPad: Insert the Lightning connector of the Apple Pencil into the Lightning port on your iPad. Make sure the connection is secure.
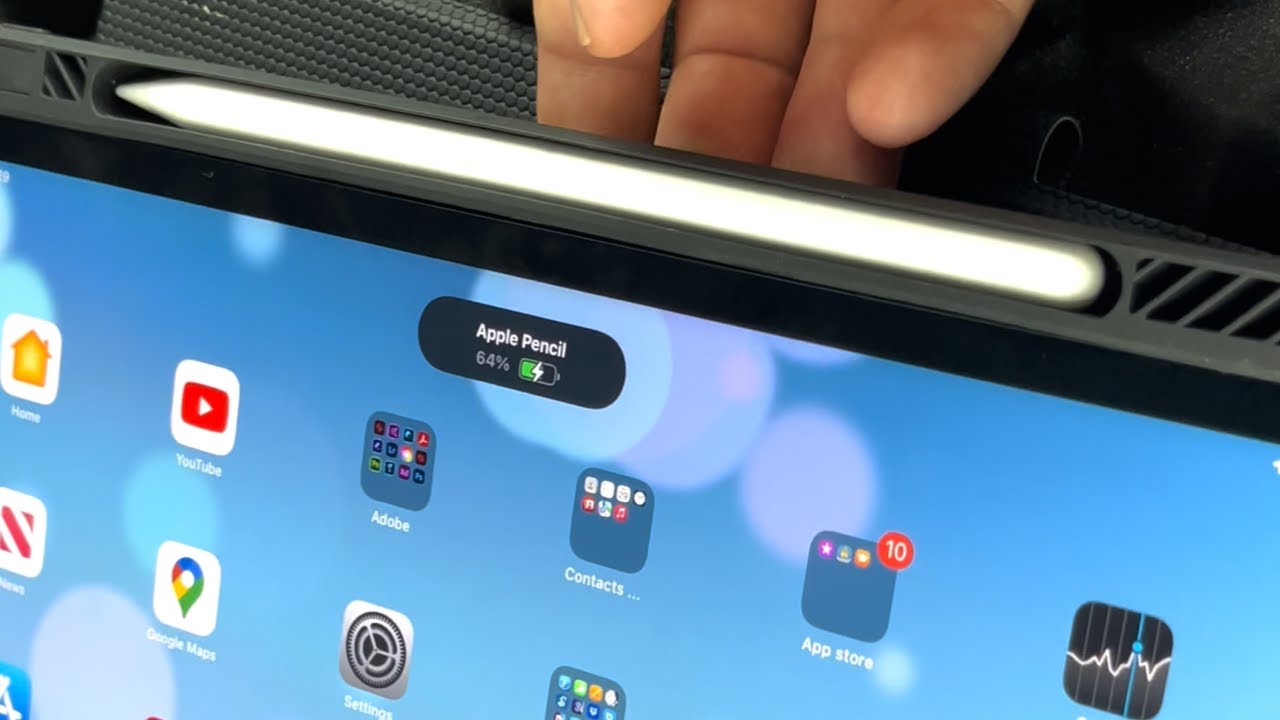
- Charging notification: When the Apple Pencil is successfully connected, you’ll see a charging notification on the iPad’s screen. This notification indicates that the charging process has started.
- Monitor the battery level: You can monitor the battery level of the Apple Pencil by swiping down from the top right corner of the iPad’s screen to access the Control Center. Look for the battery widget, which will display the remaining battery percentage of your Apple Pencil.
- Charge until full: Allow the Apple Pencil to charge until it reaches full capacity. It usually takes about 15-30 minutes to achieve a significant charge. However, for a full charge, it’s recommended to leave the Apple Pencil connected for at least 30 minutes.
- Disconnect the Apple Pencil: Once the Apple Pencil is fully charged, you can disconnect it from the Lightning port of your iPad. Remember to replace the cap to protect the Lightning connector when not in use.
By following these steps, you’ll ensure that your Apple Pencil has enough power to last through your creative sessions without any interruptions. Once your Apple Pencil is charged, you can move on to the next step: removing the cap.
Step 3: Remove the Cap
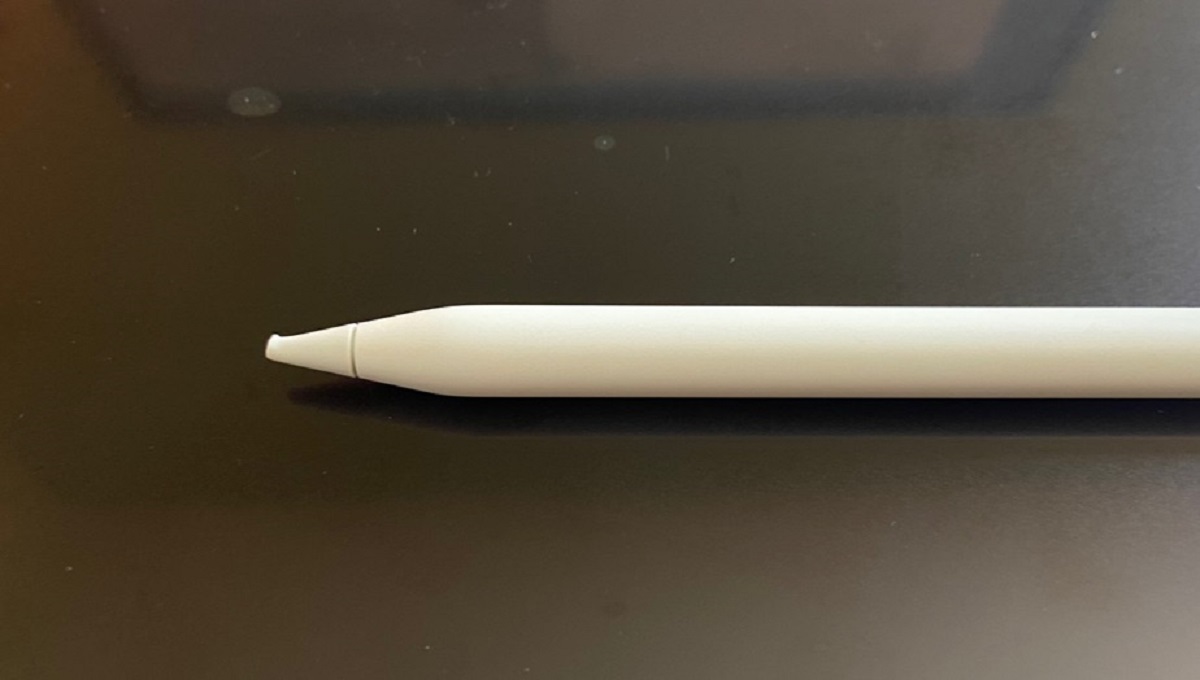
Now that your Apple Pencil is fully charged, it’s time to remove the cap before you can start using it. The cap protects the Apple Pencil’s tip and should be removed before you connect it to your iPad. Here’s how to remove the cap:
- Gently hold the Apple Pencil: Take a firm but gentle grip on the main body of the Apple Pencil.
- Unscrew or pull off the cap: Depending on the generation of your Apple Pencil, you’ll either need to unscrew the cap or simply pull it off. The cap should come off easily without much force.
- Store the cap safely: It’s important not to lose the cap as it protects the delicate tip of the Apple Pencil. Store the cap in a safe place, such as a pencil case or the Apple Pencil’s original packaging, when not in use.
- Inspect the tip: With the cap removed, take a moment to inspect the tip of your Apple Pencil. Ensure that it is clean, free from any debris, and in good condition. If necessary, you can gently wipe the tip with a soft, lint-free cloth.
Removing the cap allows you to access the tip of the Apple Pencil, which is responsible for delivering precise strokes and accurate gestures on your iPad’s screen. Once the cap is removed and the tip is inspected, you’re now ready to connect your Apple Pencil to your iPad in the next step.
Step 4: Insert Apple Pencil into Lightning Port
With the cap removed and the tip of your Apple Pencil ready, it’s time to connect it to your iPad by inserting it into the Lightning port. The Lightning port is located at the bottom of your iPad and is used for charging and data transfer. Follow these steps to connect your Apple Pencil:
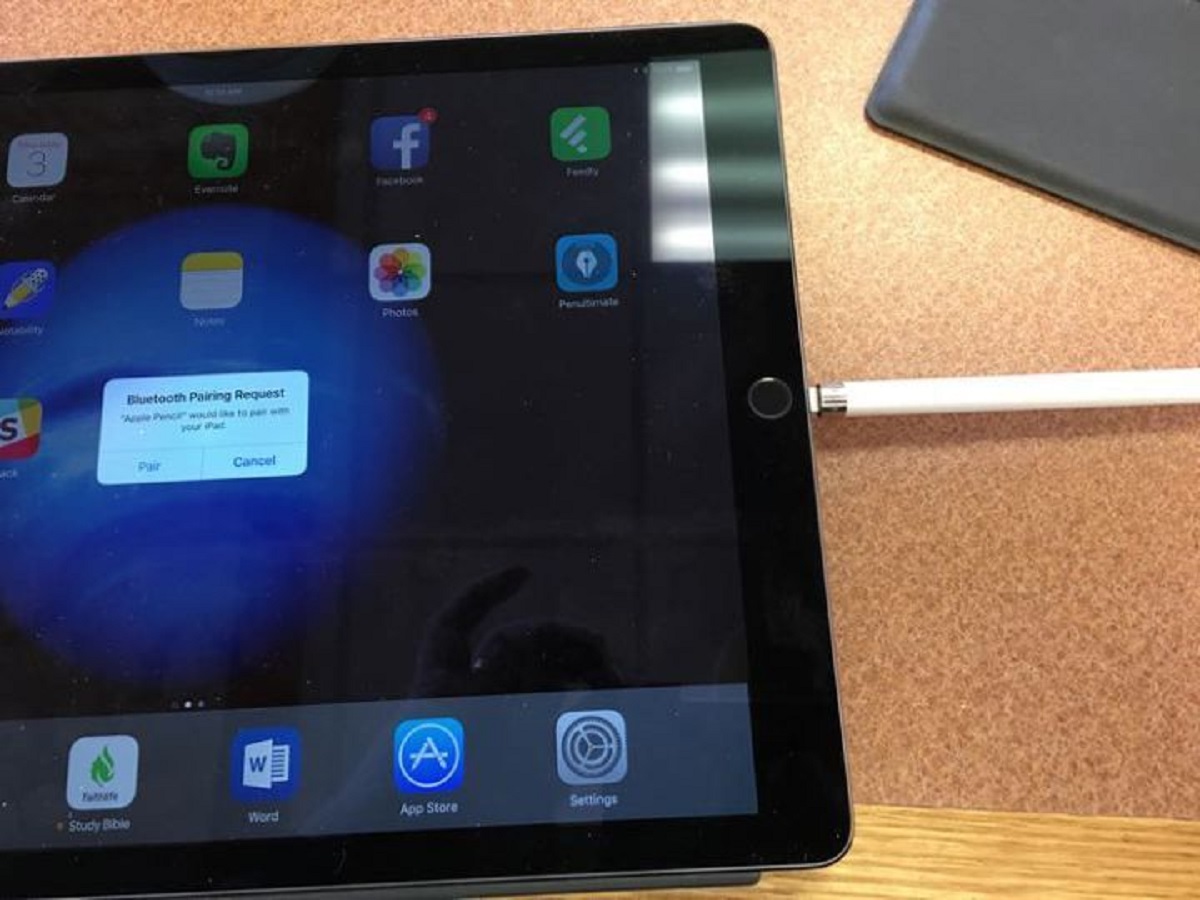
- Locate the Lightning port: Turn your iPad around and find the Lightning port, which is a small rectangular slot at the bottom of the device.
- Align the Apple Pencil: Ensure that the tip of the Apple Pencil is aligned with the Lightning port. The connectors on the Apple Pencil and the Lightning port should match up.
- Gently insert the Apple Pencil: With a gentle but firm motion, insert the Apple Pencil into the Lightning port. Be careful not to force it, as it should easily slide into place.
- Secure connection: Once the Apple Pencil is inserted, you should feel a satisfying click, indicating that it is securely connected to the iPad’s Lightning port.
By connecting the Apple Pencil to the Lightning port, you’re establishing a physical connection between the two devices. This connection allows for seamless communication and enables your iPad to recognize and interact with the Apple Pencil’s input.
Now that your Apple Pencil is properly inserted into the Lightning port, it’s time to move on to the next step: the pairing process between the Apple Pencil and your iPad.
Step 5: Pairing with iPad
After connecting the Apple Pencil to the Lightning port, it’s time to pair it with your iPad. Pairing allows your iPad to recognize and communicate with the Apple Pencil, enabling you to use it seamlessly. Here’s how you can pair your Apple Pencil with your iPad:
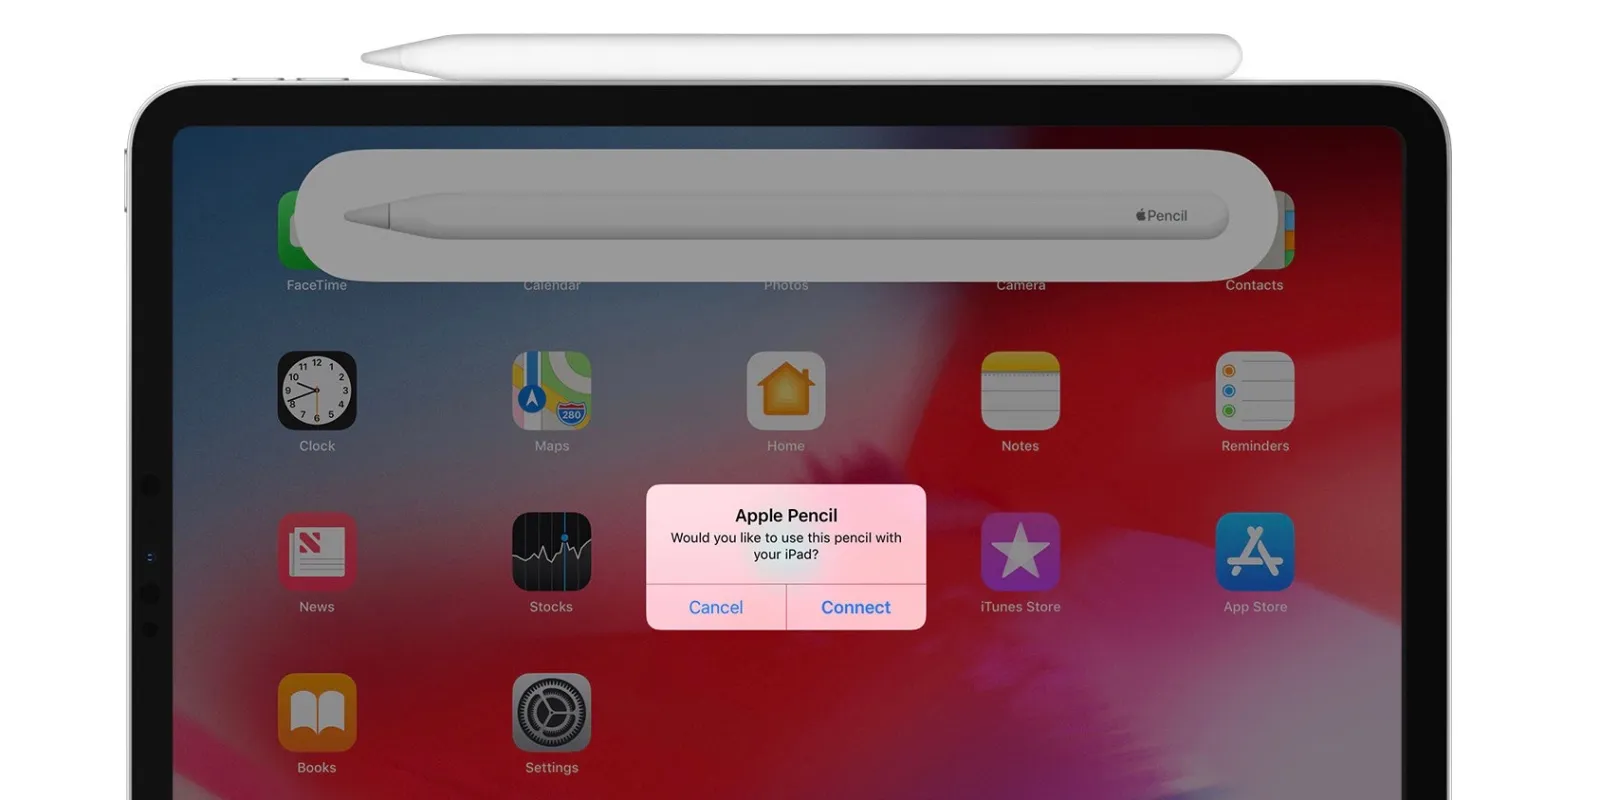
- Unlock your iPad: Ensure that your iPad is unlocked and on the home screen. You should be ready to start the pairing process.
- Wait for the prompt: Once the Apple Pencil is connected to the Lightning port, your iPad should display a message or prompt on the screen, indicating that it has detected a new accessory. This message may vary depending on your iPad model and software version.
- Follow the on-screen instructions: Pay attention to the instructions displayed on your iPad’s screen. It will guide you through the pairing process, which typically involves tapping a button or confirming your selection.
- Pairing completion: Once the pairing process is complete, you’ll receive a confirmation message or a notification on your iPad, indicating that the Apple Pencil is now paired and ready to use.
By pairing the Apple Pencil with your iPad, you establish a secure and seamless connection between the two devices. This allows you to enjoy the precision and functionality of the Apple Pencil to enhance your creative or productivity tasks on your iPad.
Now that your Apple Pencil is successfully paired with your iPad, it’s important to check the connection status in the next step to ensure a stable and uninterrupted experience.
Step 6: Check Connection Status
Once you have successfully paired your Apple Pencil with your iPad, it’s essential to check the connection status to ensure a stable and reliable connection. Here are a few ways to verify the connection status of your Apple Pencil:
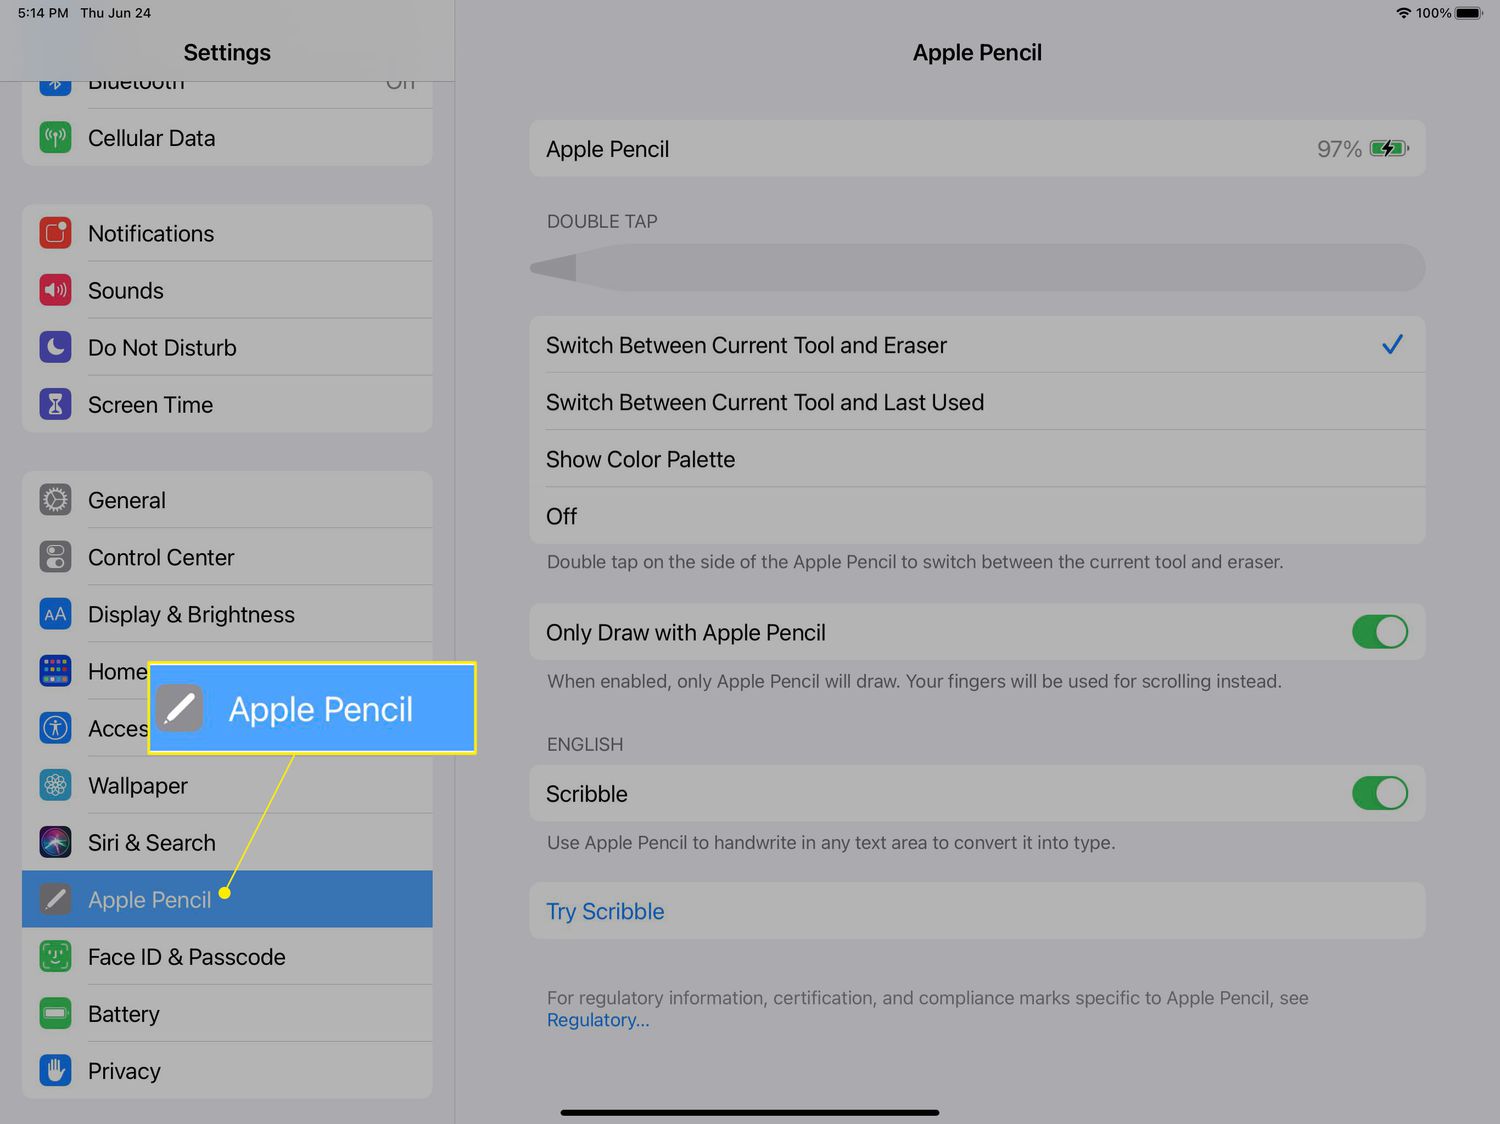
- Check the Bluetooth settings: Go to the Settings app on your iPad and navigate to “Bluetooth.” Verify that Bluetooth is turned on, and you should see your Apple Pencil listed as a paired device.
- Confirm responsiveness: Open an app or note-taking software that supports the Apple Pencil. Start using the Apple Pencil on your iPad’s screen and confirm that it responds accurately and smoothly to your input. Test various gestures, pressure sensitivity, and palm rejection to ensure optimal performance.
- Monitor battery level: Keep an eye on the battery level of your Apple Pencil. You can check it through the battery widget in the Control Center or by swiping down from the top right corner of the iPad’s screen. If the battery is running low, it’s time to recharge the Apple Pencil.
- Ensure firmware updates: Periodically check for firmware updates for your Apple Pencil. Apple releases software updates to improve functionality and address any issues. To check for updates, go to the Settings app on your iPad, tap on “General,” and then select “Software Update.”
- Re-pair if necessary: If you encounter any connection issues or inconsistencies, it may help to unpair your Apple Pencil and then re-pair it with your iPad. To do this, go to the Settings app on your iPad, navigate to “Bluetooth,” find your Apple Pencil, tap the “i” icon, and select “Forget This Device.” Afterward, you can repeat the pairing process mentioned earlier to establish a fresh connection.
By regularly checking the connection status and ensuring that everything is functioning properly, you can maximize your Apple Pencil experience and enjoy seamless interaction between your Apple Pencil and iPad.
Congratulations! You have successfully connected and established a stable connection between your Apple Pencil and iPad. Now you can fully explore and utilize the capabilities of the Apple Pencil to enhance your creative endeavors, note-taking, and productivity tasks.
Conclusion
Connecting your Apple Pencil to your iPad opens up a world of possibilities for creativity, productivity, and precision. In this guide, we covered the step-by-step process to connect your Apple Pencil to your iPad, ensuring compatibility, charging the Apple Pencil, removing the cap, inserting it into the Lightning port, pairing with your iPad, and checking the connection status.
By following these simple steps, you can unlock the full potential of the Apple Pencil and take advantage of its precise input and advanced features. Whether you’re an artist, student, or professional, the Apple Pencil provides a seamless and immersive experience for drawing, note-taking, annotating, and more.
Remember to check the compatibility of your iPad model to ensure that it supports the Apple Pencil. Charge the Apple Pencil and remove the cap before inserting it into the Lightning port. Follow the on-screen instructions to successfully pair it with your iPad and verify the connection status regularly.
With your Apple Pencil successfully connected to your iPad, you can now explore a wide range of apps and resources that are optimized for the Apple Pencil. Let your creativity flow and unleash your productivity with the precision and versatility that the Apple Pencil brings.
We hope this guide has been helpful in assisting you in connecting your Apple Pencil to your iPad. Now it’s time to embark on your artistic and productive journey with your Apple Pencil in hand. Enjoy and have fun!