Introduction
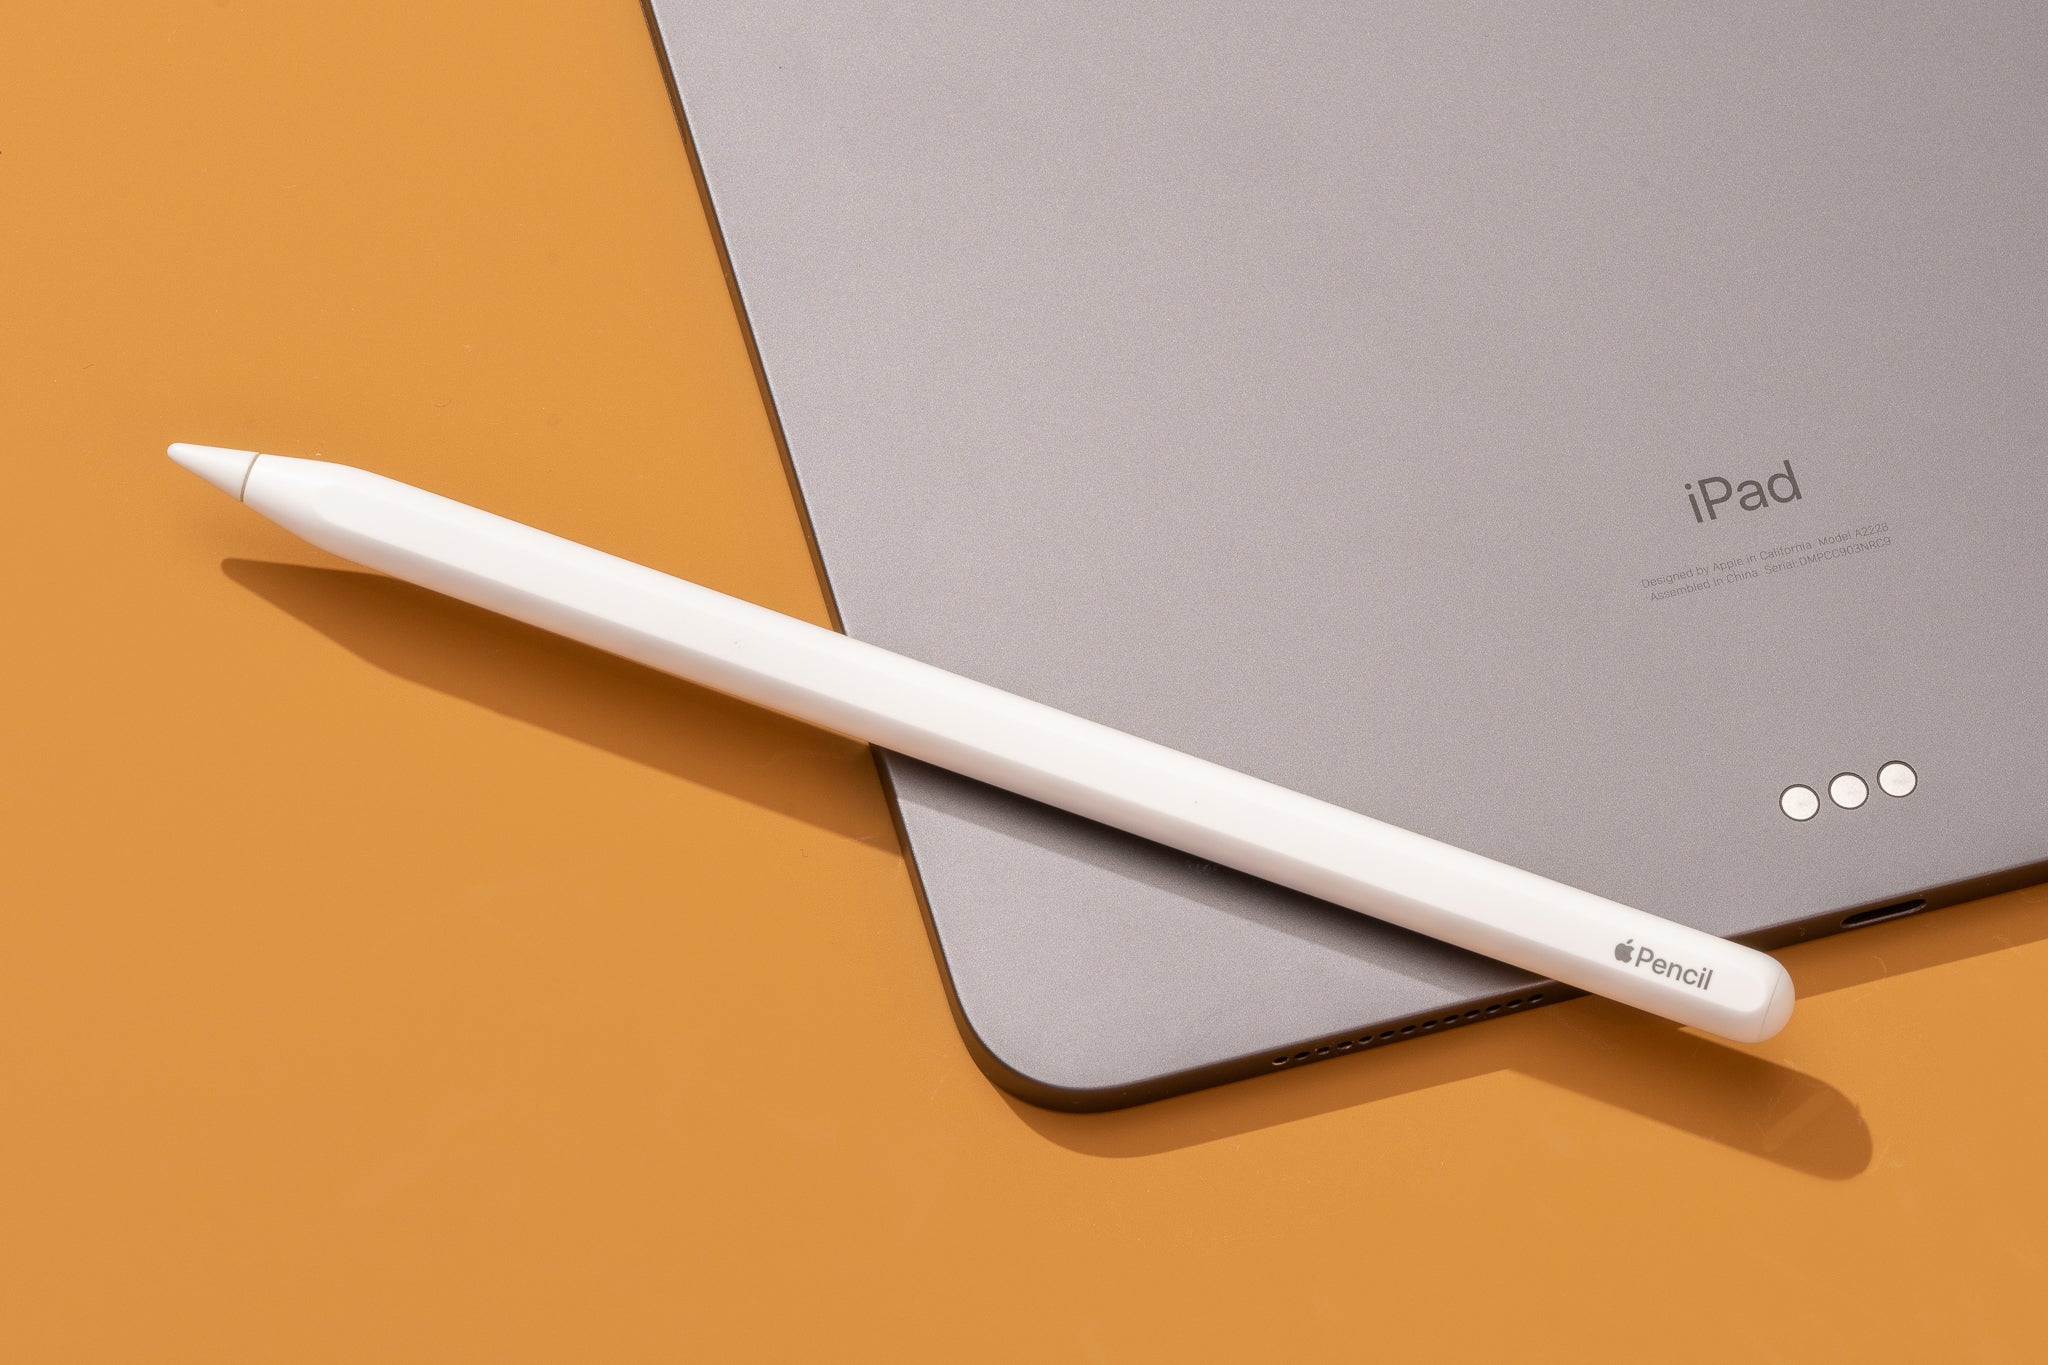
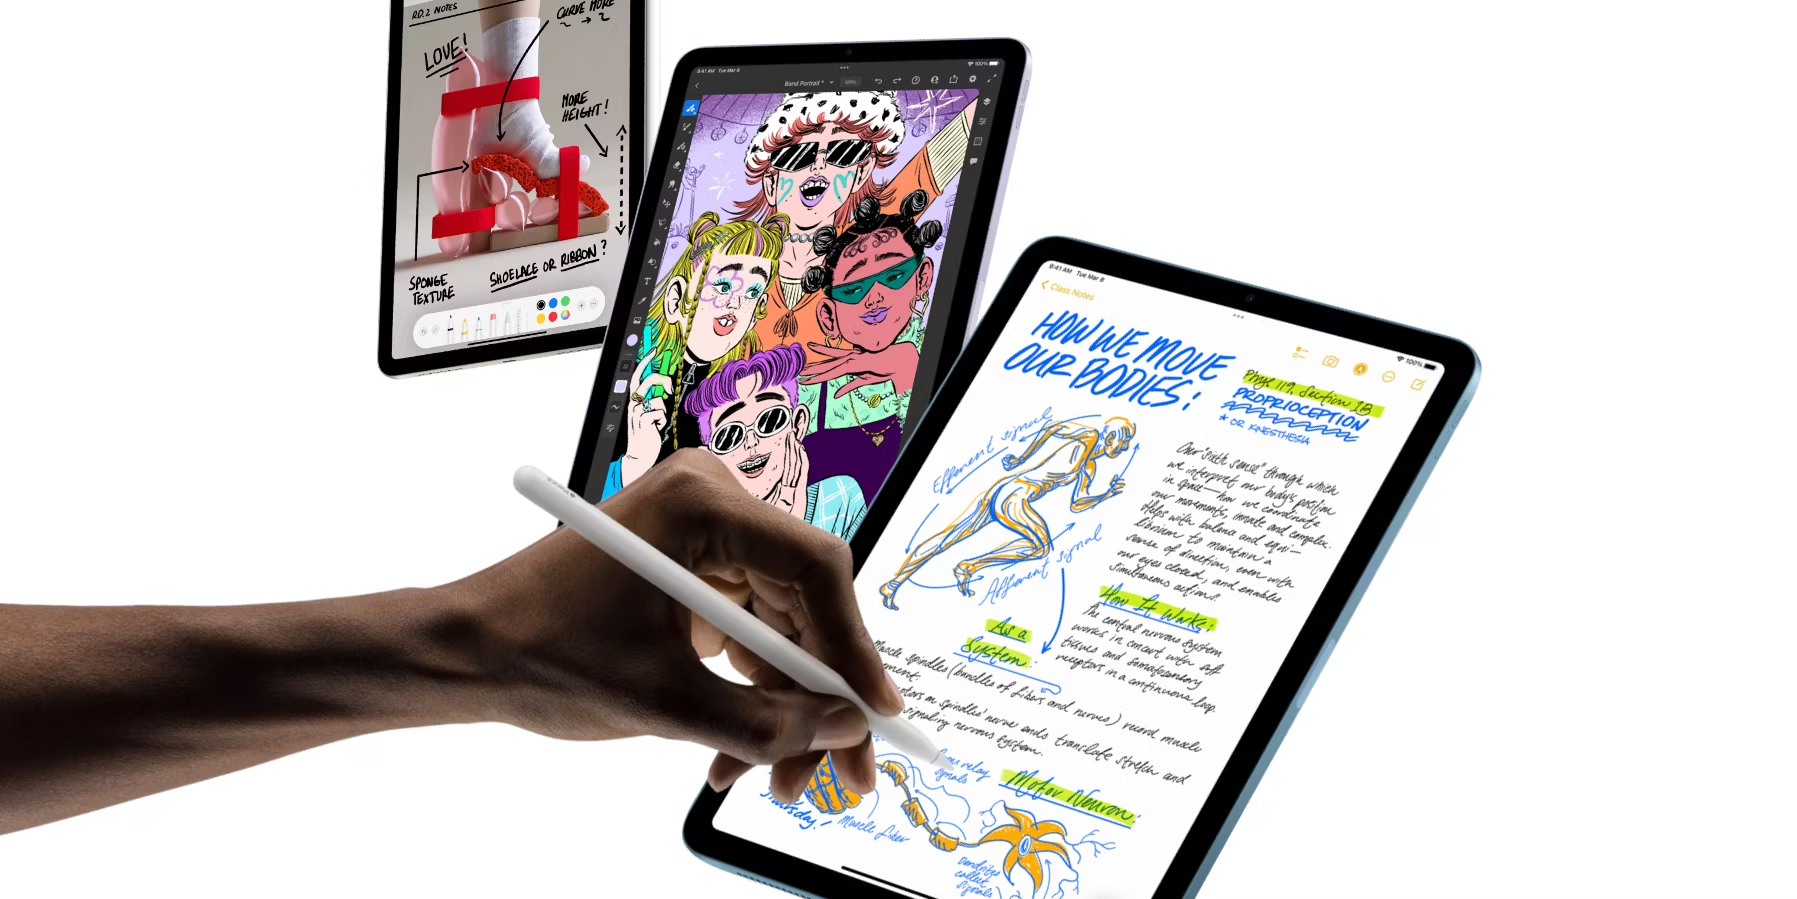
The Apple Pencil is a powerful tool that enhances the capabilities of your iPad, allowing you to draw, sketch, write, and even navigate with precision and ease. Whether you are an artist, a student, or a professional, the Apple Pencil can revolutionize the way you interact with your iPad.
Pairing your Apple Pencil with your iPad is the first step in unlocking its full potential. By establishing a wireless connection between the two devices, you can take advantage of the Pencil’s seamless integration with various apps and features. However, if you are new to the Apple ecosystem or simply unfamiliar with the pairing process, you may be wondering how to get started.
In this article, we will guide you through the step-by-step process of pairing your Apple Pencil with your iPad. Whether you have the Apple Pencil 1st generation or the Apple Pencil 2nd generation, the steps are similar and easy to follow. So, without further ado, let’s dive into the process of pairing your Apple Pencil!
Step 1: Ensure Compatibility
Before you begin the pairing process, it is essential to ensure that your Apple Pencil is compatible with your iPad. Keep in mind that not all iPads support the Apple Pencil. Currently, the Apple Pencil is compatible with the following models:
- iPad Pro 12.9-inch (3rd generation) and later
- iPad Pro 11-inch (1st generation) and later
- iPad Air (4th generation)
- iPad (8th generation)
- iPad mini (5th generation)
If you have any of these compatible iPad models, you’re good to go. However, it’s always a good idea to double-check your iPad model to ensure compatibility.
To check your iPad model:
- Go to the “Settings” app on your iPad.
- Tap on “General.”
- Select “About.”
- Look for the “Model” or “Model Number” section.
- Compare your model number with the list of compatible iPad models.
If your iPad model is indeed compatible, you can proceed with the pairing process. However, if your iPad model is not on the list, it means that your iPad does not support the Apple Pencil functionality.
Compatibility is crucial, as attempting to pair an incompatible Apple Pencil with your iPad will result in an unsuccessful pairing process. Therefore, always ensure that your iPad model is compatible before proceeding to the next step.
Step 2: Charge Your Apple Pencil
Before you can pair your Apple Pencil with your iPad, it’s important to ensure that it has enough battery power. The Apple Pencil can be charged in a couple of different ways depending on its model:
Apple Pencil (1st generation):
The first-generation Apple Pencil charges by connecting it to the Lightning port of your iPad. Here’s how you can charge it:
- Remove the cap from the back end of the Apple Pencil.
- Insert the Lightning connector at the end of the Apple Pencil into the Lightning port of your iPad.
- Leave it connected for a few minutes to allow the Apple Pencil to charge.
You can also use the included Lightning adapter to charge the Apple Pencil with a standard Lightning cable. Simply insert the Apple Pencil’s Lightning connector into the adapter and connect it to a Lightning cable for charging.
Apple Pencil (2nd generation):
If you have the second-generation Apple Pencil, it charges wirelessly by attaching it magnetically to the side of your iPad. Here’s how to charge it:
- Hold the flat side of the Apple Pencil against the right side of the iPad Pro (3rd generation and later) or the magnetic strip on the iPad Air (4th generation).
- The Apple Pencil will attach magnetically and start charging automatically.
- It’s important to note that if you have a case on your iPad, you may need to remove it before attaching the Apple Pencil for charging.
Ensure that your Apple Pencil has enough charge to complete the pairing process. A fully charged Apple Pencil will increase the chances of a successful pairing and provide you with a longer drawing or writing time.
Once your Apple Pencil is adequately charged, you can proceed to the next step of enabling Bluetooth on your iPad.
Step 3: Enable Bluetooth
In order to pair your Apple Pencil with your iPad, you need to ensure that Bluetooth is enabled on your iPad. Bluetooth allows for the wireless connection between the two devices. To enable Bluetooth, follow these steps:
- Open the “Settings” app on your iPad.
- Scroll down and tap on “Bluetooth.”
- Toggle the switch to the “On” position.
Once Bluetooth is enabled, your iPad will start scanning for nearby devices, including your Apple Pencil.
Keep in mind that it’s essential to have Bluetooth enabled during the entire pairing process. If Bluetooth is turned off at any point, the iPad will not be able to detect the Apple Pencil for pairing.
If Bluetooth is already enabled on your iPad, you can proceed to the next step of removing the cap from your Apple Pencil.
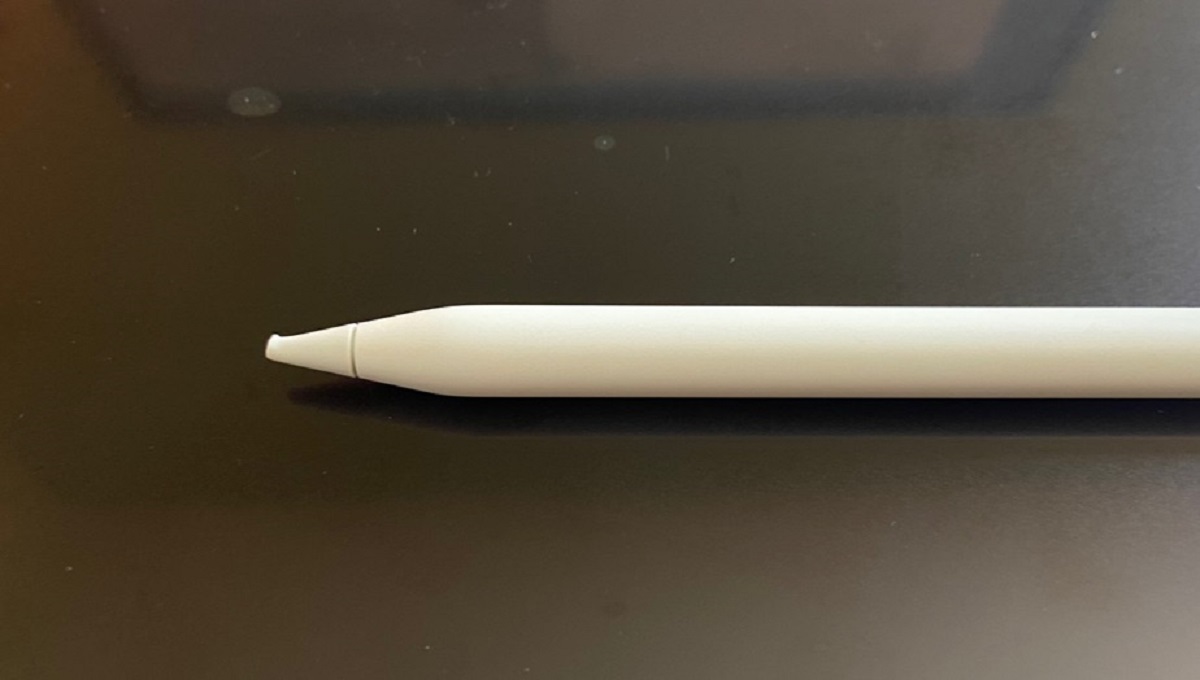
Step 4: Remove the Cap
Before you can pair your Apple Pencil with your iPad, you need to remove the cap from the back end of the Apple Pencil. The cap covering the Lightning connector needs to be taken off to establish a connection between the Apple Pencil and the iPad.
To remove the cap:
- Gently grasp the cap at the back end of the Apple Pencil.
- Twist the cap counterclockwise in a smooth motion.
- Continue twisting until the cap comes off completely.
Make sure to set the cap aside in a safe place, as you will need it to protect the Lightning connector when the Apple Pencil is not in use.
Removing the cap allows you to access the Lightning connector, which is necessary for charging the Apple Pencil and establishing the connection with the iPad. With the cap removed, you can proceed to the next step of the pairing process.
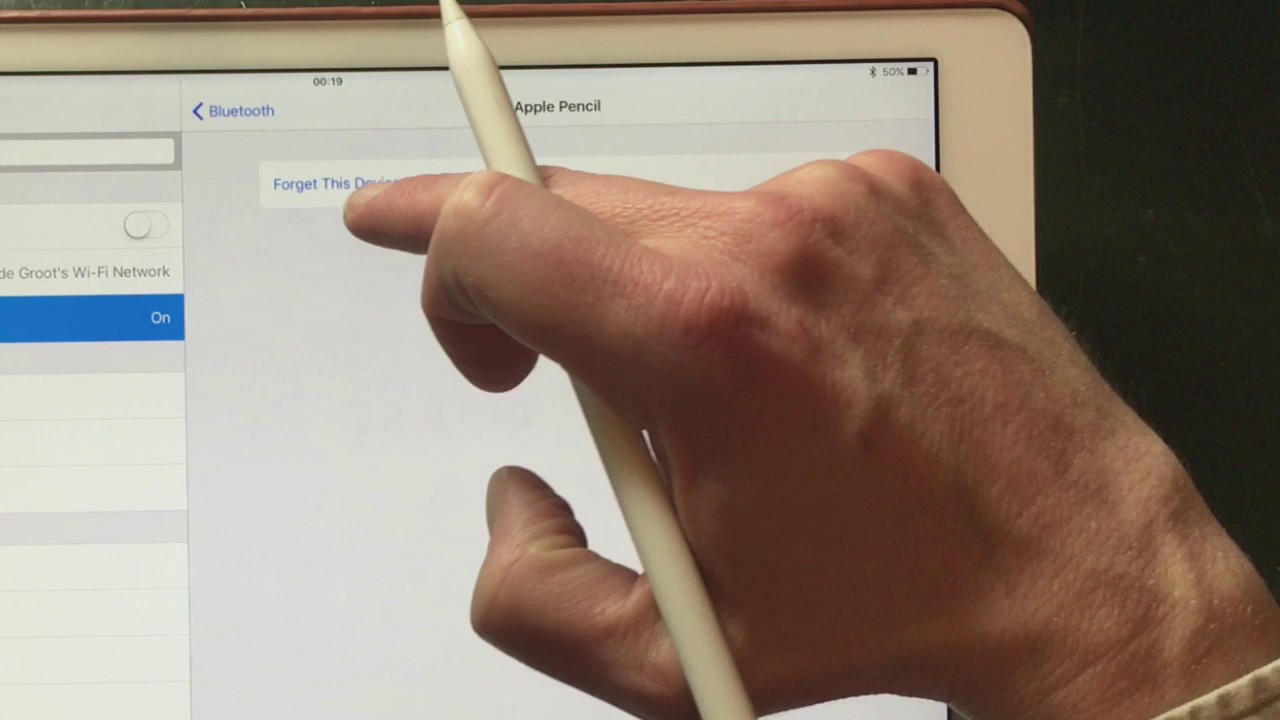
Step 5: Pair Your Apple Pencil with Your iPad
Now that you’ve ensured compatibility, charged your Apple Pencil, enabled Bluetooth, and removed the cap, it’s time to pair your Apple Pencil with your iPad. Follow these steps to successfully pair the two devices:
- Go to the Home screen of your iPad.
- Insert the Lightning connector at the end of the Apple Pencil into the Lightning port of your iPad.
- Leave the Apple Pencil connected for a moment.
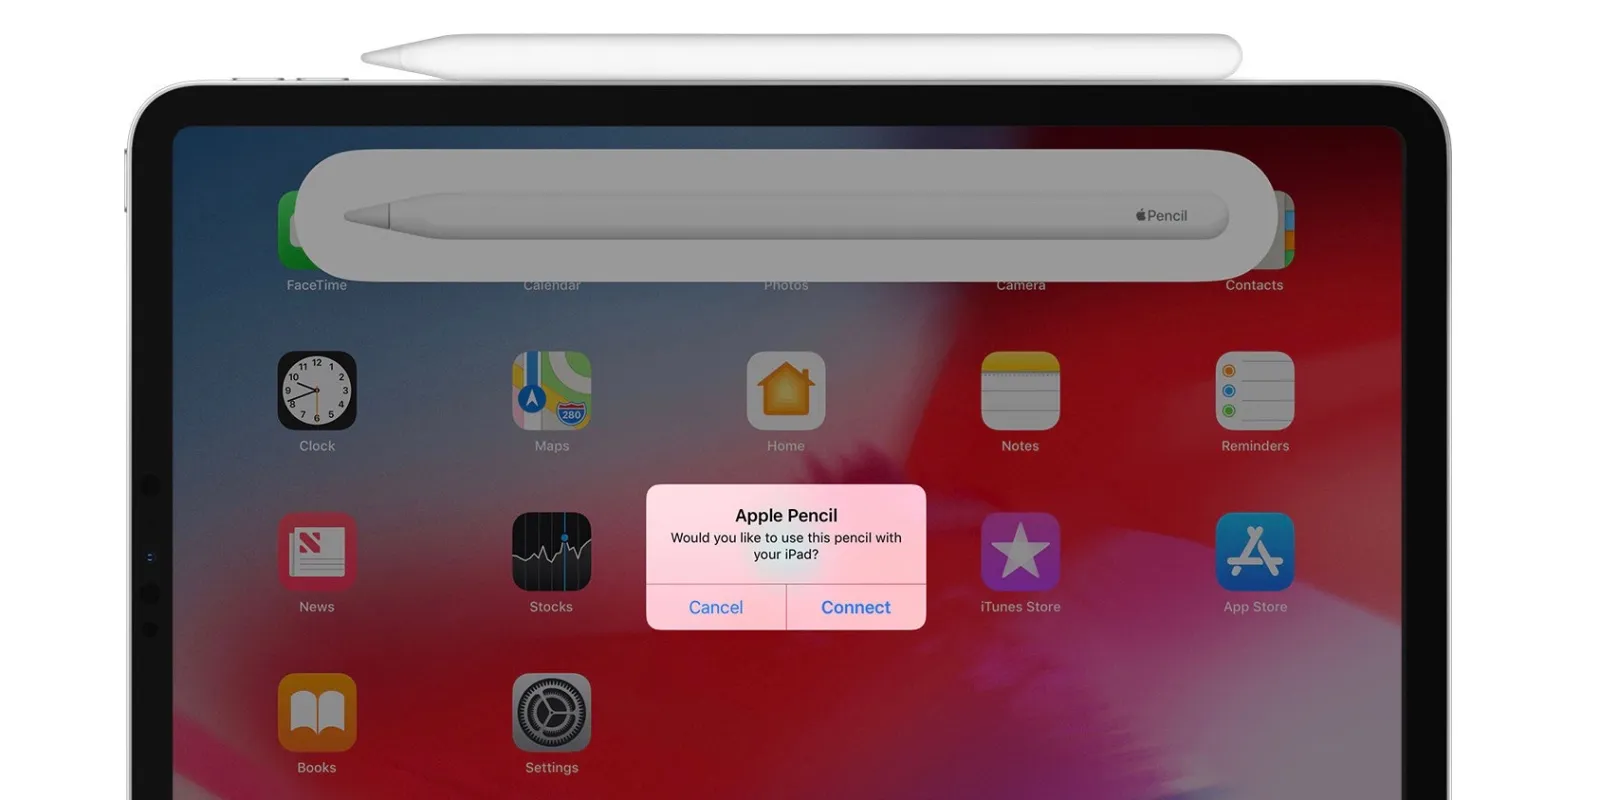
- A pop-up message should appear on your iPad’s screen, informing you that it has detected a new Apple Pencil or asking if you want to pair the Apple Pencil.
- Tap on “Pair” or “Connect” to initiate the pairing process.
During the pairing process, your iPad will communicate with the Apple Pencil and establish a wireless connection. This connection enables the iPad to recognize the Apple Pencil and its unique features.
It’s important to remember that the pairing process may take a few seconds or longer, depending on your device. Be patient and wait until the pairing is complete.
If the pairing process is successful, you will receive a notification on your iPad, confirming the connection with the Apple Pencil. At this point, your Apple Pencil is ready to use with your iPad.
If you encounter any issues during the pairing process, make sure that your Apple Pencil is charged, Bluetooth is enabled, and the Lightning connector is properly inserted into the Lightning port of your iPad. Restarting your iPad or reconnecting the Apple Pencil may also help resolve any connectivity issues.
With the successful pairing done, let’s move on to the next step of confirming the pairing.
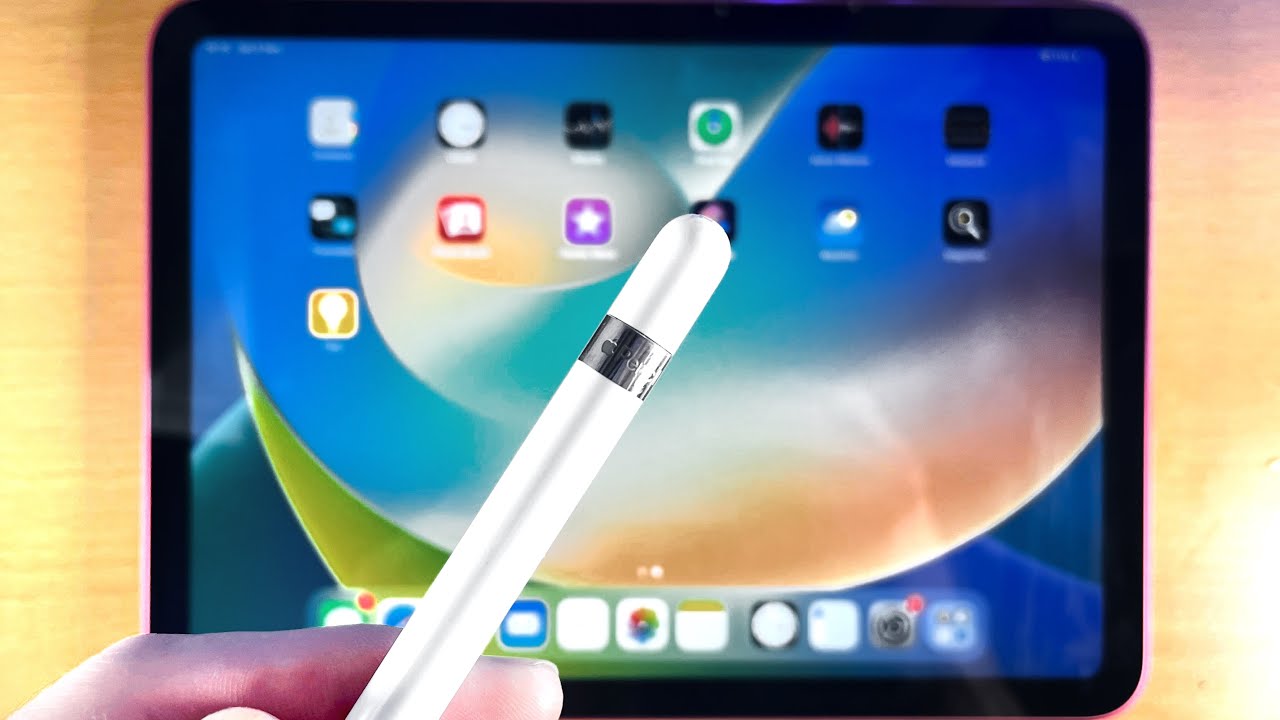
Step 6: Confirm Pairing
After pairing your Apple Pencil with your iPad, it’s important to confirm that the pairing was successful. This step ensures that your iPad recognizes the Apple Pencil as a connected device and enables its full functionality. To confirm the pairing, follow these steps:
- Open any app or feature that supports Apple Pencil functionality, such as the Notes app.
- Select a new note or open an existing one.
- Place the tip of the Apple Pencil on the iPad’s screen.
- If the Apple Pencil responds and you can draw or write on the screen, it means the pairing was successful.
When you start using the Apple Pencil on the iPad’s screen, you should notice a lag-free and responsive experience. The iPad will accurately detect the pressure and tilt sensitivity of the Apple Pencil, enhancing your drawing or writing capabilities.
If the Apple Pencil does not respond when placed on the iPad’s screen, double-check that the pairing process was completed correctly. Ensure that you followed the previous steps, including enabling Bluetooth, removing the cap, and properly connecting the Apple Pencil to the iPad.
In some cases, a restart of your iPad or re-pairing the Apple Pencil may help resolve any issues and confirm the pairing. If problems persist, it’s advisable to consult the official Apple support documentation or reach out to Apple support for further assistance.
With the successful confirmation of the pairing, you can now start utilizing the full potential of your Apple Pencil with your iPad!
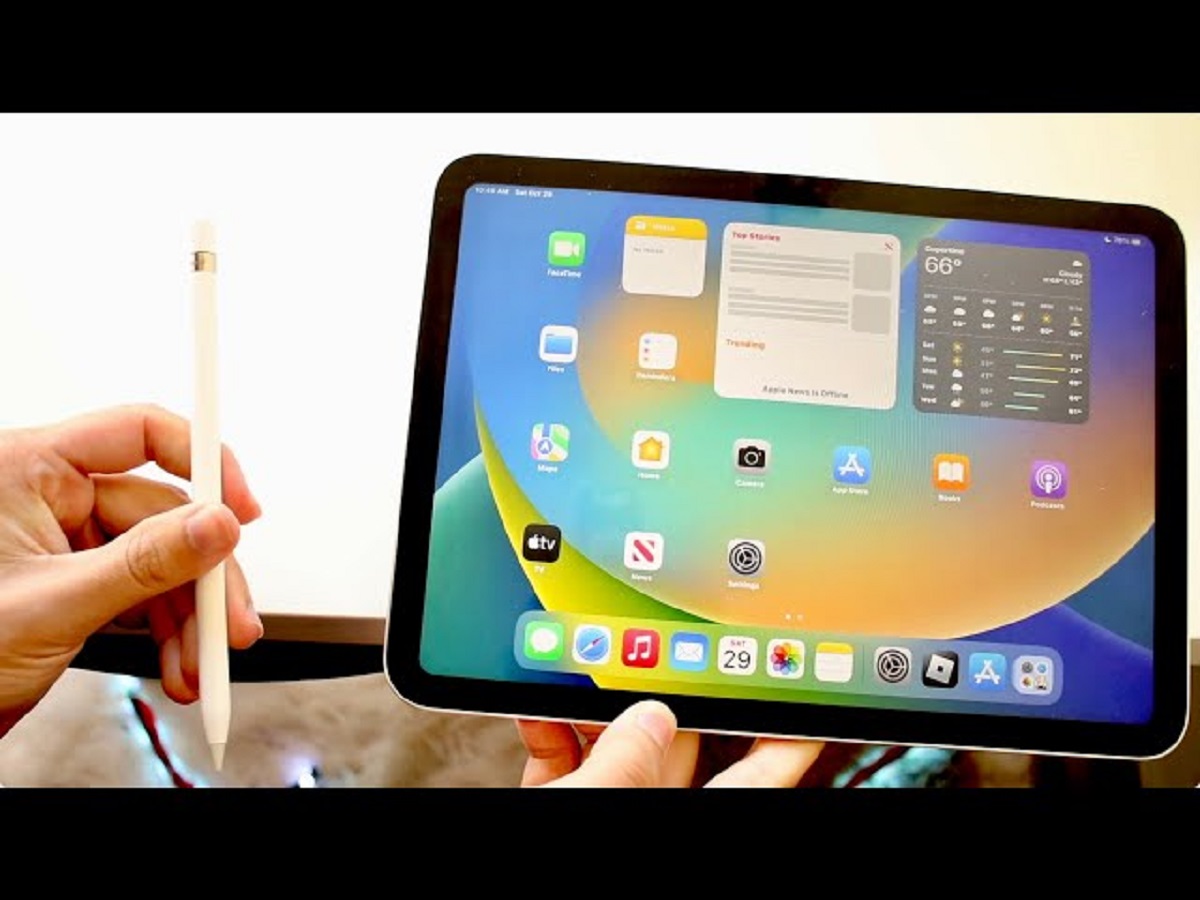
Step 7: Test Your Apple Pencil
Now that your Apple Pencil is paired with your iPad and confirmed as a connected device, it’s time to put it to the test. This step allows you to explore the various functionalities and capabilities of the Apple Pencil. Here are a few ways to test your Apple Pencil:
- Drawing and Sketching: Open a drawing or sketching app and start creating artwork with your Apple Pencil. Explore the pressure sensitivity and tilt functionality to achieve different line thicknesses and shading effects.
- Note-Taking: Use the Notes app or any note-taking app that supports Apple Pencil to write down your thoughts and ideas. Experience the smoothness and precision of the Apple Pencil as you jot down notes in your own handwriting.
- Markup and Annotation: Take advantage of the Apple Pencil’s precise input to markup documents, annotate PDFs, and highlight important information. Use apps like Adobe Acrobat or Notability to make your digital documents more interactive and visually appealing.
- Navigation and Gestures: Experiment with gestures and shortcuts specific to the Apple Pencil. For example, double-tap the flat side of the Apple Pencil (2nd generation) to switch between tools or activate certain functions, depending on the app you’re using.
By testing your Apple Pencil in various apps and scenarios, you can fully appreciate its versatility and discover new ways to enhance your productivity and creativity on your iPad.
Remember to periodically charge your Apple Pencil to ensure it has sufficient battery power for your needs. You can charge it by connecting it to your iPad or using a Lightning cable and adapter.
Lastly, don’t forget to take proper care of your Apple Pencil by storing it safely and protecting it from damage. The cap should be placed securely over the Lightning connector when the Apple Pencil is not in use to prevent any dirt or debris from entering.
With the successful testing of your Apple Pencil, you can now fully enjoy the seamless integration and exceptional performance it brings to your iPad experience.
Conclusion
Pairing your Apple Pencil with your iPad is a simple and straightforward process that unlocks a wide range of possibilities and enhances your creativity and productivity. By following the step-by-step instructions outlined in this article, you can easily establish a wireless connection between the Apple Pencil and your compatible iPad.
Remember to ensure compatibility, charge your Apple Pencil, enable Bluetooth, remove the cap, and complete the pairing process. Confirm the successful pairing by testing the Apple Pencil’s functionality in various apps and scenarios.
The Apple Pencil offers a seamless and responsive drawing and writing experience, allowing you to create digital art, take notes, annotate documents, and navigate your iPad with precision. Its pressure sensitivity, tilt functionality, and gesture support open up a world of possibilities for artists, students, professionals, and anyone looking to enhance their iPad experience.
Taking care of your Apple Pencil by storing it safely, keeping it charged, and protecting it from damage ensures that it remains a reliable and indispensable tool for your iPad. Regularly check for software updates and explore new apps or features that further optimize your Apple Pencil experience.
Now that you have successfully paired your Apple Pencil with your iPad, it’s time to unleash your creativity and make the most of this powerful combination. Embrace the possibilities and enjoy the seamless integration of the Apple Pencil and your iPad in your everyday tasks and endeavors.