Introduction
Welcome to this guide on how to connect the Apple Pencil 2 to the iPad 6th Generation. If you have recently purchased an Apple Pencil 2 and want to use it with your iPad 6th Generation, you have come to the right place!
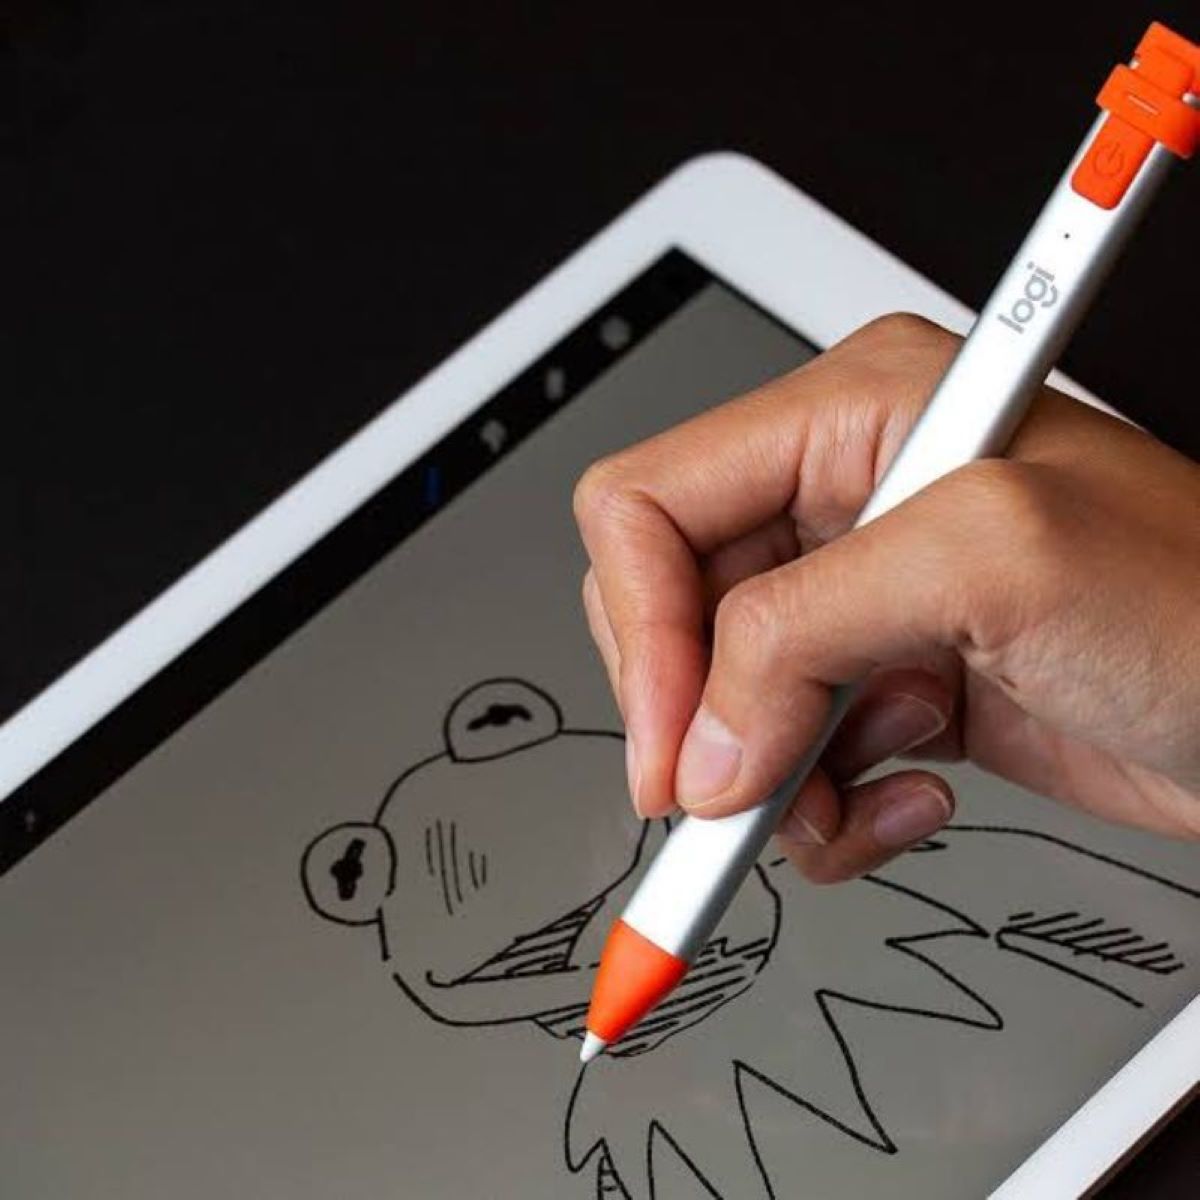
The Apple Pencil 2 is a powerful tool that allows users to enhance their creativity and productivity on the iPad. Whether you are an artist, designer, student, or simply someone who loves taking notes, the Apple Pencil 2 can greatly elevate your experience with the iPad 6th Generation.
In this article, we will walk you through the step-by-step process of connecting your Apple Pencil 2 to your iPad 6th Generation. But before we dive into the details, let’s make sure you have everything you need to get started.
Requirements:
- An Apple Pencil 2
- An iPad 6th Generation
- A Lightning cable (for charging)
Make sure you have these requirements handy before proceeding with the connection process. Now, let’s get started!
Requirements
Before you begin the process of connecting your Apple Pencil 2 to your iPad 6th Generation, it’s important to ensure that you have the following requirements:
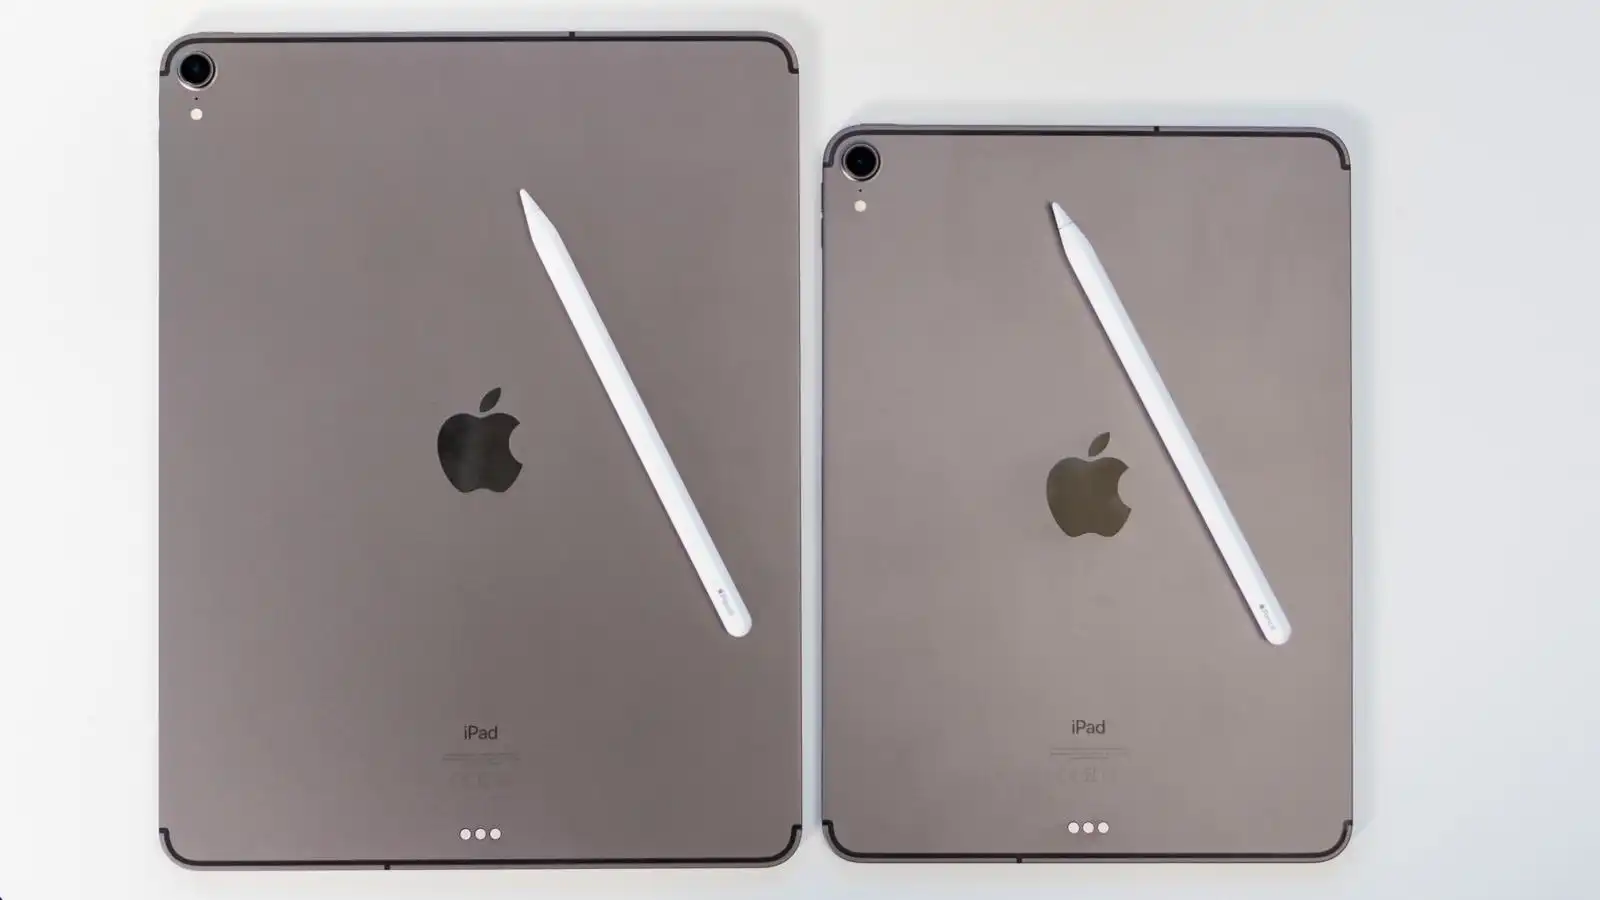
- An Apple Pencil 2: The Apple Pencil 2 is the latest version of the Apple Pencil and is specifically designed to work with the iPad 6th Generation. It features improved precision, latency, and a sleek design that sets it apart from its predecessor.
- An iPad 6th Generation: The iPad 6th Generation is the device on which you will connect and use the Apple Pencil 2. Ensure that your iPad is compatible with the Apple Pencil 2.
- A Lightning cable: To charge the Apple Pencil 2, you will need a Lightning cable. This cable is commonly used to charge iPhones and iPads, and you may already have one in your possession. If not, you can purchase a Lightning cable separately.
Having these requirements ready will ensure a smooth and hassle-free process of connecting your Apple Pencil 2 to your iPad 6th Generation. Now that you have everything you need, let’s move on to the step-by-step process of connecting your Apple Pencil 2.
Step 1: Charge Your Apple Pencil 2
Before you can connect and use your Apple Pencil 2 with your iPad 6th Generation, it’s crucial to ensure that it has enough battery power. Follow these steps to charge your Apple Pencil 2:
- Remove the cap: Start by removing the cap at the end of the Apple Pencil 2, revealing the Lightning connector.
- Connect the Lightning cable: Take the Lightning cable and firmly insert one end into the Lightning connector on your Apple Pencil 2.
- Connect to a power source: Connect the other end of the Lightning cable to a power source, such as a USB port on your computer or a wall adapter.
- Wait for charging to complete: Allow your Apple Pencil 2 to charge until it reaches a sufficient battery level. A full charge can take approximately 15 minutes, providing you with hours of use.
- Check the battery status: To check the battery level, you can use the battery widget on your iPad 6th Generation or swipe down from the top-right corner of the screen to access the Control Center.
It’s important to keep your Apple Pencil 2 charged and ready for use whenever you need it. By following these steps, you can ensure that your Apple Pencil 2 is fully charged and ready to connect to your iPad 6th Generation.
Step 2: Check Compatibility
Before proceeding with the connection process, it’s essential to verify that your Apple Pencil 2 is compatible with your iPad 6th Generation. Here’s how you can check compatibility:
- Identify your iPad model: Look for the model number on the back of your iPad or go to the “Settings” app, tap on “General” and then “About”. Note down the model number.
- Compare the model number: Visit the Apple website or use a reliable online resource to compare your iPad’s model number with the list of compatible devices for the Apple Pencil 2. Make sure that your iPad model is listed as compatible.
- Contact Apple Support: If you are unsure about the compatibility or have any questions, it’s recommended to reach out to Apple Support for further assistance. They can provide accurate information and resolve any queries you may have.
Checking compatibility is crucial because the Apple Pencil 2 is not compatible with all iPad models. Ensuring compatibility will save you time and frustration when trying to connect your Apple Pencil 2. Once you have confirmed that your iPad 6th Generation is compatible, you can proceed with the next steps to connect your Apple Pencil 2.
Step 3: Remove Any Obstacles
Before attempting to connect your Apple Pencil 2 to your iPad 6th Generation, it’s important to ensure that there are no obstacles that may interfere with the connection process. Follow these steps to remove any potential obstacles:
- Inspect the iPad screen: Carefully examine the screen of your iPad 6th Generation and make sure it is clean and free from any dirt, fingerprints, or smudges. Use a soft, lint-free cloth to gently wipe the screen if necessary.
- Remove any protective cases: If you have a protective case or cover on your iPad, temporarily remove it. Some cases may interfere with the connection between the Apple Pencil 2 and your iPad, so it’s best to eliminate any possible barrier.
- Check for software updates: Ensure that your iPad’s software is up to date. Go to the “Settings” app, tap on “General,” and then “Software Update.” If any updates are available, install them. Updated software can often resolve any compatibility issues or bugs that may hinder the connection process.
- Restart your iPad: Restarting your iPad can help refresh its settings and clear any temporary issues. Hold down the power button until the “Slide to power off” option appears, then slide to turn off your iPad. Wait a few seconds, then press and hold the power button again to turn it back on.
By taking these steps to remove any obstacles, you can ensure a smoother and more successful connection between your Apple Pencil 2 and your iPad 6th Generation. Once you have completed these preparations, you are ready to move on to the next step of attaching the Apple Pencil 2 to your iPad.
Step 4: Attach Apple Pencil 2 to iPad 6th Generation
Now that you have charged your Apple Pencil 2, confirmed compatibility, and removed any potential obstacles, it’s time to attach the Apple Pencil 2 to your iPad 6th Generation. Follow these steps to securely connect the Apple Pencil 2:
- Locate the charging port: On the bottom of your iPad 6th Generation, locate the charging port. It is a small rectangular port where you normally connect the Lightning cable.
- Align the Apple Pencil 2: Holding the Apple Pencil 2 with the flat side facing you, align the magnetic strip on the Pencil with the charging port on the iPad 6th Generation.
- Attach the Apple Pencil 2: Gently push the Apple Pencil 2 towards the charging port until it clicks into place. The magnetic connection will ensure a secure attachment.
- Check the attachment: After attaching the Apple Pencil 2, give it a slight tug to confirm that it is securely connected to your iPad. It should stay in place without any wobbling or coming loose.
Once you have successfully attached the Apple Pencil 2 to your iPad 6th Generation, you are now ready to move on to the next step of enabling Bluetooth on your iPad to establish a connection with the Apple Pencil 2.
Step 5: Enable Bluetooth
In order to establish a connection between your Apple Pencil 2 and your iPad 6th Generation, you need to enable Bluetooth on your iPad. Follow these steps to enable Bluetooth:
- Open the Settings app: Locate and tap the “Settings” app on your iPad home screen. The Settings app is represented by a gear icon.
- Select Bluetooth: In the Settings app, scroll down and tap on “Bluetooth” to access the Bluetooth settings.
- Turn on Bluetooth: On the Bluetooth settings screen, toggle the switch to the “On” position to enable Bluetooth. The switch will turn green, indicating that Bluetooth is now active.
Enabling Bluetooth on your iPad is crucial as it allows the device to communicate with the Apple Pencil 2 wirelessly. Once Bluetooth is turned on, your iPad will automatically search for nearby devices, including the Apple Pencil 2.
Please note that if your Apple Pencil 2 is already properly attached to your iPad, it should be detected and connected automatically once Bluetooth is enabled. However, if the connection is not established, continue to the next step to manually pair your Apple Pencil 2 with your iPad.
With Bluetooth now enabled on your iPad, we can proceed to the next step of pairing the Apple Pencil 2 with your iPad 6th Generation.
Step 6: Pair Apple Pencil 2 with iPad 6th Generation
If your Apple Pencil 2 was not automatically paired with your iPad 6th Generation after enabling Bluetooth, you can manually pair them using the following steps:
- Detach and reattach the Apple Pencil 2: Remove the Apple Pencil 2 from your iPad by gently pulling it out of the charging port. Wait for a few seconds, then reattach it by aligning the magnetic strip with the charging port as described in Step 4.
- Wait for the pairing prompt: After reattaching the Apple Pencil 2, a pairing prompt should appear on your iPad’s screen. It will ask if you want to pair and connect the Apple Pencil 2. Tap “Pair” to initiate the pairing process.
- Follow any on-screen instructions: Depending on your iPad’s settings, you may be prompted to follow additional on-screen instructions to complete the pairing process. Follow these instructions as they appear on your iPad to ensure a successful connection.
- Confirm the pairing: Once the pairing process is complete, you should see a message indicating that your Apple Pencil 2 is paired and connected to your iPad 6th Generation. You are now ready to use your Apple Pencil 2 with your iPad!
With your Apple Pencil 2 successfully paired with your iPad 6th Generation, you can now enjoy all the incredible features and functionalities it offers. Whether you’re taking notes, sketching, or using creative apps, the Apple Pencil 2 will greatly enhance your iPad experience.
Congratulations! You’ve successfully connected and paired your Apple Pencil 2 with your iPad 6th Generation, opening up a world of possibilities for creativity, productivity, and more.
Conclusion
Connecting and using your Apple Pencil 2 with your iPad 6th Generation can significantly enhance your productivity, creativity, and overall iPad experience. By following the step-by-step process outlined in this guide, you have successfully connected and paired your Apple Pencil 2 with your iPad 6th Generation.
Remember, before starting the connection process, ensure you have the necessary requirements, including an Apple Pencil 2, an iPad 6th Generation, and a Lightning cable for charging. Additionally, make sure to check compatibility between your iPad and the Apple Pencil 2 before proceeding.
In each step, you learned valuable information, such as charging your Apple Pencil 2, removing any obstacles, attaching it securely to your iPad, enabling Bluetooth, and pairing the devices together. Following these steps will ensure a seamless connection and allow you to fully utilize the capabilities of your Apple Pencil 2.
Now, with your Apple Pencil 2 successfully connected and paired with your iPad 6th Generation, you’re ready to explore the countless possibilities it offers. Unleash your creativity by sketching, drawing, taking handwritten notes, or using various creative apps designed specifically for the Apple Pencil 2.
Remember to keep your Apple Pencil 2 charged and periodically check the battery level to ensure uninterrupted usage. When not in use, store your Apple Pencil 2 safely to prevent any damage or loss.
By mastering the connection process and fully utilizing the Apple Pencil 2, you can unlock a whole new world of productivity and creativity on your iPad 6th Generation. Enjoy the seamless connection, precise control, and intuitive experience that the Apple Pencil 2 brings to your iPad!