Introduction
Welcome to our helpful guide on how to pair the Apple Pencil with the 9th generation iPad. The Apple Pencil is a powerful tool that allows users to effortlessly draw, sketch, take notes, and navigate their iPads with precision and ease. Whether you’re an artist, student, or professional, the Apple Pencil enhances your iPad experience by providing a seamless and natural way to interact with your device.
Pairing the Apple Pencil with your iPad is a straightforward process that ensures a stable and reliable connection between the two devices. This pairing process allows you to take advantage of the Apple Pencil’s advanced features and enjoy a smooth and responsive drawing experience.
In this guide, we will walk you through the step-by-step process of pairing your Apple Pencil with the 9th generation iPad. We will cover everything from checking compatibility to storing the Apple Pencil when it’s not in use. So, let’s dive in and get started!
Step 1: Check Compatibility
Before pairing your Apple Pencil with your 9th generation iPad, it’s crucial to ensure that they are compatible with each other. The Apple Pencil is specifically designed to work with certain iPad models, so it’s essential to verify compatibility to avoid any issues.
To check if your iPad is compatible with the Apple Pencil, you can go to the Apple website and look for a list of compatible devices. Alternatively, you can check the packaging or the product description of your iPad to confirm its compatibility with the Apple Pencil.
If your iPad is compatible, the next step is to make sure it is running the latest version of iOS. Updating your iPad’s operating system helps ensure compatibility, as Apple frequently releases software updates that improve device performance and functionality.
Once you’ve confirmed compatibility and updated your iPad, you’re ready to move on to the next step of the pairing process.
Step 2: Charge the Apple Pencil
Before you start pairing the Apple Pencil with your 9th generation iPad, it’s important to ensure that the Pencil is fully charged. The Apple Pencil uses a built-in rechargeable battery and comes with a lightning connector for charging.
To charge the Apple Pencil, simply remove the cap from the top, revealing the lightning connector. Insert the lightning connector into the lightning port located at the bottom of your iPad. You can also use a lightning adapter or a USB power adapter to charge the Apple Pencil by connecting it to a power source.
When the Apple Pencil is successfully connected and charging, you’ll see a charging status indicator on the iPad’s screen. It will display the current battery percentage of the Apple Pencil, allowing you to monitor the charging progress.
It’s recommended to charge the Apple Pencil until it reaches at least 80% battery capacity before pairing it with your iPad. This ensures that you have enough power for an uninterrupted drawing or note-taking session.
Once the Apple Pencil is fully charged, you’re ready to proceed to the next step of the pairing process.
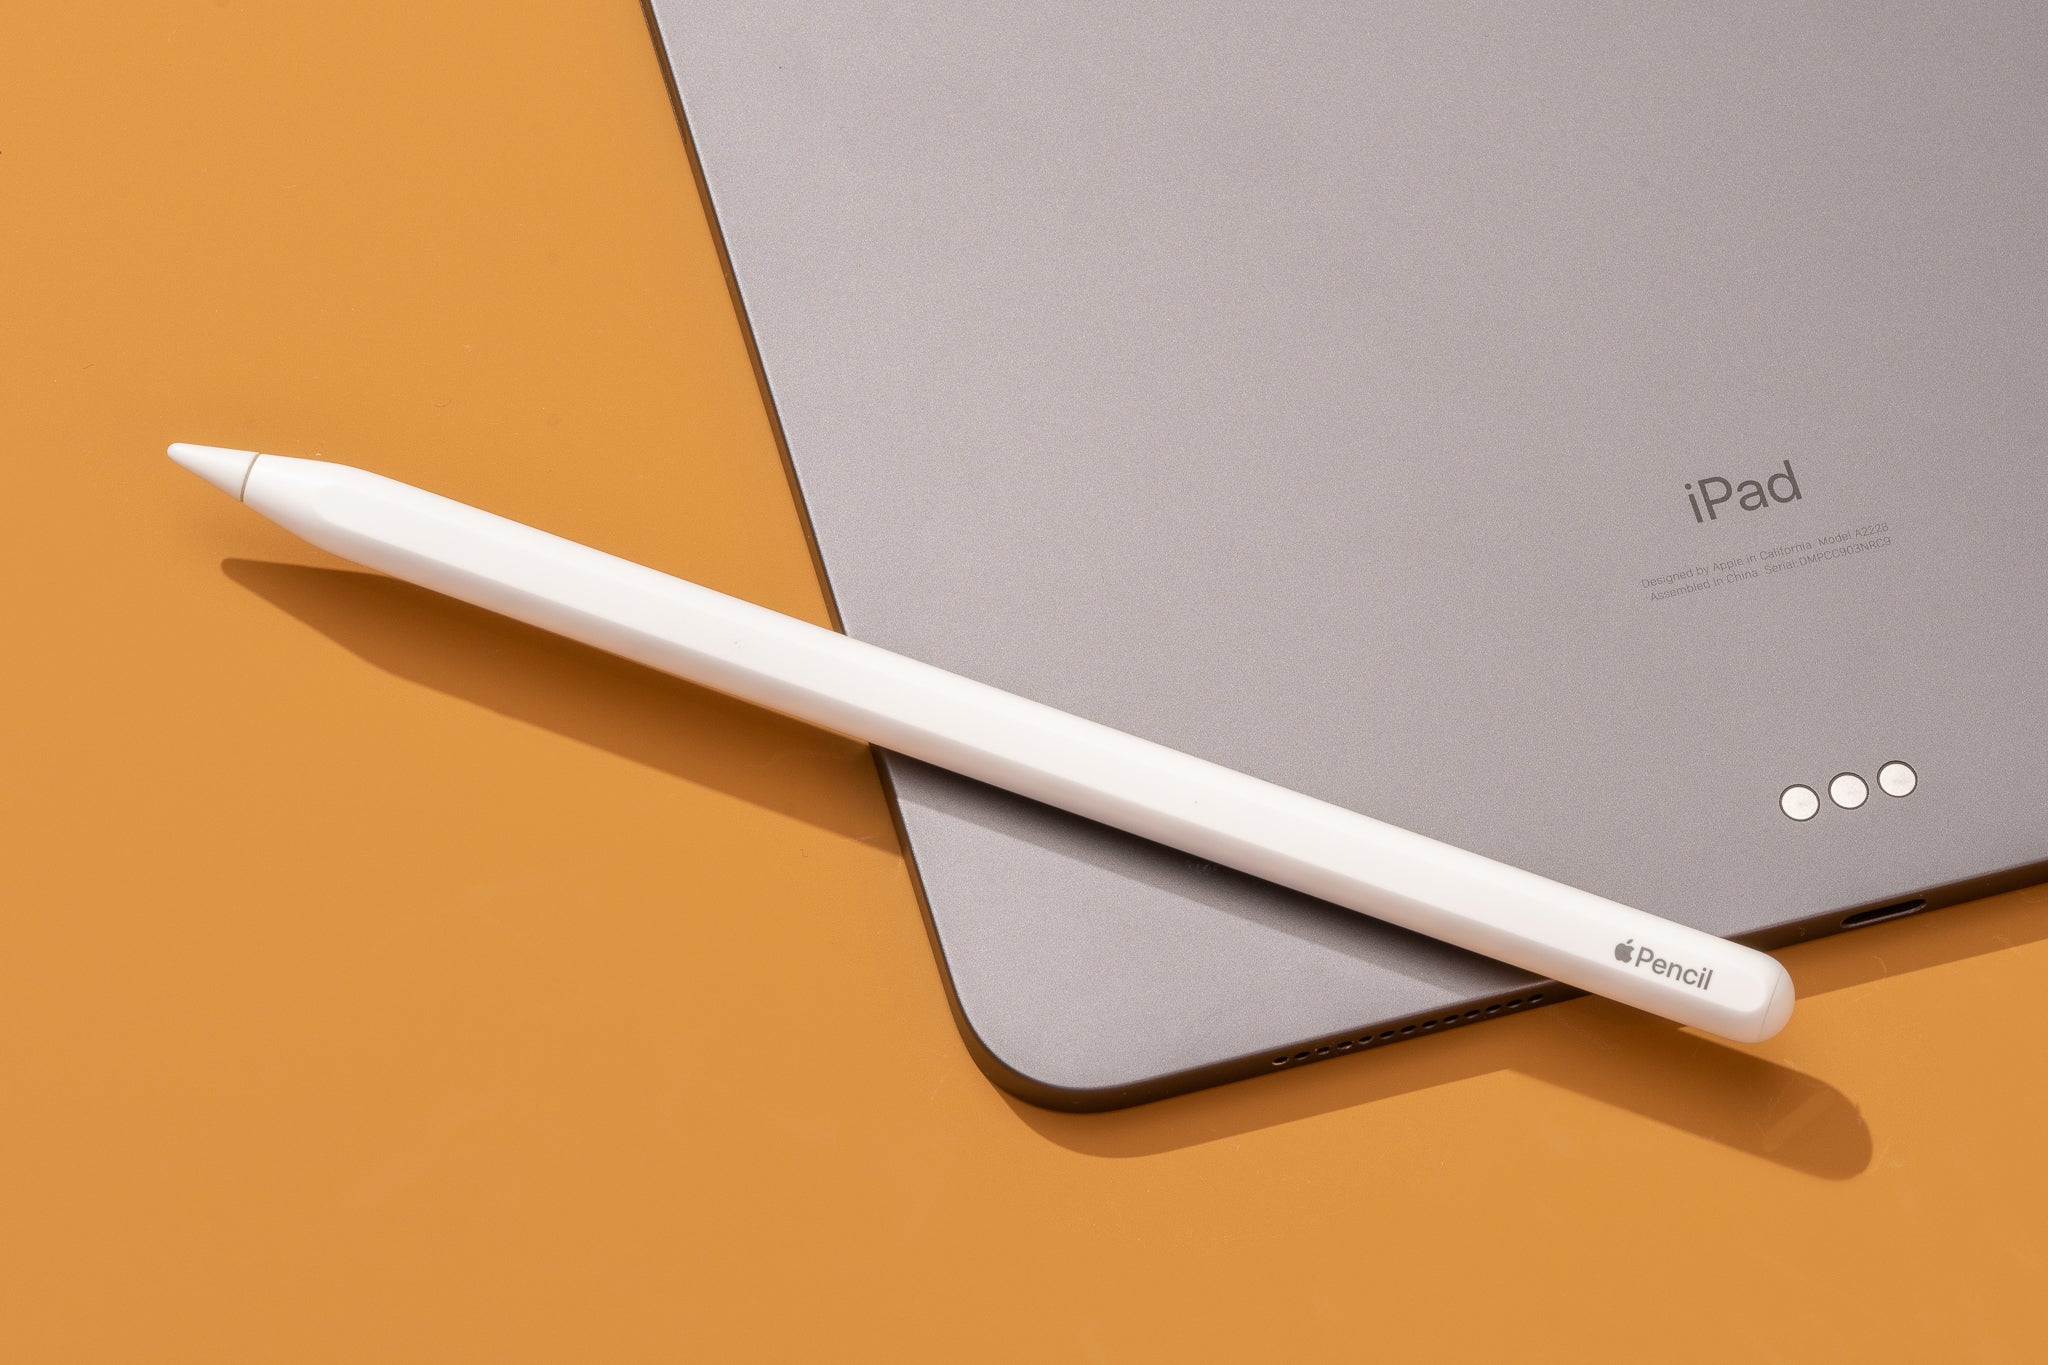
Step 3: Remove the Magnetic Cap
Now that your Apple Pencil is fully charged, the next step is to remove the magnetic cap from the top of the Pencil. The magnetic cap covers the lightning connector and provides protection when not in use.
To remove the magnetic cap, simply grip it firmly and gently pull it away from the Apple Pencil. The cap should come off easily thanks to its magnetic attachment. Be sure to set the cap aside in a safe place where you won’t lose it.
Removing the magnetic cap exposes the lightning connector, which you will use to connect the Apple Pencil to your iPad during the pairing process.
It’s worth noting that the magnetic cap also serves as a convenient way to attach the Apple Pencil to your iPad when not in use. The cap can be attached to the iPad’s magnetic edge, ensuring that the Apple Pencil stays securely in place and is easily accessible when you need it.
With the magnetic cap removed, let’s move on to the next step and connect the Apple Pencil to your iPad.
Step 4: Plug the Apple Pencil into the iPad
With the magnetic cap removed from the Apple Pencil, it’s time to connect the Pencil to your 9th generation iPad. The Apple Pencil features a lightning connector that allows for a quick and secure connection to your device.
Locate the lightning connector at the bottom of the Apple Pencil. Insert the lightning connector into the lightning port on your iPad. The lightning port is typically found at the bottom of the iPad, next to the charging port.
Ensure that you insert the lightning connector gently and firmly into the lightning port, making sure it is fully inserted. The connection should be secure and free of any looseness or wobbling.
As soon as you connect the Apple Pencil to the iPad, a pairing prompt should appear on the iPad’s screen. This prompt indicates that the iPad has detected the Apple Pencil and is ready to establish a connection.
If the pairing prompt does not appear, try disconnecting and reconnecting the Apple Pencil to the iPad. Ensure that the lightning connector is properly inserted and that there are no obstructions or debris in the lightning port.
Once the iPad recognizes the Apple Pencil, it will guide you through the final steps of the pairing process. Let’s move on to the next step to complete the pairing and start using your Apple Pencil with your iPad.
Step 5: Pairing Confirmation
After plugging the Apple Pencil into your 9th generation iPad, the pairing process should prompt you to confirm the connection. This step ensures that the iPad and Apple Pencil are correctly paired and ready to function together as a seamless drawing and note-taking tool.
On the iPad’s screen, you will see a pop-up message asking if you want to pair and connect the Apple Pencil. Simply tap on the “Pair” or “Connect” button to confirm the pairing. Keep in mind that the exact phrasing of the message may vary depending on the version of iOS installed on your iPad.
Once the pairing is confirmed, you will see a small notification on the iPad’s screen indicating that the Apple Pencil is connected and ready to use. This confirmation ensures that the iPad recognizes and communicates with the Apple Pencil, enabling its advanced functionality.
Now that the Apple Pencil is successfully paired with your iPad, you can start exploring its features and leveraging its capabilities. Whether you’re an artist looking to create stunning digital artwork or a student who needs to take precise and detailed notes, the Apple Pencil offers a world of possibilities.
Before you begin using the Apple Pencil, it’s important to ensure that the iPad’s screen is clean and free of any dust or debris. Cleaning the screen with a microfiber cloth or an screen-cleaning solution will improve the pen’s responsiveness and accuracy when using it on your device.
Congratulations! You have successfully completed the pairing process and confirmed the connection between your Apple Pencil and your 9th generation iPad. Now, let’s move on to the final step to learn how to store your Apple Pencil when it’s not in use.
Step 6: Storing the Apple Pencil
When you’re not using your Apple Pencil, it’s important to store it properly to protect it from damage and ensure its longevity. Storing the Apple Pencil correctly will also ensure that it’s readily accessible when you need it.
One convenient way to store the Apple Pencil is by attaching it to the magnetic edge of your 9th generation iPad. The Apple Pencil can securely cling to the side of the iPad, thanks to its built-in magnets. This magnetic attachment ensures that your Apple Pencil stays in place and is always within reach.
Alternatively, you can also consider using a protective case or sleeve specifically designed for the Apple Pencil. These cases provide a safe and secure compartment to store the pencil when not in use, protecting it from scratches, dirt, and accidental damage.
It’s essential to avoid storing the Apple Pencil in extreme temperatures or exposing it to direct sunlight for extended periods. Excessive heat or cold can have a negative impact on the performance and battery life of the Apple Pencil.
Remember to keep the Apple Pencil away from sharp objects or areas where it might be accidentally knocked or dropped. The pencil is sensitive and can be damaged if mishandled.
By following these storage guidelines, you can ensure that your Apple Pencil remains in optimal condition and is ready for use whenever inspiration strikes.
With this final step, you have successfully completed the process of pairing your Apple Pencil with the 9th generation iPad. Congratulations! Now you can enjoy the full benefits and functionality of the Apple Pencil, whether it’s for artistic pursuits, note-taking, or any other creative endeavors.
Remember to regularly check for updates and install any available software updates for both your iPad and the Apple Pencil. These updates often include improvements and new features that enhance the performance and user experience of both devices.
Thank you for following this guide. We hope it has been helpful to you in pairing your Apple Pencil with your 9th generation iPad. Happy drawing and note-taking!
Conclusion
Pairing the Apple Pencil with your 9th generation iPad opens up a world of possibilities for artists, students, and professionals alike. The seamless connection between these two devices allows for precise drawing, seamless note-taking, and intuitive navigation.
In this guide, we walked you through the step-by-step process of pairing the Apple Pencil with your iPad. From checking compatibility to storing the Apple Pencil when not in use, we covered each essential step to ensure a successful and enjoyable pairing experience.
Remember to always check the compatibility of your iPad with the Apple Pencil and keep your device’s software up to date. Charging the Apple Pencil, removing the magnetic cap, and plugging it into the iPad are crucial steps in the pairing process.
After confirming the pairing on your iPad, you can start leveraging the power of the Apple Pencil. Whether you’re a digital artist bringing your creativity to life, a student enhancing your note-taking experience, or a professional needing precise input, the Apple Pencil will become an invaluable tool.
When not in use, make sure to store the Apple Pencil safely. Attaching it to the magnetic edge of the iPad or using a dedicated protective case will keep it secure and easy to access whenever you need it.
We hope this guide has been informative and that you now feel confident in pairing your Apple Pencil with your 9th generation iPad. Enjoy the enhanced functionality and creativity that this pairing brings. Happy drawing and note-taking!