Connectivity
Ensuring a seamless connection between your Apple Pencil and your iPad is crucial for a smooth and efficient user experience. Fortunately, Apple has made it incredibly easy to establish this connection. By following a few simple steps, you’ll be able to take full advantage of the Apple Pencil’s impressive features and functionality.
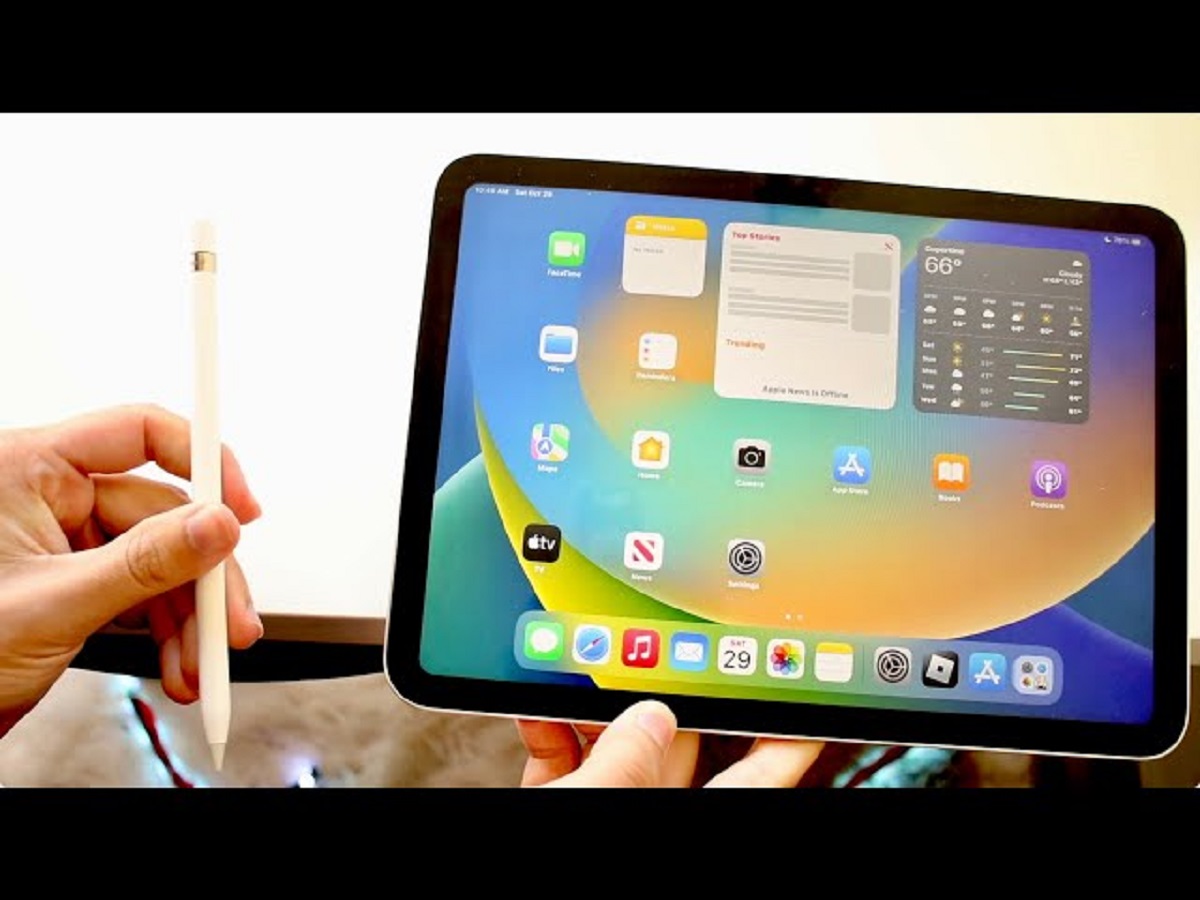
First, it’s important to note that the Apple Pencil is compatible with certain models of iPads, including the iPad Pro (both 11-inch and 12.9-inch versions), the iPad Air (4th generation), and the iPad mini (5th generation). Before attempting to connect your Apple Pencil, make sure that your iPad is one of these compatible models.
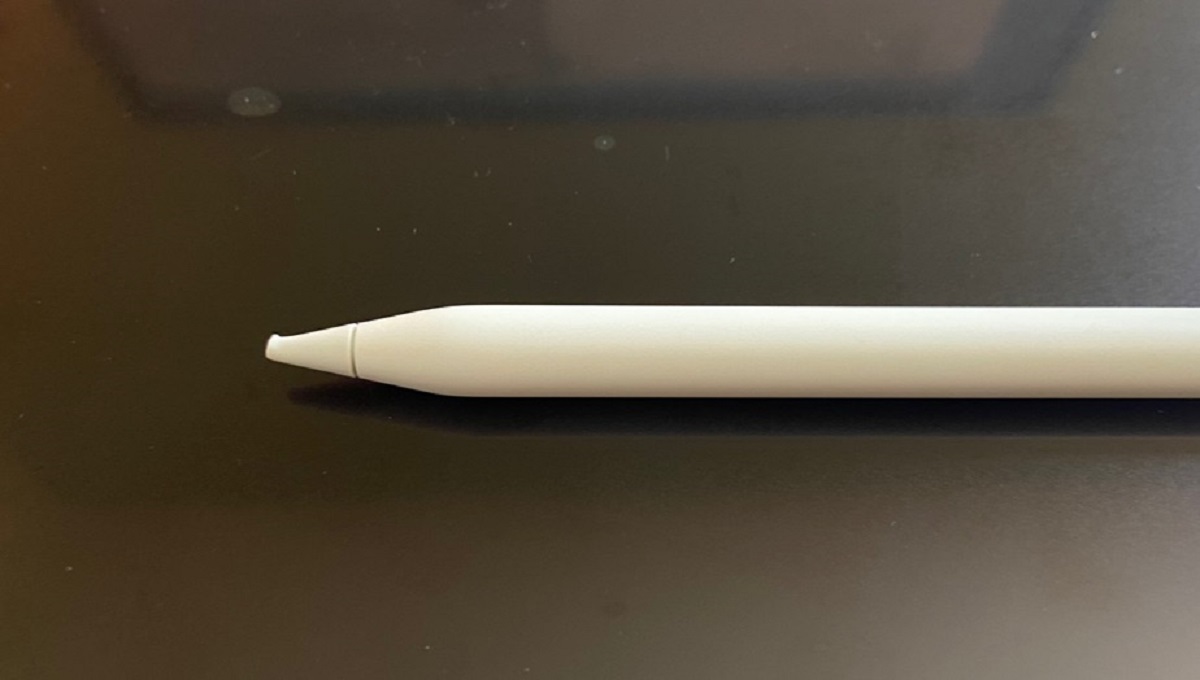
Once you’ve confirmed compatibility, you’re ready to connect your Apple Pencil. To do so, simply remove the cap from the end of the Pencil to reveal the Lightning connector. Plug the Lightning connector into the Lightning port on your iPad. A notification prompt will appear on your iPad’s screen, indicating that it has detected the Apple Pencil.
Follow the on-screen instructions to pair the Apple Pencil with your iPad. This may involve selecting your preferred language and tapping the Pair button. Once paired, your Apple Pencil will be connected to your iPad, and you can start enjoying its advanced features, such as precise drawing and note-taking capabilities.
It’s worth noting that the Apple Pencil connects via Bluetooth, which means that you need to ensure your Bluetooth is turned on and that your devices are within proximity for a stable connection. Additionally, keep in mind that the Apple Pencil can only be paired with one iPad at a time. If you want to use it with a different iPad, you’ll need to unpair it from the current device and repeat the pairing process on the new one.
In summary, connecting your Apple Pencil to your iPad is a straightforward process that only takes a few moments. By following these steps, you’ll be ready to unleash the full potential of your Apple Pencil and enjoy a seamless creative experience on your iPad.
Charging the Apple Pencil
The Apple Pencil is a remarkable tool, and like any device, it requires regular charging to ensure optimal performance. Fortunately, charging the Apple Pencil is a simple and hassle-free process.
The first thing to note is that the Apple Pencil charges through a Lightning connector. On one end of the Pencil, you’ll find a removable cap that reveals the Lightning connector. Simply insert this connector into the Lightning port on your iPad or use a Lightning cable to charge it via a USB port on your computer or a wall adapter.
When you connect the Apple Pencil to your iPad or charger, the iPad or charger will display a charging indicator to let you know that the pencil is successfully charging. It usually takes around 15-30 minutes for the Apple Pencil to reach an 80% charge, and it takes about 15 minutes more to reach a full charge.
If you’re concerned about the battery life of your Apple Pencil, you’ll be pleased to know that it offers an impressive battery life of up to 12 hours. This is perfect for those long creative sessions or note-taking marathons. Plus, if you find that your Apple Pencil is running low on battery, you can quickly charge it for just 15 seconds to gain up to 30 minutes of use.
To check the battery life of your Apple Pencil, you can use the Batteries widget on your iPad. Simply swipe right on the home screen to access the Today View, scroll to the bottom, and tap Edit. From there, you can add the Batteries widget, which will display the current battery percentage of your Apple Pencil.
When you’re not using your Apple Pencil, it’s a good practice to keep it securely attached to your iPad magnetically. This can be done by placing it on the right side of your iPad, where it will automatically snap into place and begin charging. Not only does this keep your Apple Pencil within easy reach, but it also ensures that it stays charged and ready for use whenever inspiration strikes.
In summary, charging your Apple Pencil is a straightforward process that can be done through its Lightning connector. With its impressive battery life and quick charging capabilities, you’ll have peace of mind knowing that your Apple Pencil will be ready whenever you need it.
Pairing the Apple Pencil with an iPad
To harness the full potential of the Apple Pencil, you’ll need to pair it with your iPad. Pairing ensures a secure and seamless connection between the two devices, enabling you to unleash your creativity and take advantage of the Apple Pencil’s advanced features.
The pairing process may vary slightly depending on the model of your iPad, but the overall steps are similar. First, make sure that your iPad is updated to the latest version of iOS, as this ensures compatibility with the Apple Pencil.
To begin the pairing process, remove the cap from the end of the Apple Pencil to reveal the Lightning connector. Next, carefully insert the Lightning connector into the Lightning port on your iPad. It should fit snugly, but be gentle to avoid damage.
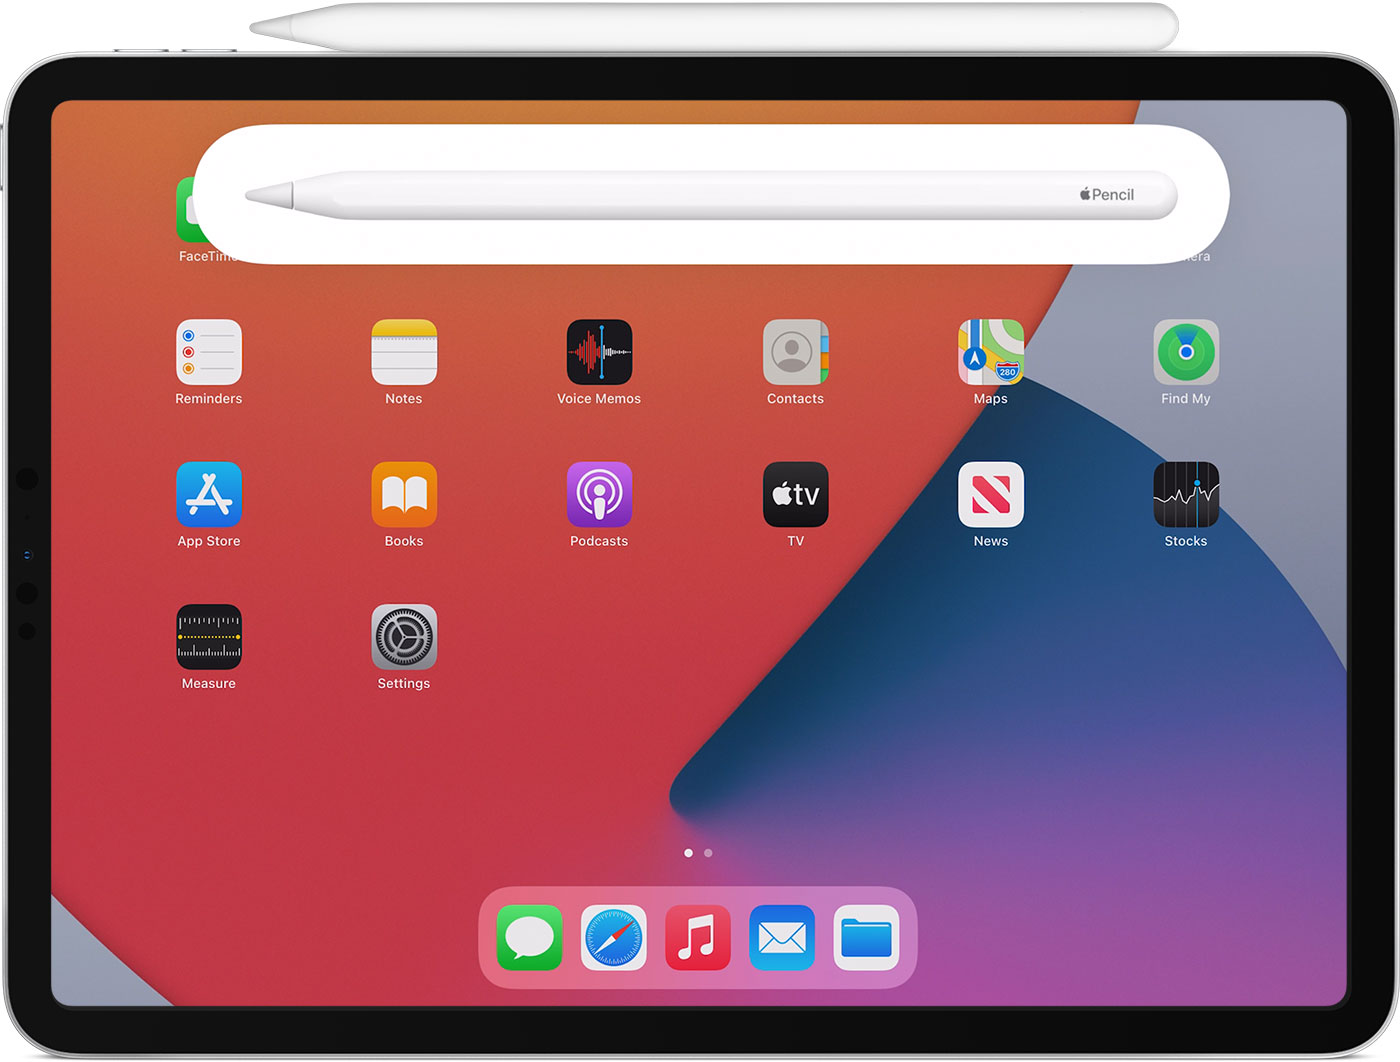
Once you’ve connected the Apple Pencil to your iPad, a notification prompt will appear on your screen, indicating that your iPad has detected the Apple Pencil. Follow the on-screen instructions, such as selecting your preferred language and tapping the Pair button.
During the pairing process, your iPad will establish a secure Bluetooth connection with the Apple Pencil. This enables precise tracking of your movements, allowing for accurate drawing, note-taking, and other creative tasks.
It’s worth noting that the Apple Pencil can only be paired with one iPad at a time. If you want to use it with a different iPad, you’ll need to unpair it from the current device and repeat the pairing process on the new one.
As you start using your Apple Pencil with your iPad, you’ll notice that it automatically pairs whenever it’s in close proximity to your iPad. This means you don’t have to go through the pairing process every time you want to use the Apple Pencil. Simply connect it once, and it will be ready whenever you need it.
If you experience any issues with the pairing process or connectivity, ensure that your Bluetooth is turned on and that your devices are within close range. Additionally, you can try restarting your iPad or unpairing and re-pairing the Apple Pencil.
In summary, pairing your Apple Pencil with your iPad is a straightforward process that ensures a seamless connection between the two devices. By following these steps, you’re one step closer to unlocking the full potential of the Apple Pencil and taking your creativity to new heights.
Checking the Apple Pencil’s Battery
Keeping track of the battery life of your Apple Pencil is essential to ensure uninterrupted creative sessions. Luckily, Apple has made it easy to check the battery status of your Apple Pencil, allowing you to plan and manage your usage accordingly.
To check the battery life of your Apple Pencil, you can use the Batteries widget on your iPad. Swipe right on your iPad’s home screen to access the Today View, scroll to the bottom, and tap Edit. From there, you can add the Batteries widget, which will display the current battery percentage of your Apple Pencil.
When you view the Batteries widget, you will see a small icon representing your Apple Pencil along with its battery percentage. This handy feature allows you to quickly assess the remaining battery life and determine if a charge is needed before diving into your creative tasks.
In addition to checking the battery status through the Batteries widget, your iPad may also display a notification when the Apple Pencil’s battery is running low. This serves as a helpful reminder to charge your Apple Pencil before it completely runs out of power.
It’s important to note that the Apple Pencil offers an impressive battery life of up to 12 hours. This provides ample time for extensive drawing, note-taking, or other creative activities. However, if you find that your Apple Pencil is running low on battery, you can quickly charge it for just 15 seconds to gain up to 30 minutes of use.
When you’re not using your Apple Pencil, it’s a good practice to keep it securely attached to your iPad using the magnetic attachment feature. This not only keeps your Apple Pencil easily accessible but also ensures that it remains charged and ready whenever inspiration strikes.
In summary, checking the battery life of your Apple Pencil is a simple and convenient process that can be done through the Batteries widget on your iPad. By keeping an eye on the battery status and charging it when needed, you can enjoy uninterrupted creative sessions and make the most out of your Apple Pencil.
Turning On the Apple Pencil
Before you can start using your Apple Pencil, you need to ensure that it is turned on and ready for action. Turning on the Apple Pencil is a simple process that can be done in a matter of seconds.
To turn on the Apple Pencil, simply remove the cap from the end of the pencil, revealing the Lightning connector. The Lightning connector is used for charging the Apple Pencil, but it also acts as the power button. Once the cap is removed, the Apple Pencil automatically turns on.
When the Apple Pencil is turned on, it is ready to connect to your iPad or other compatible devices. As we mentioned earlier, the Apple Pencil uses Bluetooth technology to establish a connection with your iPad, ensuring a smooth and responsive experience.
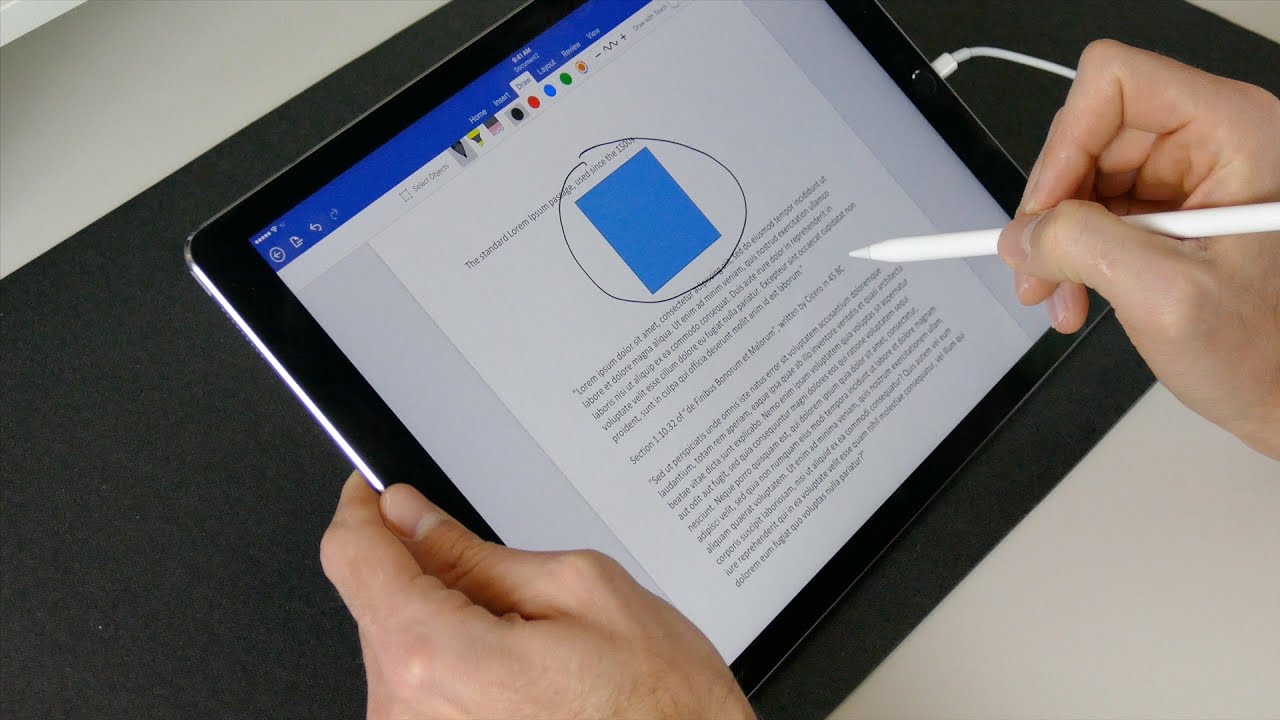
Once you’ve turned on your Apple Pencil and established a connection with your iPad, you can start using it to draw, sketch, take notes, and more. Its precise tip and pressure sensitivity make it an excellent tool for artists, designers, students, and anyone looking to unleash their creativity using their iPad.
When you’re finished using your Apple Pencil, it will automatically go into a low-power mode to conserve battery life. However, if you want to completely turn it off, you can simply replace the cap on the end of the pencil. This ensures that the Apple Pencil is not accidentally activated when not in use.
If you experience any issues with turning on the Apple Pencil or connecting it to your iPad, there are a few troubleshooting steps you can try. First, ensure that the cap is securely connected to the pencil and that the Lightning connector is clean and free from debris. If the issue persists, you may need to restart your iPad or unpair and re-pair the Apple Pencil.
In summary, turning on the Apple Pencil is as simple as removing the cap from the end of the pencil. Once turned on, the Apple Pencil is ready to be connected to your iPad, allowing you to unleash your creativity and enjoy a seamless drawing and note-taking experience.
Troubleshooting Connection Issues
While the Apple Pencil provides a seamless connection experience, there may be instances where you encounter connection issues. If you find that your Apple Pencil is not connecting or functioning properly with your iPad, there are several troubleshooting steps you can take to address the problem.
1. Verify Compatibility: Ensure that your iPad model is compatible with the Apple Pencil. Only certain iPad models, such as the iPad Pro, iPad Air, and iPad mini, support the Apple Pencil. Also, make sure your iPad is running the latest version of iOS, as compatibility can sometimes be affected by outdated software.
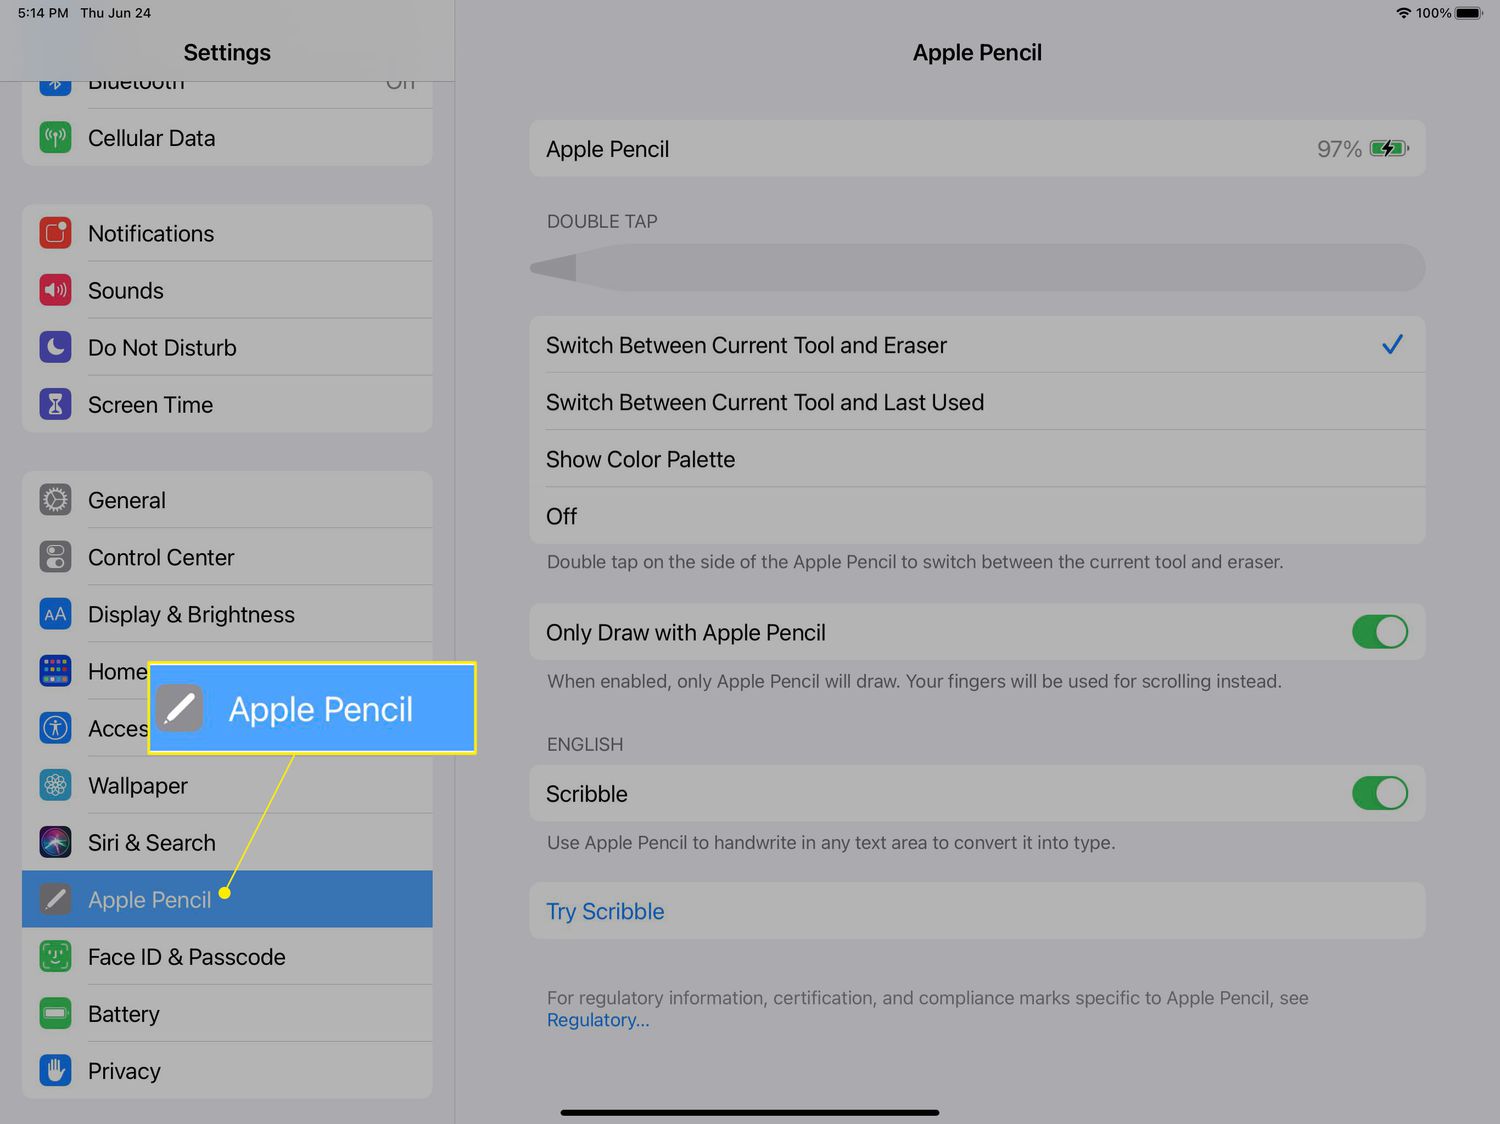
2. Check Bluetooth: Confirm that Bluetooth is turned on both on your iPad and the Apple Pencil. You can do this by going to the Settings app on your iPad and navigating to Bluetooth settings. If Bluetooth is off, toggle it on and try connecting your Apple Pencil again.
3. Restart Your Devices: Sometimes, a simple restart can resolve connectivity issues. Start by turning off your iPad, then turn it back on. Similarly, disconnect the Apple Pencil from your iPad, replace the cap, and then reconnect it. This can help refresh the connection between your devices.
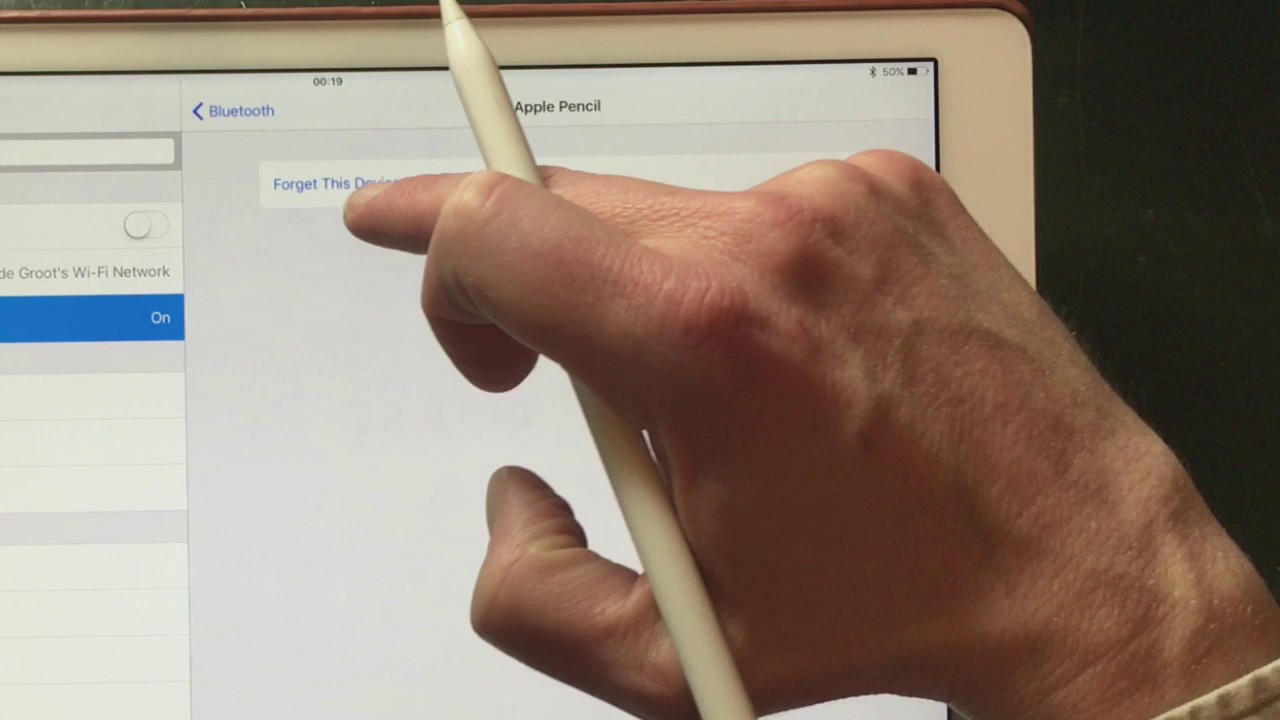
4. Re-pair the Apple Pencil: If restarting didn’t work, you can try unpairing and re-pairing the Apple Pencil with your iPad. Go to the Bluetooth settings on your iPad, locate the Apple Pencil in the list of devices, and select “Forget This Device.” Then, follow the pairing instructions outlined earlier to re-establish the connection.
5. Check for Updates: Regularly check for updates for both your iPad and the Apple Pencil. Software updates often contain bug fixes and improvements that can help resolve connectivity issues. Go to the Settings app on your iPad and navigate to the Software Update section to see if any updates are available.
6. Reset Network Settings: If none of the above steps have resolved the issue, you can try resetting the network settings on your iPad. This will clear any saved Bluetooth connections and network configurations. Go to the Settings app, select General, choose Reset, and then tap on Reset Network Settings. Keep in mind that this will remove all saved Wi-Fi networks and Bluetooth devices, so you will need to set them up again.
If you’ve tried all these troubleshooting steps and are still experiencing connection issues, it’s recommended to contact Apple Support or visit an Apple Store for further assistance. They have the expertise to diagnose and resolve more complex issues with your Apple Pencil and iPad.
In summary, if you encounter connection issues with your Apple Pencil and iPad, follow these troubleshooting steps: verify compatibility, check Bluetooth settings, restart your devices, re-pair the Apple Pencil, check for updates, and reset network settings. By following these steps, you can often resolve common connectivity problems and continue enjoying the seamless experience of using your Apple Pencil.