Introduction
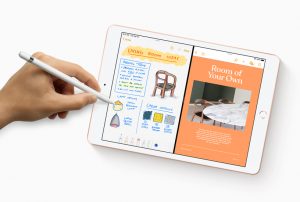
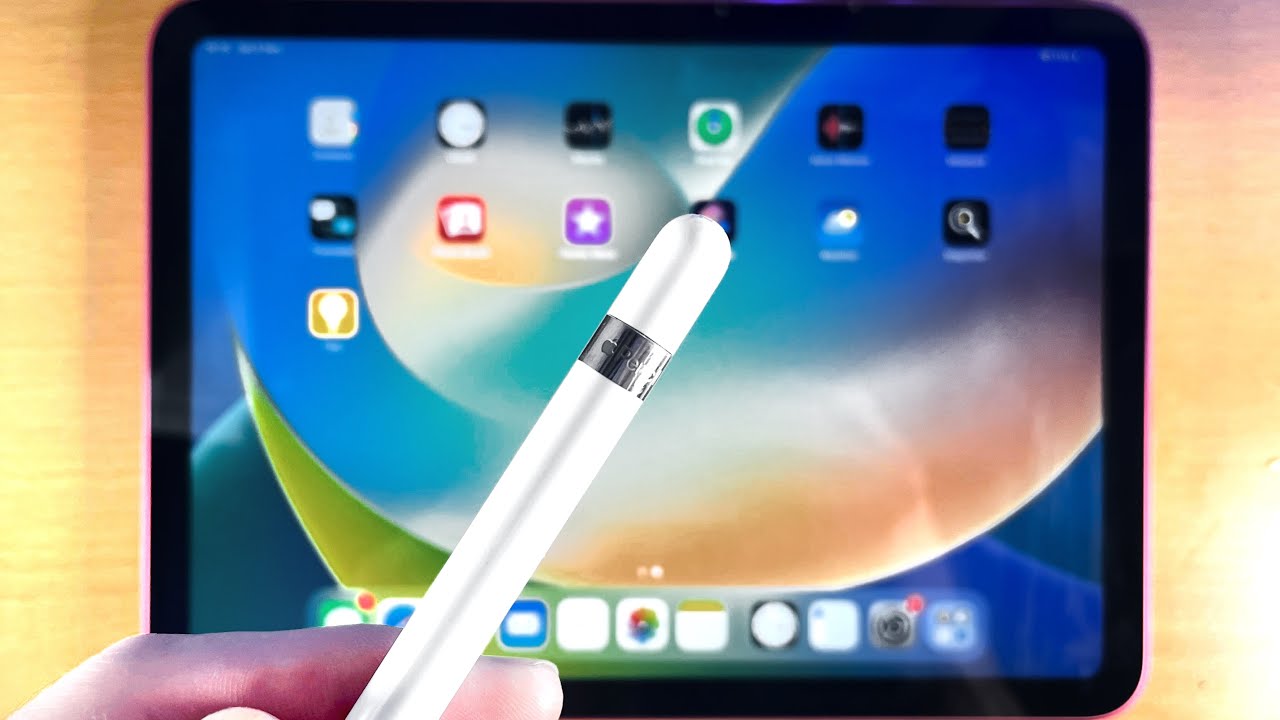
The Apple Pencil is a remarkable tool that enhances the creative capabilities of iPad users. Whether you’re an artist, designer, or simply someone who loves to take notes, the Apple Pencil offers a seamless and precise way to interact with your device. Connecting the Apple Pencil to your iPad is a quick and straightforward process that requires just a few simple steps. In this guide, we will walk you through the process of connecting the first-generation Apple Pencil to your iPad.
Before we get started, it’s important to note that the first-generation Apple Pencil is compatible with select iPad models. If you own an iPad Pro (9.7-inch), iPad Pro (10.5-inch), iPad Pro (12.9-inch – 1st and 2nd generation), iPad Air (3rd generation), or iPad (6th and 7th generation), you can take full advantage of the Apple Pencil’s features. Now that we’ve covered the basics, let’s dive into the step-by-step instructions on how to connect your Apple Pencil to your iPad.
Step 1: Check Apple Pencil Compatibility
Before you begin the process of connecting your Apple Pencil to your iPad, it’s essential to ensure that your device is compatible with the first-generation Apple Pencil. As mentioned earlier, the first-generation Apple Pencil is compatible with specific iPad models. To check if your iPad supports the Apple Pencil, follow these steps:
- Go to the Settings app on your iPad by tapping the “Settings” icon on the home screen.
- Scroll down and tap on “General.”
- Select “About.”
- Look for the “Model” information in the “General” section.
- Compare your iPad’s model number with the following list of compatible models:
- iPad Pro (9.7-inch) – Model numbers A1673, A1674, A1675
- iPad Pro (10.5-inch) – Model numbers A1701, A1709
- iPad Pro (12.9-inch – 1st generation) – Model numbers A1584, A1652
- iPad Pro (12.9-inch – 2nd generation) – Model numbers A1670, A1671, A1821
- iPad Air (3rd generation) – Model numbers A2152, A2123, A2153, A2154
- iPad (6th generation) – Model numbers A1893, A1954
- iPad (7th generation) – Model numbers A2197, A2198, A2200
If your iPad’s model number matches any of the above, congratulations! You can proceed to the next step with confidence. If not, it means that your iPad is not compatible with the first-generation Apple Pencil, but don’t worry, newer models may support the second-generation Apple Pencil or other stylus options that are compatible with your device. Now that you’ve verified your iPad’s compatibility, let’s move on to the next step of connecting the Apple Pencil to your iPad.
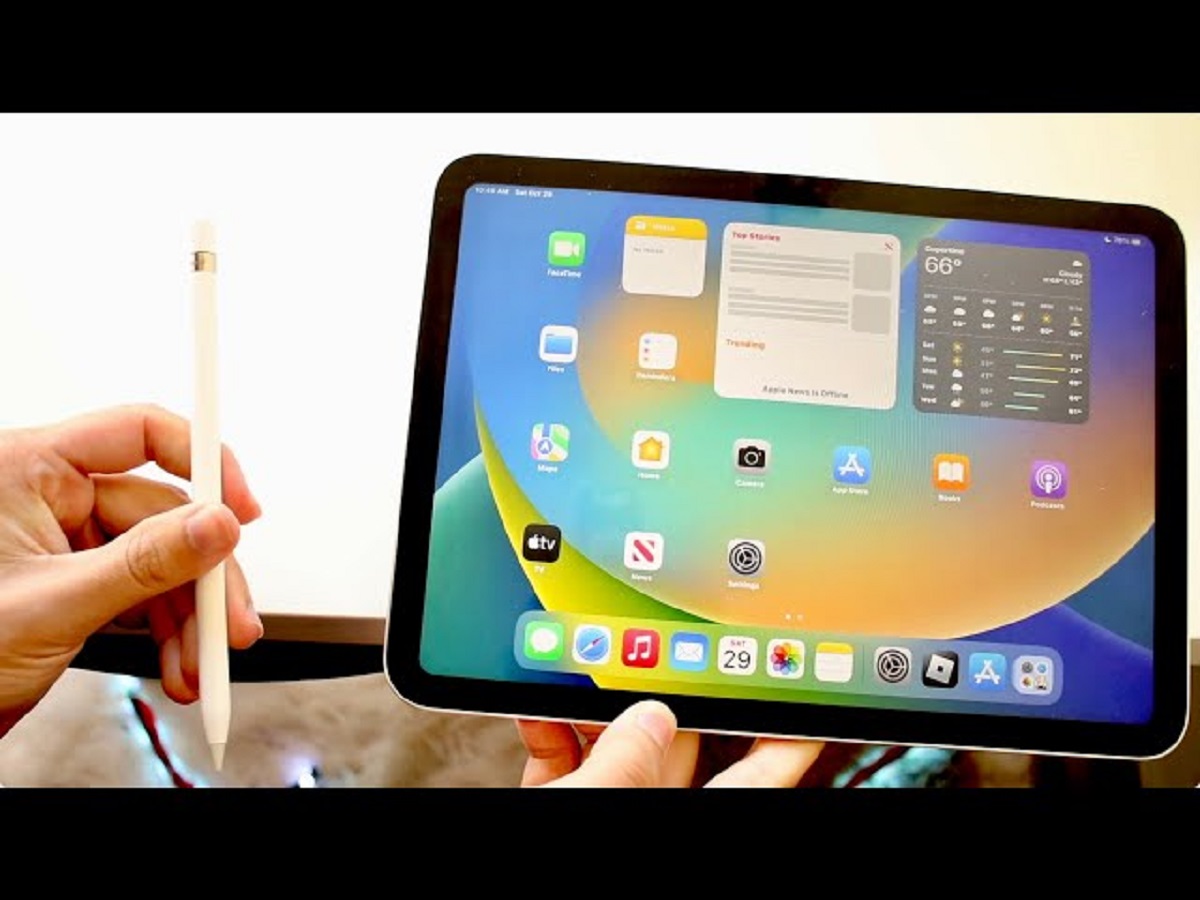
Step 2: Inserting the Apple Pencil into the iPad
Now that you’ve confirmed your iPad’s compatibility, it’s time to physically connect the Apple Pencil to your device. Follow these simple steps to insert the Apple Pencil into your iPad:
- Remove the cap from the back of the Apple Pencil by gently pulling it off.
- Locate the Lightning connector at the end of the Apple Pencil.
- Carefully insert the Lightning connector into the Lightning port on your iPad.
- Gently push the Apple Pencil into the port until it’s securely in place.
- Once the Apple Pencil is inserted, you should see a pairing prompt on your iPad’s screen.
It’s important to note that you should avoid forcing the Apple Pencil into the Lightning port. If you encounter any resistance, double-check the alignment of the connector and try again. The Apple Pencil should fit snugly into the port without the need for excessive force. Once the Apple Pencil is properly inserted, you’re ready to move on to the next step of connecting it via Bluetooth.
Step 3: Connecting via Bluetooth
After you have inserted the Apple Pencil into your iPad, it’s time to establish a Bluetooth connection between the two devices. Follow these straightforward steps to connect your Apple Pencil via Bluetooth:
- Unlock your iPad and navigate to the home screen.
- Open the “Settings” app by tapping on the gear icon.
- Select “Bluetooth” from the list of available options.
- Toggle the switch next to “Bluetooth” to turn it on if it’s not already enabled.
- Locate the name of your Apple Pencil in the list of available devices under “My Devices” or “Other Devices.”
- Tap on the name of your Apple Pencil to initiate the pairing process.
- Follow any on-screen prompts or instructions to complete the pairing process.
During the pairing process, your iPad will recognize the Apple Pencil and establish a secure Bluetooth connection. This connection allows your iPad to communicate with the Apple Pencil, enabling the precise input and advanced features that make the Apple Pencil such a valuable tool. Once the pairing is complete, you can move on to the next step to verify the connection.
Step 4: Verifying Connection
After successfully connecting your Apple Pencil to your iPad via Bluetooth, it’s important to verify that the connection is established and working correctly. Here’s how you can check the connection:
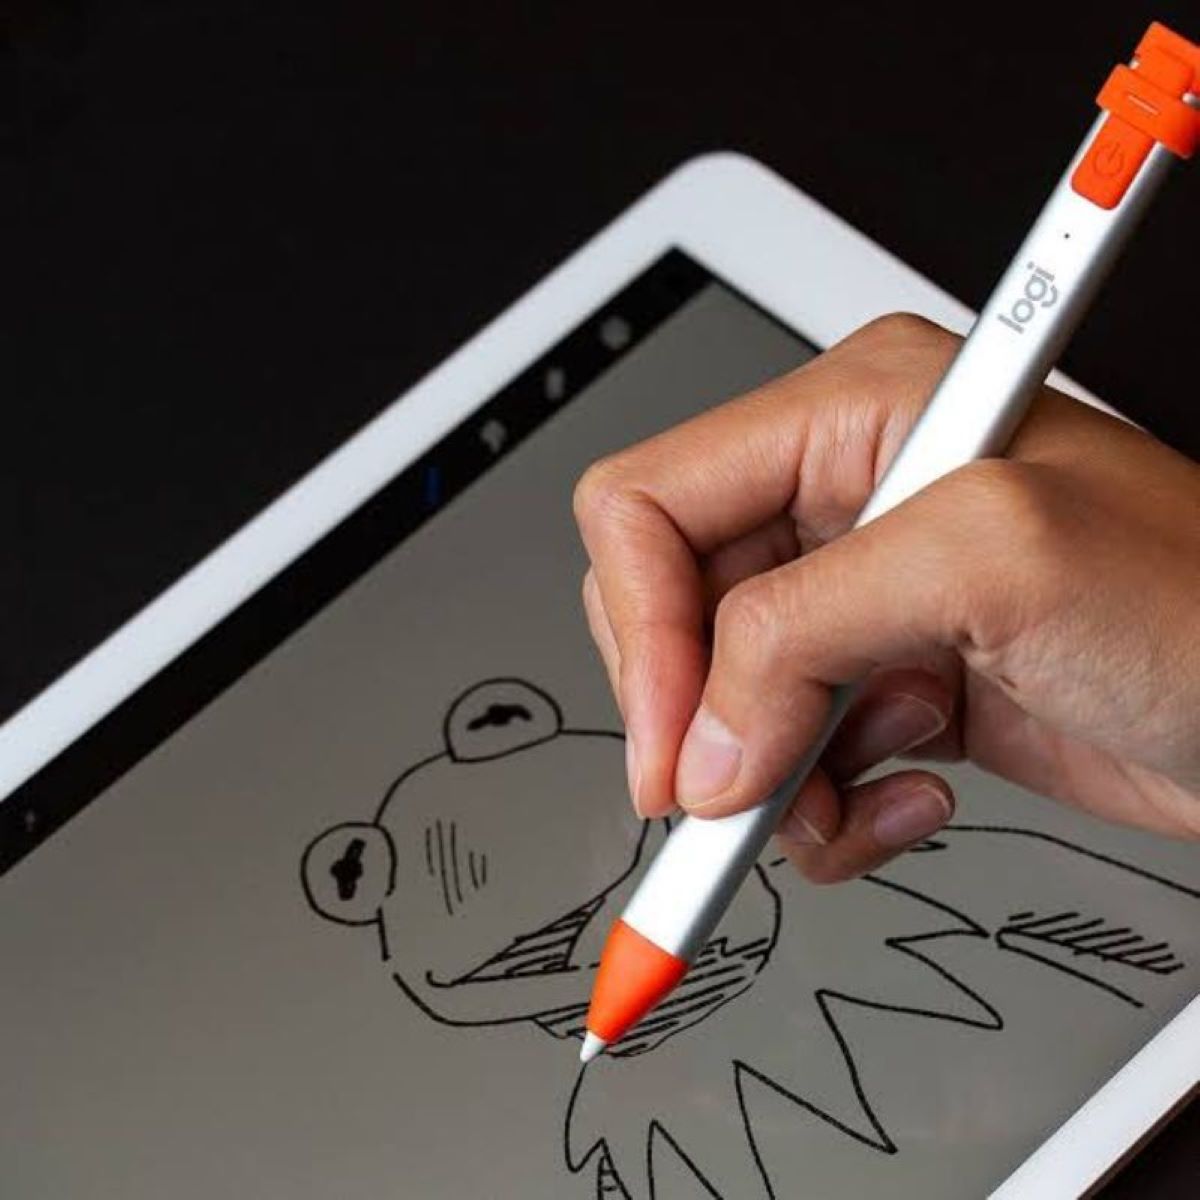
- Open any app that supports Apple Pencil input, such as the Notes app.
- Select a new or existing document to work on.
- With the Apple Pencil, start writing or drawing on the screen.
- If the Apple Pencil is responsive and accurately captures your input, it means that the connection is working correctly.
- Test additional features specific to your Apple Pencil, such as pressure sensitivity and tilt recognition, to ensure optimal functionality.
If you encounter any issues with the Apple Pencil’s performance or responsiveness, here are a few troubleshooting steps you can try:
- Ensure that your Apple Pencil and iPad have sufficient battery power.
- Check that Bluetooth is enabled on your iPad and that it’s within range of the Apple Pencil.
- Restart your iPad and try reconnecting the Apple Pencil.
- Remove and reinsert the Apple Pencil into the Lightning port.
- For further assistance, refer to the user manual or visit Apple’s support website.
Once you have verified the connection and ensured that the Apple Pencil is functioning correctly, you’re all set to unleash your creativity and make the most out of this powerful tool. Remember to properly disconnect your Apple Pencil when you’re finished using it to preserve battery life and maintain a seamless experience.
Step 5: Disconnecting the Apple Pencil
When you’re finished using the Apple Pencil with your iPad, it’s important to disconnect it properly to preserve battery life and maintain a seamless experience. Although the Apple Pencil will automatically disconnect after a period of inactivity, you can also manually disconnect it if needed. Follow these steps to disconnect your Apple Pencil from your iPad:
- Remove the Apple Pencil from the Lightning port of your iPad by gently pulling it out.
- Replace the cap on the back of the Apple Pencil to protect the Lightning connector.
By securely replacing the cap on the Apple Pencil, you can prevent any damage to the Lightning connector and ensure that it’s ready for your next creative session. It’s important to note that leaving the Apple Pencil connected to your iPad for an extended period when not in use can drain its battery, so it’s best to disconnect it when you’re finished.
Additionally, if you plan to use the Apple Pencil with a different iPad or want to pair it with a new device, you’ll need to go through the initial connection process outlined in the previous steps. Remember, the first-generation Apple Pencil can only be paired with one device at a time, so disconnecting and reconnecting is necessary when switching between devices.
With these simple steps, you can easily disconnect the Apple Pencil from your iPad, ensuring its longevity and optimal performance. By properly disconnecting and caring for your Apple Pencil, you can continue to enjoy its precision and versatility for all your creative endeavors.
Conclusion
Connecting the first-generation Apple Pencil to your iPad is a breeze and unlocks a world of creative possibilities. By following the simple steps outlined in this guide, you can ensure a seamless connection between your Apple Pencil and compatible iPad. Remember to check your iPad’s compatibility, insert the Apple Pencil correctly into the Lightning port, establish a Bluetooth connection, verify the connection, and disconnect the Apple Pencil when not in use. These steps will help you make the most of your Apple Pencil and enhance your productivity and creativity.
The Apple Pencil offers precision, responsiveness, and advanced features that make it an invaluable tool for artists, designers, note-takers, and anyone looking to interact with their iPad in a more immersive way. The ability to write, draw, sketch, and annotate with ease provides a seamless and natural experience that brings your ideas to life.
Remember to take care of your Apple Pencil by securely replacing the cap and disconnecting it when not in use to preserve battery life. If you ever encounter any issues with the connection or performance of your Apple Pencil, refer to the troubleshooting tips mentioned earlier or seek assistance from Apple’s support resources.
With the Apple Pencil and your compatible iPad, the only limit to your creativity is your imagination. Enjoy the intuitive and unparalleled experience that the Apple Pencil brings to your iPad, and unleash your artistic potential or streamline your productivity like never before.