Introduction
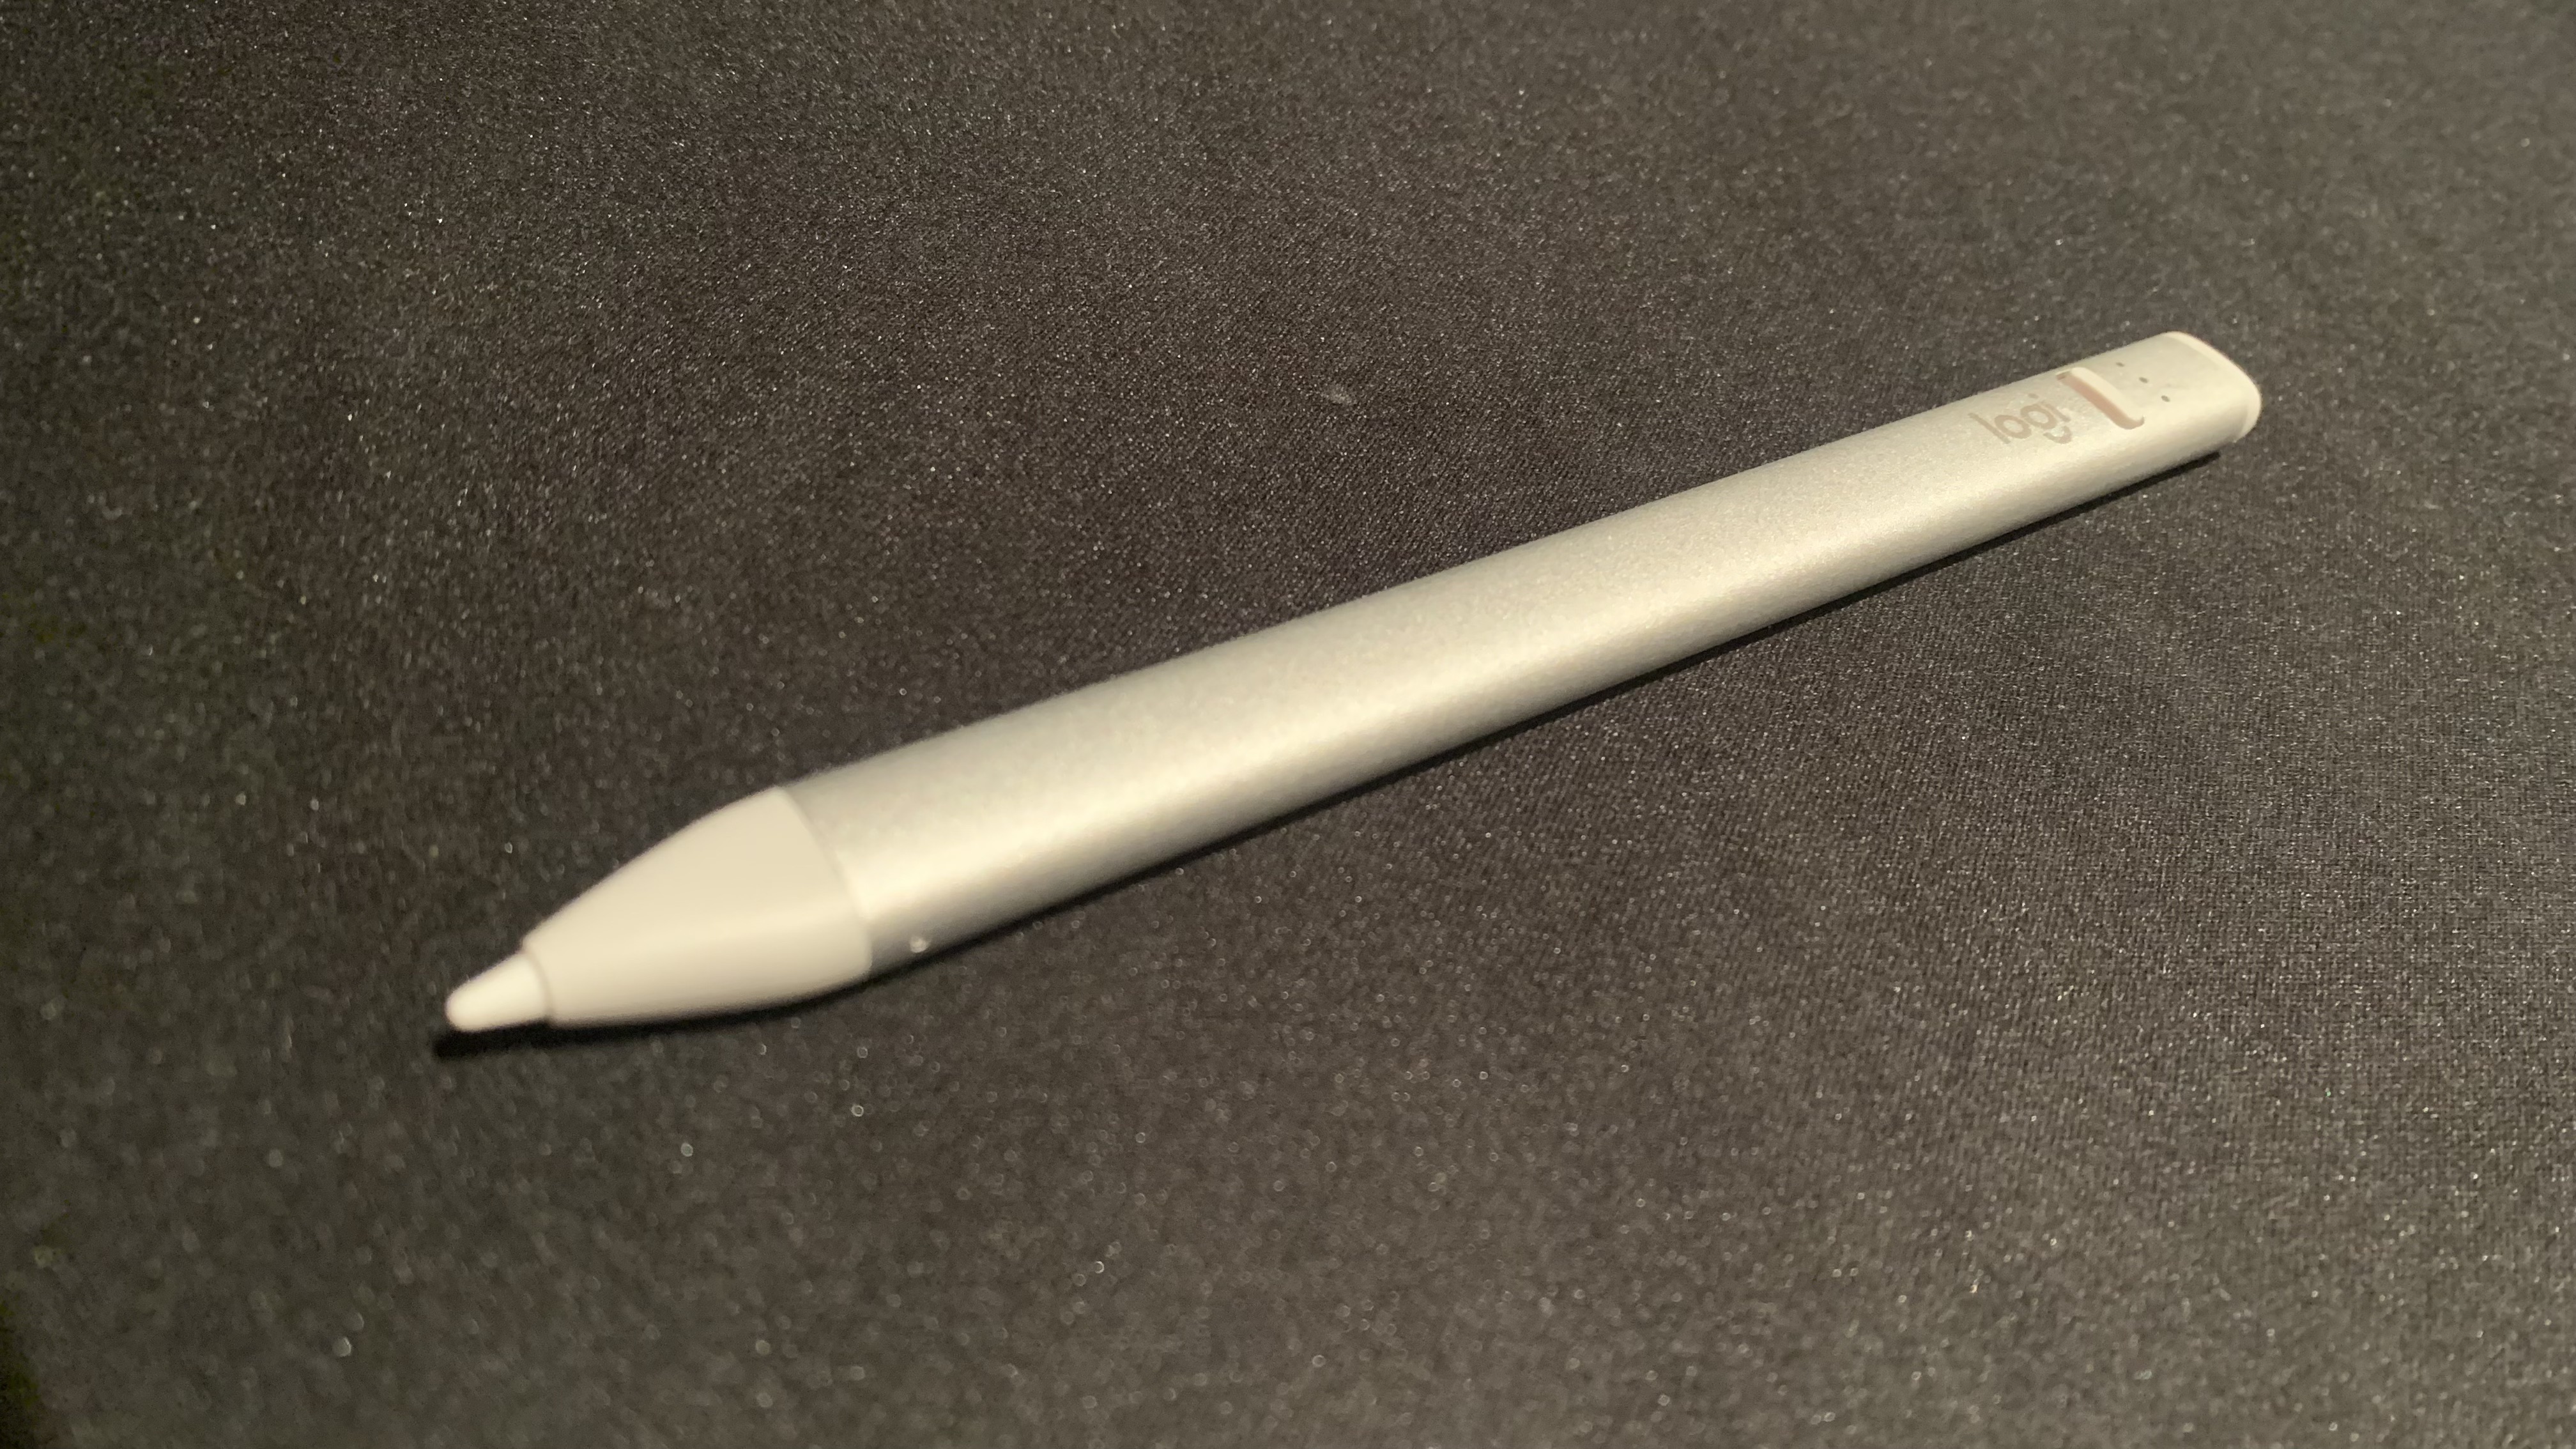
The Apple Pencil is a powerful tool that enhances the iPad Gen 10 experience by providing precise input and intuitive control. Whether you’re an artist, a student, or a professional, the Apple Pencil can revolutionize the way you interact with your iPad. But how do you connect the Apple Pencil to the iPad Gen 10? In this guide, we will walk you through the steps to establish a seamless connection between these two devices.
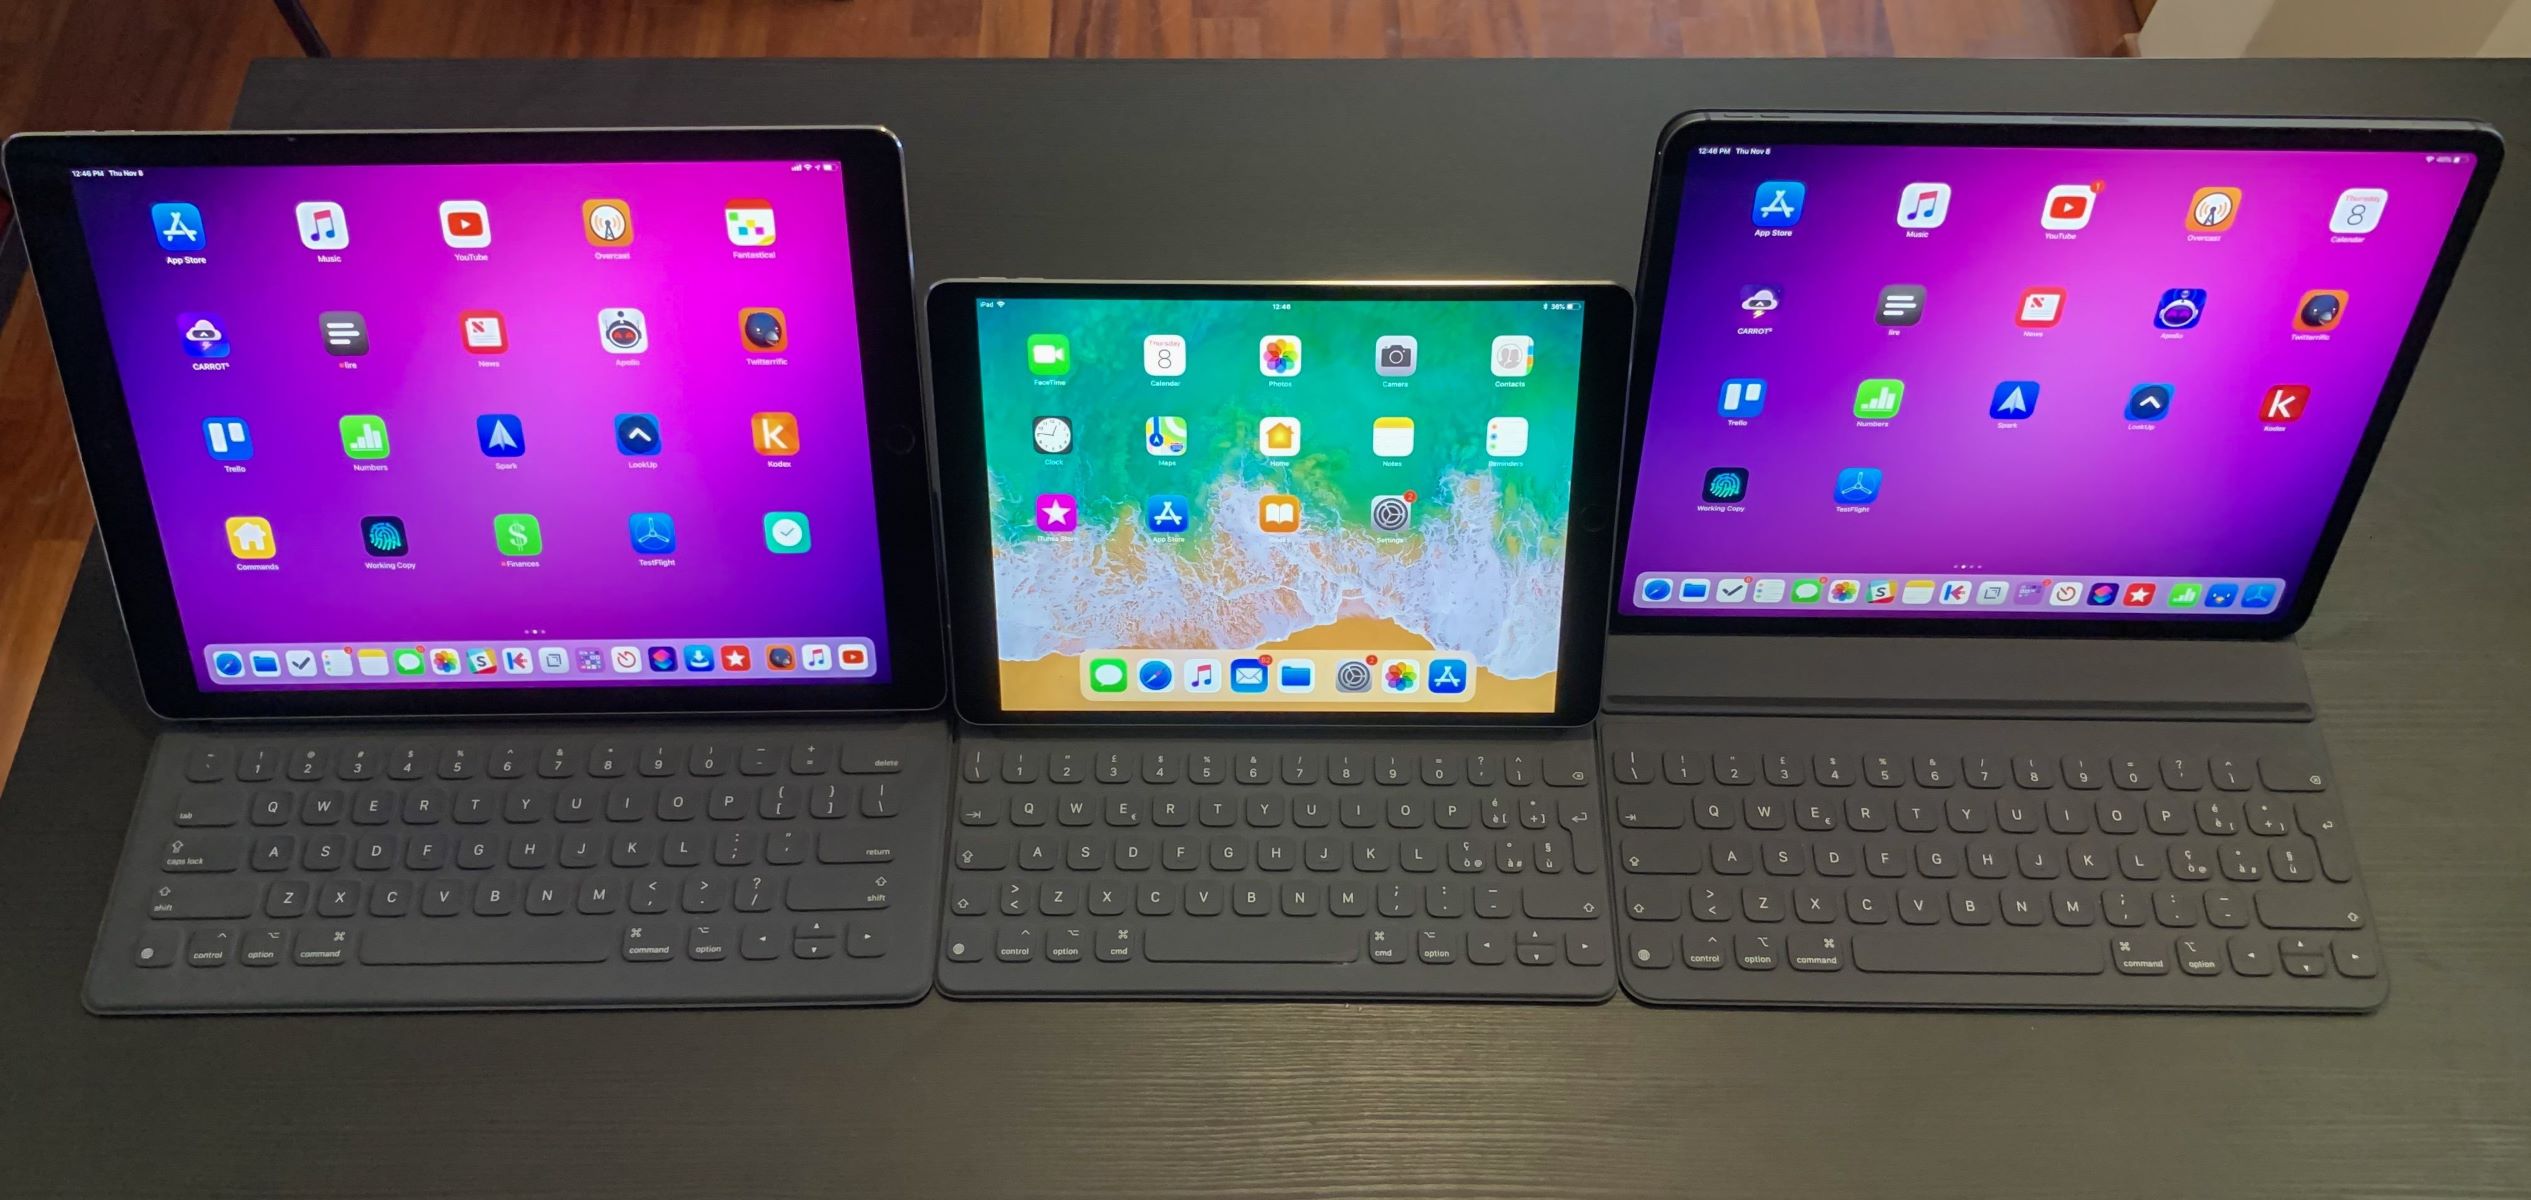
Before we dive into the process, it’s important to note that the Apple Pencil is only compatible with certain iPad models. Therefore, the first step is to ensure that your iPad Gen 10 supports Apple Pencil connectivity. Once you’ve confirmed compatibility, you can proceed with the following steps to connect the Apple Pencil to your device.
So, if you’re ready to take your iPad Gen 10 experience to the next level and tap into the full capabilities of the Apple Pencil, let’s get started!
Step 1: Check Compatibility
Before attempting to connect the Apple Pencil to your iPad Gen 10, it’s crucial to ensure that your device is compatible with the Apple Pencil. Although most recent iPad models support the Apple Pencil, it’s still essential to double-check to avoid any disappointment or frustration.
To check the compatibility of your iPad Gen 10 with the Apple Pencil, follow these steps:
- Turn on your iPad Gen 10 and go to the Settings app.
- Select “General” from the menu options.
- Scroll down and tap on “About.”
- Look for the “Model Name” or “Model Number” section. Compare it with the compatible Apple Pencil models:
- Apple Pencil (1st Generation)
- Apple Pencil (2nd Generation)
If your iPad Gen 10 supports either of these Apple Pencil models, congratulations! You can continue with the next steps to connect the Apple Pencil to your device.
However, if your iPad Gen 10 is not compatible with the Apple Pencil, don’t worry! There are still alternative stylus options available in the market that can provide a similar experience. Explore other stylus options that are compatible with your iPad Gen 10 and find the one that suits your needs.
Now that you’ve confirmed the compatibility of your iPad Gen 10 with the Apple Pencil, let’s move on to the next step: charging the Apple Pencil.
Step 2: Charge the Apple Pencil
Before connecting the Apple Pencil to your iPad Gen 10, it’s essential to ensure that the pencil is fully charged to maximize its battery life. The charging process may vary depending on whether you have the 1st generation or 2nd generation Apple Pencil.
If you have the 1st generation Apple Pencil, follow these steps to charge it:
- Remove the cap from the top of the pencil to reveal the Lightning connector.
- Plug the Lightning connector into the Lightning port on your iPad Gen 10.
- Allow the Apple Pencil to charge for approximately 15 minutes. This quick charge will provide you with 30 minutes of use.
If you have the 2nd generation Apple Pencil, you can charge it differently:
- Attach the Apple Pencil magnetically to the side of your iPad Gen 10. Ensure it snaps into place securely.
- The Apple Pencil will start charging automatically.
- You can also check the battery percentage of your Apple Pencil by swiping down from the top-right corner of the iPad’s screen to access the Control Center.
Once the Apple Pencil is fully charged, you’re ready to proceed to the next step: remove the cap from the Apple Pencil.
Step 3: Remove the Apple Pencil Cap
Before connecting the Apple Pencil to your iPad Gen 10, you’ll need to remove the cap from the top of the pencil. The cap protects the Lightning connector or the magnetic charging surface, depending on the generation of Apple Pencil you have.
To remove the cap from the Apple Pencil, follow these steps:
- Gently hold the Apple Pencil with one hand.
- With your other hand, grasp the cap that covers the charging end of the Apple Pencil.
- Twist the cap counterclockwise until it loosens and can be easily removed from the pencil.
- Set the cap aside in a safe place so you don’t misplace it during the connection process.
Now that you’ve successfully removed the cap from the Apple Pencil, you’re ready to proceed to the next step: connecting the Apple Pencil to your iPad Gen 10.
Step 4: Connect Apple Pencil to iPad Gen 10
Now that you have ensured compatibility, charged the Apple Pencil, and removed the cap, it’s time to connect the Apple Pencil to your iPad Gen 10. The process of connecting the Apple Pencil may vary depending on the generation of your device and the Apple Pencil you possess.
If you have the 1st generation Apple Pencil, follow these steps to connect it to your iPad Gen 10:
- Hold the Apple Pencil upright with the Lightning connector exposed.
- Gently insert the Lightning connector into the Lightning port at the bottom of your iPad Gen 10.
- Make sure to insert it all the way in until it fits securely.
If you have the 2nd generation Apple Pencil, the connection process is different:
- Hold the Apple Pencil close to the magnetic strip on the side of your iPad Gen 10.
- Allow the Apple Pencil to snap into place magnetically.
- You may need to adjust its position slightly to ensure a secure connection.
Once you have connected the Apple Pencil to your iPad Gen 10, the device will recognize the pencil and automatically prompt you to pair it via Bluetooth. To complete the pairing process, follow the instructions on the iPad screen.
Now that the Apple Pencil is physically connected to your iPad Gen 10, move on to the next step: pairing the Apple Pencil via Bluetooth.
Step 5: Pair Apple Pencil via Bluetooth
After connecting the Apple Pencil to your iPad Gen 10, it’s time to pair it via Bluetooth for a seamless and enhanced user experience. The pairing process may vary slightly depending on your iPad’s settings, but the general steps remain the same.
To pair the Apple Pencil via Bluetooth, follow these steps:
- On your iPad, navigate to the Settings app.
- Select “Bluetooth” from the menu options. Ensure that Bluetooth is turned on.
- Look for the Apple Pencil in the list of available devices.
- Tap on the Apple Pencil to initiate the pairing process.
- Follow the on-screen instructions to complete the pairing.
Once the Apple Pencil is successfully paired with your iPad Gen 10, it’s ready to use! The pairing process establishes a connection between the Apple Pencil and your device, allowing you to take advantage of its various features and functionalities.
Keep in mind that the Apple Pencil may require periodic re-pairing or reconnection to your iPad due to software updates or other factors. If you face any issues with the connection or functionality of the Apple Pencil, try re-pairing it via Bluetooth or consult the Apple Support website for troubleshooting guides.
Now that you have successfully paired the Apple Pencil via Bluetooth, let’s move on to the final step: confirming the connection and adjusting the settings.
Step 6: Confirm connection and settings
After connecting and pairing the Apple Pencil to your iPad Gen 10, it’s important to confirm the connection and adjust any necessary settings to optimize your user experience. This step ensures that your Apple Pencil functions properly and allows you to customize its settings to suit your preferences.
To confirm the connection and adjust the settings for your Apple Pencil, follow these steps:
- Open an app that supports Apple Pencil, such as Notes or Procreate.
- Begin using the Apple Pencil on the iPad’s screen. If you see a line or mark being created, it means that the connection is established successfully.
- Explore the app’s settings to adjust any specific options related to the Apple Pencil. This may include pressure sensitivity, palm rejection, or double-tap functionality.
- Depending on the app, you may find additional settings that can enhance your drawing, writing, or annotation experience.
- Take some time to experiment with different apps and settings to discover the full potential of your Apple Pencil and iPad Gen 10 combination.
By confirming the connection and adjusting the settings, you can optimize the performance and functionality of your Apple Pencil. It allows you to personalize the experience and make it tailored to your specific needs and preferences.
Should you encounter any issues with the Apple Pencil’s performance or settings, you can refer to the app’s support documentation or the Apple Support website for troubleshooting assistance.
Congratulations! You have successfully connected, paired, and adjusted the settings for your Apple Pencil on your iPad Gen 10. Now you are ready to unleash your creativity and take advantage of the many possibilities offered by this powerful tool.
Conclusion
Connecting the Apple Pencil to your iPad Gen 10 opens up a whole new world of possibilities for creativity, productivity, and precision. By following the steps outlined in this guide, you can ensure a seamless connection and start leveraging the full potential of your Apple Pencil.
First, it’s crucial to check the compatibility of your iPad Gen 10 with the Apple Pencil. Once confirmed, charge the Apple Pencil and remove the protective cap. The next step involves physically connecting the Apple Pencil to your iPad Gen 10, either through the Lightning connector or the magnetic strip. Pairing the Apple Pencil via Bluetooth solidifies the connection and allows for smooth interaction between the two devices.
After confirming the successful connection, take the time to explore and adjust the settings specific to your Apple Pencil, ensuring it enhances your desired user experience. Experiment with different apps and settings to fully realize the potential and capabilities of your Apple Pencil and iPad Gen 10 combination.
Remember, the Apple Pencil is not only a powerful tool for artists, but also a valuable asset for students, professionals, and anyone looking to optimize their productivity on an iPad Gen 10.
By following these steps and familiarizing yourself with the capabilities of the Apple Pencil and iPad Gen 10, you are on your way to transforming your creative process and enhancing your digital workflow.
So, grab your Apple Pencil, unleash your creativity, and enjoy the seamless connection and incredible features it brings to your iPad Gen 10 experience!