Introduction
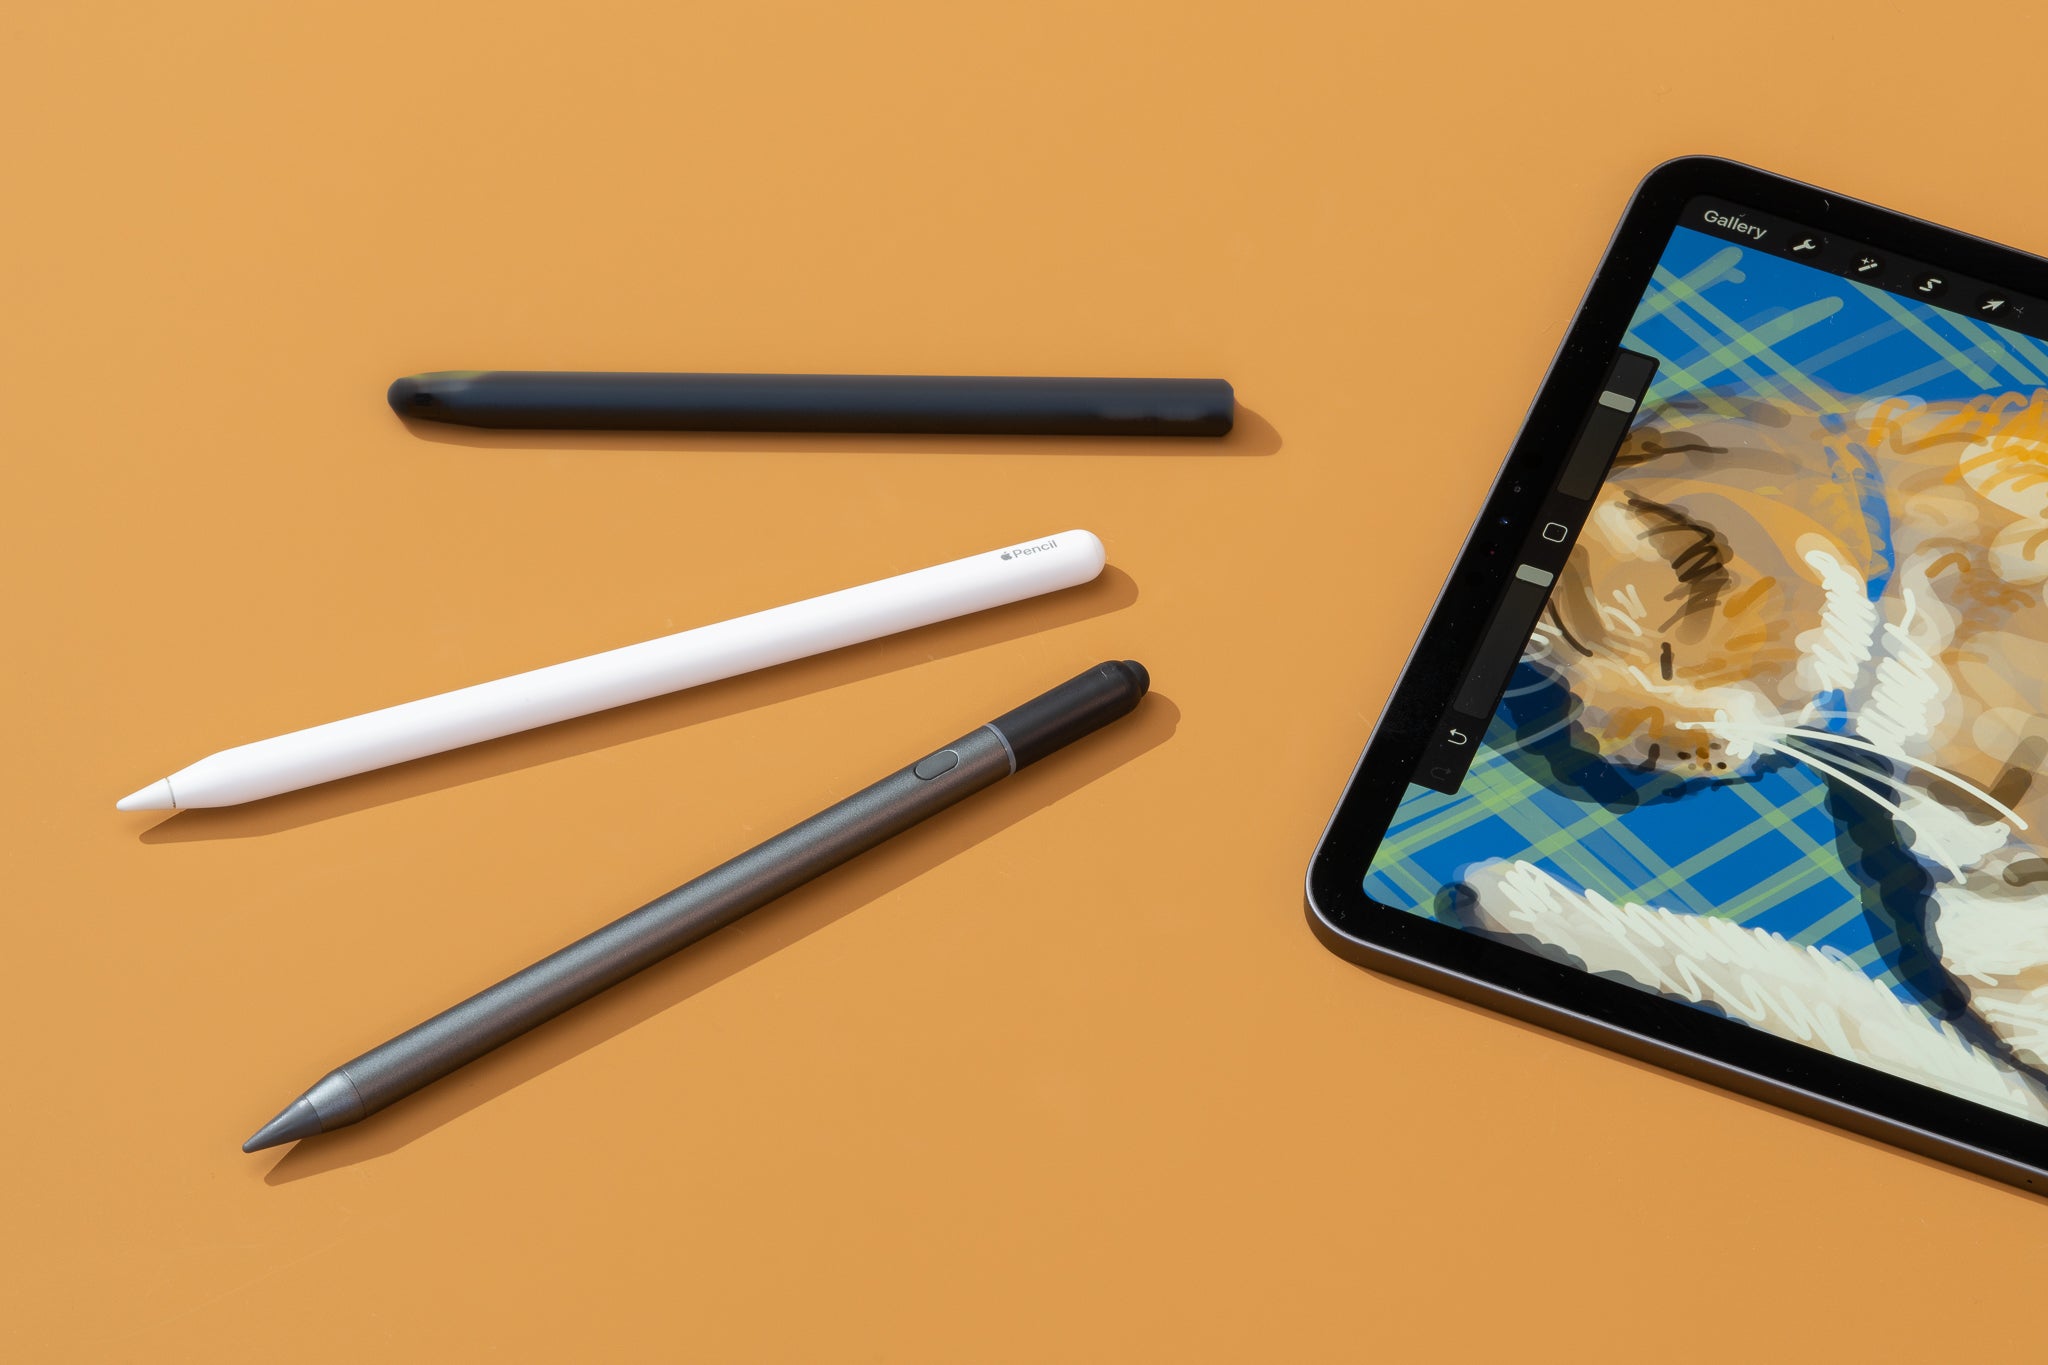
The Apple Pencil is not just your average stylus. It provides a whole new level of precision and functionality, making it the perfect tool for writing, drawing, and creating on your iPad. Whether you are a student taking notes in class, an artist sketching your next masterpiece, or a professional signing documents on the go, the Apple Pencil can greatly enhance your digital writing experience.
In this article, we will guide you through how to write with the Apple Pencil and make the most out of its features. We’ll cover everything from setting up the pencil to troubleshooting common issues. So grab your Apple Pencil, get ready to unleash your creativity, and let’s dive in!
Using the Apple Pencil offers a multitude of benefits. Firstly, its precise pressure and tilt sensitivity allow for more natural and accurate writing and drawing. The pencil also offers palm rejection technology, so you can comfortably rest your hand on the iPad screen without any interference. Additionally, the Apple Pencil is equipped with advanced functionality like the double-tap feature, which allows you to switch between tools or activate specific functions with a simple tap of your finger.
Whether you are a seasoned Apple user or new to the Apple ecosystem, writing with the Apple Pencil is a breeze. In the following sections, we will provide you with a step-by-step guide on how to set up your Apple Pencil, adjust its settings, and optimize your writing experience. Let’s get started!
Getting Started
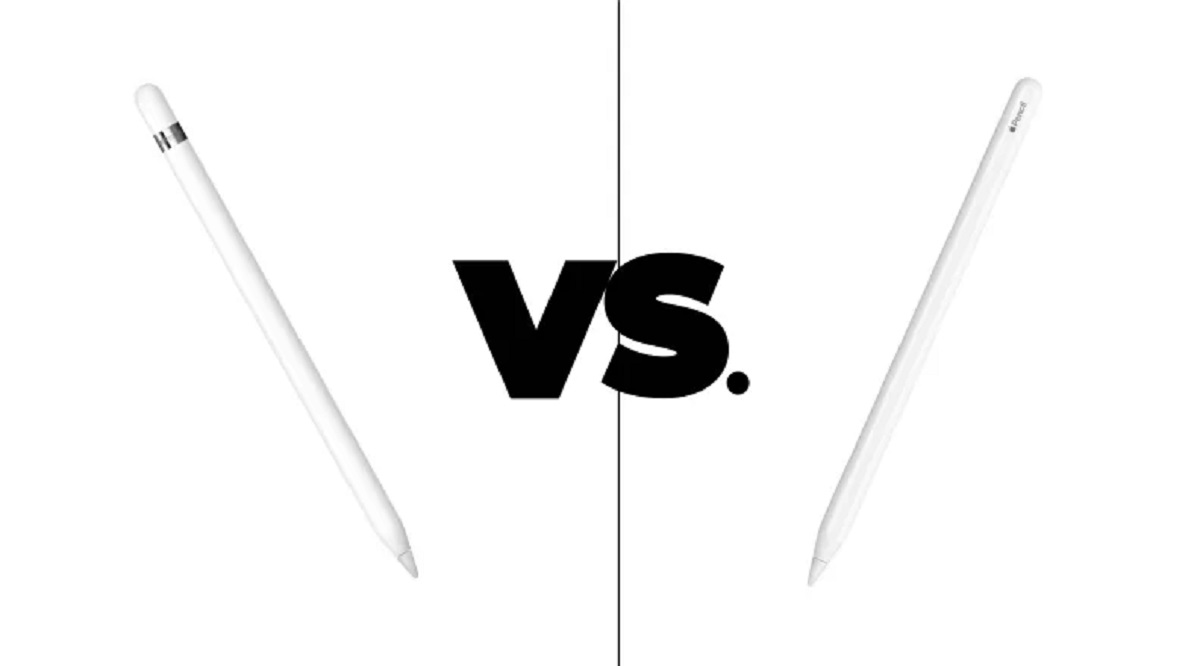
Before you can start writing with your Apple Pencil, you’ll need to ensure that you have a compatible iPad model. The Apple Pencil is compatible with several iPad models, including the iPad Pro (11-inch and 12.9-inch), the iPad Air (4th generation), and the iPad mini (5th generation). Make sure to check your iPad’s compatibility before purchasing an Apple Pencil.
Once you have a compatible iPad, follow these steps to get started with your Apple Pencil:
- Charge the Apple Pencil: The first step is to make sure that your Apple Pencil is fully charged. Connect the lightning connector of the Apple Pencil to your iPad’s lightning port, or use the wireless charging feature available on certain models of the Apple Pencil. The Apple Pencil’s battery life can last for several hours of continuous use.
- Pair the Apple Pencil: After charging, you’ll need to pair your Apple Pencil with your iPad. Simply remove the cap from the top of the Apple Pencil to reveal the lightning connector, then insert it into your iPad’s lightning port. Follow the on-screen instructions to complete the pairing process.
- Confirm the Pairing: Once the pairing process is complete, you’ll see a confirmation message on your iPad’s screen. This means that your Apple Pencil is now successfully connected to your iPad and ready to use.
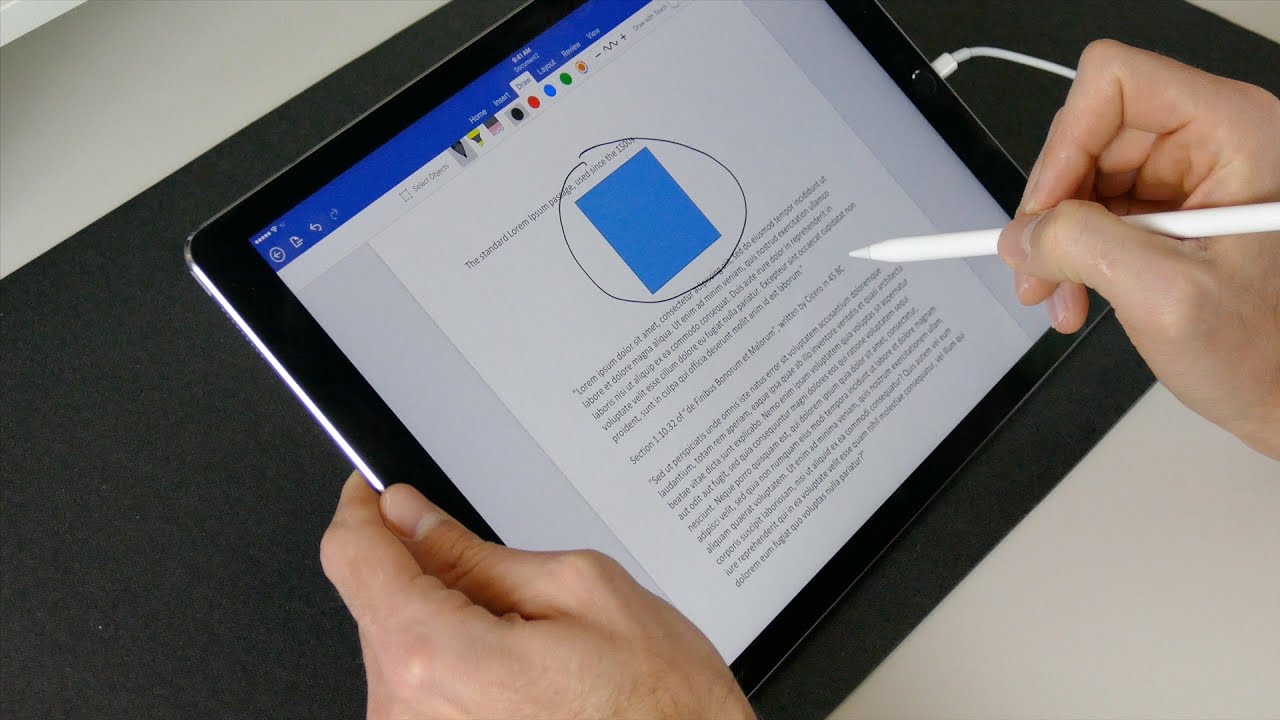
Now that your Apple Pencil is fully charged and paired with your iPad, you’re ready to start writing. Open your preferred note-taking or drawing app, and begin exploring the features and capabilities of the Apple Pencil. Whether you’re taking notes in class, sketching a design, or editing documents, the Apple Pencil offers a seamless and intuitive writing experience.
Remember to keep your Apple Pencil charged whenever you’re not using it, to ensure that it’s always ready for your next creative endeavor. You can charge it by either connecting it directly to your iPad or using a wireless charging option if available.
Now that you know how to get started with your Apple Pencil, let’s move on to the next section where we’ll explore how to adjust the pencil settings to suit your preferences.
Setting Up Your Apple Pencil
Setting up your Apple Pencil to personalize its functionality and optimize your writing experience is quick and easy. Let’s take a look at the steps:
- Access the Apple Pencil Settings: To begin, navigate to the Settings app on your iPad and tap on “Apple Pencil” or “Apple Pencil > Apple Pencil Settings”, depending on your iPad model. Here, you’ll find a range of options to customize your Apple Pencil.
- Customize Double-Tap Functionality: One of the key features of the Apple Pencil is the double-tap functionality. This allows you to perform various actions with a quick double-tap on the pencil. In the Apple Pencil settings, you can customize the double-tap action to suit your preferences. For example, you can choose to switch between tools, activate the eraser, or open specific apps.
- Adjust Palm Rejection: Palm rejection is a crucial feature that prevents accidental touches when resting your hand on the iPad screen while writing or drawing. In the Apple Pencil settings, you can adjust the level of palm rejection to ensure a seamless and uninterrupted writing experience.
- Enable or Disable Tilt Functionality: The Apple Pencil is equipped with tilt functionality, allowing you to create shading and dynamic strokes by tilting the pencil at different angles. In the Apple Pencil settings, you can enable or disable this feature based on your preferences.
- Customize Pressure Sensitivity: The Apple Pencil’s pressure sensitivity allows for varying line thickness and opacity based on the pressure applied. In the settings, you can adjust the pressure sensitivity to match your writing style and preferences.
- Explore Additional Settings: Apart from the above customization options, the Apple Pencil settings provide additional features like the option to show cursor previews, customize accessibility settings, and enable or disable haptic feedback.
By customizing these settings, you can tailor your Apple Pencil experience to meet your specific needs. Experiment with different settings and find the configuration that works best for you.
Now that you have set up your Apple Pencil to your liking, let’s move on to the next section, where we will explore the different techniques and tips for enhancing your writing experience with the Apple Pencil.
Adjusting the Pencil Settings
One of the great advantages of using the Apple Pencil is the ability to adjust its settings to suit your preferences. With these settings, you can customize the pressure sensitivity, palm rejection, and other features to enhance your writing experience. Let’s delve into the steps on how to adjust the pencil settings:
- Access the Apple Pencil Settings: Start by opening the “Settings” app on your iPad and tapping on “Apple Pencil” or “Apple Pencil > Apple Pencil Settings”, depending on your iPad model. This will bring you to the Apple Pencil settings panel.
- Customize Pressure Sensitivity: One of the key settings to adjust is the pressure sensitivity of the Apple Pencil. This determines how much pressure is required to produce thicker or darker lines. Experiment with different settings to find the pressure sensitivity that feels most natural and comfortable for you.
- Adjust Palm Rejection: Palm rejection is another important setting to fine-tune. It prevents accidental touches on the iPad screen when you rest your palm while writing or drawing with the Apple Pencil. Adjust the palm rejection level to ensure that only the tip of the pencil is recognized for input, providing a seamless and uninterrupted writing experience.
- Enable or Disable Tilt Functionality: The Apple Pencil’s tilt functionality allows you to create shading and varying line widths by tilting the pencil at different angles. In the settings panel, you have the option to enable or disable this feature based on your preference and the type of artwork or writing you’re working on.
- Customize Double-Tap Functionality: The Apple Pencil has a double-tap feature that you can customize to perform different actions. By default, it’s set to switch between the current tool and eraser. However, you can customize this feature to perform other functions, such as switching between colors, activating specific tools, or opening commonly used apps.
- Explore Additional Settings: In addition to the above settings, the Apple Pencil settings panel offers additional options to enhance your user experience. These include cursor previews, accessibility settings, haptic feedback, and more. Take some time to explore and experiment with these settings to find the best configuration for your needs.
Remember, adjusting the pencil settings is a personal preference, and it may take some trial and error to find the ideal settings for you. Take the time to experiment with different configurations and customize the Apple Pencil to your liking, as it can greatly enhance your writing and drawing experience.
Now that you have adjusted the pencil settings, let’s move on to the next section, where we will explore various tips and techniques to help you make the most out of your Apple Pencil and enhance your writing experience.
Writing with the Apple Pencil
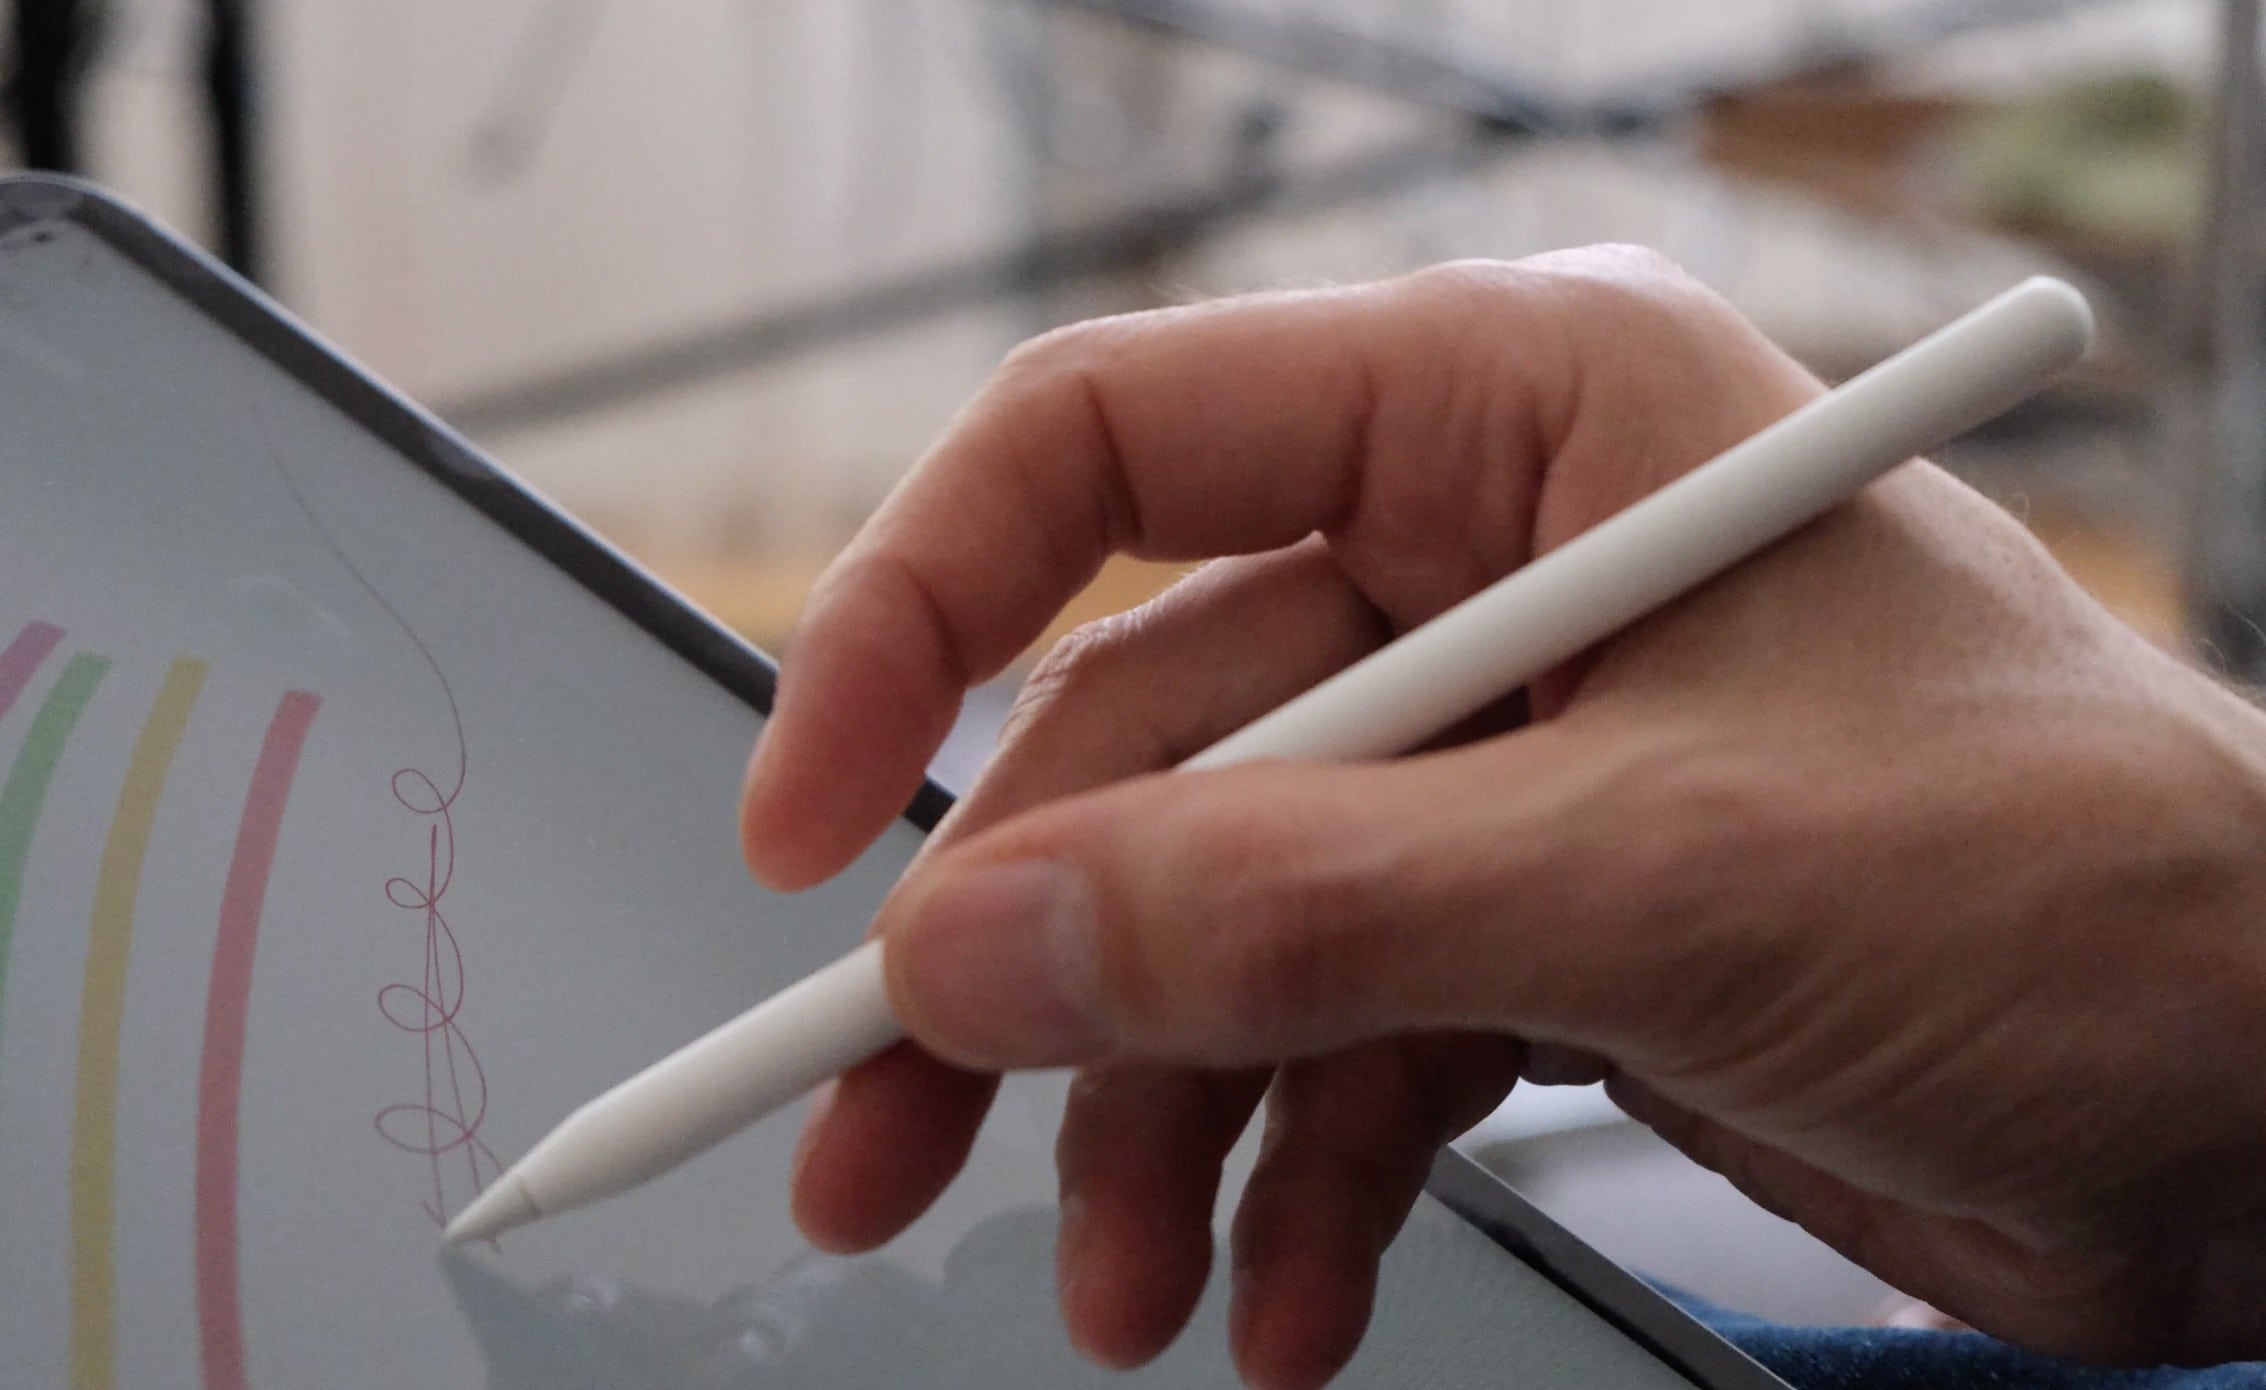
The Apple Pencil offers a seamless and natural writing experience that replicates the feel of traditional pen and paper. Whether you’re taking notes, sketching, or annotating documents, here are some key tips and techniques to enhance your writing with the Apple Pencil:
- Hold the Pencil Comfortably: Hold the Apple Pencil in a way that feels natural and comfortable for you. Experiment with different grips to find the one that allows for precise control and minimizes hand fatigue during long writing or drawing sessions.
- Apply Pressure for Varied Thickness: The Apple Pencil’s pressure sensitivity allows you to create thicker or thinner lines by applying more or less pressure. Press lightly for finer lines or press harder for bolder strokes. This gives your writing a more dynamic and expressive quality.
- Utilize Tilt for Shading: Take advantage of the Apple Pencil’s tilt functionality to create shading effects. By tilting the pencil, you can achieve varying line widths and create realistic shadows and gradients in your artwork.
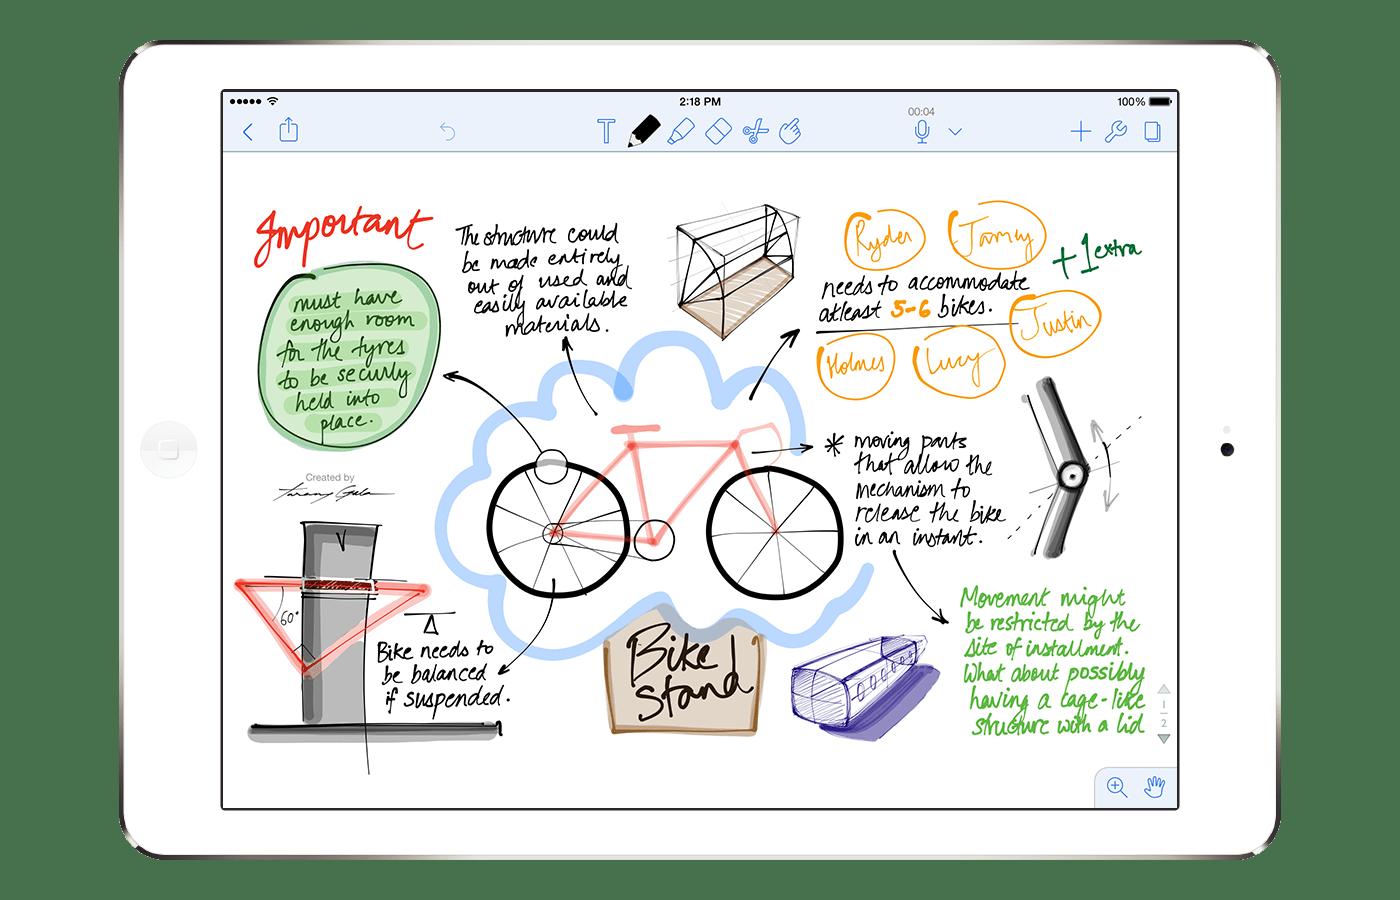
- Experiment with Different Apps: Explore various note-taking, sketching, and drawing apps available in the App Store to find the one that suits your needs and preferences. Each app may offer unique features and tools to enhance your writing experience with the Apple Pencil.
- Use Gestures for Quick Actions: In addition to the double-tap functionality, you can also use finger gestures on the iPad screen to perform quick actions while writing. For example, swipe up with your finger to undo or swipe left to erase. These gestures can save you time and enhance your productivity.
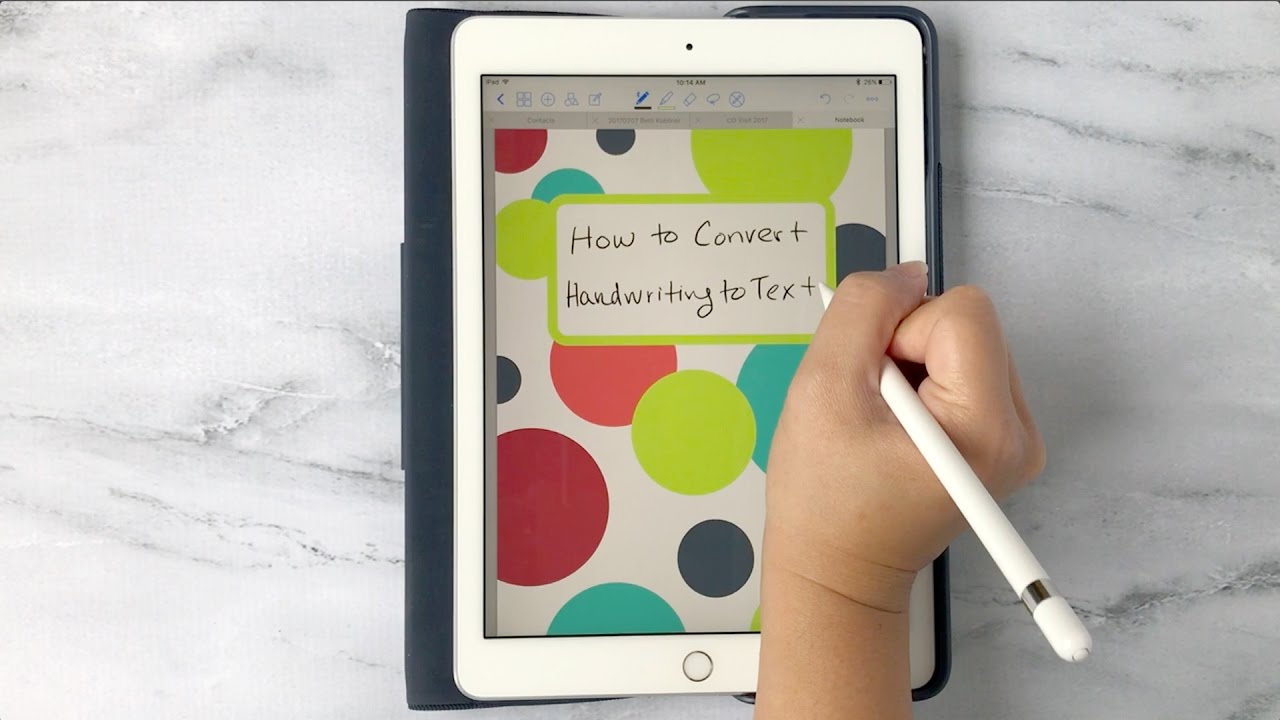
- Take Advantage of OCR: Some note-taking apps have Optical Character Recognition (OCR) capabilities, which can convert your handwritten notes into searchable and editable text. This feature allows you to easily search for specific keywords or make edits to your written content.
- Consider Using Templates: Some apps offer pre-designed templates for different types of writing or drawing, such as lined paper for note-taking or grid patterns for sketching. Using templates can help you stay organized and give your work a polished look.
Remember, practice makes perfect. Take the time to experiment with different writing techniques, explore various apps, and find your own unique style with the Apple Pencil. With regular practice, you’ll become more skilled and comfortable with using the Apple Pencil for a wide range of creative and productive tasks.
Now that you have a good understanding of how to write with the Apple Pencil, let’s move on to the next section, where we’ll share some additional tips for enhancing your writing experience.
Tips for Enhancing Your Writing Experience
Writing with the Apple Pencil can be a truly immersive and enjoyable experience. To further enhance your writing experience and make the most out of your Apple Pencil, consider the following tips:
- Use a Screen Protector: Applying a high-quality screen protector to your iPad can provide additional protection against scratches and smudges, while also providing a smoother surface for the Apple Pencil to glide on.
- Try Different Writing Tools and Brushes: Many drawing and note-taking apps offer a variety of writing tools and brushes. Experiment with different pen styles, brushes, and colors to find the ones that best suit your writing or drawing style.
- Take Advantage of Text Formatting: Some apps allow you to format your written text, such as changing font styles or adding highlights. This can help you organize your notes and make important information stand out.
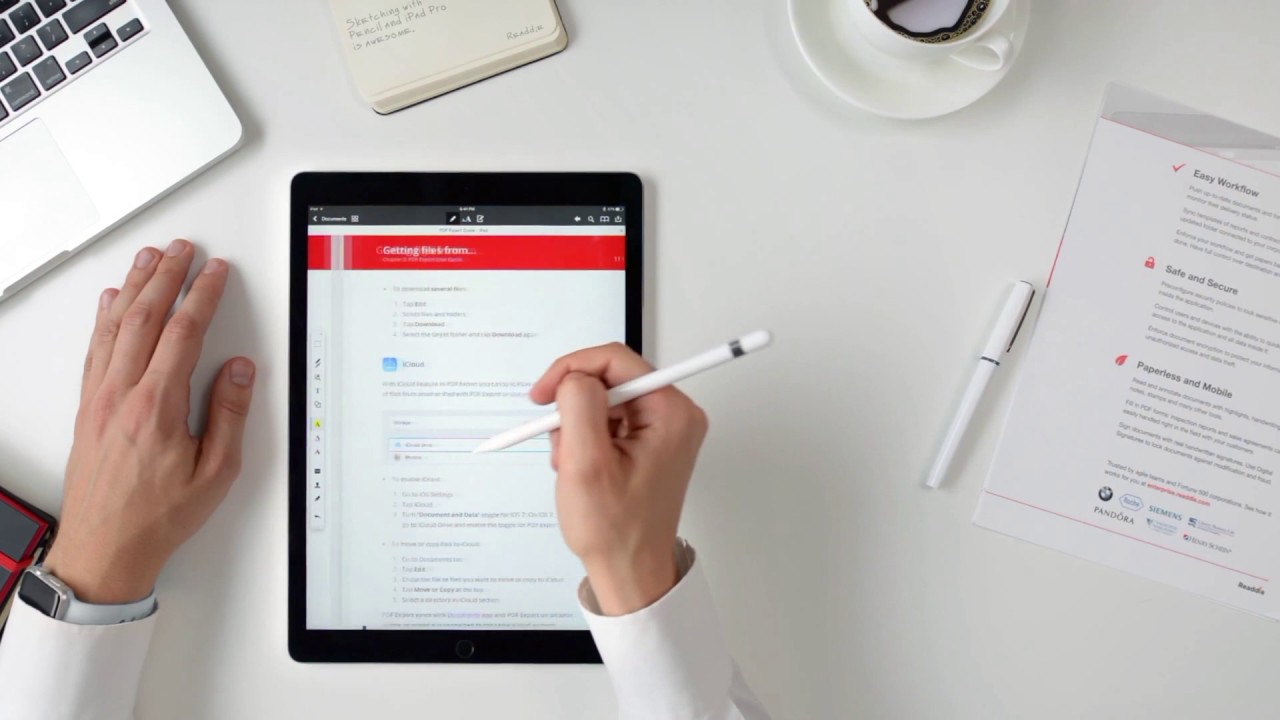
- Utilize iCloud for Seamless Sync: If you use multiple Apple devices, consider enabling iCloud syncing for your note-taking apps. This allows you to seamlessly access and sync your notes across all your devices, ensuring you have your work with you wherever you go.
- Experiment with Different Paper Styles: Some note-taking apps offer a selection of digital papers with different textures and patterns. Explore these options to replicate the feel of writing on various types of paper, such as plain, lined, or graph paper.
- Try Handwriting-to-Text Conversion: Handwriting-to-text conversion features in certain apps can transform your handwritten notes into typed text. This can be particularly useful when sharing your notes or if you prefer using typed text for easier readability.
- Take Regular Breaks: Writing or drawing with the Apple Pencil for extended periods can sometimes lead to hand fatigue. Take short breaks to stretch your hand and rest your eyes, ensuring your writing experience remains comfortable and enjoyable.
- Keep Your Apple Pencil Clean: Regularly clean the tip of your Apple Pencil with a soft, lint-free cloth or a designated cleaning accessory. This helps maintain the accuracy and responsiveness of the pencil when writing or drawing on the screen.
Implementing these tips can help you elevate your writing experience with the Apple Pencil and unleash your creativity. Remember to explore different features and settings in your favorite note-taking or drawing apps to find additional tools and functionalities that enhance your workflow.
Now that you have some valuable tips for enhancing your writing experience, let’s move on to the next section, where we’ll address common issues you may encounter while using the Apple Pencil and provide troubleshooting solutions.
Troubleshooting Common Issues
While the Apple Pencil is a reliable and user-friendly device, you may encounter some common issues along the way. Here are some troubleshooting solutions to help you address these issues:
- Apple Pencil Not Pairing: If your Apple Pencil is not pairing with your iPad, try the following steps:
- Ensure that your iPad’s Bluetooth is turned on.
- Remove the Apple Pencil’s cap and reconnect it to your iPad’s charging port.
- If the issue persists, restart your iPad and try pairing the Apple Pencil again.
- Intermittent Connection: If you’re experiencing intermittent connection issues, meaning the Apple Pencil sometimes disconnects or has inconsistent responsiveness, try the following:
- Check the battery level of your Apple Pencil and ensure it’s adequately charged.
- Remove the Apple Pencil’s tip and reattach it securely to ensure a proper connection.
- Restart your iPad to refresh the connection between your iPad and the Apple Pencil.
- No Touch Sensitivity: If you’re experiencing a lack of touch sensitivity or unresponsiveness with the Apple Pencil, try the following:
- Ensure that your Apple Pencil’s tip is clean and clear of any debris or dust.
- Replace the Apple Pencil’s tip if it appears worn out or damaged.
- Check your iPad’s screen for any smudges or protective films that may interfere with touch sensitivity.
- Unwanted Marks: If you notice unwanted marks or strokes appearing on your iPad screen while using the Apple Pencil, try the following:
- Check if there is any dirt or debris on your iPad screen or Apple Pencil’s tip and clean them if necessary.
- Adjust the palm rejection settings on your iPad to ensure that only the Apple Pencil’s input is recognized.
- App Compatibility Issues: If you’re experiencing compatibility issues with certain apps, such as lag or unresponsiveness, try the following:
- Ensure that you have the latest version of the app installed on your iPad.
- Check if the app has any specific settings or configurations related to the Apple Pencil and adjust them accordingly.
- If the issue persists, contact the app developer for further assistance or consider trying an alternative app.
If you’ve tried the troubleshooting solutions above and are still experiencing issues with your Apple Pencil, it’s recommended to contact Apple Support or visit an Apple Store for further assistance and guidance.
Now that you’re equipped with troubleshooting solutions for common Apple Pencil issues, let’s conclude this article with a recap of the key takeaways.
Conclusion
The Apple Pencil is a powerful tool that can revolutionize your digital writing experience. With its precision, pressure sensitivity, and advanced features, the Apple Pencil allows you to write, draw, and create with unparalleled accuracy and ease.
In this article, we covered the essentials of writing with the Apple Pencil. We discussed how to get started with your Apple Pencil, the importance of adjusting the pencil settings to suit your preferences, techniques for writing with the Apple Pencil, tips for enhancing your writing experience, and troubleshooting common issues that may arise.
By following the step-by-step instructions, experimenting with different settings and apps, and implementing the provided tips and techniques, you can unlock the full potential of your Apple Pencil. Whether you’re a student, artist, or professional, the Apple Pencil can greatly enhance your productivity, creativity, and enjoyment.
Remember to keep your Apple Pencil charged, clean the tip regularly, and explore different apps to find the ones that best align with your needs and preferences. Practice regularly and give yourself the freedom to experiment and explore new possibilities.
If you ever encounter any issues with your Apple Pencil, refer back to the troubleshooting section or reach out to Apple Support for further assistance. They are always ready to provide guidance and resolve any concerns you may have.
Now it’s time to grab your Apple Pencil, unleash your creativity, and make the most out of this remarkable digital writing tool. Whether you’re taking notes, sketching, or signing documents, enjoy the seamless and immersive experience that the Apple Pencil offers.