Introduction
When it comes to writing with precision and style, the Apple Pencil is a game-changer. Designed specifically for use with Apple’s iPad and iPad Pro, this sleek and sophisticated stylus provides a seamless and intuitive writing experience. Whether you’re taking notes, sketching ideas, or simply jotting down your thoughts, the Apple Pencil offers a level of precision and control that sets it apart from other stylus options on the market.
With its innovative design and advanced technology, the Apple Pencil opens up a world of possibilities for users. From artists and designers to students and professionals, anyone can harness the power of this digital pen to create stunning visuals and capture their ideas with ease. But how do you get started with the Apple Pencil? And how can you convert your handwritten notes into digital text? In this article, we will explore the setup process for the Apple Pencil and guide you through the steps of writing with it and converting your handwritten notes to text.
Whether you’re a long-time user of the Apple Pencil or just getting started, this article will provide you with valuable tips and insights to enhance your writing experience. So grab your Apple Pencil, fire up your iPad, and get ready to take your writing to the next level.
What is Apple Pencil?
The Apple Pencil is a cutting-edge stylus developed by Apple Inc. specifically for use with the iPad and iPad Pro. It’s designed to provide users with a natural and precise writing and drawing experience on their Apple devices. With advanced technology and innovative features, the Apple Pencil offers unparalleled accuracy and responsiveness that mimics the feel of using a traditional pencil or pen.
One of the standout features of the Apple Pencil is its pressure sensitivity. This means that as you apply more pressure while writing or drawing, the lines will become thicker, giving you more control over your strokes. The Apple Pencil also supports tilt functionality, allowing you to create shading effects and achieve a more realistic drawing experience.
The Apple Pencil seamlessly integrates with the iPad’s display, allowing for precise tracking of movement and orientation. With virtually no lag time, you can enjoy a fluid and natural writing or drawing experience. It’s like putting pen to paper, but with the added benefits of digital technology.
The Apple Pencil is not only limited to writing and drawing. With its touch-sensitive surface, you can also use it to navigate through menus, swipe through pages, and perform various gestures on your iPad. This makes it a versatile tool that enhances productivity and efficiency, whether you’re taking notes in a meeting or creating intricate artwork.
To ensure compatibility, it’s important to note that the first-generation Apple Pencil is designed for use with the 9.7-inch iPad, iPad Air, and iPad Pro models released prior to 2018. The second-generation Apple Pencil, on the other hand, is specifically designed for the latest iPad Pro models, including the 11-inch and 12.9-inch versions.
Now that you have a better understanding of what the Apple Pencil is and its capabilities, let’s move on to the setup process and learn how to start using it with your iPad.
Setting up Apple Pencil
Setting up the Apple Pencil is a straightforward process that ensures a seamless connection with your iPad. Before you begin, make sure your iPad is powered on and has the latest version of iOS installed. Here’s a step-by-step guide to getting your Apple Pencil up and running:
- Remove the cap: Start by removing the cap from the back of the Apple Pencil. This reveals the lightning connector, which is used to charge the stylus.
- Connect to iPad: Plug the lightning connector on the Apple Pencil into the lightning port on your iPad. The device will automatically recognize the stylus and prompt you to pair it.
- Pair the Apple Pencil: Follow the on-screen instructions to pair the Apple Pencil with your iPad. This involves tapping the pair button and waiting for the pairing process to complete. Once paired, your iPad will remember the Apple Pencil and automatically connect to it whenever it is in range.
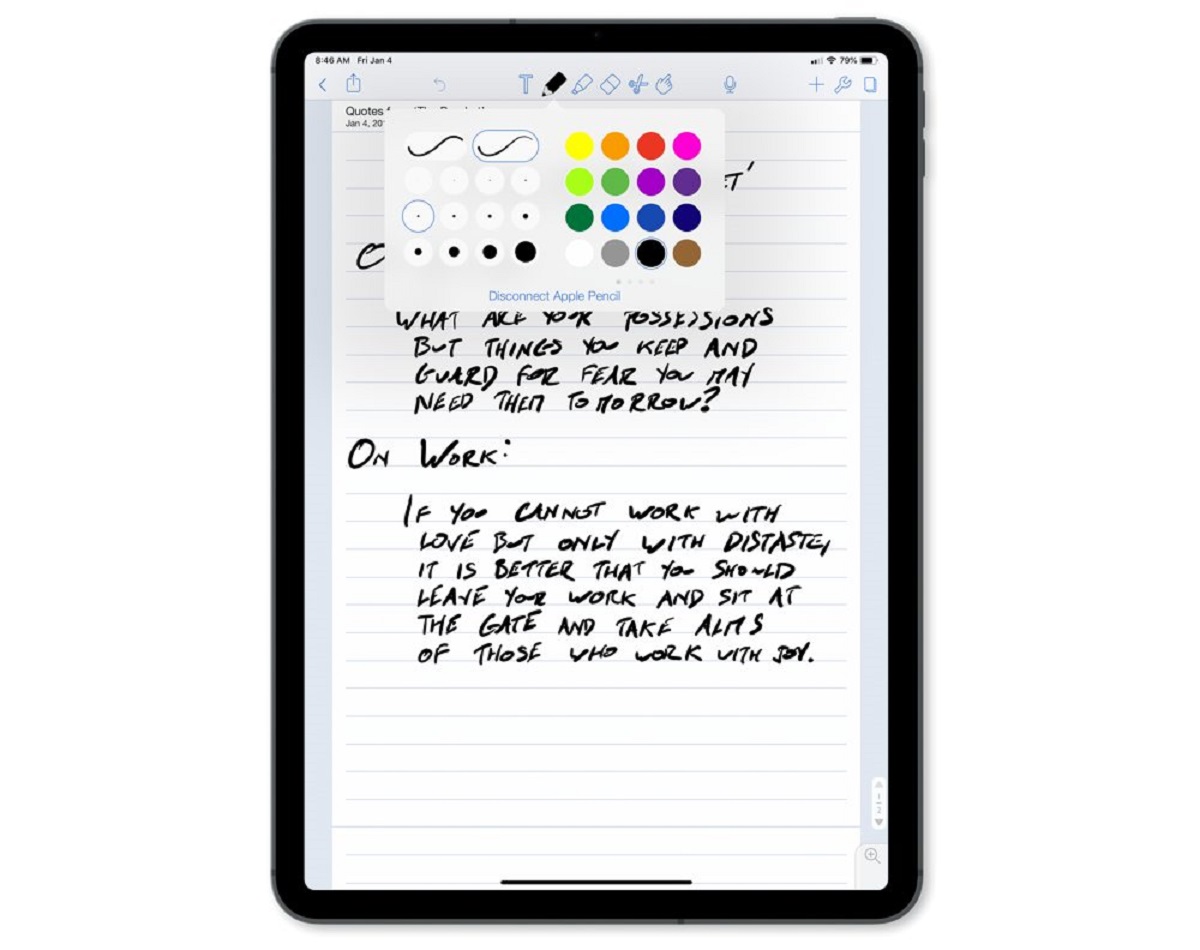
- Personalize the settings: After pairing, you can personalize the settings for your Apple Pencil. Go to the Settings app on your iPad, select the Apple Pencil option, and customize options such as double-tap functionality and palm rejection.
- Charging the Apple Pencil: To charge the Apple Pencil, simply attach it to the lightning port of your iPad. Alternatively, you can use the Apple Pencil Charging Adapter to charge it using a standard lightning cable. The Apple Pencil provides up to 12 hours of battery life and can be fully charged in just under 30 minutes.
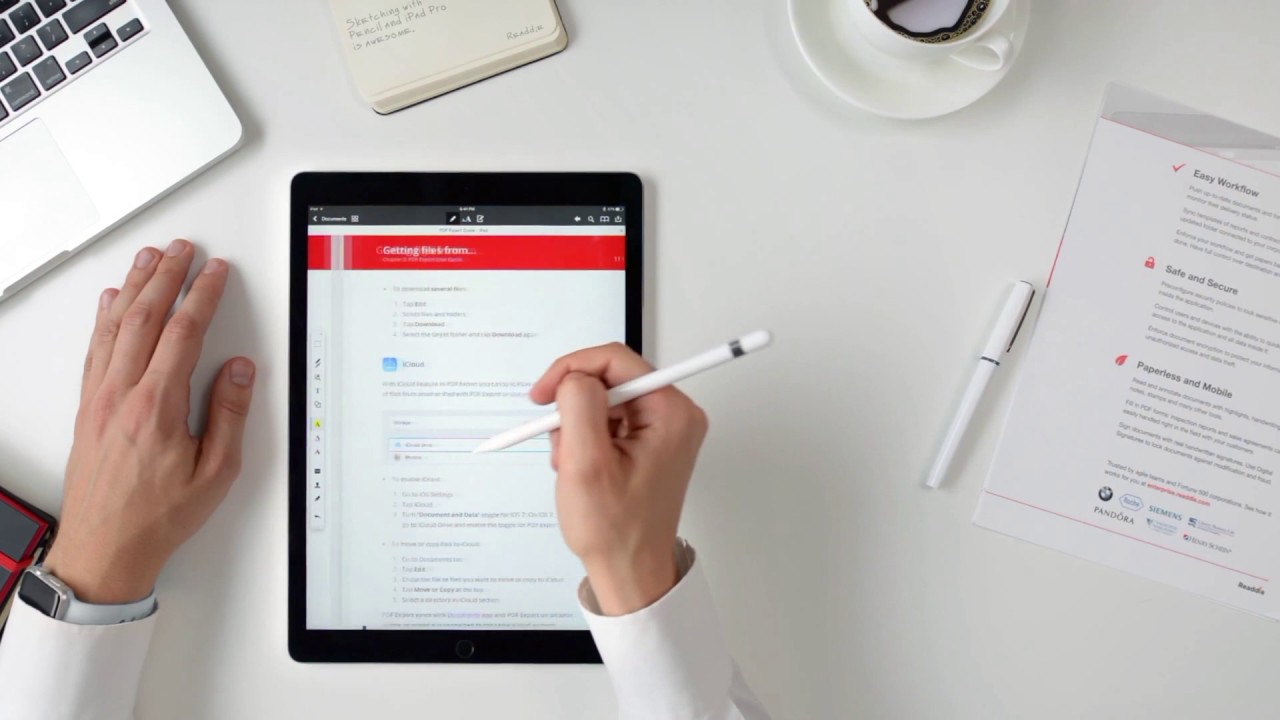
Once the setup process is complete, you’re ready to start using the Apple Pencil with your iPad. It’s important to note that the Apple Pencil is compatible with a wide range of apps, including Apple’s own Notes app, as well as popular third-party apps like Procreate, Adobe Photoshop, and Notability. These apps are optimized to take full advantage of the Apple Pencil’s capabilities, providing a truly immersive and powerful writing and drawing experience.
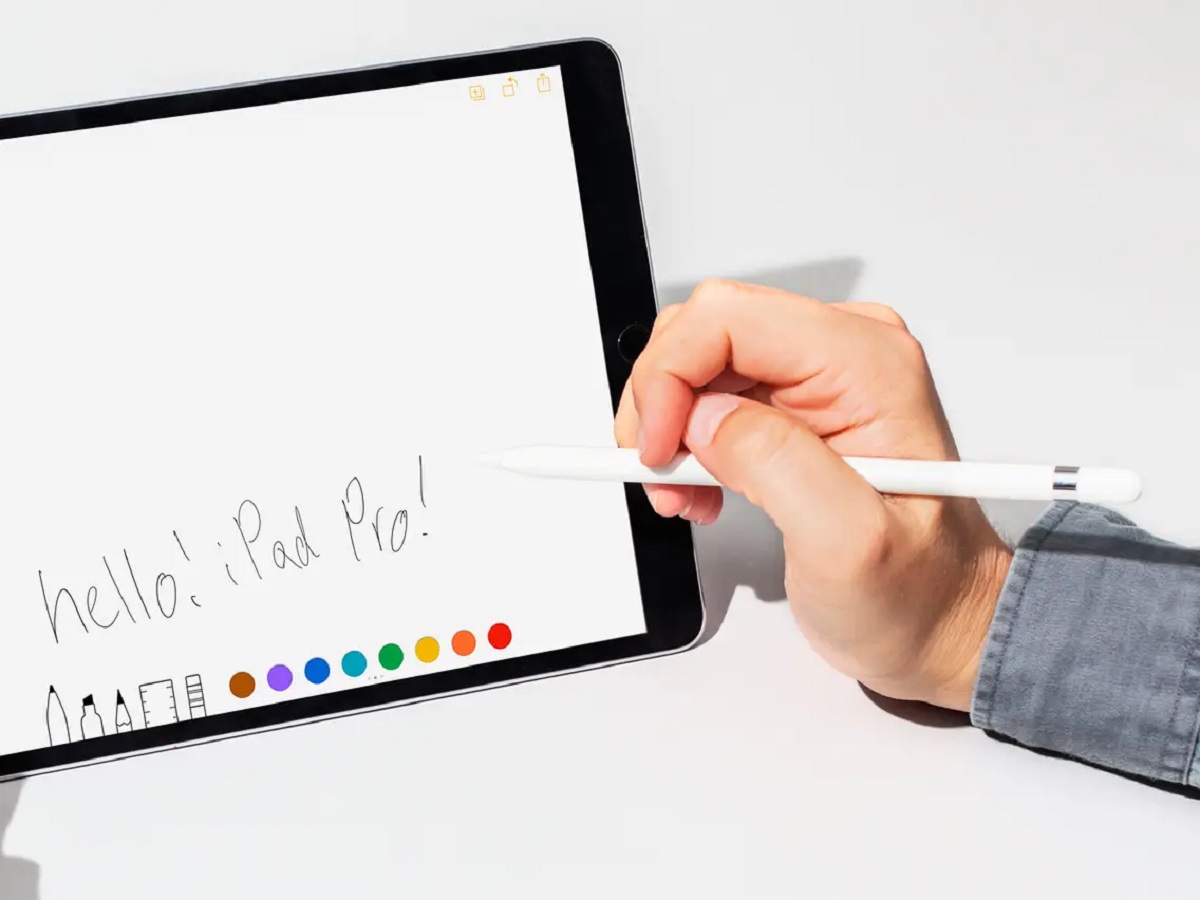
Writing with Apple Pencil
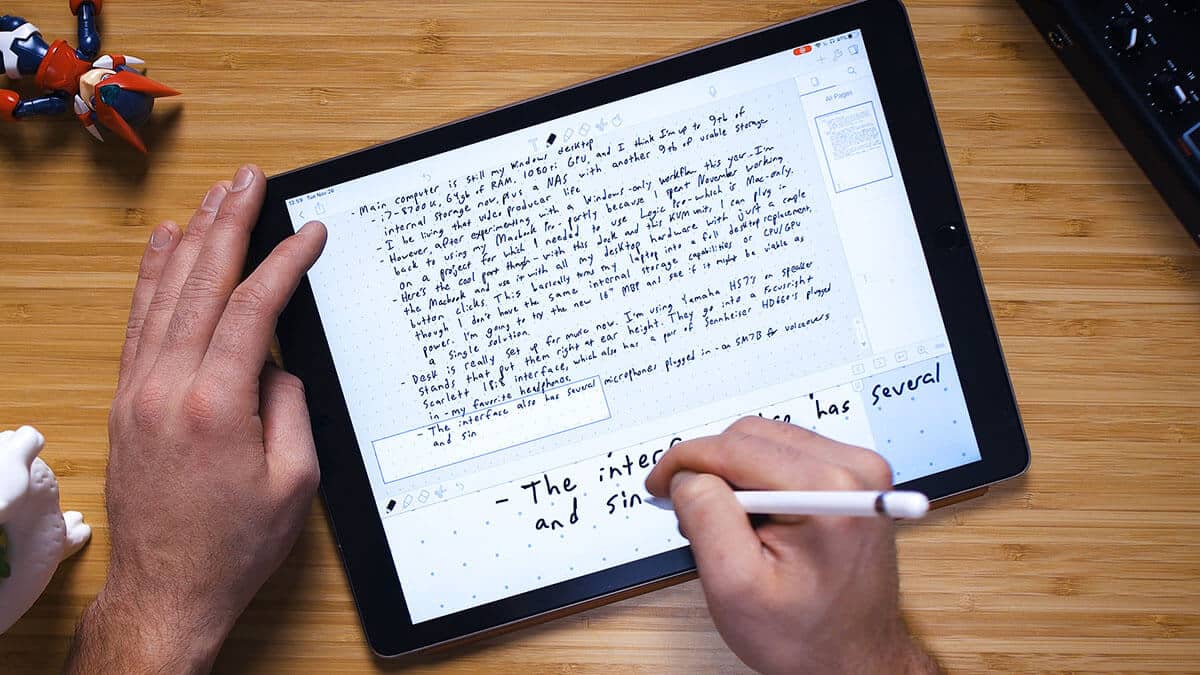
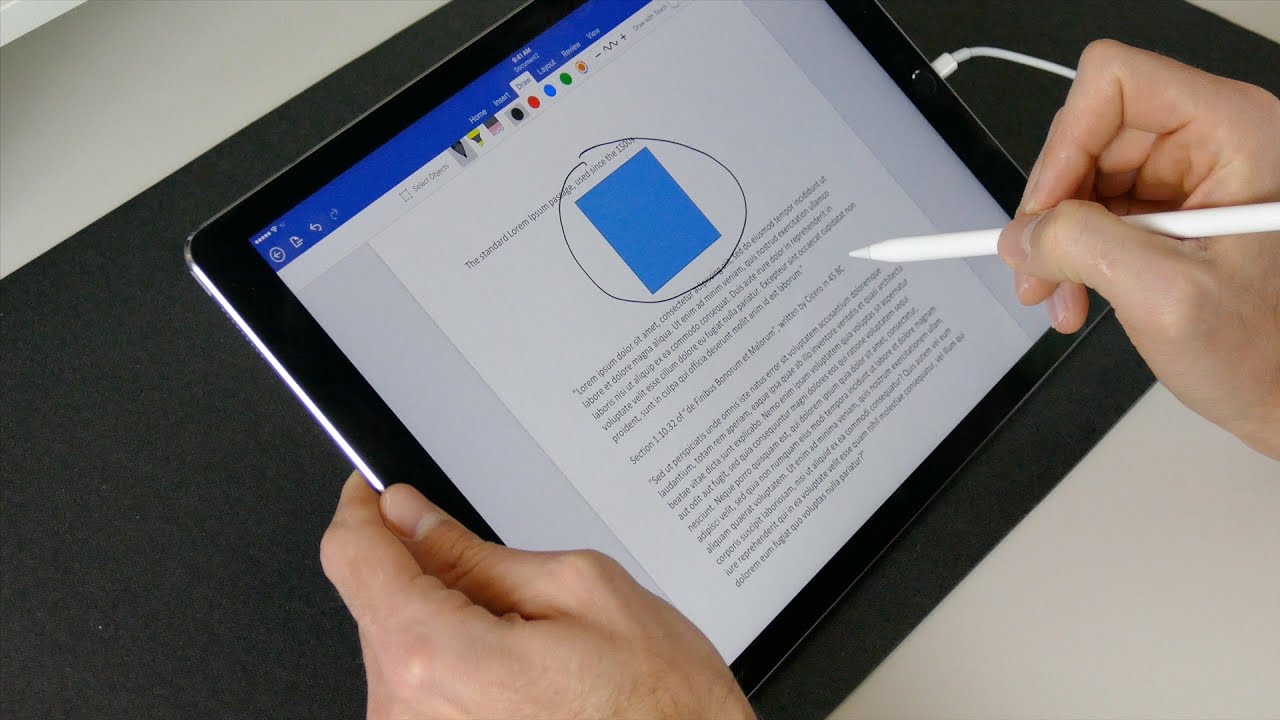
With the Apple Pencil connected to your iPad, you’re ready to unleash your creativity and start writing with precision and ease. Here are some tips to help you make the most of your writing experience with the Apple Pencil:
- Select a compatible app: Choose an app that supports Apple Pencil input for the best writing experience. Popular options include Apple’s Notes app, GoodNotes, and Notability.
- Hold the Apple Pencil comfortably: Hold the Apple Pencil as you would hold a traditional pen or pencil. Find a grip that feels comfortable and allows you to have full control over your writing.
- Apply varying pressure: The Apple Pencil is pressure-sensitive, so you can create thicker or thinner lines by adjusting the pressure you apply while writing. Experiment with different pressures to achieve the desired effect.
- Utilize tilt functionality: Take advantage of the Apple Pencil’s tilt functionality to add shading and depth to your writing. Tilt the pen slightly to create different line widths and achieve a more natural look.
- Use the eraser: The Apple Pencil has an integrated eraser on its end. Simply flip the stylus over and use the eraser to delete or correct any mistakes. This provides a seamless writing experience without the need for a separate eraser tool.
- Try different apps and features: Explore the wide range of apps and features available for the Apple Pencil. From calligraphy brushes to shape recognition, there are numerous tools and functions that can enhance your writing and take it to new creative heights.
Whether you’re taking notes, journaling, or creating beautiful artwork, the Apple Pencil offers incredible precision and responsiveness. Its seamless integration with the iPad’s display and the ability to mimic the feel of traditional writing instruments make it an invaluable tool for any writer or artist.
Remember to keep your Apple Pencil charged and use it in conjunction with compatible apps to unlock its full potential. With practice, you’ll find that writing with the Apple Pencil becomes second nature, allowing you to effortlessly bring your ideas to life on the digital canvas of your iPad.
Converting Handwritten Notes to Text
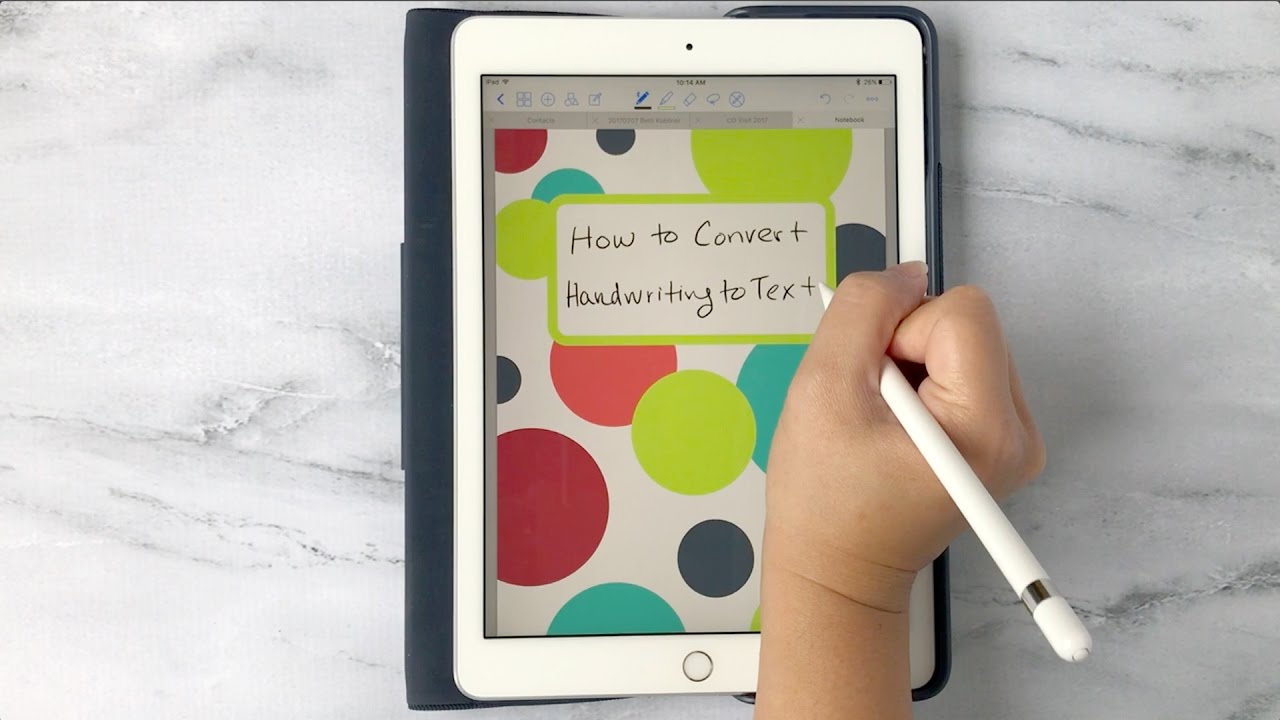
One of the standout features of the Apple Pencil is its ability to convert your handwritten notes into digital text. This can be incredibly useful when you want to share your notes electronically or if you prefer typed text over handwriting. Here’s how you can convert your handwritten notes to text using the Apple Pencil and your iPad:
- Open a compatible app: Ensure that you’re using an app that supports handwriting recognition and text conversion. Apple’s Notes app is a great option, as it has built-in handwriting recognition.
- Write your notes: Using the Apple Pencil, write your notes as you normally would on the iPad’s screen. Take care to write neatly and legibly to improve the accuracy of the conversion process.
- Select the handwritten text: After writing your notes, use either your finger or the Apple Pencil to select the handwritten text you wish to convert. You can do this by holding and dragging over the text to highlight it.
- Tap the conversion option: Once the handwritten text is selected, a pop-up menu should appear with various options. Look for the option that allows you to convert the selected text to typed text. In Apple’s Notes app, this option is represented by the icon of a capital “A” with a pencil.
- Review and edit the converted text: After conversion, take a moment to review the converted text. While the handwriting recognition technology is highly accurate, there may be some errors or misinterpretations. Edit any mistakes to ensure the accuracy of the converted text.
It’s worth noting that the conversion process may vary slightly depending on the app you’re using. Some apps offer more advanced handwriting recognition features, allowing for seamless and accurate conversion of handwritten notes to text. Additionally, certain third-party apps specialize in handwriting recognition and offer even more robust conversion capabilities.
Converting your handwritten notes to text provides you with the convenience of having digital, editable text that can be easily shared, copied, or searched. It eliminates the need for manual transcription and saves you time and effort. Experiment with different apps and find the one that best suits your needs and preferences when it comes to converting handwritten notes to text.
Tips for a Better Writing Experience
To maximize the potential of your Apple Pencil and enhance your overall writing experience, consider implementing these tips:
- Use a screen protector: An anti-glare or matte screen protector can provide a more paper-like texture and reduce slipperiness, allowing for better control and precision.
- Adjust the input settings: Experiment with the sensitivity and tilt settings in your device’s settings menu to customize the Apple Pencil’s responsiveness to your personal preference.
- Try different grips: Test out various grips and find the one that feels most comfortable and natural for you. This can improve your control and reduce fatigue during long writing sessions.
- Practice writing techniques: Learn to hold the Apple Pencil lightly and relax your hand and wrist while writing. This can help reduce strain and improve the flow of your strokes.
- Utilize shortcut features: Take advantage of the double-tap gesture functionality on the Apple Pencil. Configure it to perform actions such as switching between tools or activating the eraser, saving you time and enhancing your workflow.
- Utilize palm rejection: Most apps automatically enable palm rejection, which allows you to comfortably rest your hand on the screen while writing without interference. Ensure that this feature is active to avoid accidental marks or unintended actions.
- Backup your notes: Regularly backup your handwritten notes to prevent data loss. Use cloud storage services or sync your notes across multiple devices to ensure your work is safely preserved.
- Explore additional accessories: Consider investing in accessories like a pen grip or a stylus holder to further enhance your comfort and convenience while using the Apple Pencil.
- Practice and experiment: The more you practice using the Apple Pencil, the more familiar and comfortable you will become with its features and capabilities. Take advantage of the vast array of apps and tools available to discover new techniques and unleash your creativity.
By implementing these tips, you can enhance your writing experience with the Apple Pencil, optimize your workflow, and achieve better results. Remember, everyone’s writing style and preferences are unique, so feel free to tailor these tips to your own personal needs to make the most out of your Apple Pencil.
Conclusion
The Apple Pencil revolutionizes the way we write and create on our iPads. With its exceptional precision, pressure sensitivity, and seamless integration with compatible apps, the Apple Pencil provides a truly immersive and natural writing experience. Whether you’re an artist, a student, or a professional, this innovative tool offers unparalleled control and accuracy, allowing you to bring your ideas to life with ease.
In this article, we explored the setup process for the Apple Pencil and learned how to write and draw with precision using this digital pen. We also discovered how to convert our handwritten notes into digital text, providing a convenient way to share and edit our work. Along the way, we shared valuable tips to enhance your writing experience, from adjusting settings to practicing proper writing techniques.
The Apple Pencil opens up a world of possibilities, allowing you to unleash your creativity and productivity. Whether you’re using it for note-taking, sketching, or other creative endeavors, the Apple Pencil delivers an unmatched level of control and sensitivity that sets it apart from other stylus options on the market.
So, grab your Apple Pencil, let your imagination run wild, and explore the endless opportunities that this remarkable tool offers. Whether you’re a professional artist, a student taking notes in class, or simply someone who enjoys doodling to relax, the Apple Pencil is sure to elevate your creative experience and take your writing and drawing skills to new heights.