Benefits of Writing on PDFs with Apple Pencil
Writing on PDFs with Apple Pencil is a game-changer for those who regularly work with digital documents. The combination of the precision and responsiveness of the Apple Pencil, along with the convenient features of PDF annotation, offers numerous benefits. Whether you’re a student, professional, or casual user, here are some of the advantages of using Apple Pencil for PDF annotation:
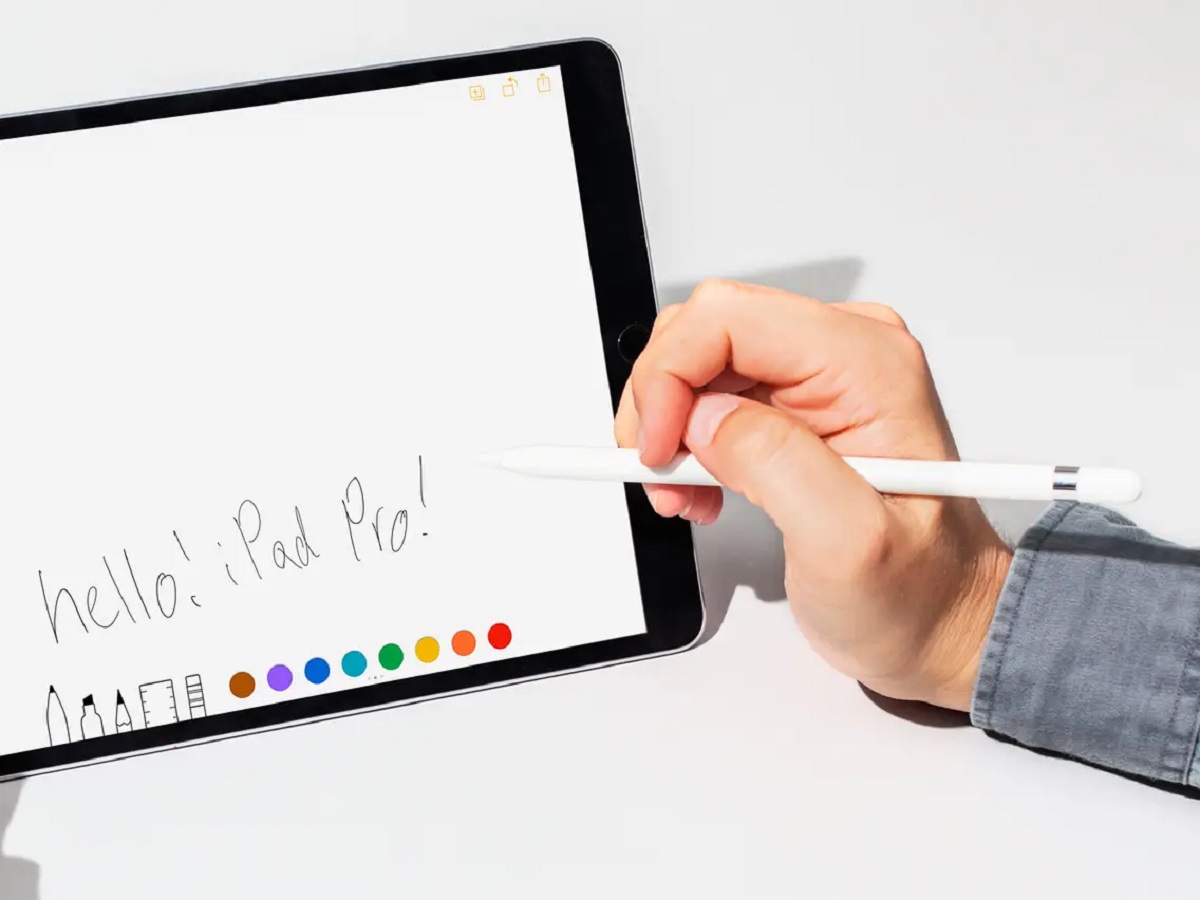
- Enhanced Productivity: Writing on PDFs with Apple Pencil allows for faster and more efficient note-taking and annotation. Instead of relying on the cumbersome process of typing or using a mouse, you can simply write on the document directly, replicating the experience of writing on paper. This not only saves time but also enables a more fluid and natural workflow.
- Precision and Accuracy: The Apple Pencil is designed to provide precise control and accurate pen-like input. This makes it ideal for highlighting important points, underlining text, or drawing diagrams and shapes on PDFs. The fine tip of the pencil ensures that your annotations are clear and legible, adding professional quality to your work.
- Improved Focus and Engagement: When you write on PDFs with Apple Pencil, you actively engage with the content. This hands-on approach helps improve focus and retention, as the tactile experience of writing enhances cognitive processing. It also allows for interactive studying or collaboration, as you can easily share your annotated PDFs with others.
- Flexibility and Versatility: Apple Pencil offers a range of annotation tools and features that enable you to customize your PDFs according to your needs. You can choose from a variety of colors and pen styles to differentiate between notes, highlighters, and other annotations. This flexibility allows for personalized organization and easy identification of key information.
- Easy Editing and Corrections: One of the advantages of writing on PDFs with Apple Pencil is the ability to make quick edits and corrections. If you make a mistake or want to revise your annotations, the “Undo” feature allows you to undo your previous actions. This saves you from the hassle of erasing or starting over from scratch, making the editing process seamless and efficient.
These are just a few of the benefits of using Apple Pencil to write on PDFs. Whether you’re taking notes, marking up documents, or collaborating with others, the combination of the Apple Pencil and PDF annotation tools can revolutionize your digital workflow. So, grab your Apple Pencil and start exploring the endless possibilities of annotating and writing on PDFs.
Setting Up Apple Pencil for PDF Annotation
If you want to start writing on PDFs with your Apple Pencil, there are a few steps you need to follow to set it up properly. Here’s a simple guide to get you started:
- Pairing your Apple Pencil: Before you can use your Apple Pencil with your iPad, you need to pair it. Simply remove the cap of the Apple Pencil and connect it to the charging port of your iPad. A pop-up prompt will appear on the screen asking you to pair the Pencil. Follow the instructions on the screen, and once paired, your Apple Pencil is ready to use.
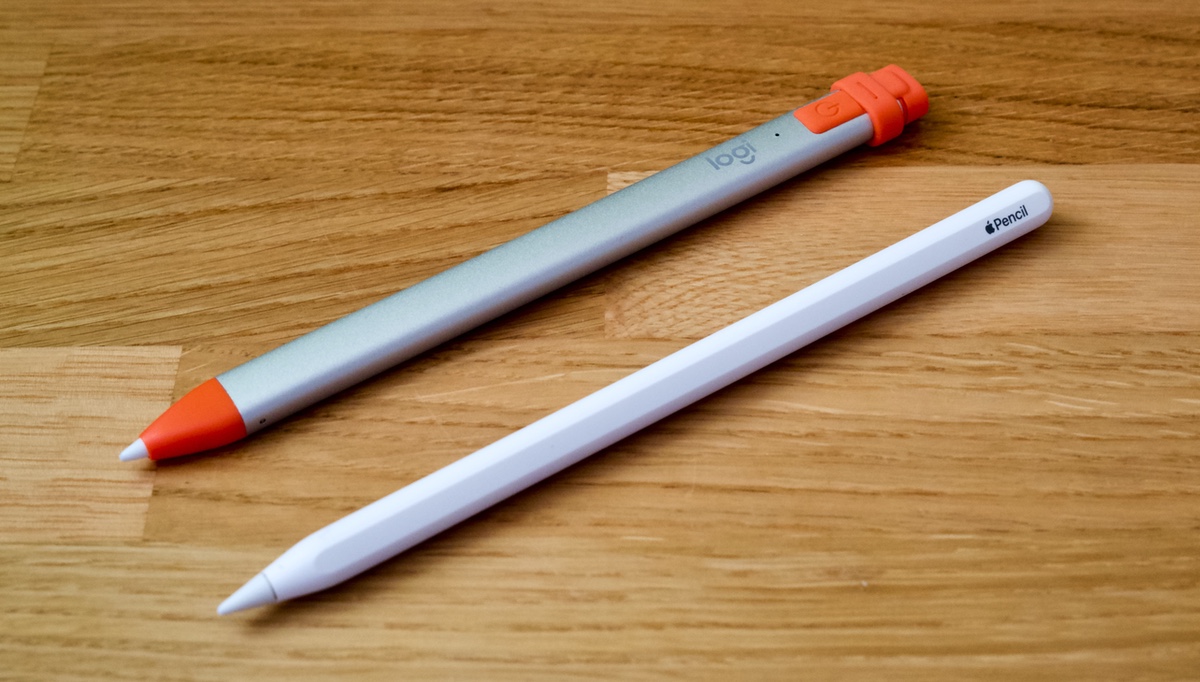
- Checking compatibility: Ensure that your iPad model supports Apple Pencil functionality. Not all iPads are compatible with Apple Pencil, so it’s essential to check your device’s specifications to confirm compatibility.
- Updating your iPad: It’s always a good idea to keep your iPad’s software up to date. Updating your iPad to the latest version of iOS ensures that you have the newest features and bug fixes, including any improvements related to Apple Pencil functionality.
- Adjusting Apple Pencil settings: Open the Settings app on your iPad and navigate to the Apple Pencil settings. Here, you can customize various aspects of your Apple Pencil’s behavior, such as double-tap actions, palm rejection, and pressure sensitivity. Adjust these settings according to your preferences to optimize your writing experience.
- Choosing the right note-taking app: There are several note-taking apps available that support Apple Pencil annotation on PDFs. Choose an app that suits your needs and preferences, considering factors like features, user interface, and compatibility with cloud storage services. Some popular options include GoodNotes, Notability, and Adobe Acrobat Reader.
By following these steps, you can ensure that your Apple Pencil is properly set up for PDF annotation. Once you’ve completed the setup, you’re ready to start exploring the world of digital note-taking and marking up PDFs with the precision and convenience of the Apple Pencil.
Using Apple Pencil to Annotate PDFs
Once you have set up your Apple Pencil and chosen the right note-taking app, you can start using it to annotate PDFs. Here are the steps to effectively annotate PDFs with Apple Pencil:
- Open the PDF: Launch your chosen note-taking app and open the PDF you want to annotate. You can import PDFs from various sources, such as email attachments, cloud storage services, or directly from the app’s file management system.
- Select the annotation tool: Most note-taking apps offer a range of annotation tools, such as pens, highlighters, and text boxes. Choose the tool that best suits your annotation needs. If you want to write directly on the PDF, select the pen tool.
- Start annotating: Use your Apple Pencil to write, highlight, or draw on the PDF. If you want to underline or highlight text, simply draw a line or use the highlighter tool to mark the desired text. To add handwritten notes, write directly on the document using the pen tool. You can also use different colors and line thicknesses to enhance the visual appeal of your annotations.
- Resize and move annotations: Most note-taking apps allow you to resize and move your annotations. This feature is helpful when you want to fine-tune the position or size of your notes, ensuring they align perfectly with the PDF content. To resize an annotation, select it and use the app’s resizing handles. To move an annotation, tap and hold it, then drag it to the desired location.
- Use additional annotation features: Depending on the app you’re using, there may be additional annotation features available. These could include adding stamps or images, drawing shapes and lines, or creating text boxes for typed annotations. Explore these features and utilize them to enhance your PDF annotations.
- Save your annotated PDF: After you’ve finished annotating the PDF, don’t forget to save your work. Most note-taking apps have a save or export function that allows you to save the annotated PDF to your device or cloud storage. This way, you can access and share your annotated PDF easily.
By following these steps, you can effectively use your Apple Pencil to annotate PDFs. Whether you’re studying, reviewing documents, or collaborating with colleagues, the Apple Pencil’s precision and ease of use will greatly enhance your digital annotation experience.
Adding Notes and Comments to PDFs Using Apple Pencil
One of the great advantages of using Apple Pencil for PDF annotation is the ability to add notes and comments directly on the document. This feature allows you to provide additional context, insights, or explanations to the content of the PDF. Here’s how you can effectively add notes and comments using Apple Pencil:
- Select the note-taking tool: Open your preferred note-taking app and choose the note-taking tool, usually represented by a pencil or pen icon. This allows you to write notes directly on the PDF.
- Start writing: Use your Apple Pencil to write your notes or comments in the margins, next to specific paragraphs, or anywhere else you find appropriate. You can adjust the size and thickness of the writing tool to match your preference. The natural feel of the Apple Pencil makes the note-taking process seamless and enjoyable.
- Use text boxes for longer comments: If your note or comment is longer or you prefer typed text, many note-taking apps offer the option to add text boxes. Simply select the text box tool and position it where you want to write your comment. You can then use the on-screen keyboard or an external keyboard to type your comment.
- Highlight important notes: To draw attention to specific notes or comments, you can use highlighters or change the color of the text. Highlighting important points makes it easier for you or others to reference them later.
- Edit, move, or delete notes: Note-taking apps often allow you to edit, move, or delete notes and comments. This versatility ensures that you can refine your annotations as needed. If you need to modify a note, simply select it and make the necessary changes. To move a note, tap and hold it, then drag it to a new location. If you want to remove a note, either select it and choose the delete option or use the eraser tool.
- Organize and categorize your notes: Some note-taking apps offer organizational features, such as folders or tags, to help you manage your notes effectively. Consider utilizing these features to keep your notes organized and easily accessible.
- Save and share annotated PDF: After adding your notes and comments, remember to save your annotated PDF. You can save it on your device or export it to cloud storage or other sharing platforms. This ensures that you can access or share your annotated PDF without any hassle.
By following these steps, you can effectively add notes and comments to your PDFs using your Apple Pencil. Whether you’re studying, reviewing documents, or collaborating with others, adding personalized annotations brings a new level of engagement and clarity to your PDF workflow.
Highlighting Text and Adding Underlines with Apple Pencil
With the precision and responsiveness of the Apple Pencil, highlighting text and adding underlines to PDFs becomes a seamless task. These annotation techniques help you emphasize important information or draw attention to specific passages. Here’s how you can effectively highlight text and add underlines using Apple Pencil:
- Select the highlighter tool: Open your note-taking app and choose the highlighter tool. This tool is typically represented by a marker or highlighter icon. Select a color that stands out from the text and ensures readability.
- Drag to highlight: In the PDF, use your Apple Pencil to drag the highlighter tool over the text you want to highlight. Move your Apple Pencil along the desired passage, covering the text with the highlighter stroke. The highlighter tool mimics the experience of using a physical highlighter, providing a familiar and comfortable annotation process.
- Adjust highlighter size: Some note-taking apps allow you to adjust the size or thickness of the highlighter stroke. If needed, modify the size to match the text size or your personal preference. This customization ensures that your highlights are legible and visually appealing.
- Adding underlines: Underlining text is another valuable annotation technique to draw attention. To underline text with Apple Pencil, choose the pen tool or switch to the underline mode within the highlighter tool. Use your Apple Pencil to draw a line directly under the text you want to underline.
- Modify highlights and underlines: Most note-taking apps offer options to modify or remove highlights and underlines. If you need to change the color or thickness of a highlight, select it and choose the desired options from the annotation settings. To remove a highlight or underline, tap on it and either select the delete option or use the eraser tool.
- Customize your annotations: Experiment with different colors for highlights and underlines to create a visual hierarchy or categorize your annotations. For example, you could use different colors for different types of information or to differentiate between important and less significant details. These customization options allow you to tailor your annotations to suit your needs.
- Save and share your annotated PDF: After highlighting text and adding underlines, save your annotated PDF. This ensures that your annotations are preserved, and you can access them whenever needed. Whether you’re sharing the PDF with others or revisiting it for personal reference, saving your changes is crucial.
By following these steps, you can effectively highlight text and add underlines using Apple Pencil. These annotation techniques make it easier to spot key points, emphasize important information, and create a more interactive reading experience with your PDF documents.
Creating Handwritten Text on PDFs with Apple Pencil
One of the significant advantages of using Apple Pencil for PDF annotation is the ability to create handwritten text directly on the document. This feature enables you to add personalized notes, comments, or annotations in your own handwriting. Here’s how you can effectively create handwritten text on PDFs using Apple Pencil:
- Select the pen tool: Open your preferred note-taking app and choose the pen tool. This tool typically mimics the experience of writing with a pen or pencil. Select a pen size that suits your handwriting style and the level of detail you desire.
- Start writing: Use your Apple Pencil to write directly on the PDF document. Write notes, comments, or annotations in the margin, beside specific paragraphs, or wherever appropriate. The Apple Pencil’s sensitivity and precision ensure that your handwriting appears smooth and legible, resembling the experience of writing on paper.
- Adjust line thickness and color: Many note-taking apps offer options to customize the line thickness and color of the pen tool. You can adjust these settings according to your preferences or to differentiate between different types of annotations. Experiment with different colors and line thicknesses to enhance the visual appeal of your handwritten text.
- Resize and move your handwritten text: If you need to resize or reposition your handwritten text, most note-taking apps allow you to do so. Select the handwritten text and use the app’s resizing handles to adjust the size. To move the text, tap and hold it, then drag it to the desired location on the PDF.
- Add clarity with typed text: Some note-taking apps offer the option to add typed text in addition to handwritten notes. If you have longer comments or need clarity, you can switch to the text tool and type your comments using the on-screen or external keyboard. This ensures legibility while maintaining the personalized touch of your handwritten text.
- Modify or erase your handwriting: Note-taking apps usually provide options to modify or erase your handwritten text. If you need to make changes, select the text and make the necessary edits or additions. If you want to remove the text entirely, either select and delete it or use the eraser tool.
- Save and share your annotated PDF: After creating handwritten text on the PDF, save your annotated document. Saving your work ensures that your handwritten annotations are preserved, making it easy to access or share the PDF with others. Whether you’re revisiting the document for reference or collaborating with others, saving your changes is essential.
By following these steps, you can effectively create handwritten text on PDFs using Apple Pencil. This feature adds a personal touch to your annotations, making them more engaging and enhancing your overall digital note-taking experience.
Using Apple Pencil to Draw Shapes and Diagrams on PDFs
The Apple Pencil offers a fantastic opportunity to enhance PDF annotations with the ability to draw shapes and diagrams directly on the document. This feature allows you to visually represent ideas, concepts, or illustrate key points. Here’s how you can effectively draw shapes and diagrams on PDFs using Apple Pencil:
- Select the drawing tool: Open your preferred note-taking app and choose the drawing tool. This tool is usually represented by a pencil or brush icon. Select a suitable brush size that matches your desired thickness for drawing shapes and diagrams.
- Choose a suitable color: Select the color that stands out and provides clarity for your shapes and diagrams. Depending on the app, you may have a range of color options available. Consider using different colors to distinguish between various elements or categories within your diagrams.
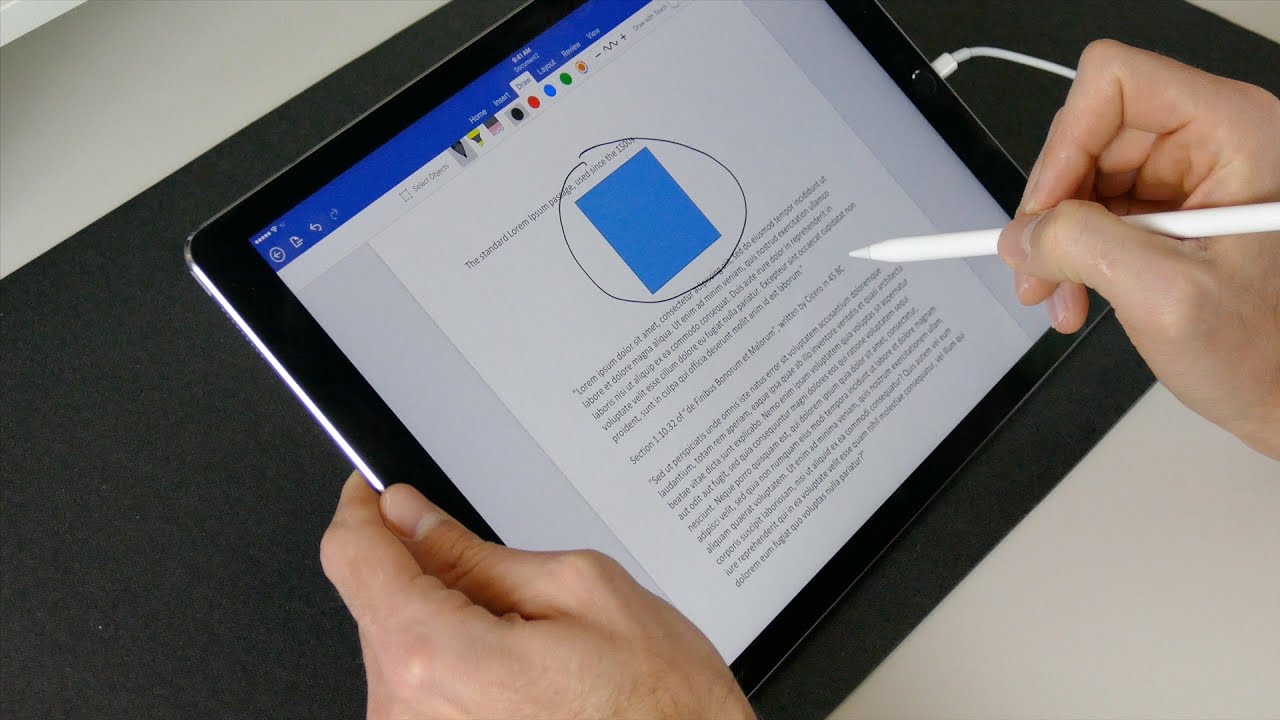
- Draw shapes: Use your Apple Pencil to draw shapes directly on the PDF. You can create rectangles, circles, triangles, arrows, or any other shapes that are relevant to your annotations. The precise control of the Apple Pencil ensures that your shapes appear neat and professional.
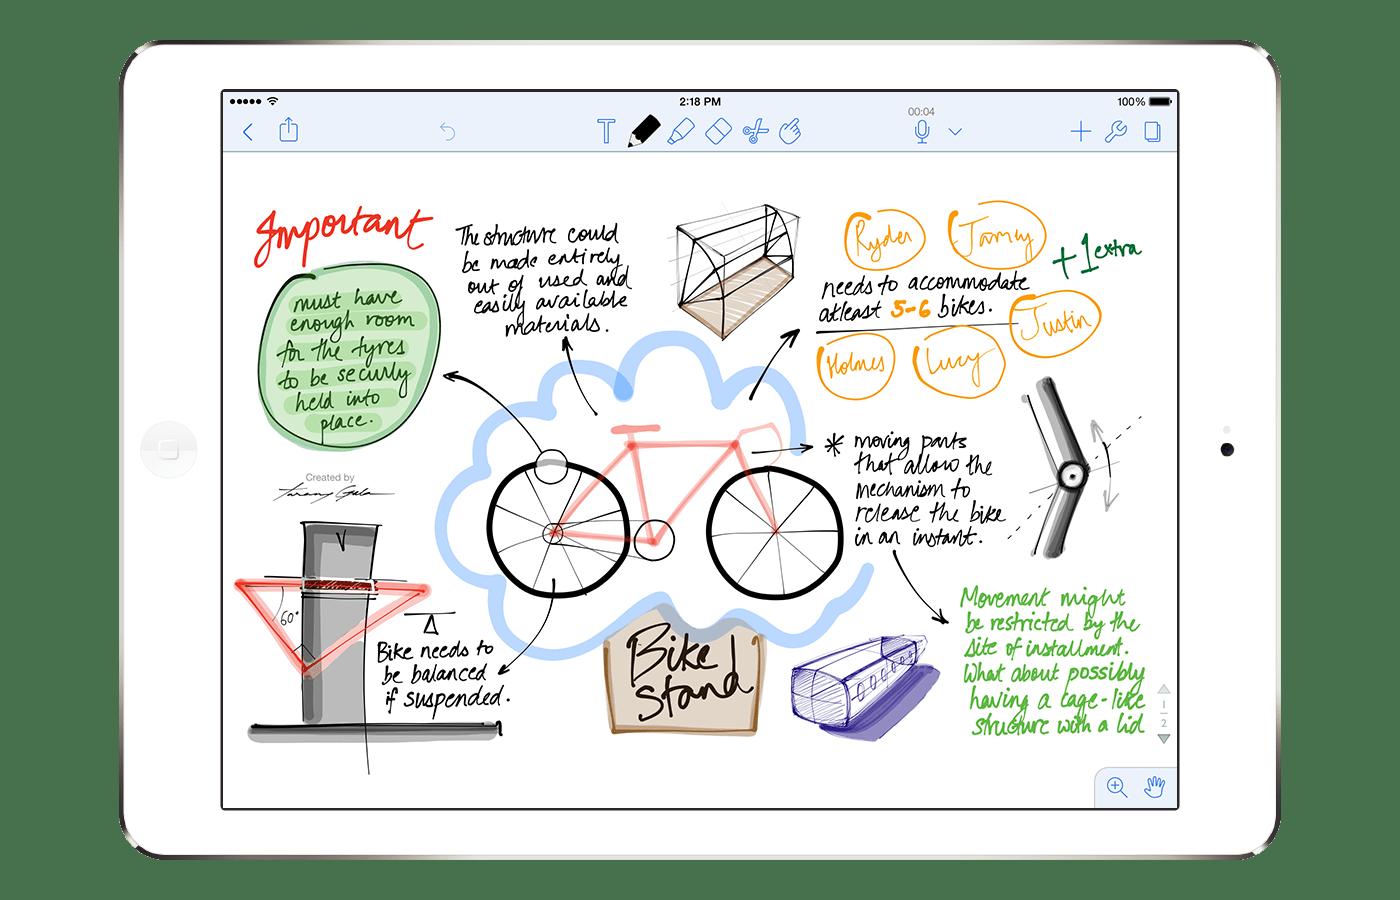
- Create diagrams: Along with simple shapes, you can also create more complex diagrams to convey information effectively. Use your Apple Pencil to draw flowcharts, mind maps, Venn diagrams, or any other visual representations that support your ideas. The Apple Pencil’s responsiveness allows for smooth and accurate diagramming.
- Add labels or text: If necessary, use the text tool within your note-taking app to add labels or descriptions to your shapes and diagrams. This ensures clarity and provides additional context. Make sure to choose a readable font size and style to ensure legibility.
- Modify or erase shapes and diagrams: Note-taking apps often offer options to modify or erase your drawn shapes and diagrams. If you need to resize or adjust a shape, select it and make the necessary changes using the app’s editing tools. If you want to remove a shape or diagram entirely, either select and delete it or use the eraser tool.
- Save and share your annotated PDF: Once you have finished drawing shapes and diagrams on the PDF, remember to save your annotated document. Saving your work ensures that your annotations are preserved, allowing you to easily access or share the PDF with others. Whether you’re presenting ideas, teaching, or collaborating with colleagues, saving your changes is essential.
By following these steps, you can effectively use Apple Pencil to draw shapes and diagrams on PDFs. The ability to visually represent information enhances the clarity and impact of your annotations, making them more engaging and informative.
Erasing and Undoing Annotations with Apple Pencil
When working with digital annotations on PDFs using Apple Pencil, it’s essential to have the ability to erase or undo your annotations when needed. Apple Pencil provides a straightforward and convenient way to correct or remove annotations. Here’s how you can effectively erase and undo annotations using Apple Pencil:
- Access the eraser tool: Most note-taking apps offer an eraser tool specifically designed for erasing annotations. Locate and select the eraser tool within your chosen app.
- Erase individual annotations: Use your Apple Pencil and the eraser tool to remove specific annotations. Simply tap or swipe the eraser tool over the annotation you want to delete. The eraser mimics the feel of an eraser on paper, providing a familiar and intuitive experience.
- Erase multiple annotations: If you need to erase multiple annotations at once, some note-taking apps offer an option to select multiple annotations and delete them simultaneously. This feature can be particularly helpful when you have a cluttered area with overlapping annotations.
- Undo your last action: In case you want to revert your most recent annotation or editing action, you can use the undo feature available in many note-taking apps. This function allows you to erase or undo your last action with a single tap or gesture, effectively removing or reverting the annotation.
- Undo multiple actions: Some note-taking apps provide a robust undo history that allows you to step back and undo multiple actions in chronological order. This can be useful when you want to correct a series of annotations or revisions that occurred over time.
- Redo an undone action: If you accidentally undo an annotation or decide to revert your undo action, you can often redo the previous action using the redo feature in your note-taking app. This way, you can restore annotations that you have mistakenly erased or undone.
- Experiment with eraser settings: Some note-taking apps offer eraser settings that allow you to customize the size and thickness of the eraser tool. Experiment with different settings to find the perfect balance between precision and coverage for erasing annotations.
- Save and share your annotated PDF: After making changes with the eraser tool or undo feature, remember to save your annotated PDF. This ensures that your changes are preserved, and you can access or share the PDF with others. Saving is crucial, particularly after erasing or undoing any annotations.
By following these steps, you can effectively erase and undo annotations using Apple Pencil. This feature allows for easy correction and modification of your annotations, ensuring that you can maintain accurate and organized PDF documents.
Saving and Sharing Annotated PDFs with Apple Pencil
After annotating PDFs with Apple Pencil, it’s important to save your work and have the ability to share your annotated documents with others. Apple Pencil, combined with note-taking apps, offers seamless ways to save and share your annotated PDFs. Here’s how you can effectively save and share your annotated PDFs using Apple Pencil:
- Save your annotated PDF: Once you have completed annotating the PDF with Apple Pencil, make sure to save your work. Most note-taking apps have a save or export function specifically designed to preserve your annotations. Save the annotated PDF on your device or in a preferred location within the app.
- Choose a file format: Depending on your needs, select the appropriate file format to save your annotated PDF. Common file formats for saving annotated PDFs include PDF (with annotations embedded), JPEG, or PNG. PDF format is generally recommended as it retains the original format of the document along with the applied annotations.
- Access your saved PDF: Once saved, you can easily access your annotated PDF within the note-taking app’s file management system. The app typically offers a library or folder structure where you can locate and retrieve your saved annotated PDFs.
- Share your annotated PDF: With the annotated PDF saved, you can now share it with others. Most note-taking apps provide various sharing options, including email, messaging apps, cloud storage services, or direct export to other productivity tools. Choose the sharing method that suits your needs and preferences.
- Email or messaging apps: If you prefer to directly send the annotated PDF via email or messaging apps, your note-taking app will usually provide a sharing option to attach or send the PDF file. This method is convenient for one-on-one communication or sharing with small groups.
- Cloud storage services: Many note-taking apps integrate with popular cloud storage services like Google Drive, Dropbox, or iCloud. By connecting your app to a cloud storage account, you can easily upload and share your annotated PDFs with others. This method allows for collaborative work and enables access to the annotated PDF from multiple devices.
- Direct export to other apps: In some cases, you may need to export your annotated PDF to other productivity tools, such as presentation software or document management platforms. Note-taking apps often offer direct export options to such apps, ensuring a seamless workflow and integration between different tools.
- Consider security and privacy: When sharing annotated PDFs with others, consider the security and privacy implications, especially if the PDF contains sensitive or confidential information. Use secure sharing methods and be mindful of the access permissions granted to recipients.
By following these steps, you can effectively save and share your annotated PDFs with Apple Pencil. Whether it’s for collaborative work, sharing with colleagues or clients, or simply keeping a backup, the ability to save and share annotated PDFs adds great value to your digital workflow.
Tips and Tricks for Writing on PDFs with Apple Pencil
Writing on PDFs with Apple Pencil can be a powerful tool for productivity and creativity. To make the most of this feature, here are some tips and tricks to enhance your experience:
- Use a screen protector: Consider using a matte or paper-like screen protector for your iPad. These screen protectors provide a more tactile feel, simulating the texture of paper, which can enhance the writing experience with Apple Pencil.
- Try different note-taking apps: Experiment with different note-taking apps to find the one that suits your workflow and preferences. Each app offers unique features, interface layouts, and compatibility with cloud storage services, so explore different options to find the perfect match.
- Utilize shortcuts and gestures: Familiarize yourself with any shortcuts or gestures supported by your note-taking app. These can help you work more efficiently, such as using two-finger gestures to switch between tools or accessing quick menu options with a swipe.
- Use layers for organization: Some note-taking apps support layer functionality, allowing you to separate different types of annotations or markups onto separate layers. This can help keep your annotations organized and easily manageable.
- Take advantage of OCR technology: Many note-taking apps offer Optical Character Recognition (OCR) technology. This enables you to convert your handwritten text into searchable and editable digital text, making it easy to find specific information within your annotations.
- Backup your annotated PDFs: Regularly back up your annotated PDFs to ensure you don’t lose your work. Consider syncing the files with cloud storage services or using external storage options to have multiple copies of your annotated documents.
- Experiment with colors and styles: Don’t be afraid to experiment with different colors, line thicknesses, and styles when annotating. Using a variety of colors or line styles can help distinguish between different types of annotations or draw attention to specific elements within the PDF.
- Practice handwriting recognition: If your note-taking app supports handwriting recognition, take time to train and practice writing in a way that improves the accuracy of the conversion. Consistent and legible handwriting can greatly enhance the effectiveness of this feature.
- Invest in a storage and organization system: As you accumulate more annotated PDFs, it’s important to have a system in place for storage and organization. Create folders, use tags or labels, or apply a naming convention to keep your annotated PDFs easily searchable and accessible.
- Share and collaborate: Take advantage of the collaborative capabilities of note-taking apps. Share your annotated PDFs with colleagues, classmates, or friends, enabling you to work together, provide feedback, and engage in fruitful discussions.
By incorporating these tips and tricks into your workflow, you can optimize your experience of writing on PDFs with Apple Pencil. Experiment with different techniques, explore app functionalities, and tailor your approach to suit your specific needs and preferences.