Introduction
Welcome to this step-by-step guide on how to connect your new Apple Pencil to your iPad. Whether you are an artist, designer, or simply looking to take your productivity to the next level, the Apple Pencil is a fantastic tool that brings precision and creativity to your fingertips. The process of connecting the Apple Pencil to your iPad is straightforward and can be completed in just a few easy steps.
By following this guide, you will be able to seamlessly connect your Apple Pencil to your iPad and start unleashing its full potential. So, without further ado, let’s dive into the process and get your Apple Pencil up and running in no time.
It’s important to note that the Apple Pencil is compatible with various iPad models, including the iPad Air (3rd generation), iPad mini (5th generation), iPad (6th and 7th generation), and the iPad Pro models (all generations). Before proceeding, make sure your iPad is one of the compatible models to ensure a successful connection.
Now that we have covered the basics, it’s time to move on to the first step: checking the compatibility of your iPad with the Apple Pencil. Let’s get started!
Step 1: Check Compatibility
The first step in connecting your new Apple Pencil to your iPad is to ensure that your iPad is compatible with the Apple Pencil. The Apple Pencil is compatible with several iPad models, including the iPad Air (3rd generation), iPad mini (5th generation), iPad (6th and 7th generation), and all iPad Pro models.
To check the compatibility, you can follow these easy steps:
- Open your iPad’s Settings app.
- Select “General” from the left-hand menu.
- Tap on “About” to access information about your iPad.
- Look for the “Model Name” or “Model Number” section.
- Compare the model name or number with the list of compatible iPad models for the Apple Pencil.
If your iPad model is listed as compatible, you can move on to the next step. However, if your iPad is not compatible, unfortunately, you will not be able to use the Apple Pencil with your device.
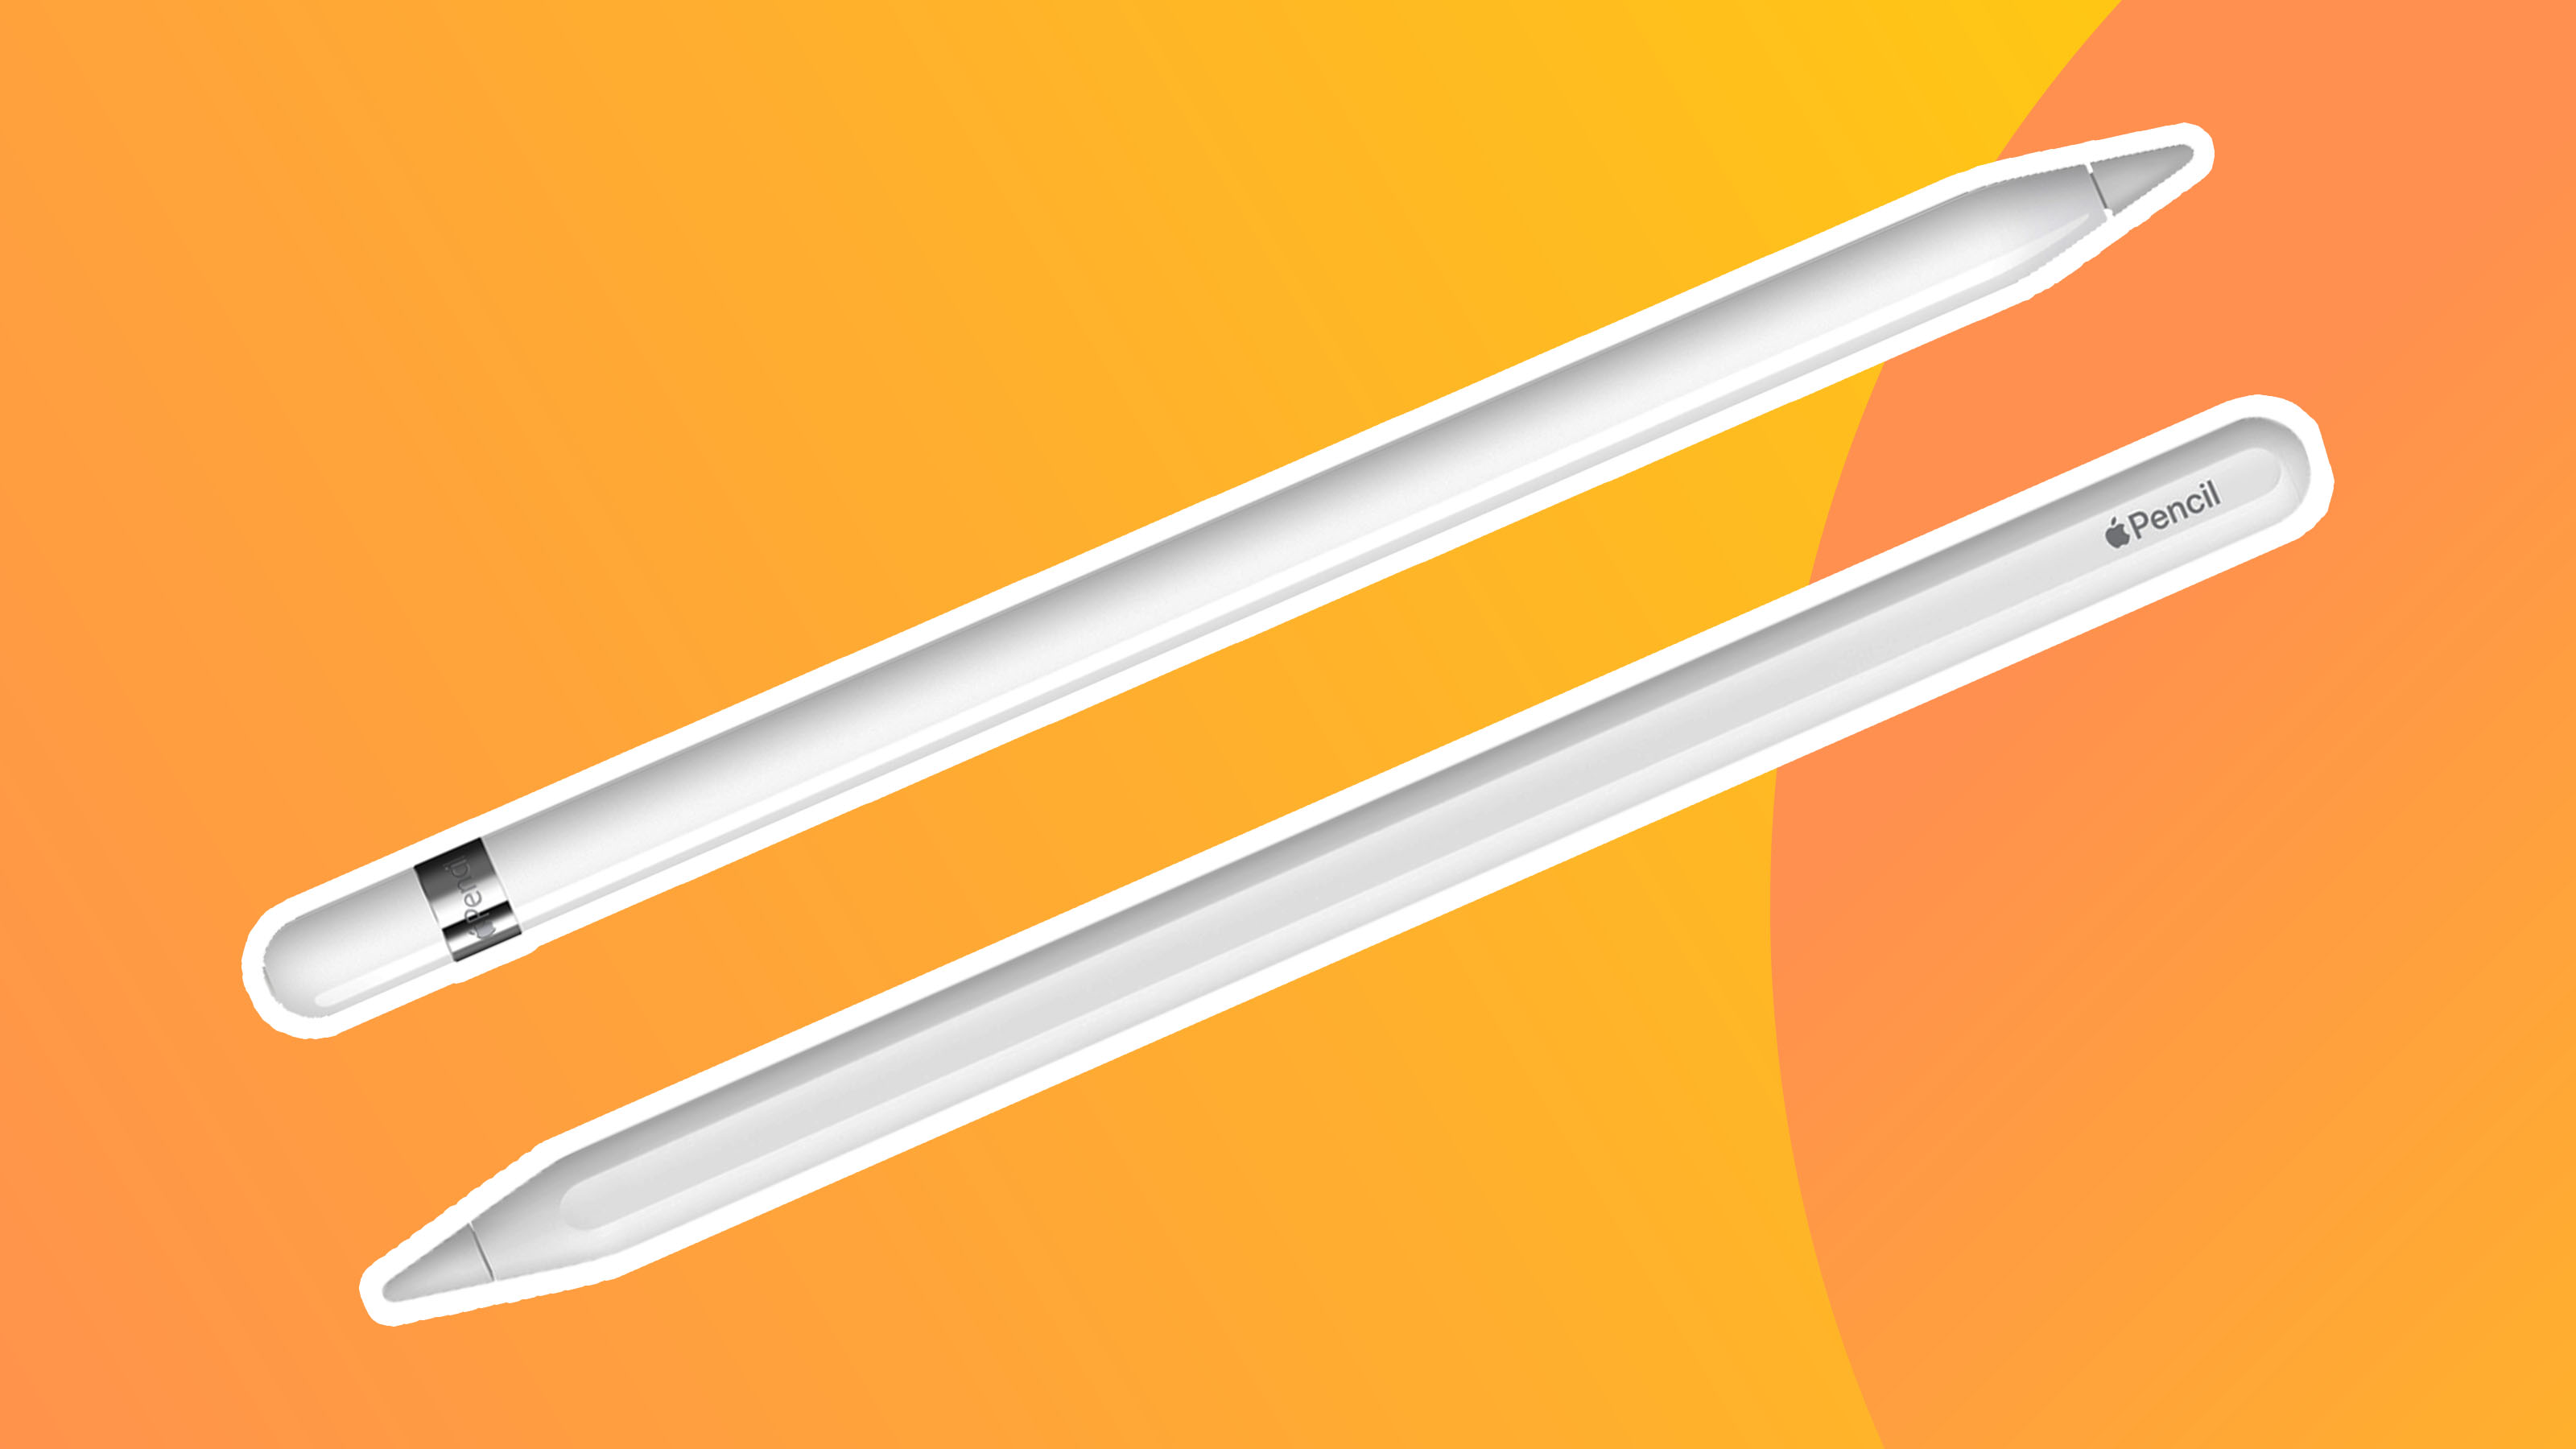
It’s worth noting that there are different generations of Apple Pencil available, so make sure you have the correct Apple Pencil model that is compatible with your iPad. Older iPad models may require the first-generation Apple Pencil, while newer models may support the second-generation Apple Pencil. Checking the compatibility will help you determine the correct Apple Pencil to use.
Once you have confirmed that your iPad is compatible with the Apple Pencil, you’re ready to move on to the next step: charging the Apple Pencil. Let’s proceed to step 2!
Step 2: Charge the Apple Pencil
Before you begin using your new Apple Pencil, it’s essential to ensure that it is charged and ready to go. The Apple Pencil uses a built-in rechargeable battery that can be charged using your iPad.
Follow these steps to charge your Apple Pencil:
- Remove the cap from the back end of the Apple Pencil.
- Insert the lightning connector on the Apple Pencil into the lightning port on your iPad.
- Leave the Apple Pencil connected to your iPad for a few minutes to allow it to charge.
- You can check the charging progress on your iPad’s screen by swiping down from the top-right corner to access the Control Center and looking for the battery percentage of the Apple Pencil.
- Once the Apple Pencil is fully charged, you can disconnect it from your iPad.
- Replace the cap on the back end of the Apple Pencil to protect the lightning connector.
It’s important to note that the first-generation Apple Pencil charges by plugging it directly into the lightning port of your iPad. However, the second-generation Apple Pencil charges wirelessly when magnetically attached to the side of your iPad Pro.
Remember, keeping your Apple Pencil charged will ensure that you have a seamless and uninterrupted creative experience. With your Apple Pencil charged and ready, you’re now prepared to move on to step 3: removing the cap. Let’s continue!
Step 3: Remove the Cap
Now that your Apple Pencil is charged, it’s time to remove the cap before connecting it to your iPad. The cap protects the lightning connector on the back end of the Apple Pencil and prevents any dirt or debris from entering the port.
Follow these steps to safely remove the cap of your Apple Pencil:
- Gently hold the Apple Pencil with one hand.
- Using your other hand, firmly grip the cap on the back end of the Apple Pencil.
- Twist the cap counterclockwise to unscrew it from the Apple Pencil.
- Once the cap is loose, continue twisting it until it can be easily removed.
- Set the cap aside in a safe place for future use.
With the cap removed, you will now have access to the lightning connector that will be used to connect the Apple Pencil to your iPad. Keeping the cap in a secure location will ensure that you can protect the lightning connector when not in use.
It’s important to handle the Apple Pencil and its cap with care to avoid any accidental damage. With the cap removed, you’re now ready to move on to step 4: locating the lightning connector. Let’s proceed!
Step 4: Locate the Lightning Connector
In order to connect your Apple Pencil to your iPad, it’s important to locate the lightning connector on the Apple Pencil. The lightning connector is a small, sleek, and reversible plug that allows for a secure and effortless connection.
To locate the lightning connector on the Apple Pencil, follow these steps:
- Hold the Apple Pencil in your hand with the tip pointing upward.
- Look at the back end of the Apple Pencil, opposite to the tip.
- You will see a small metal cylinder with a narrow opening in the center.
- This is the lightning connector, where you will connect the Apple Pencil to your iPad.
It’s important to handle the Apple Pencil with care and avoid applying excessive force to the lightning connector. The connector is delicate, and mishandling it can damage the Apple Pencil or the lightning port on your iPad.
With the lightning connector located, you’re now ready to proceed to the next step: connecting the Apple Pencil to your iPad. Let’s move on!
Step 5: Connect the Apple Pencil to the iPad
Now that you have located the lightning connector on the Apple Pencil, it’s time to connect it to your iPad. This step will establish the physical connection between the Apple Pencil and your iPad, allowing for seamless communication and functionality.
Follow these steps to connect your Apple Pencil to your iPad:
- With the lightning connector facing upward, gently insert it into the lightning port on your iPad.
- Make sure to align the connector properly and insert it with a gentle, but firm, push until it is fully inserted.
- You should feel a slight click and notice that the Apple Pencil is securely connected to your iPad.
It’s important to note that when connecting the first-generation Apple Pencil, you need to insert it directly into the lightning port on your iPad. However, if you have a second-generation Apple Pencil and you have an iPad Pro, you can attach it magnetically to the side of your iPad.
Once the Apple Pencil is connected, you’re one step closer to taking advantage of its amazing features. The connection will allow you to perform tasks such as drawing, writing, and navigating with precision and ease.
Now that your Apple Pencil is securely connected to your iPad, it’s time to proceed to step 6: pairing the Apple Pencil with your iPad. Let’s continue!
Step 6: Pair the Apple Pencil with the iPad
After connecting the Apple Pencil to your iPad physically, the next step is to pair it with your iPad. Pairing allows your iPad to recognize and communicate with the Apple Pencil, ensuring that it works seamlessly with your device.
To pair your Apple Pencil with your iPad, follow these steps:
- Unlock your iPad and navigate to the home screen.
- Open the Settings app and select “Bluetooth” from the list of options.
- Ensure that Bluetooth is enabled by sliding the toggle switch to the “On” position.
- Located within the Bluetooth settings, you should see the name of your Apple Pencil.
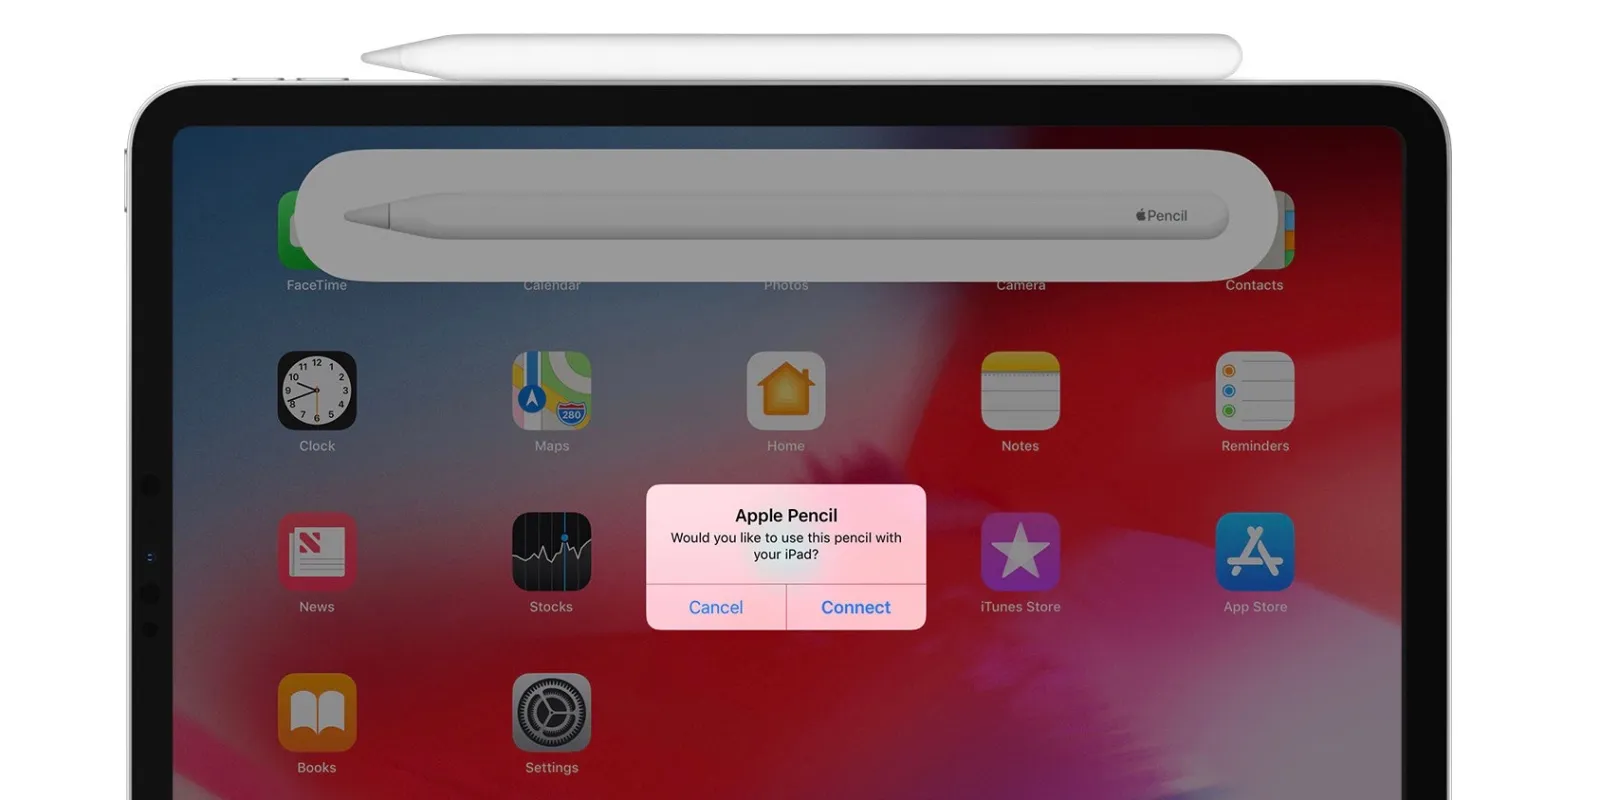
- Tap on the name of your Apple Pencil to initiate the pairing process.
- Follow any on-screen prompts to complete the pairing process.
Once the pairing is complete, your iPad will recognize the Apple Pencil, and you will be able to enjoy its full range of features and functionalities. The pairing process ensures a secure and reliable connection between the Apple Pencil and your iPad.
It’s worth noting that if you switch to a different iPad, you may need to repeat the pairing process to connect your Apple Pencil to the new device. Additionally, if you’re having trouble pairing the Apple Pencil, ensure that it is charged and restart your iPad before trying again.
With the Apple Pencil successfully paired to your iPad, you’re ready to move on to the next step: testing the Apple Pencil to ensure that it functions as intended. Let’s proceed to step 7!
Step 7: Test the Apple Pencil
Now that you have successfully connected and paired your Apple Pencil with your iPad, it’s time to put it to the test. Testing the Apple Pencil will allow you to ensure that it is functioning correctly and that you can fully utilize its features and capabilities.
Follow these steps to test your Apple Pencil:
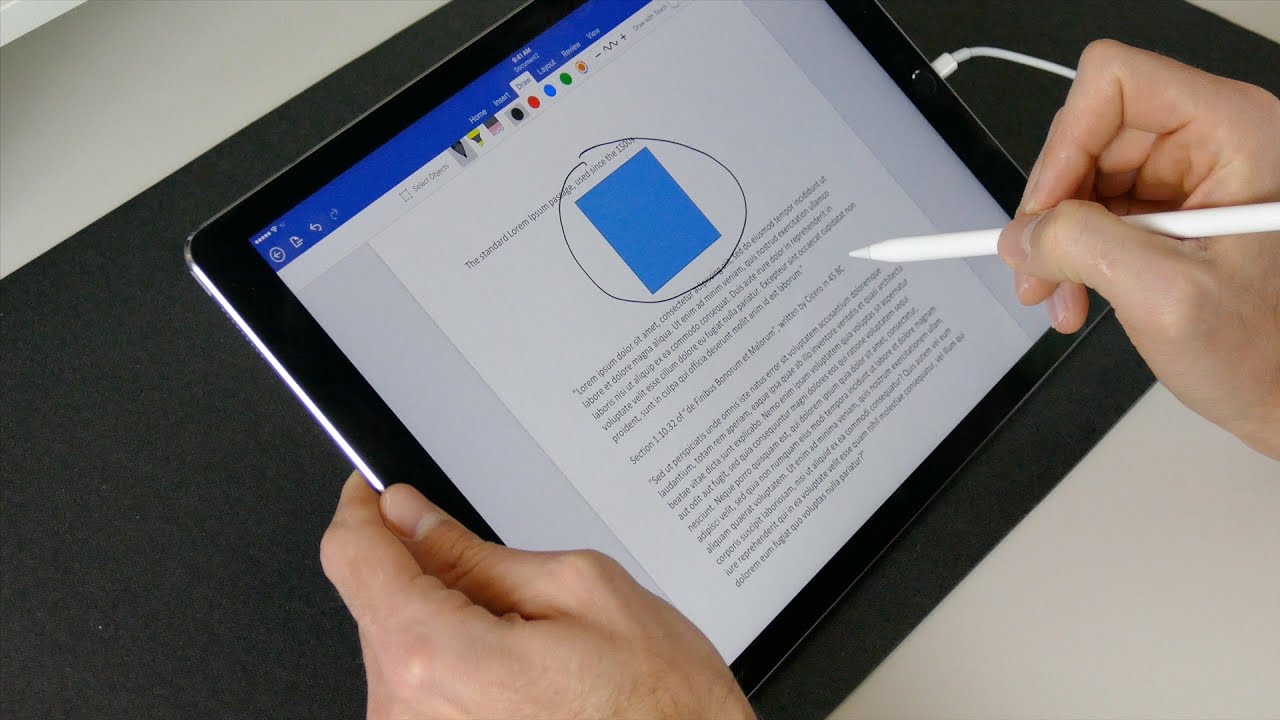
- Open an app that supports Apple Pencil, such as Notes or any drawing app.
- With your Apple Pencil in hand, apply light pressure to the tip of the pencil on the screen of your iPad.
- You should see a response on the screen, such as a line or mark being drawn.
- Experiment with different pressure levels and angles to test the responsiveness and precision of the Apple Pencil.
- Try using features like tilt recognition, palm rejection, and pressure sensitivity if supported by your app.
During the testing phase, you can explore various apps and functionalities of the Apple Pencil to get a feel for its capabilities. Whether you’re sketching, writing, or navigating through your iPad, the Apple Pencil should deliver a smooth and accurate experience.
If you encounter any issues during testing, make sure your iPad’s software is up to date, as updates often include improvements for Apple Pencil compatibility. Additionally, try disconnecting and reconnecting the Apple Pencil if you experience any connection or responsiveness problems.
Congratulations! You have successfully connected, paired, and tested your Apple Pencil. You are now ready to dive into a world of creativity, precision, and productivity. Enjoy unleashing the full potential of your Apple Pencil, and let your imagination soar!
Conclusion
Congratulations on successfully connecting your new Apple Pencil to your iPad! By following the step-by-step guide outlined in this article, you have learned how to check compatibility, charge the Apple Pencil, remove the cap, locate the lightning connector, connect the Apple Pencil to your iPad, pair them together, and test the functionality of the Apple Pencil.
The Apple Pencil is a remarkable tool that adds a new level of precision and creativity to your iPad experience. Whether you are an artist, designer, or simply looking to enhance your productivity, the Apple Pencil offers a multitude of features and functionalities to help you excel.
Remember to always handle the Apple Pencil and its accessories with care, such as removing and storing the cap safely and avoiding applying excessive force to the lightning connector. Keeping your Apple Pencil charged and paired with your iPad will ensure uninterrupted usage and maximize its capabilities.
Now that you are familiar with the process of connecting and using the Apple Pencil, feel free to explore the various apps and creative possibilities it offers. Whether you’re sketching, taking notes, editing photos, or annotating documents, let your imagination run wild.
Enjoy the seamless integration, precise control, and transformative potential that the Apple Pencil brings to your iPad. Embrace the world of digital artistry, enhance your productivity, and unlock new levels of creativity with your new Apple Pencil.