Introduction
Welcome to this guide on how to get your Apple Pencil to work! If you’re the proud owner of an Apple Pencil, you already know the incredible versatility it offers for your iPad or iPad Pro. From sketching and drawing to taking notes and editing documents, the Apple Pencil is an invaluable tool for creative enthusiasts and professionals alike.
However, getting your Apple Pencil up and running for the first time or troubleshooting any issues you may encounter can sometimes be confusing. But fret not! In this article, we’ll walk you through the essential steps to ensure your Apple Pencil is working flawlessly with your device.
Whether you have just purchased a new Apple Pencil or need assistance with pairing it, charging it, or adjusting settings, we have got you covered. Additionally, we will address common issues you may encounter and how to troubleshoot them effectively.
So, let’s dive in and learn the ropes of making your Apple Pencil work like a charm!
Checking Compatibility
Before you start using your Apple Pencil, it’s essential to ensure that it is compatible with your iPad or iPad Pro. The Apple Pencil works with specific models, so it’s crucial to check if your device supports this fantastic tool.
To determine whether your iPad is compatible with the Apple Pencil, follow these simple steps:
- First, find the model number of your iPad by going to the Settings app.
- Tap on “General” and then “About.”
- Look for the “Model” section, where you’ll find a model number like “A2428” or “A1876.”
- Once you have your model number, visit the Apple website and search for the compatibility list for the Apple Pencil.
- Compare your iPad’s model number with the list to ensure compatibility.
If your iPad model is listed as compatible, congratulations! You can proceed to the next steps for setting up your Apple Pencil. If your iPad is not compatible, unfortunately, you won’t be able to use the Apple Pencil with your device.
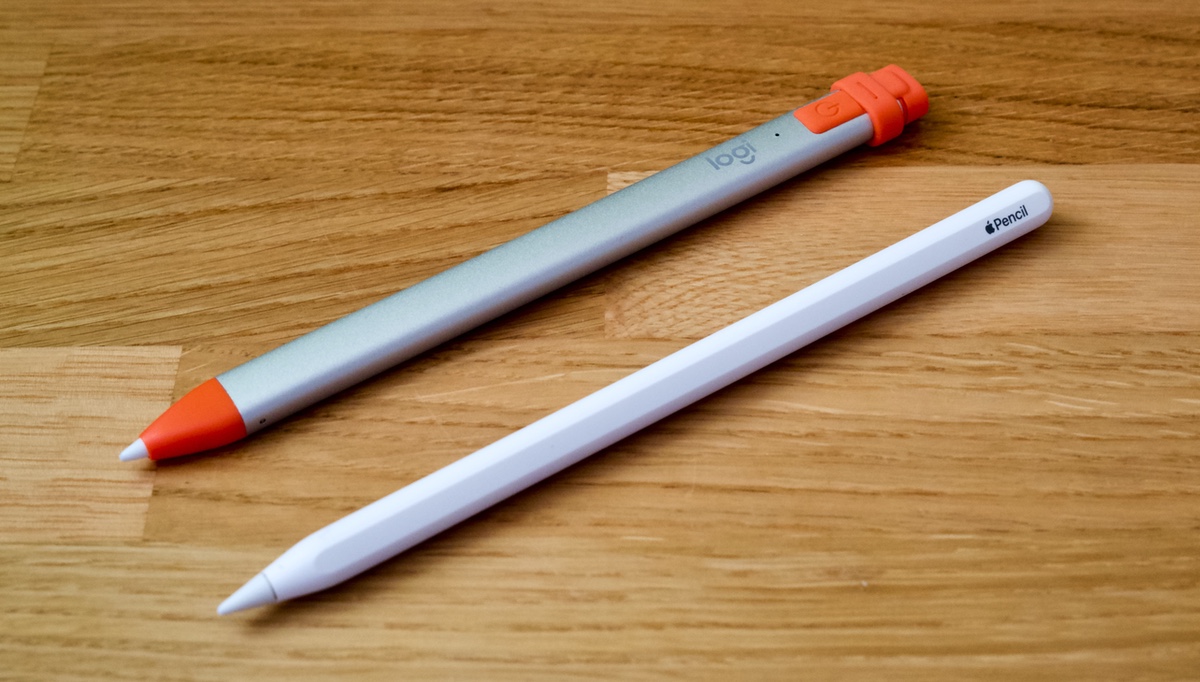
Remember that the Apple Pencil is supported by different generations, so it’s worth verifying if your iPad supports the first-generation Apple Pencil or the second-generation Apple Pencil. This information can also be found on the Apple website.
By checking the compatibility of your iPad with the Apple Pencil, you can save yourself the hassle of trying to set up an incompatible device. Now that you’ve confirmed compatibility, let’s move on to the next steps for charging and pairing your Apple Pencil with your iPad or iPad Pro.
Charging the Apple Pencil
Before you can start using your Apple Pencil, you’ll need to charge it. The Apple Pencil has a built-in rechargeable battery that can be charged using two different methods, depending on the model you have.
If you have the first-generation Apple Pencil, follow these steps to charge it:
- Remove the cap from the top of the Apple Pencil to reveal the Lightning connector.
- Connect the Lightning connector to the Lightning port on your iPad.
- Alternatively, you can use the Lightning adapter that comes with the Apple Pencil to connect it to a standard Lightning cable or charger.
- Leave the Apple Pencil connected for about 15 minutes to allow it to charge.
- Once the Apple Pencil is charged, you can disconnect it from the Lightning port and replace the cap.
If you have the second-generation Apple Pencil, charging it is even more convenient:
- Attach the second-generation Apple Pencil magnetically to the side of your iPad Pro.
- The Apple Pencil will automatically start charging when attached.
- You can also check the battery level of your Apple Pencil in the “Widgets” section of the iPad Pro’s “Today View.”
Keep in mind that it’s crucial to charge your Apple Pencil regularly to ensure it has enough power for use. If the battery is drained, you won’t be able to use the Apple Pencil until it’s charged again.
Now that your Apple Pencil is charged and ready to go, let’s move on to the next step of pairing it with your iPad or iPad Pro.
Pairing the Apple Pencil with Your Device
Once your Apple Pencil is charged, the next step is to pair it with your iPad or iPad Pro. Pairing enables the device to recognize and connect with your Apple Pencil, allowing you to use it seamlessly.
Here’s how to pair your Apple Pencil with your device:
- Remove the cap from your Apple Pencil.
- Plug the Lightning connector of the Apple Pencil into the Lightning port of your iPad.
- Alternatively, for second-generation Apple Pencil users, attach it magnetically to the side of your iPad Pro.
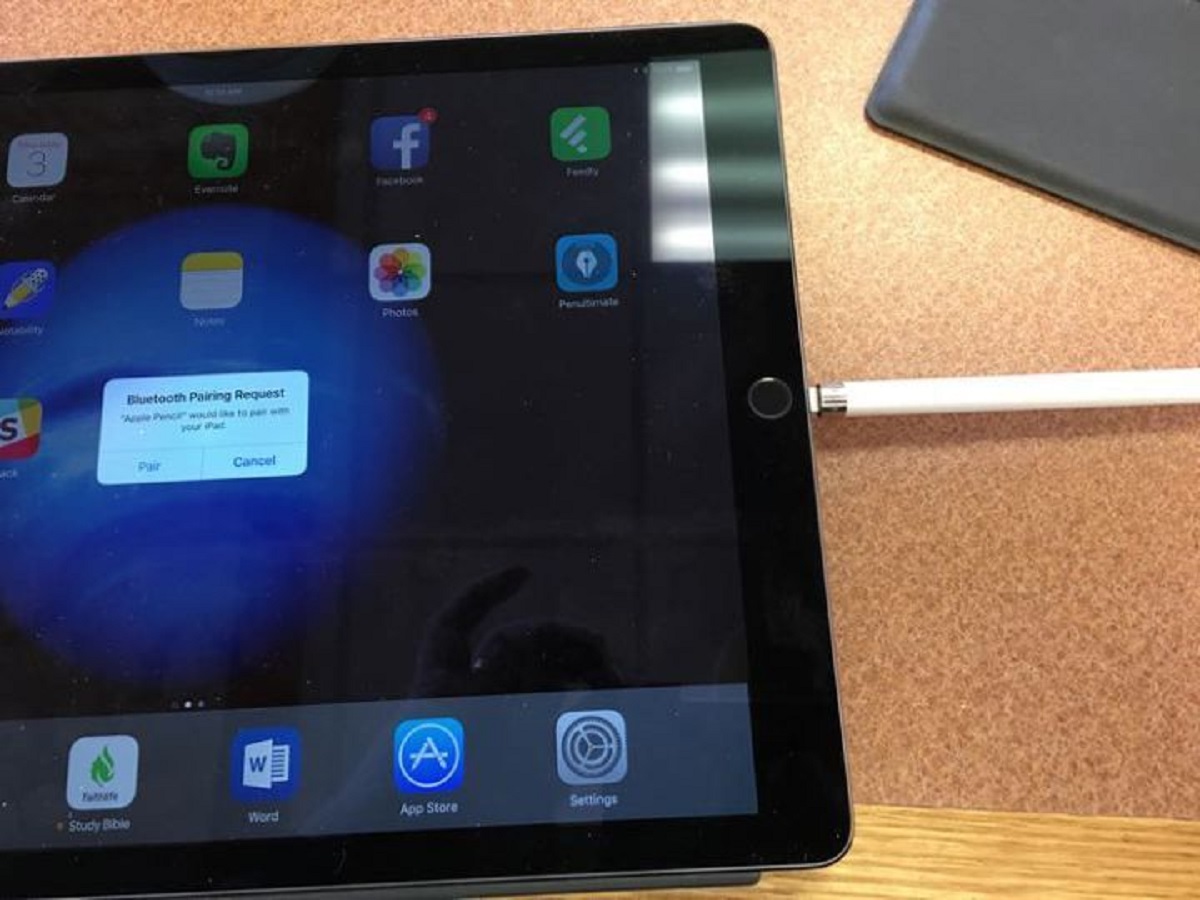
- A popup message should appear on your iPad screen, asking if you want to pair the Apple Pencil with your device.
- Tap “Pair” to initiate the pairing process.
- Follow any additional on-screen instructions, if prompted.
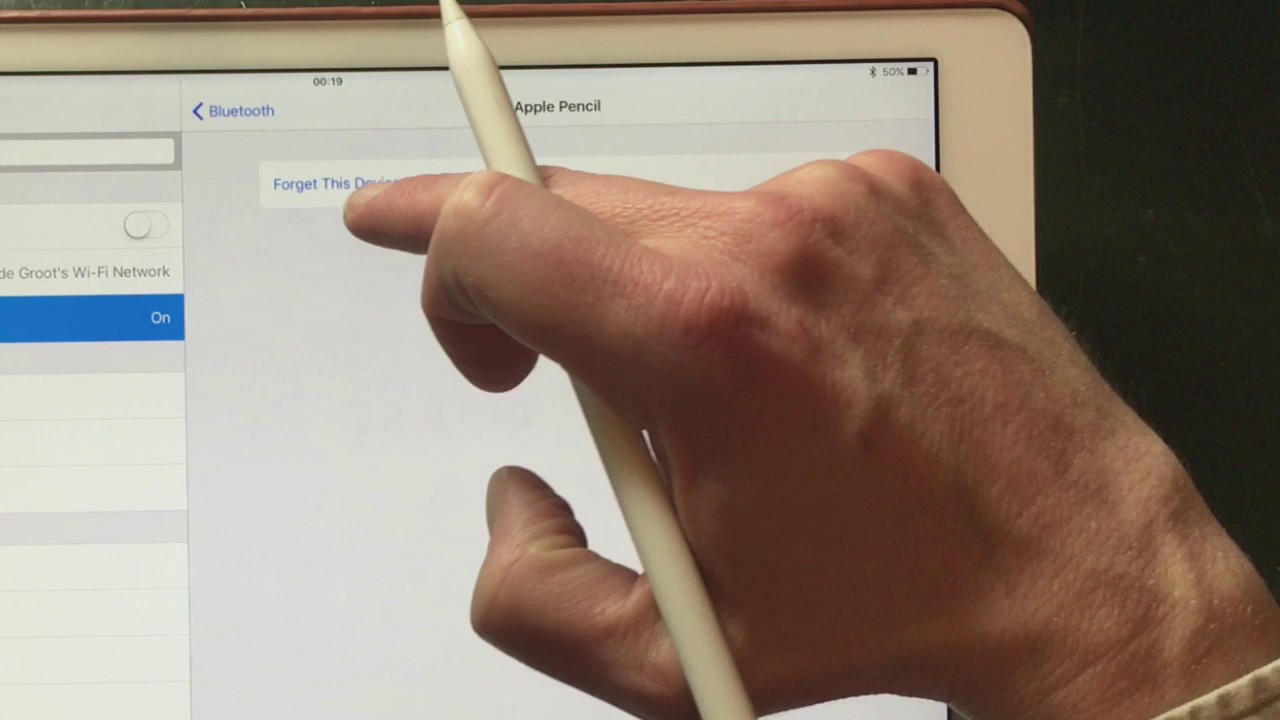
After completing these steps, your Apple Pencil should be successfully paired with your device. You can confirm this by checking the Bluetooth settings on your iPad or iPad Pro. Once paired, your Apple Pencil should automatically connect to your device whenever it’s within range and Bluetooth is enabled.
If you’re using multiple devices with your Apple Pencil, you may need to switch the connection manually. To do this, simply tap the Bluetooth icon in the Control Center on your iPad and select your Apple Pencil from the available devices.
Pairing your Apple Pencil is a straightforward process that ensures a seamless connection between your device and the Apple Pencil. Now that your Apple Pencil is paired, let’s explore some important settings to customize your experience.
Adjusting Apple Pencil Settings
One of the great advantages of using an Apple Pencil is the ability to adjust its settings to suit your preferences and needs. By customizing the Apple Pencil settings, you can enhance your drawing, writing, and note-taking experience.
To access and adjust the settings of your Apple Pencil, follow these steps:
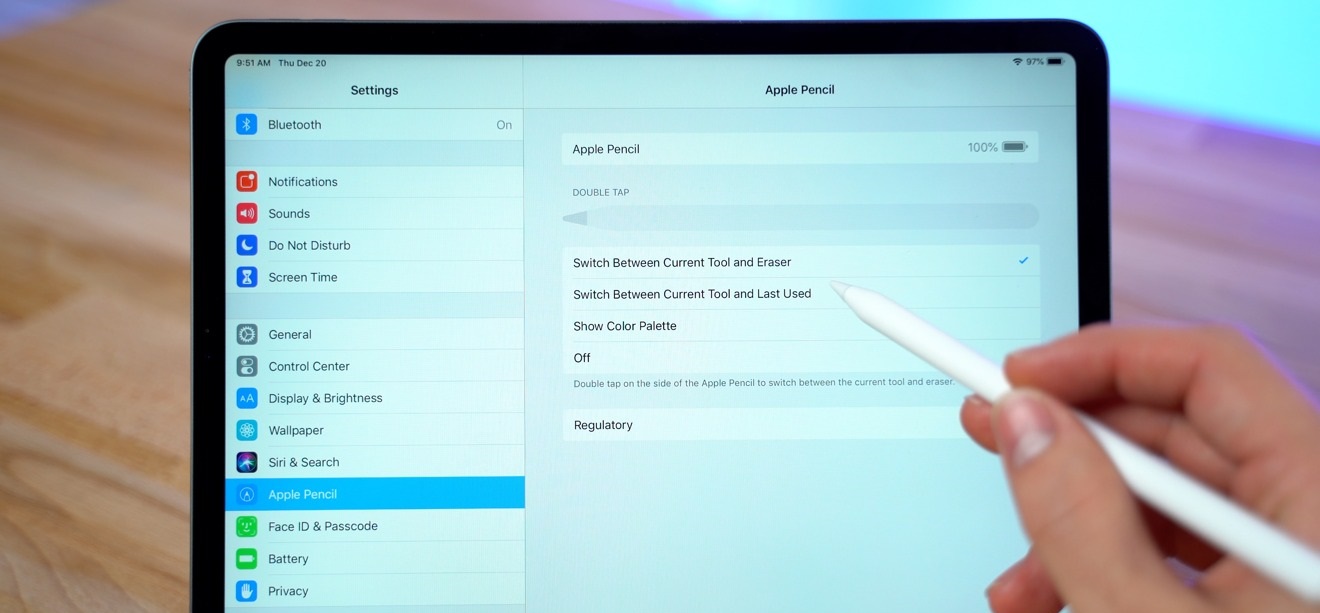
- Go to the “Settings” app on your iPad or iPad Pro.
- Scroll down and tap on “Apple Pencil.”
- Here, you’ll find various options to configure your Apple Pencil settings.
Some of the settings you may find include:
- Double-Tap: This setting allows you to assign a function to the double-tap gesture on your Apple Pencil. You can choose from actions like switching between tools, activating eraser mode, or returning to the previous tool.
- Palm Rejection: Enabling palm rejection ensures that your iPad or iPad Pro ignores touches from your hand while using the Apple Pencil, preventing accidental marks or gestures.
- Pressure Sensitivity: Depending on your app, you may have options to adjust the pressure sensitivity of your Apple Pencil. This setting allows you to customize how much pressure is required to achieve thicker or thinner lines.
- Idle Timers: You can set how long your Apple Pencil can stay idle before automatically disconnecting or turning off to conserve battery life.
Take some time to explore these settings and tweak them according to your preferences. Adjusting the Apple Pencil settings can significantly enhance your productivity and creativity when using the Apple Pencil with your iPad or iPad Pro.
With your Apple Pencil settings configured to your liking, you’re now ready to make the most of this remarkable tool. However, if you encounter any issues or unexpected behavior with your Apple Pencil, don’t panic. In the next section, we’ll discuss some common troubleshooting techniques.
Troubleshooting Common Issues
While the Apple Pencil is generally reliable and easy to use, there may be instances where you encounter some common issues. Fortunately, troubleshooting these problems can help you get back to enjoying a seamless experience with your Apple Pencil. Here are some troubleshooting techniques for common Apple Pencil issues:
- Apple Pencil Not Connecting: If your Apple Pencil is not connecting to your device, double-check that it is charged and paired correctly. Try restarting your iPad or iPad Pro and re-pairing the Apple Pencil. If the issue persists, ensure that Bluetooth is turned on and update your device to the latest software version.
- Apple Pencil Not Charging: If you’re having trouble charging your Apple Pencil, make sure the Lightning connector is clean and free from debris. Try using a different Lightning cable or charging adapter. Additionally, verify that your iPad’s Lightning port is functioning correctly.
- Lag or Inaccuracy: If you’re experiencing lag or inaccuracy with your Apple Pencil, check if there’s any dirt or debris on the tip or screen. Wipe them clean and try again. In some cases, adjusting the Apple Pencil’s pressure sensitivity settings may also help improve accuracy.
- Double-Tap Not Functioning: If the double-tap gesture on your Apple Pencil is not working as expected, verify that this feature is enabled in the settings. Try toggling the double-tap setting off and on, then select a different function to see if it resolves the issue.
- Interference with Other Apps: Some apps may have conflicts or compatibility issues with the Apple Pencil. Make sure both your iPad and the app you’re using are updated to the latest versions. If the problem persists, try using a different app or reaching out to the app’s developer for further support.
If none of these troubleshooting techniques resolve your Apple Pencil issues, you may want to consider contacting Apple’s support or visiting an authorized service center for further assistance. They will be able to provide you with specific guidance based on your situation.
Remember, troubleshooting common issues can often resolve the problem and get your Apple Pencil back to optimal functionality. Now that we’ve covered troubleshooting techniques, let’s wrap up this guide on getting your Apple Pencil to work.
Conclusion
Congratulations! You have now learned how to get your Apple Pencil to work seamlessly with your iPad or iPad Pro. By following the steps provided in this guide, you can ensure that your Apple Pencil is compatible, charged, paired, and customized to your liking.
Remember to check the compatibility of your device with the Apple Pencil to avoid any compatibility issues. Charging your Apple Pencil regularly will also ensure that it has enough power for your creative endeavors.
Pairing your Apple Pencil with your device is a straightforward process that allows you to take advantage of its impressive capabilities. Adjusting the settings of your Apple Pencil can further enhance your productivity and creativity by personalizing your experience.
If you encounter any common issues with your Apple Pencil, troubleshooting techniques such as reconnecting, cleaning, and adjusting settings can help resolve them.
The Apple Pencil is a powerful tool that can bring your artistic visions and note-taking abilities to life. Explore the various apps and features available to fully utilize the potential of your Apple Pencil.
Now that you’re equipped with the knowledge and troubleshooting techniques, it’s time to unleash your creativity and enjoy the seamless experience of using your Apple Pencil with your device.
Happy creating!