Introduction
Tablets have become increasingly popular for their portability and versatility. With their compact size and powerful capabilities, tablets are not only great for on-the-go entertainment and productivity but also for presentations and sharing content on larger screens. One of the most common ways to showcase your tablet’s display to a wider audience is by connecting it to a projector.
In this article, we will guide you through the process of connecting a tablet to a projector. Whether you need to deliver a presentation, stream a movie, or share photos with a group of people, this step-by-step guide will help you effortlessly connect your tablet to a projector and ensure a seamless viewing experience.
We will cover all the essential aspects, from understanding the basics of connecting devices to troubleshooting any issues that may arise during the setup. Additionally, we will discuss the different cable options available and provide instructions on configuring display settings for optimal performance.
By the end of this article, you will have a clear understanding of how to connect your tablet to a projector, allowing you to leverage the full potential of your device for sharing and presenting content on a big screen.
Understanding the Basics
Before diving into the process of connecting your tablet to a projector, it’s important to grasp the fundamentals of how these devices interact. A tablet uses a combination of hardware and software to display images, videos, and other content on its screen, while a projector takes that content and displays it on a larger surface.
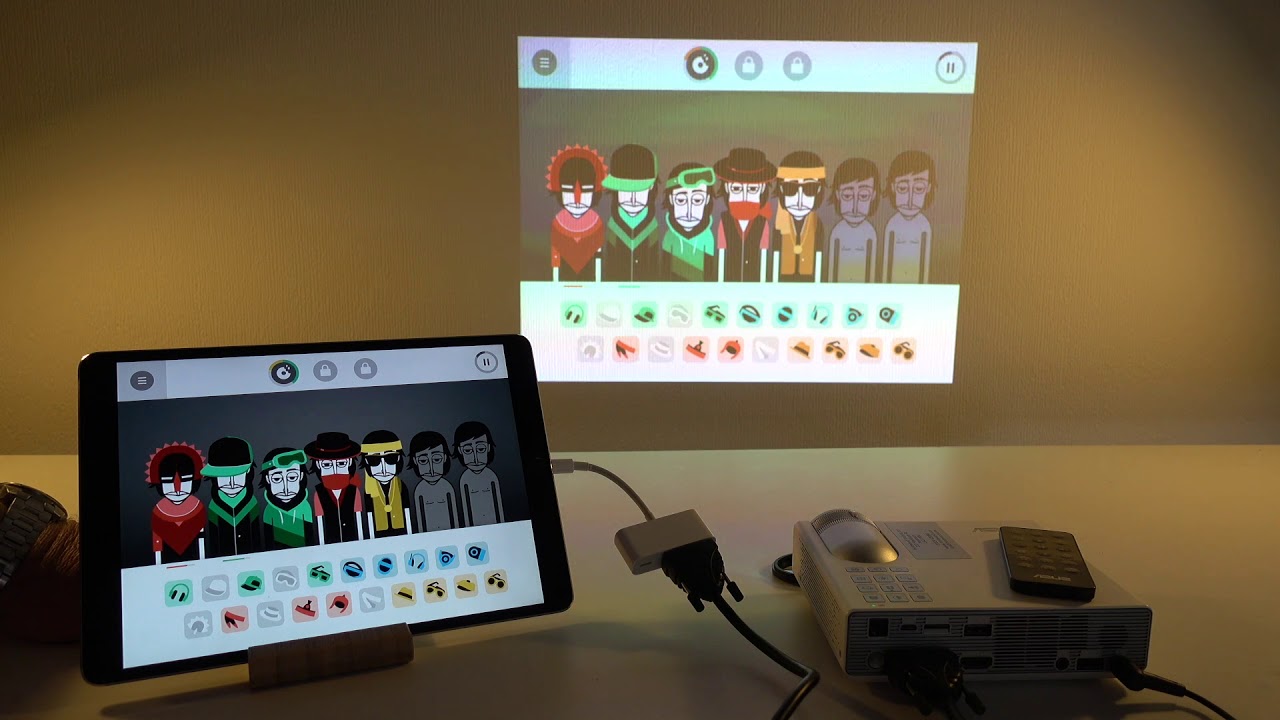
When connecting a tablet to a projector, you are essentially extending the display of your tablet to the projector screen. This means that anything you see on your tablet’s screen will also be visible on the projector screen, allowing a larger audience to view the content.
To establish this connection, you will need a cable that can transmit both audio and video signals from your tablet to the projector. Different tablets use different ports and connectors, so it’s essential to know the specific inputs available on your tablet and the corresponding outputs on the projector.
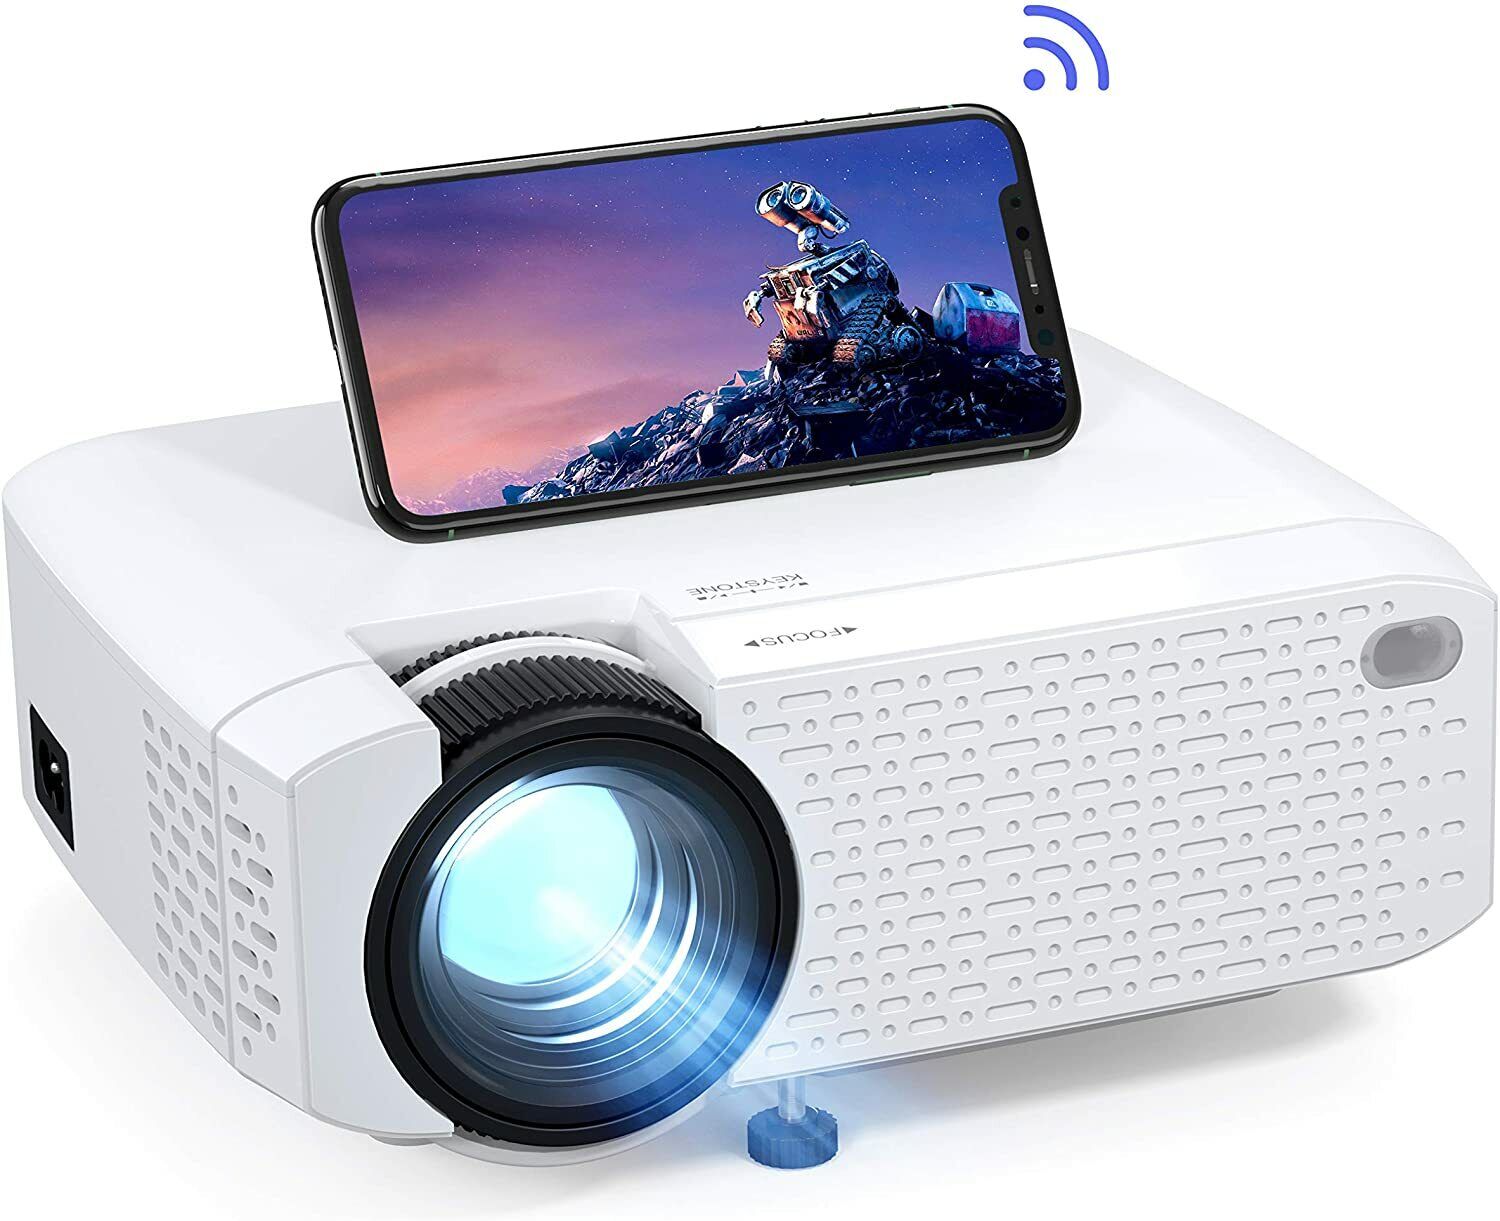
Additionally, it’s essential to note that some tablets support wireless screen mirroring technologies, such as Miracast or AirPlay, which enable you to connect to a projector without using cables. However, for the purpose of this article, we will focus on the traditional cable connection method as it is universally compatible and often provides the most reliable performance.
Lastly, ensure that both the tablet and the projector are powered on and in working condition before attempting to connect them. Checking the power status and making sure both devices are properly functioning will prevent any unnecessary troubleshooting further down the line.
Now that you have a basic understanding of how tablets and projectors work together, let’s move on to the next section: Connecting the Tablet to the Projector.
Connecting the Tablet to the Projector
To connect your tablet to a projector, the first step is to identify the available ports and connectors on both your tablet and the projector. Common options include HDMI, VGA, and DisplayPort. Once you’ve identified the ports, follow these steps:
- Power off both devices: Before connecting any cables, it’s crucial to power off both the tablet and the projector to avoid any potential damage.
- Select the appropriate cable: Based on the available ports, choose the appropriate cable to connect your tablet to the projector. HDMI cables are the most common and offer the highest quality audio and video transmission. If your tablet and projector do not have HDMI ports, you may need to use a VGA or DisplayPort cable instead.
- Connect the cable: Plug one end of the cable into the corresponding port on your tablet and the other end into the corresponding port on the projector. Ensure a secure connection on both ends.
- Power on the devices: Once the cable is securely connected, power on both the tablet and the projector. Some devices automatically detect the external display, while others may require manual configuration (which we will cover in the next section).
- Select the correct input source: On the projector, use the remote or the on-screen menu to navigate to the input/source selection. Choose the input source that corresponds to the port you connected the cable to (e.g., HDMI, VGA, DisplayPort).
- Adjust the display settings: Depending on your tablet’s operating system, you may need to adjust the display settings to optimize the output for the projector. Refer to the tablet’s user manual or system preferences to make the necessary adjustments.
- Test the connection: Once the settings are adjusted, test the connection by playing a video or displaying content on your tablet. The content should appear on the projector screen, confirming a successful connection.
By following these straightforward steps, you can easily connect your tablet to a projector and start sharing your screen with a larger audience.
Choosing the Right Cable
When connecting your tablet to a projector, choosing the right cable is crucial for a seamless and reliable connection. The type of cable you need depends on the available ports on both your tablet and the projector.
HDMI cable: HDMI (High-Definition Multimedia Interface) cables are the most common and widely used cables for connecting tablets to projectors. They transmit both high-quality audio and video signals in a single cable. Most modern tablets and projectors come equipped with HDMI ports, making this the ideal cable choice if available.
VGA cable: VGA (Video Graphics Array) cables are another option for connecting tablets to projectors. However, these cables only transmit video signals and not audio. VGA ports are more commonly found on older projectors and some tablets, so ensure that your devices have compatible VGA ports if you choose this cable.
DisplayPort cable: DisplayPort cables offer high-quality audio and video transmission, similar to HDMI cables. They are often found on newer tablets and projectors. If your tablet and projector both have DisplayPort ports, this can be an excellent option for connecting the two devices.
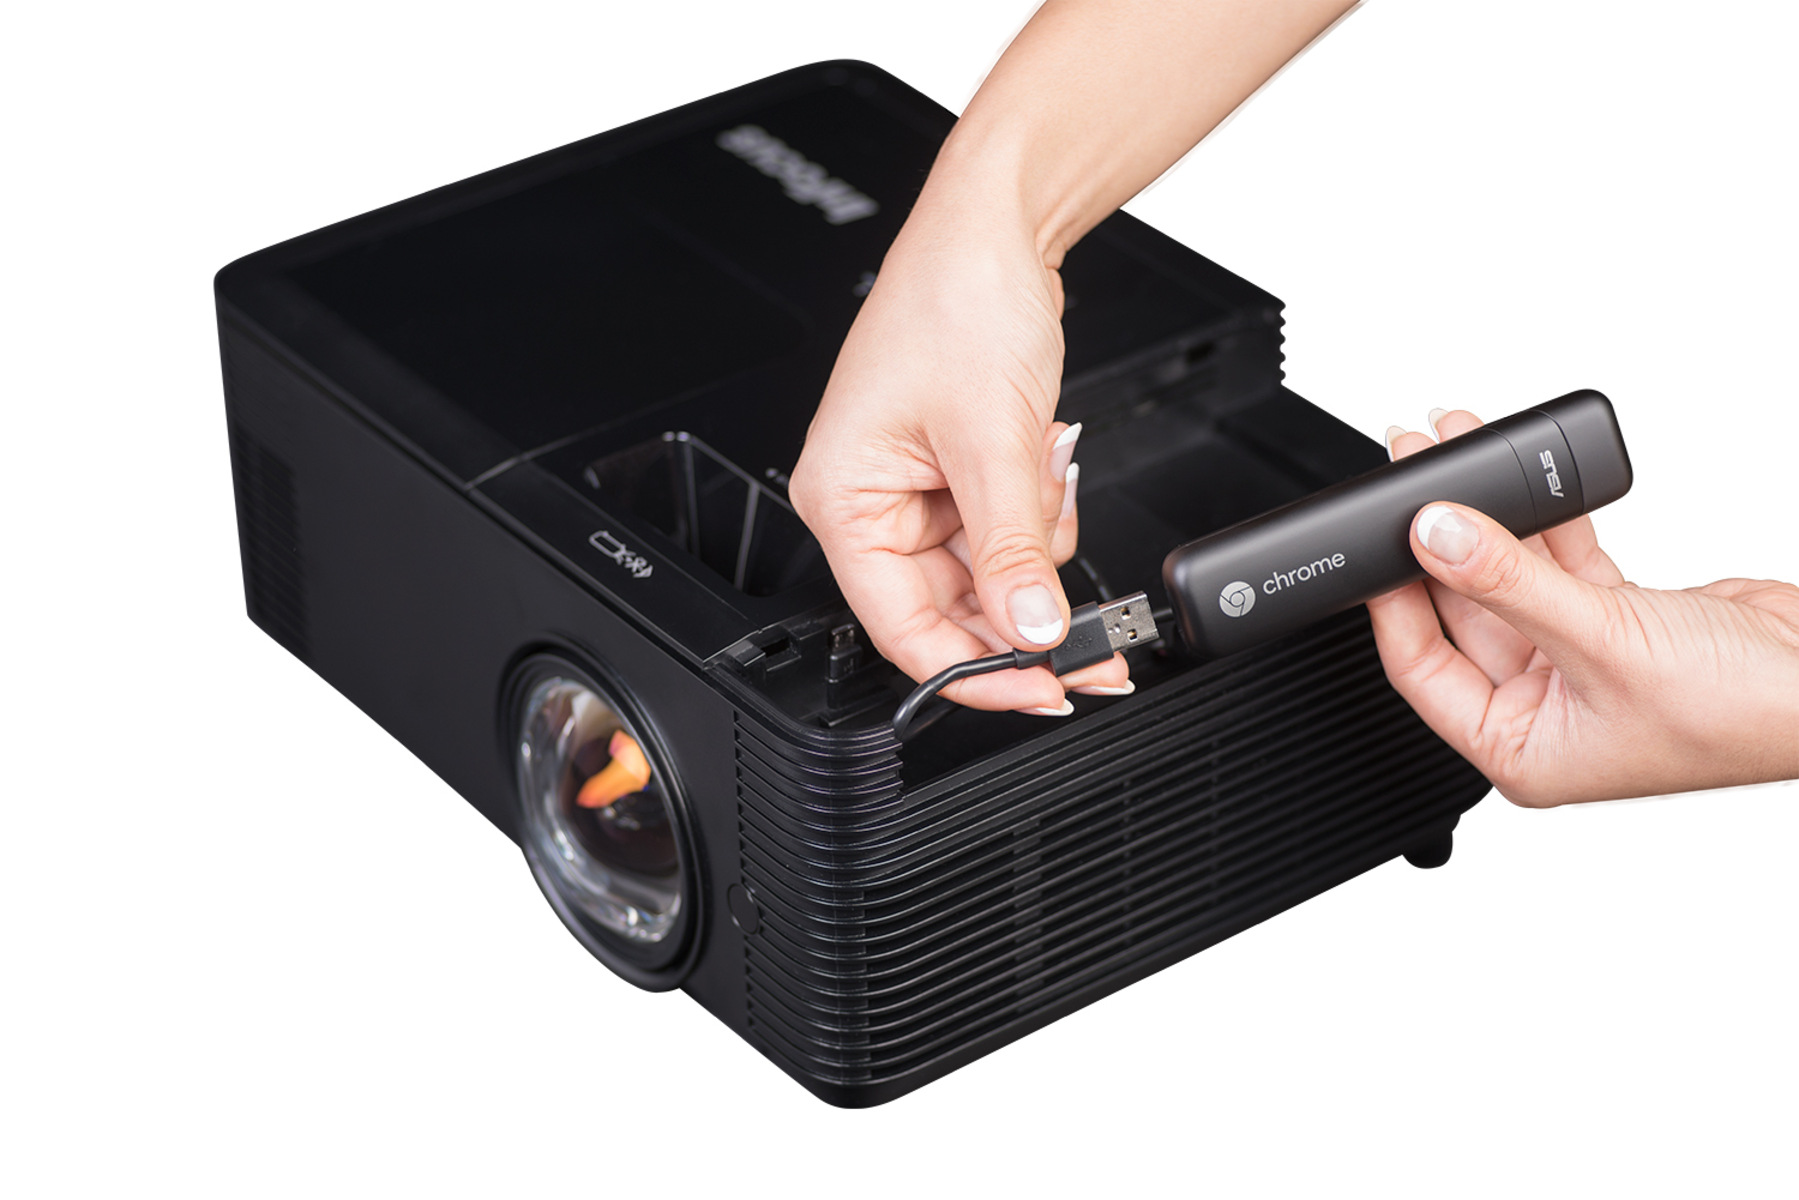
It is important to note that some tablets may require an adapter to connect to certain types of cables. For example, if your tablet only has a USB-C port, you may need an adapter to connect an HDMI or VGA cable. Be sure to check the specific requirements of your tablet and purchase the necessary adapters if needed.
When selecting a cable, consider the maximum resolution and refresh rate supported by your tablet and projector. Higher-resolution content, such as streaming videos or presentations with detailed graphics, will require cables that support higher resolutions.
It’s recommended to invest in high-quality cables that offer good shielding and durability. Poor-quality cables may result in signal loss or interruptions, affecting the overall audio and video performance.
By choosing the appropriate cable for your tablet and projector, you can ensure a reliable and optimal connection, allowing you to share your tablet’s screen with confidence.
Configuring Display Settings
After connecting your tablet to the projector, it’s important to configure the display settings to ensure the best possible viewing experience. The exact steps may vary depending on your tablet’s operating system, but here are some general guidelines:
Android: On Android tablets, navigate to the Settings menu and search for the Display or Screen option. Within this menu, you should find options to adjust the screen resolution, orientation, and mirroring settings. Choose the appropriate display settings that suit your needs and ensure the content is optimized for the projector screen.
iOS (iPad): If you are using an iPad, go to the Settings app and select Display & Brightness. Within this menu, you can adjust the brightness, enable or disable Auto-Brightness, and configure other display-related settings. To mirror your display on the projector, swipe down from the top right corner of the screen to access Control Center, and tap the Screen Mirroring option. Select the projector from the list of available devices to establish the connection.
Windows: For Windows tablets, open the Settings app and select System followed by Display. Here, you can adjust the screen resolution, orientation, and screen scaling options. To extend or mirror your display to the projector, press the Windows logo key + P on your keyboard. A menu will appear, allowing you to choose between different display modes.
It is important to test the display settings and make any necessary adjustments before your presentation or when sharing content. Ensure that the content on your tablet’s screen is displayed correctly on the projector screen without any distortion or cutoffs. You may also need to adjust the volume settings based on whether you want the audio to play through the tablet’s speakers or the projector’s audio output, if available.
Remember, different tablets and operating systems may have unique display settings, so it’s important to refer to the user manual or online support resources for your specific device if you encounter any difficulties during the configuration process.
By correctly configuring the display settings, you can ensure that the projected content is clear, properly aligned, and visually appealing for your audience.
Troubleshooting Common Issues
While connecting your tablet to a projector is generally a straightforward process, you may encounter some common issues along the way. Here are a few troubleshooting tips to help you resolve these issues:
No display on the projector: If the projector is not displaying anything from your tablet, check the cable connections on both ends to ensure they are secure. Try unplugging and reconnecting the cable. Additionally, make sure the correct input/source is selected on the projector, matching the port you connected the cable to.
Distorted or blurry image: If the projected image appears distorted or blurry, check the resolution settings on your tablet and ensure they match the supported resolution of the projector. Adjust the resolution and refresh rate if necessary. Additionally, make sure the projector lens is clean and free from any dust or smudges that may affect the image quality.
No audio from the projector: If you have successfully connected the tablet to the projector but are not getting any audio, check the audio settings on your tablet. Ensure that the audio output is set to the correct source, either the tablet’s speakers or the projector’s audio output. Also, check the volume levels on both devices and make sure they are not muted.
Incompatible cable or adapter: If you are using an adapter to connect your tablet to the projector, confirm that the adapter is compatible with both devices. Some adapters may not work correctly or may require additional configuration. Try using a different adapter or cable to see if that resolves the issue.
Update software and drivers: Outdated software or drivers on your tablet or projector can sometimes cause compatibility issues. Check for any available updates for both devices and perform the necessary updates. This can often resolve various connectivity and performance problems.
Try a different device: If all else fails, try connecting a different device, such as a laptop or another tablet, to the projector using the same cable and port. This will help determine if the issue lies with the tablet or the projector. If the other device works, it may indicate a problem with your tablet’s settings or hardware.
If you have exhausted these troubleshooting steps and are still unable to establish a successful connection, consult the user manual for both your tablet and projector, or contact the manufacturer’s customer support for further assistance.
By addressing these common issues and following the troubleshooting steps, you can overcome any obstacles that may arise when connecting your tablet to a projector and ensure a smooth and enjoyable presentation or screen-sharing experience.
Conclusion
Connecting a tablet to a projector allows you to share your screen with a larger audience, making it ideal for presentations, watching movies, or displaying content on a bigger display. By understanding the basics of how tablets and projectors interact and following the step-by-step process outlined in this article, you can easily connect your tablet to a projector and enjoy a seamless viewing experience.
Remember to choose the right cable based on the available ports on your tablet and projector. HDMI cables offer the best audio and video quality, while VGA and DisplayPort cables are viable alternatives for older or newer devices. When connecting the cable, ensure a secure connection and power on both the tablet and the projector. Select the correct input source on the projector and adjust the display settings on your tablet if needed.
If you encounter any issues during the setup, refer to the troubleshooting tips provided in this article. From checking cable connections to updating software and drivers, these troubleshooting steps can help you address common issues and get your tablet and projector working smoothly together.
Remember to test the connection and adjust the display settings before your presentation or when sharing content. This ensures that the projected content is clear, properly aligned, and visually appealing for your audience.
By following these guidelines and troubleshooting tips, you’ll be able to confidently connect your tablet to a projector and share your screen with ease. Whether for professional or entertainment purposes, this connection opens up a whole new world of possibilities for showcasing your tablet’s content on a larger screen.