Introduction
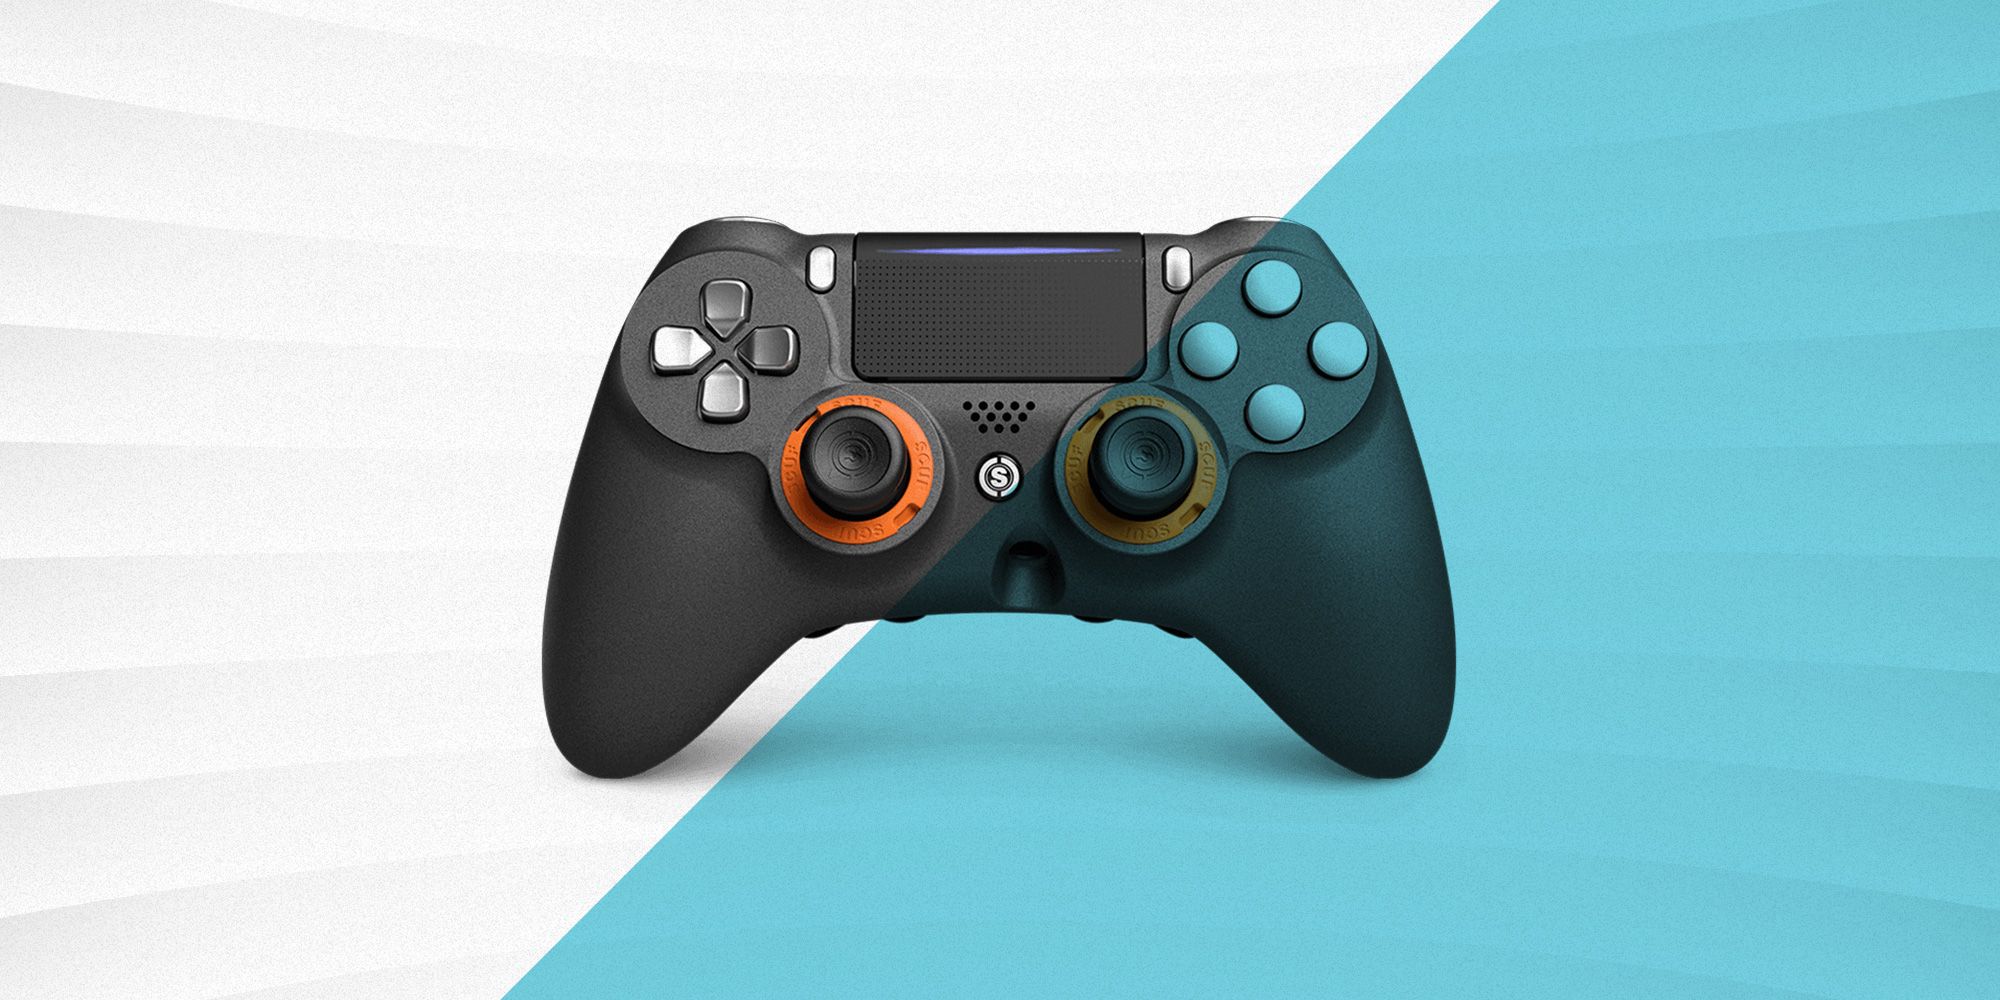
The PlayStation 4 (PS4) controller is undoubtedly one of the most comfortable and versatile gaming controllers on the market. Its ergonomic design and intuitive layout have made it a favorite among gamers. However, if you’re a PC gamer or have a gaming laptop, you may be wondering how to connect a PS4 controller to enhance your gaming experience.
Fortunately, connecting a PS4 controller to a gaming laptop is a straightforward process that opens up a new world of gaming possibilities. Whether you prefer the precision of a controller for certain games or simply want a more comfortable gaming experience, this guide will walk you through the steps to connect a PS4 controller to your gaming laptop.
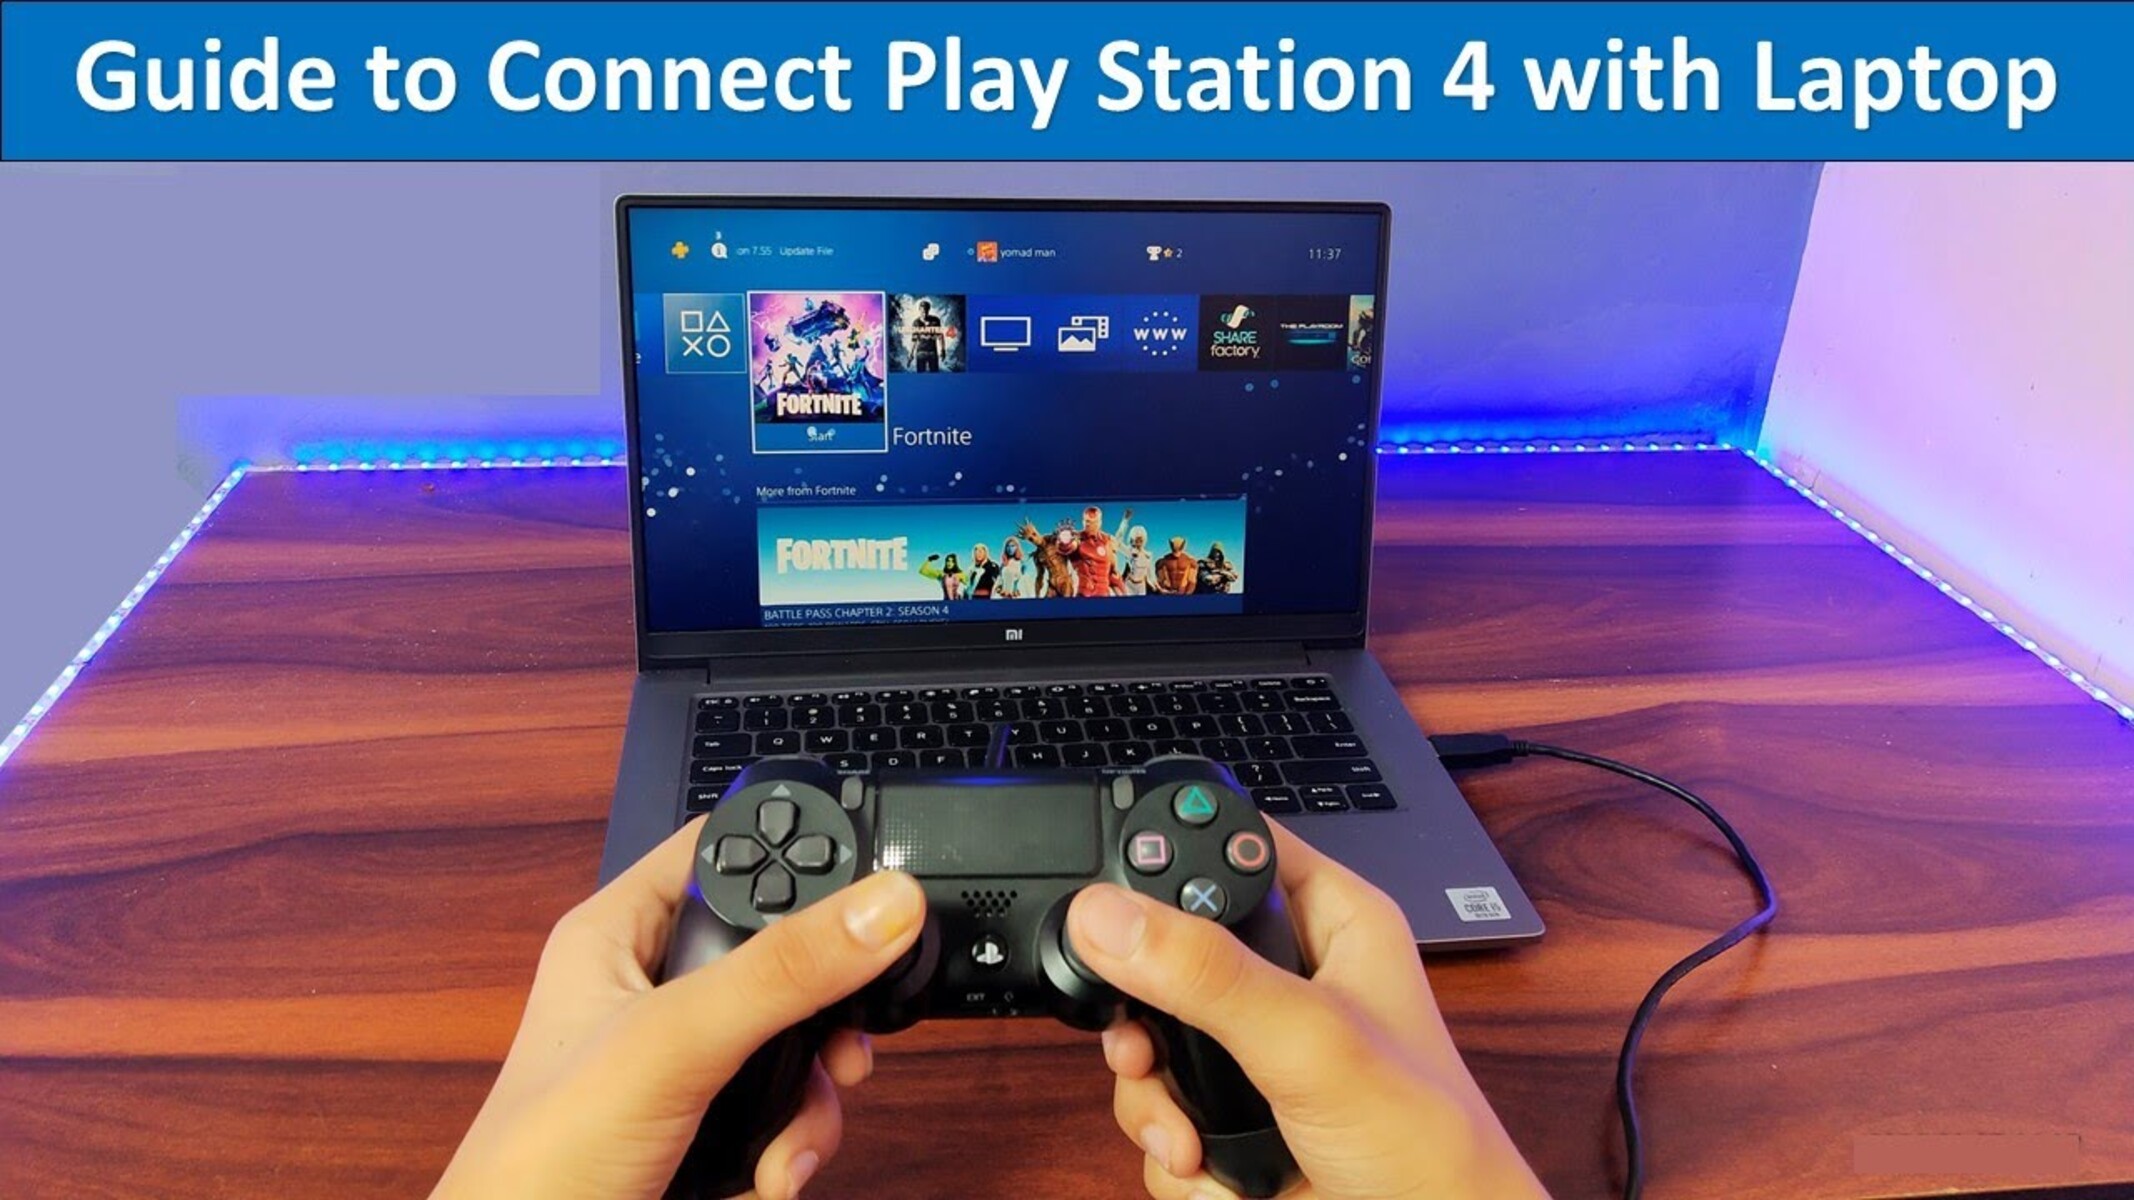
In this article, we will outline the necessary steps to connect your PS4 controller to a gaming laptop, whether via Bluetooth or a USB cable. You’ll also learn how to install drivers and configure controller settings to ensure a seamless gaming experience. So, grab your PS4 controller and let’s dive in!
Step 1: Ensure Compatibility
Before you begin the process of connecting a PS4 controller to your gaming laptop, it’s important to ensure compatibility. While most modern gaming laptops support the use of PS4 controllers, it’s still a good idea to double-check to avoid any potential issues.
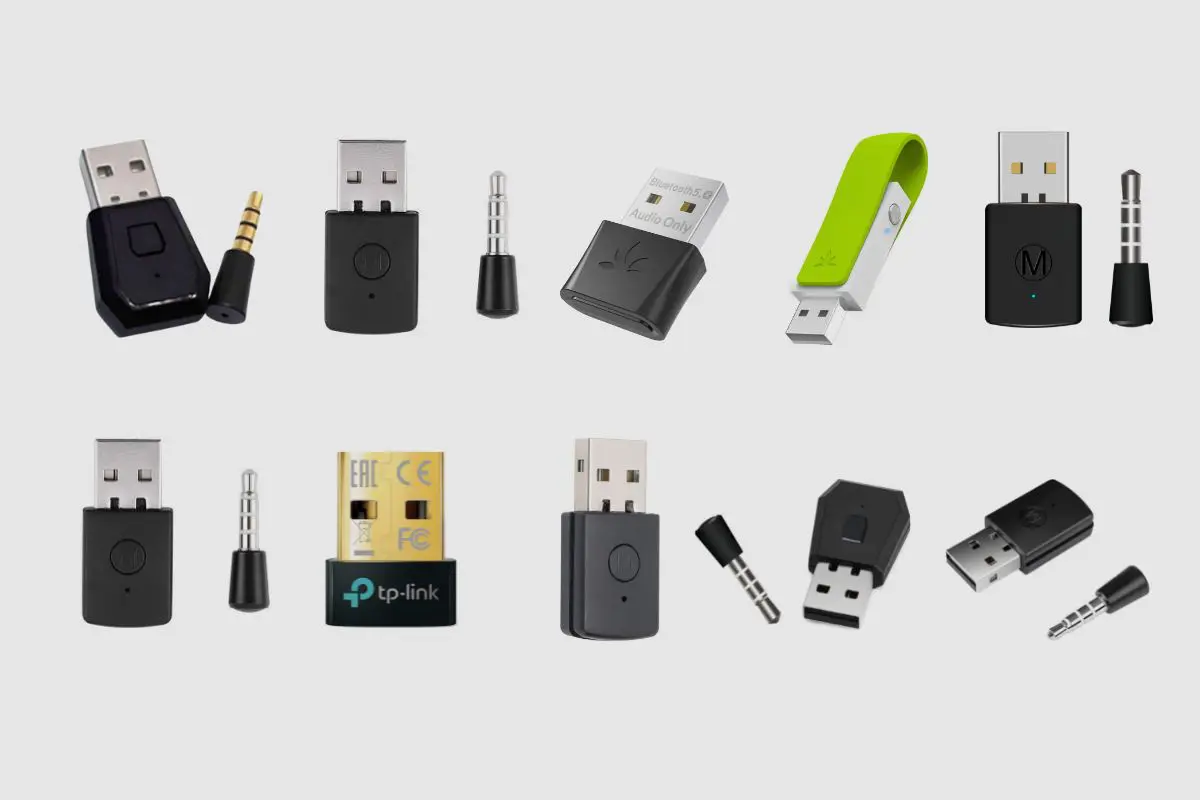
Firstly, verify that your gaming laptop has built-in Bluetooth functionality. This is essential if you plan to connect your PS4 controller wirelessly. Check your laptop’s specifications or consult the manufacturer’s website if you’re unsure.
If your gaming laptop doesn’t have Bluetooth, don’t worry! You can still connect your PS4 controller using a USB cable, which we will cover in a later step.
Secondly, ensure that your PS4 controller is up-to-date with the latest firmware. Sony occasionally releases updates for their controllers that improve performance, compatibility, and functionality. You can update your PS4 controller by connecting it to your PlayStation 4 console and following the on-screen prompts.
Additionally, check that your gaming laptop is running a compatible operating system. Most gaming laptops support Windows 10, which is the ideal operating system for connecting a PS4 controller. If your laptop is running an older version of Windows or a different operating system, you may need to follow alternative methods or install additional software.
By confirming compatibility between your gaming laptop and the PS4 controller, you can proceed with confidence to the next steps without encountering any unexpected hurdles. Now that you’ve ensured compatibility, let’s move on to installing the necessary drivers.
Step 2: Install Drivers
Once you’ve confirmed compatibility between your gaming laptop and the PS4 controller, the next step is to install the appropriate drivers. This ensures that your gaming laptop recognizes and communicates with the PS4 controller correctly.
If you’re connecting the PS4 controller via Bluetooth, Windows 10 usually auto-installs the necessary drivers. However, if your laptop doesn’t automatically install the drivers or you’re using an older version of Windows, you may need to download them manually.
To manually install the PS4 controller drivers, follow these steps:
- Open your preferred web browser and visit the official Sony DualShock 4 website.
- Locate and download the latest version of the DS4Windows software. This software acts as a bridge between your PS4 controller and the gaming laptop.
- Once the download is complete, open the DS4Windows installer and follow the on-screen instructions to install the software.
- After installing DS4Windows, connect your PS4 controller to your gaming laptop using a USB cable.
- The DS4Windows software should now recognize your PS4 controller and install the necessary drivers. Follow any additional prompts or instructions that appear on your screen.
- Once the drivers are successfully installed, you can disconnect the PS4 controller from your gaming laptop.
After installing the drivers, your gaming laptop will be ready to recognize and connect with the PS4 controller. If you encounter any issues during the driver installation process, refer to the DS4Windows documentation or troubleshooting guides for assistance.
Now that you have successfully installed the drivers, you’re ready to connect your PS4 controller to your gaming laptop either wirelessly via Bluetooth or through a USB cable. We’ll cover both methods in the following steps.
Step 3: Connect via Bluetooth
Connecting your PS4 controller to your gaming laptop via Bluetooth allows for a wireless gaming experience, providing more freedom of movement and eliminating the need for cables.
To connect your PS4 controller to your gaming laptop via Bluetooth, follow these steps:
- Make sure Bluetooth is enabled on your gaming laptop. You can usually do this by opening the Settings menu and navigating to the Bluetooth settings.
- On your PS4 controller, press and hold the PlayStation button and Share button simultaneously for a few seconds until the light bar starts flashing.
- On your gaming laptop, navigate to the Bluetooth settings and select the option to add a new device.
- Your gaming laptop should now scan for available devices. Look for your PS4 controller in the list of available devices and select it.
- If prompted, enter a passcode or PIN. This is usually “0000” or “1234”.
- Wait for your gaming laptop to establish a connection with the PS4 controller. Once connected, the light bar on the controller should turn a solid color.
After following these steps, your PS4 controller should now be successfully connected to your gaming laptop via Bluetooth. You can now enjoy wireless gaming with your preferred games.
Keep in mind that some games may require additional configurations or mapping of buttons for optimal gameplay. Check the game’s settings or consult the game’s support documentation for instructions on how to configure the PS4 controller properly.
If you encounter any issues during the Bluetooth connection process or experience lag or connectivity problems while gaming, make sure that your gaming laptop and PS4 controller are within a reasonable range of each other. Additionally, reducing interference from other wireless devices can help improve the Bluetooth connection.
Now that you have successfully connected your PS4 controller via Bluetooth, let’s explore the option of connecting it to your gaming laptop using a USB cable.
Step 4: Connect via USB Cable
If your gaming laptop doesn’t have built-in Bluetooth or you prefer a wired connection, connecting your PS4 controller via a USB cable is an excellent alternative. This method ensures a stable and reliable connection, eliminating any potential wireless interference.
To connect your PS4 controller to your gaming laptop via USB cable, follow these steps:
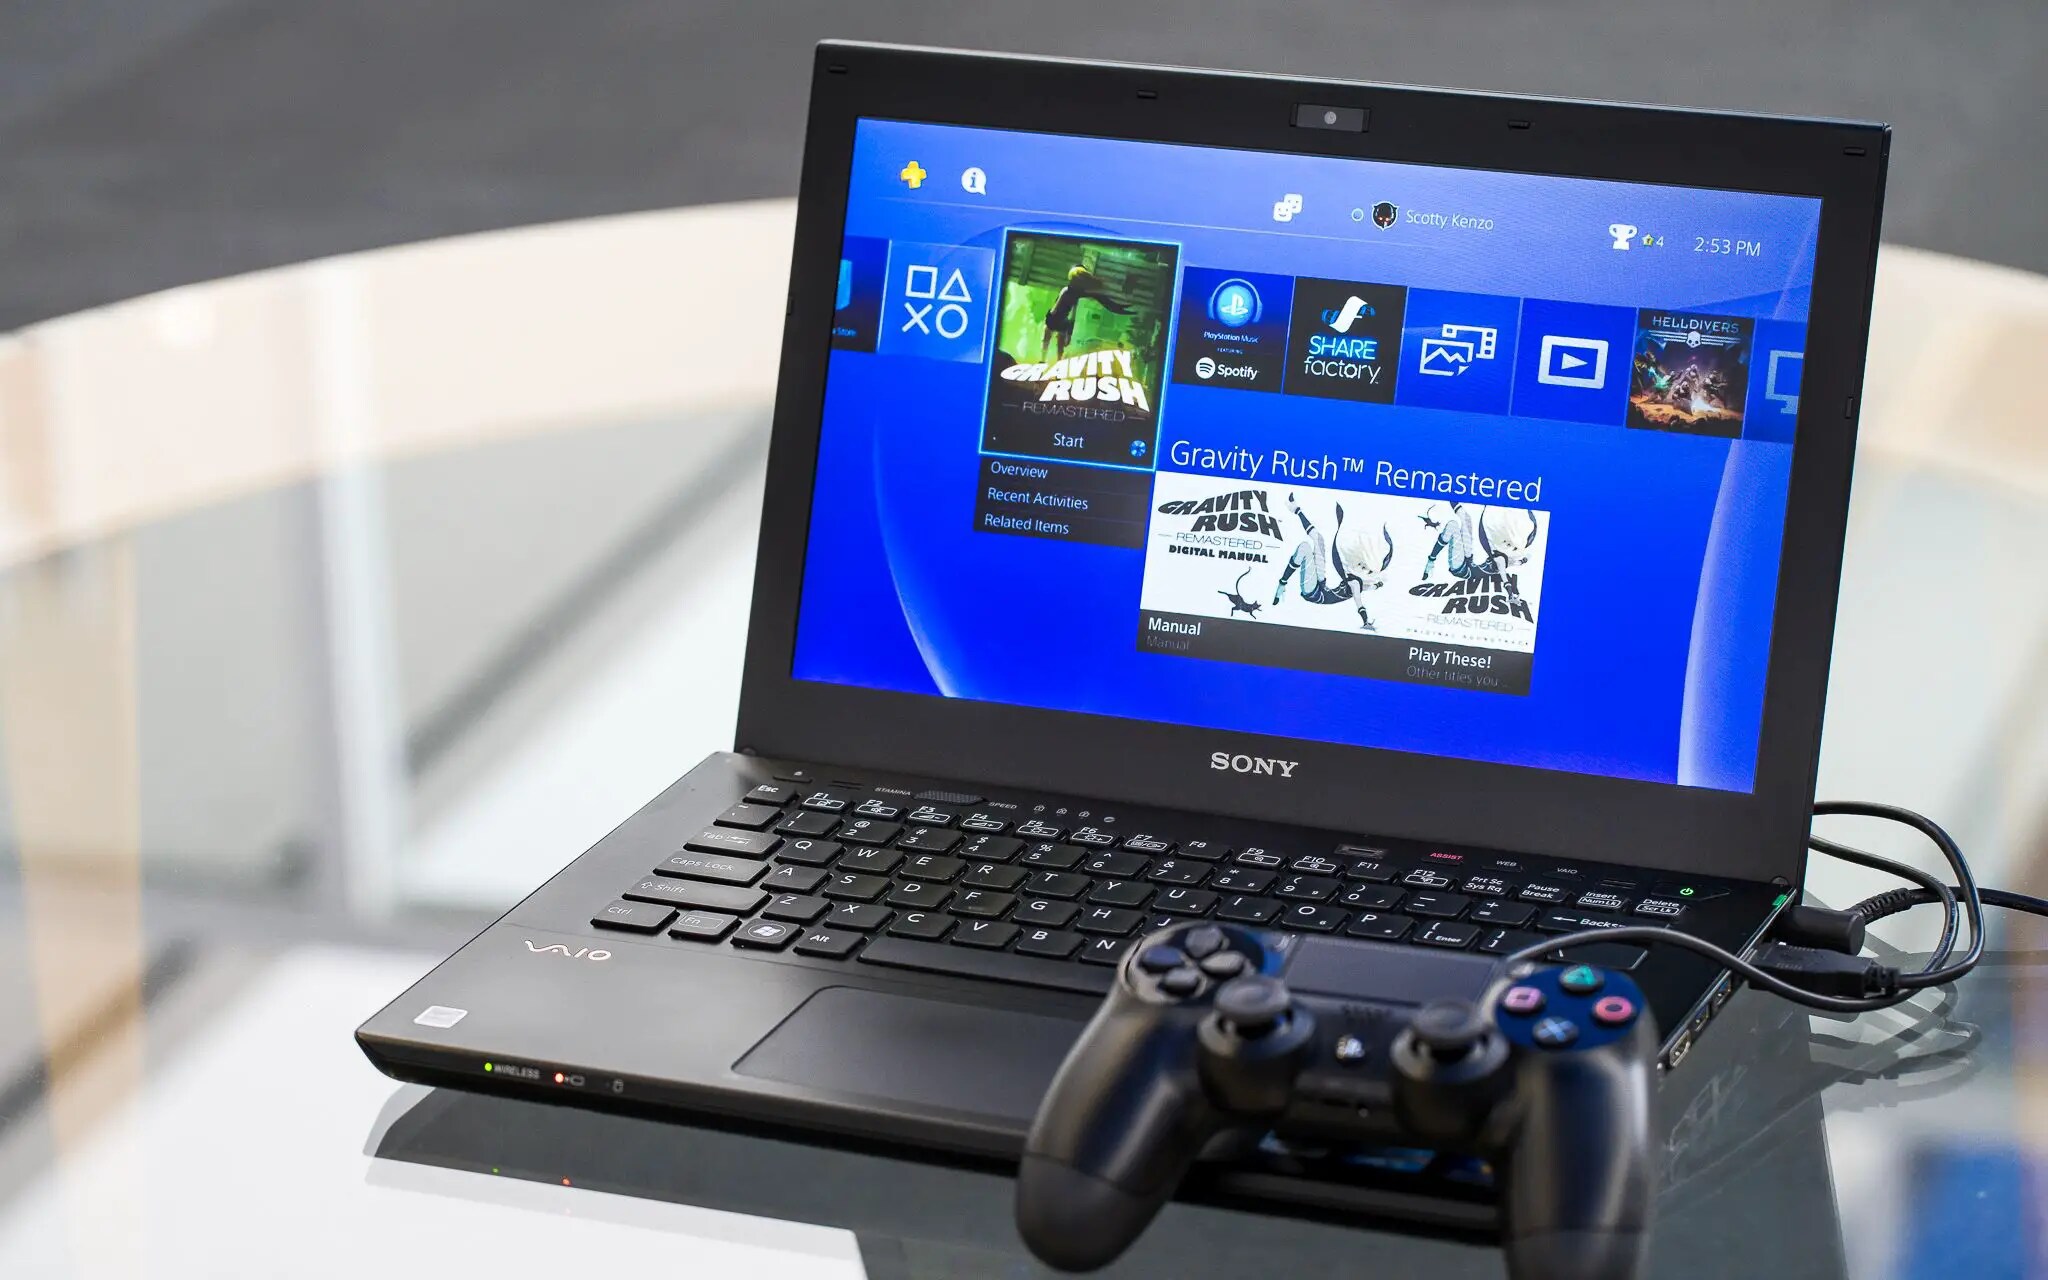
- Using a compatible USB cable, connect one end to your PS4 controller and the other end to an available USB port on your gaming laptop.
- Your gaming laptop should automatically recognize the PS4 controller and install the necessary drivers if you haven’t done so already.
- Wait for your gaming laptop to establish a connection with the PS4 controller. Once connected, the light bar on the controller should turn a solid color.
After following these steps, your PS4 controller should now be successfully connected to your gaming laptop via USB cable. You can now enjoy your favorite games with the comfort and familiarity of the PS4 controller.
One advantage of connecting via USB cable is that it provides power to the controller, ensuring that it remains charged during your gaming sessions. However, keep in mind that the range of movement will be limited by the length of the USB cable.
If you encounter any issues during the USB connection process, make sure you’re using a compatible USB cable and that the ports on both the PS4 controller and gaming laptop are not damaged. You may need to try a different USB cable or USB port if you experience any connectivity problems.
Now that you have successfully connected your PS4 controller to your gaming laptop via USB cable, it’s time to configure the controller settings to ensure optimal gameplay. We’ll cover this in the next step.
Step 5: Configure Controller Settings
After connecting your PS4 controller to your gaming laptop, it’s important to configure the controller settings to ensure a seamless gaming experience. Adjusting the settings will allow you to customize the controller to your preferences and optimize its performance.
Here are some steps you can take to configure your PS4 controller settings:
- Open the game or gaming platform you want to play on your gaming laptop.
- Navigate to the game’s settings menu or options.
- Look for a section specifically dedicated to controller settings or input settings.
- Within the controller settings, you might find options to customize button mapping, sensitivity, vibration, and other controller-related configurations.
- Make adjustments to the settings according to your personal preferences. Experiment with different configurations to find what works best for you.
- Save your changes and exit the settings menu.
Keep in mind that not all games offer extensive controller customization options. Some games may have limited settings, while others may not allow modifications at all. In such cases, you’ll have to rely on the default controller settings provided by the game.
Additionally, if you’re using specialized software like DS4Windows, make sure to explore its settings and features to enhance your controller experience further. DS4Windows provides additional customization options, such as macros, touchpad functionality, and more.
By configuring your PS4 controller settings, you can fine-tune the controller to your liking and improve your overall gaming performance. Take the time to experiment and find the settings that work best for you.
With your PS4 controller successfully connected to your gaming laptop and the settings configured, you’re now ready to immerse yourself in an incredible gaming experience. Enjoy the freedom and comfort of the PS4 controller as you play your favorite games on your gaming laptop.
Conclusion
Connecting a PS4 controller to a gaming laptop opens up a world of opportunities for gamers. Whether you prefer the comfort and familiarity of a controller or need precise input for certain games, the PS4 controller can enhance your gaming experience on your gaming laptop.
In this article, we covered the necessary steps to connect a PS4 controller to a gaming laptop. We started by ensuring compatibility between the gaming laptop and the PS4 controller. Then, we went through the process of installing drivers, whether via automatic installation for Bluetooth or manual installation for USB connection.
We explored two different connection methods: Bluetooth and USB cable. Connecting via Bluetooth offers the freedom of wireless gaming, while connecting via USB provides a stable and reliable wired connection.
Lastly, we discussed the importance of configuring the controller settings to personalize the gaming experience. Customizing button mapping, sensitivity, and other settings allows gamers to optimize the controller to their preferences and play style.
By following these steps, you can seamlessly connect your PS4 controller to your gaming laptop and enjoy an enhanced gaming experience. Whether you’re embarking on epic adventures, competing in intense multiplayer battles, or exploring immersive virtual worlds, the PS4 controller will provide you with the control you need.
Remember to keep your PS4 controller up-to-date with the latest firmware and ensure your gaming laptop is running a compatible operating system. Troubleshoot any connection issues by checking your Bluetooth settings, trying different USB cables, or consulting support documentation for specific games or software.
Now, it’s time to grab your PS4 controller, connect it to your gaming laptop, and immerse yourself in the exciting world of gaming.


