Introduction
Connecting a Chromebook to a projector can be useful for presentations, sharing content, and watching movies or videos on a larger screen. Whether you’re a student, teacher, or professional, knowing how to connect your Chromebook to a projector is an essential skill.
With the wide availability of projectors in classrooms, offices, and even homes, it’s important to have the right knowledge on hand. The good news is that connecting a Chromebook to a projector is a straightforward process, and you don’t need to be tech-savvy to do it.
In this guide, we will walk you through the steps to connect a Chromebook to a projector using both HDMI and VGA connections. Additionally, we’ll provide troubleshooting tips for common issues you may encounter during the process.
Before we proceed, it’s worth mentioning that the steps provided here are generally applicable for most Chromebook models. However, it’s always a good idea to check your specific device’s instructions or consult the user manual for any model-specific information.
Now, let’s dive into the exciting world of connecting your Chromebook to a projector!
Step 1: Check the connections
Before connecting your Chromebook to a projector, it’s essential to ensure that you have the necessary cables and adapters. The exact requirements may vary depending on the projector model and your Chromebook’s available ports.
First, check if your Chromebook has an HDMI port or a VGA port. Most modern Chromebooks come with an HDMI port, which is the preferred method for connecting to a projector due to its superior audio and video quality. However, if your Chromebook only has a VGA port, don’t worry. We’ll cover that method as well.
Next, inspect the projector’s available ports. Look for an HDMI port or a VGA port, depending on the connectivity options you have on your Chromebook. Additionally, check if the projector requires any specific adapters or cables to establish a connection.
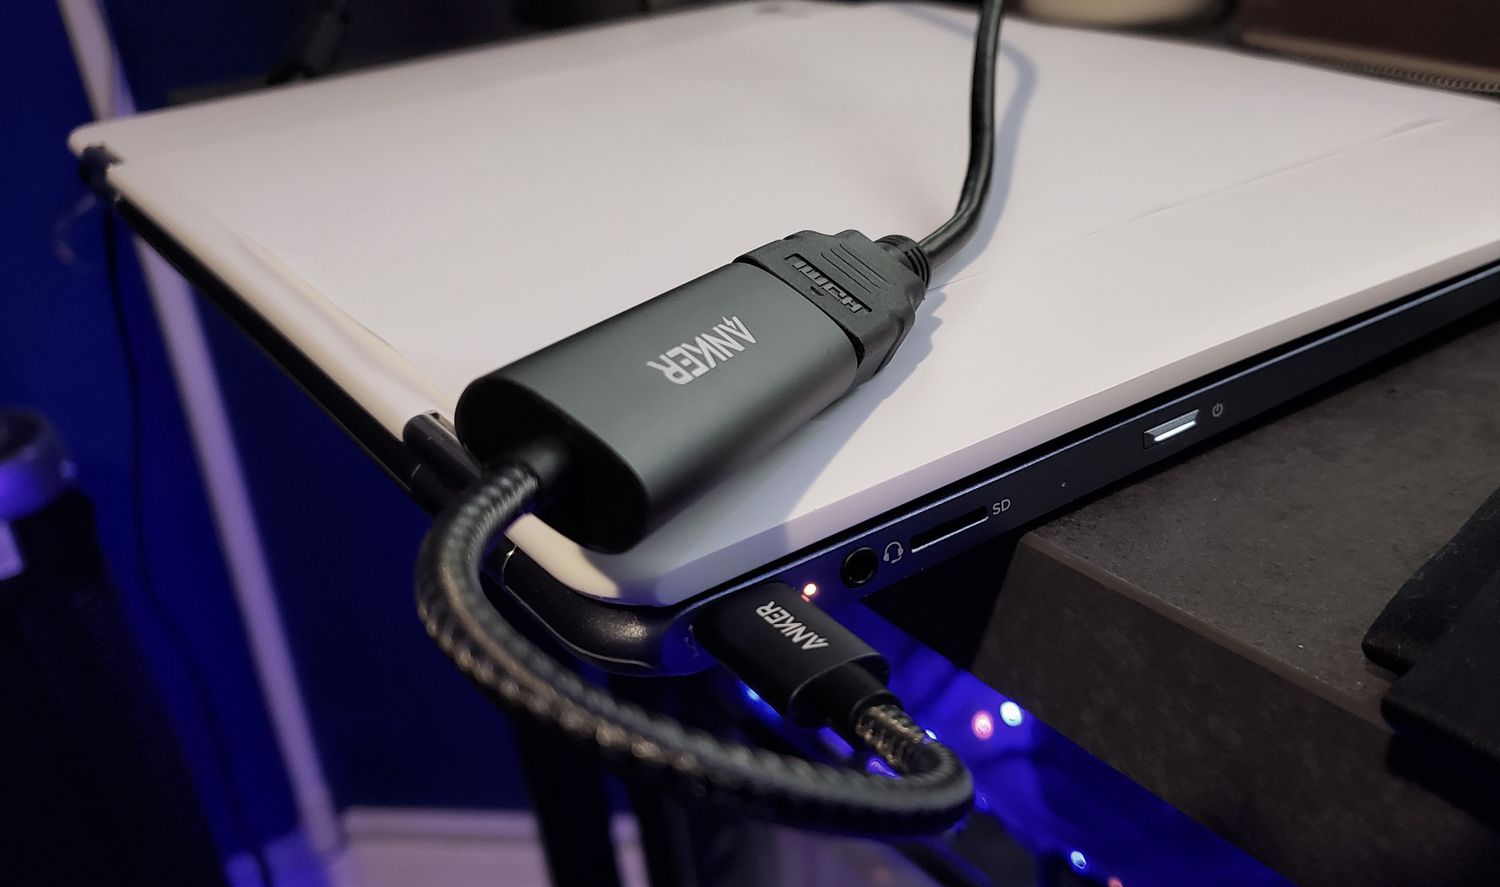
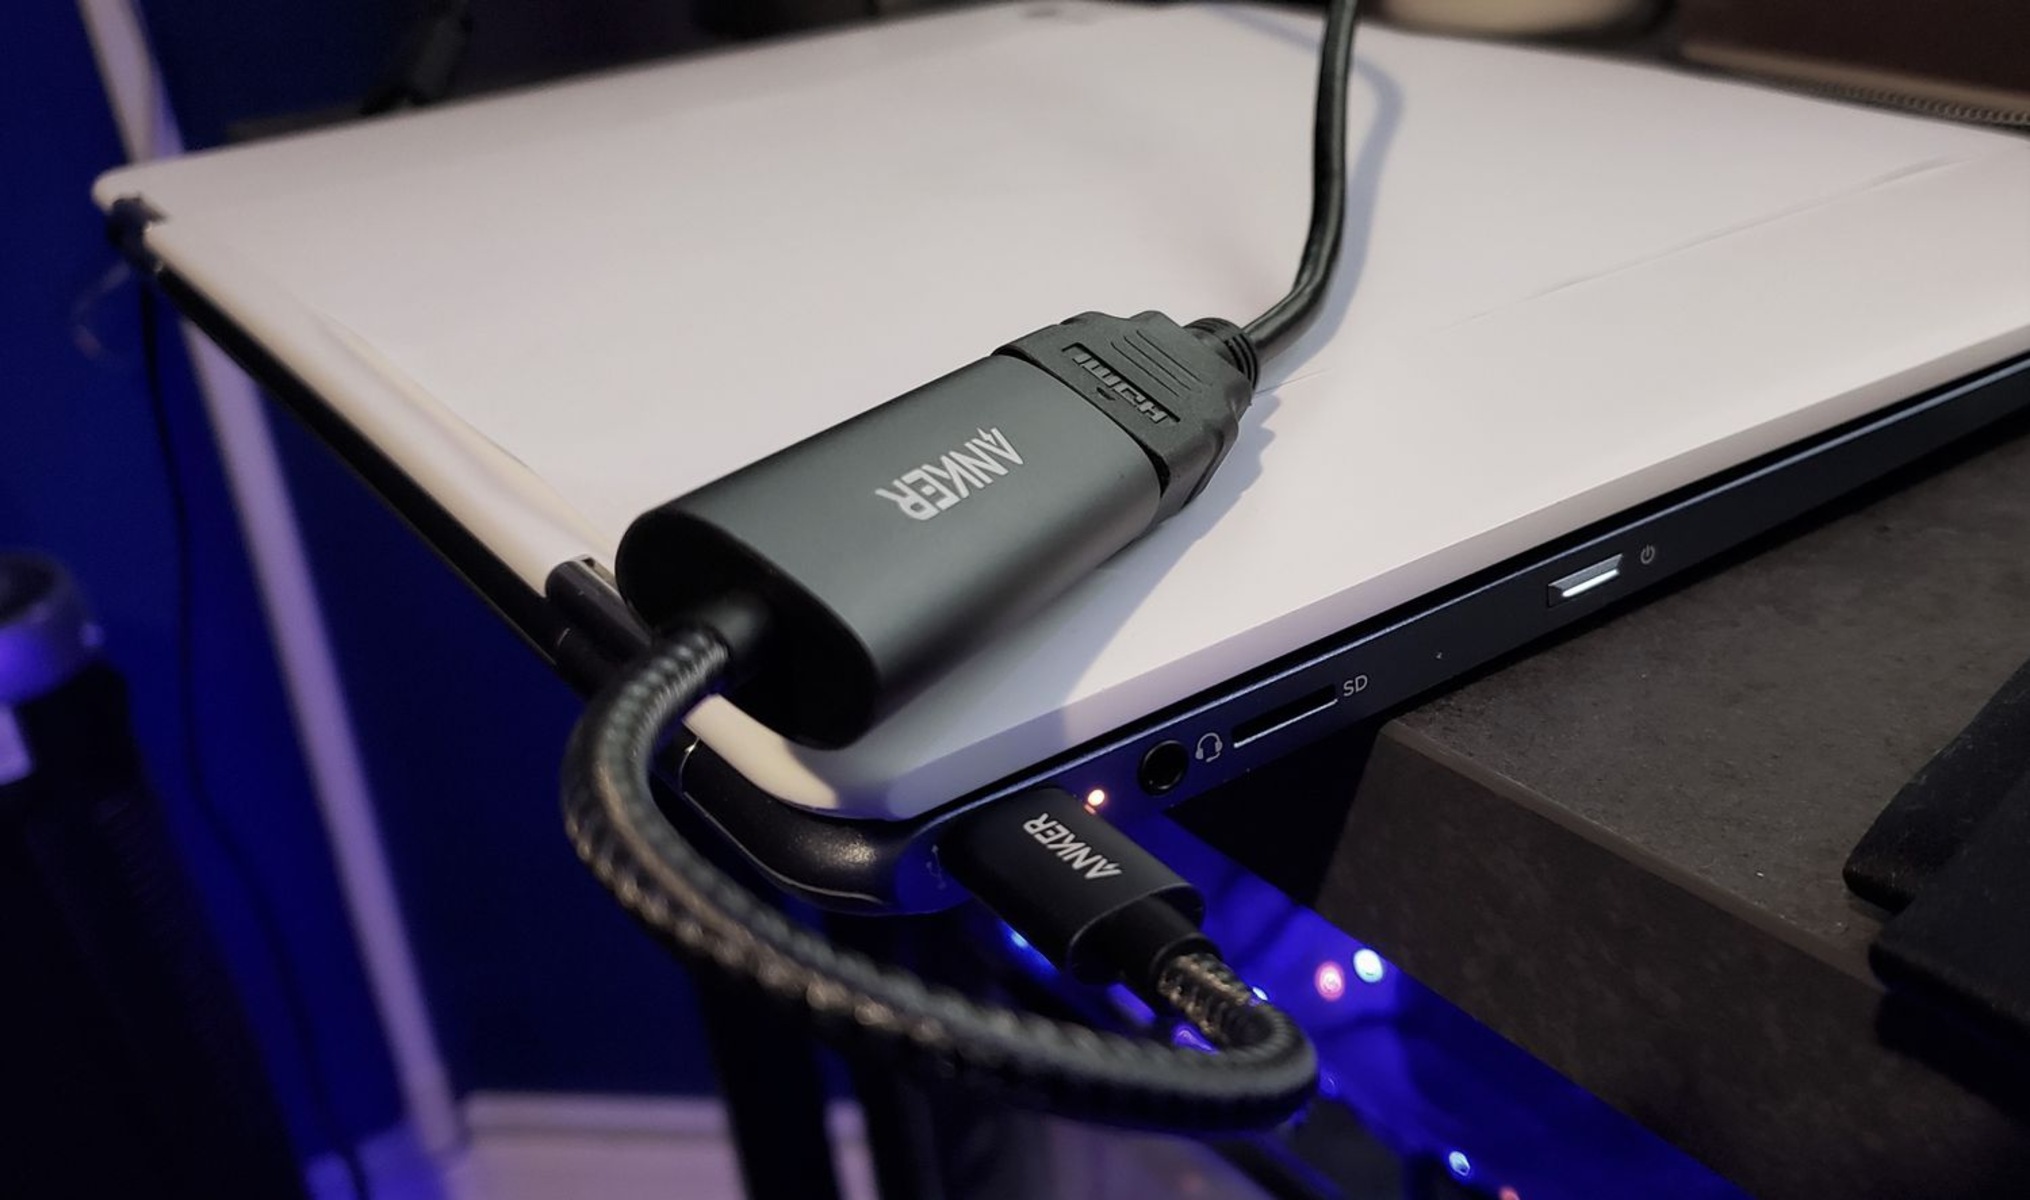
If your Chromebook has an HDMI port and the projector has an HDMI port as well, you’re in luck. All you need is an HDMI cable to connect the two devices. Make sure the HDMI cable is of proper length to reach both the Chromebook and the projector comfortably.
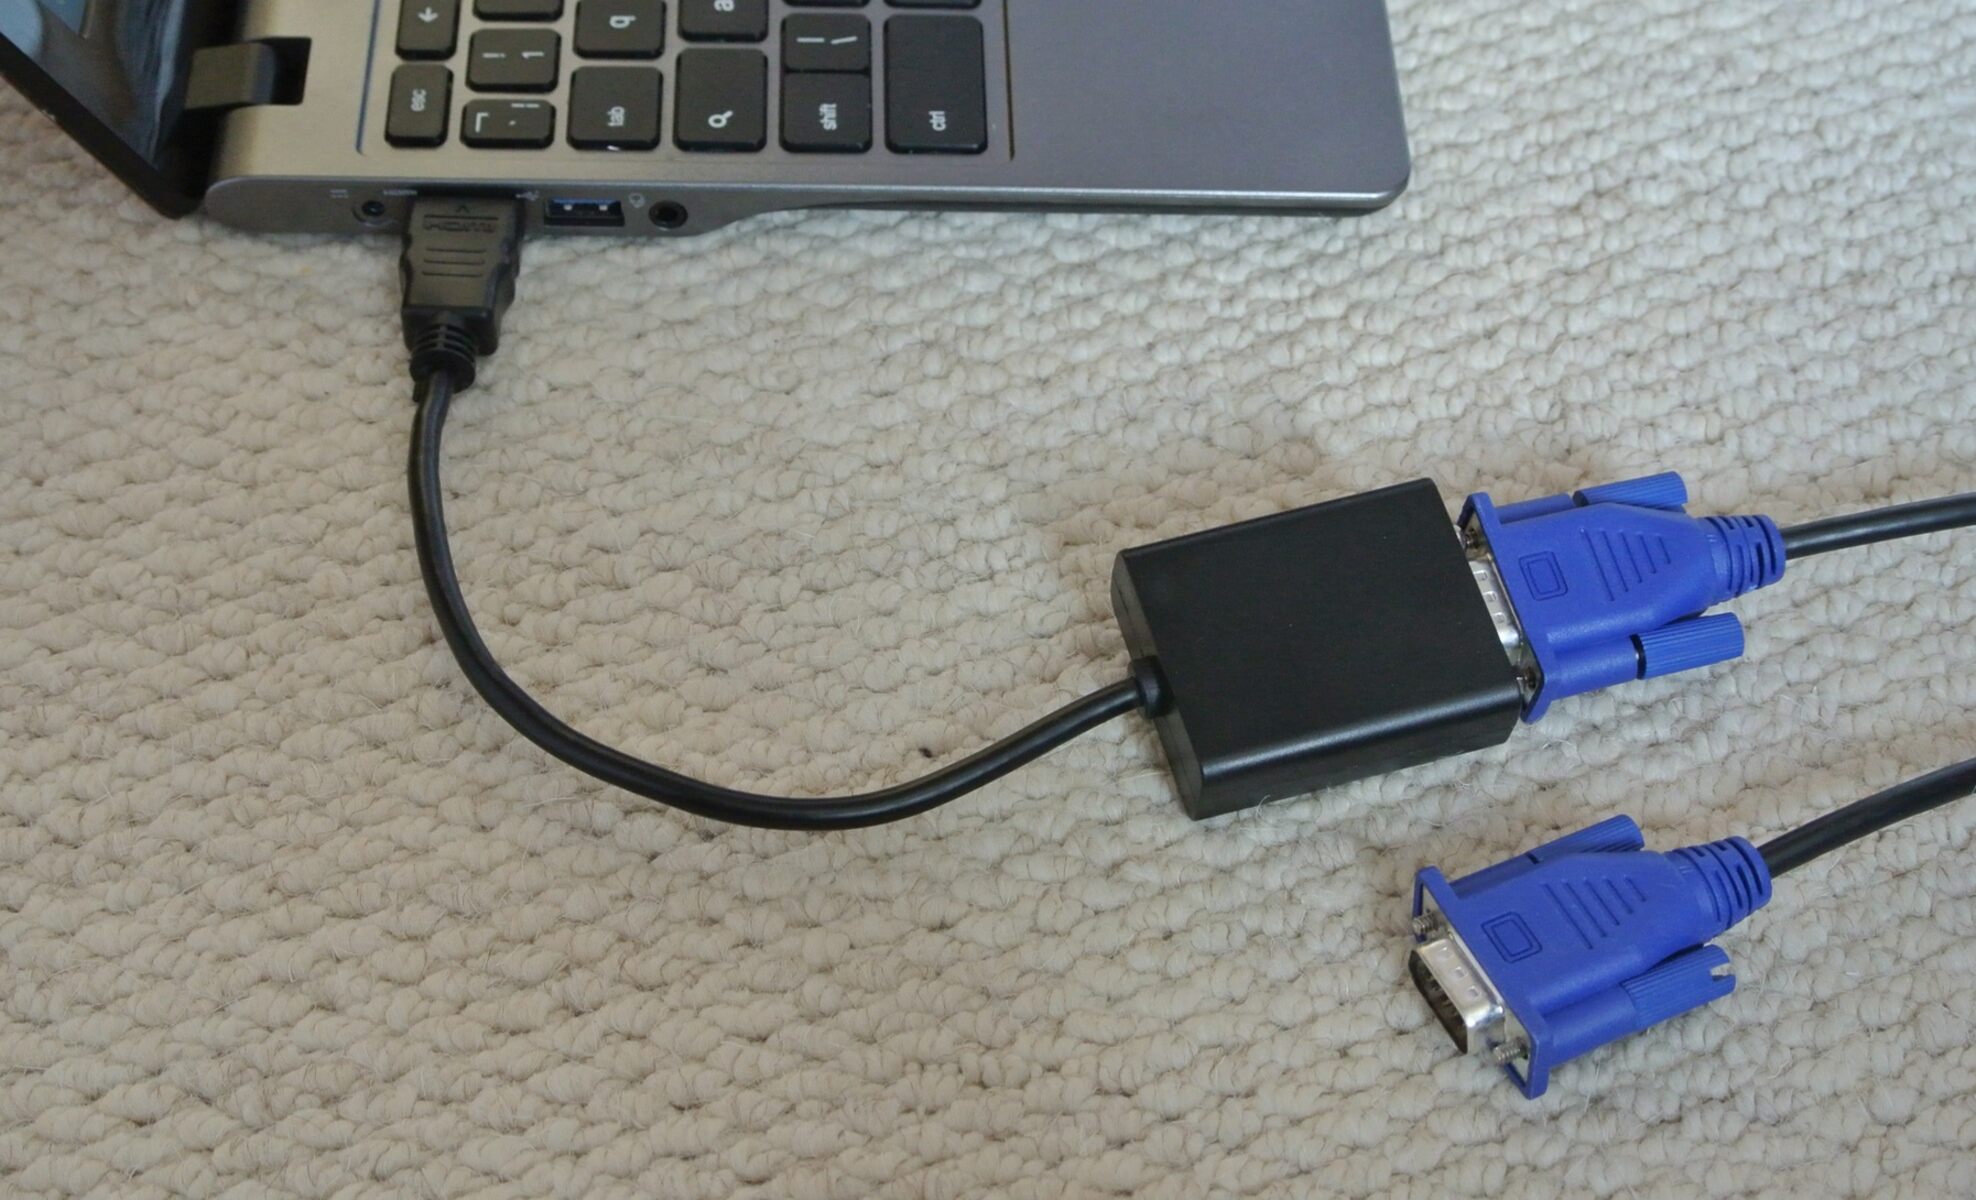
If your Chromebook has a VGA port and the projector only has an HDMI port, you’ll need an HDMI to VGA adapter. This adapter converts the HDMI signal from your Chromebook to VGA so that it can be recognized by the projector. Make sure you have the adapter before proceeding.
Once you have confirmed that you have the required cables and adapters, it’s time to move on to the next step: connecting your Chromebook to the projector.
Step 2: Connect the Chromebook to the projector using HDMI
If your Chromebook and projector both have HDMI ports, connecting them is a breeze. Follow these simple steps:
- Start by powering off your Chromebook and the projector.
- Plug one end of the HDMI cable into the HDMI port on your Chromebook.
- Plug the other end of the HDMI cable into the HDMI port on the projector.
- Power on the projector.
- Power on your Chromebook.
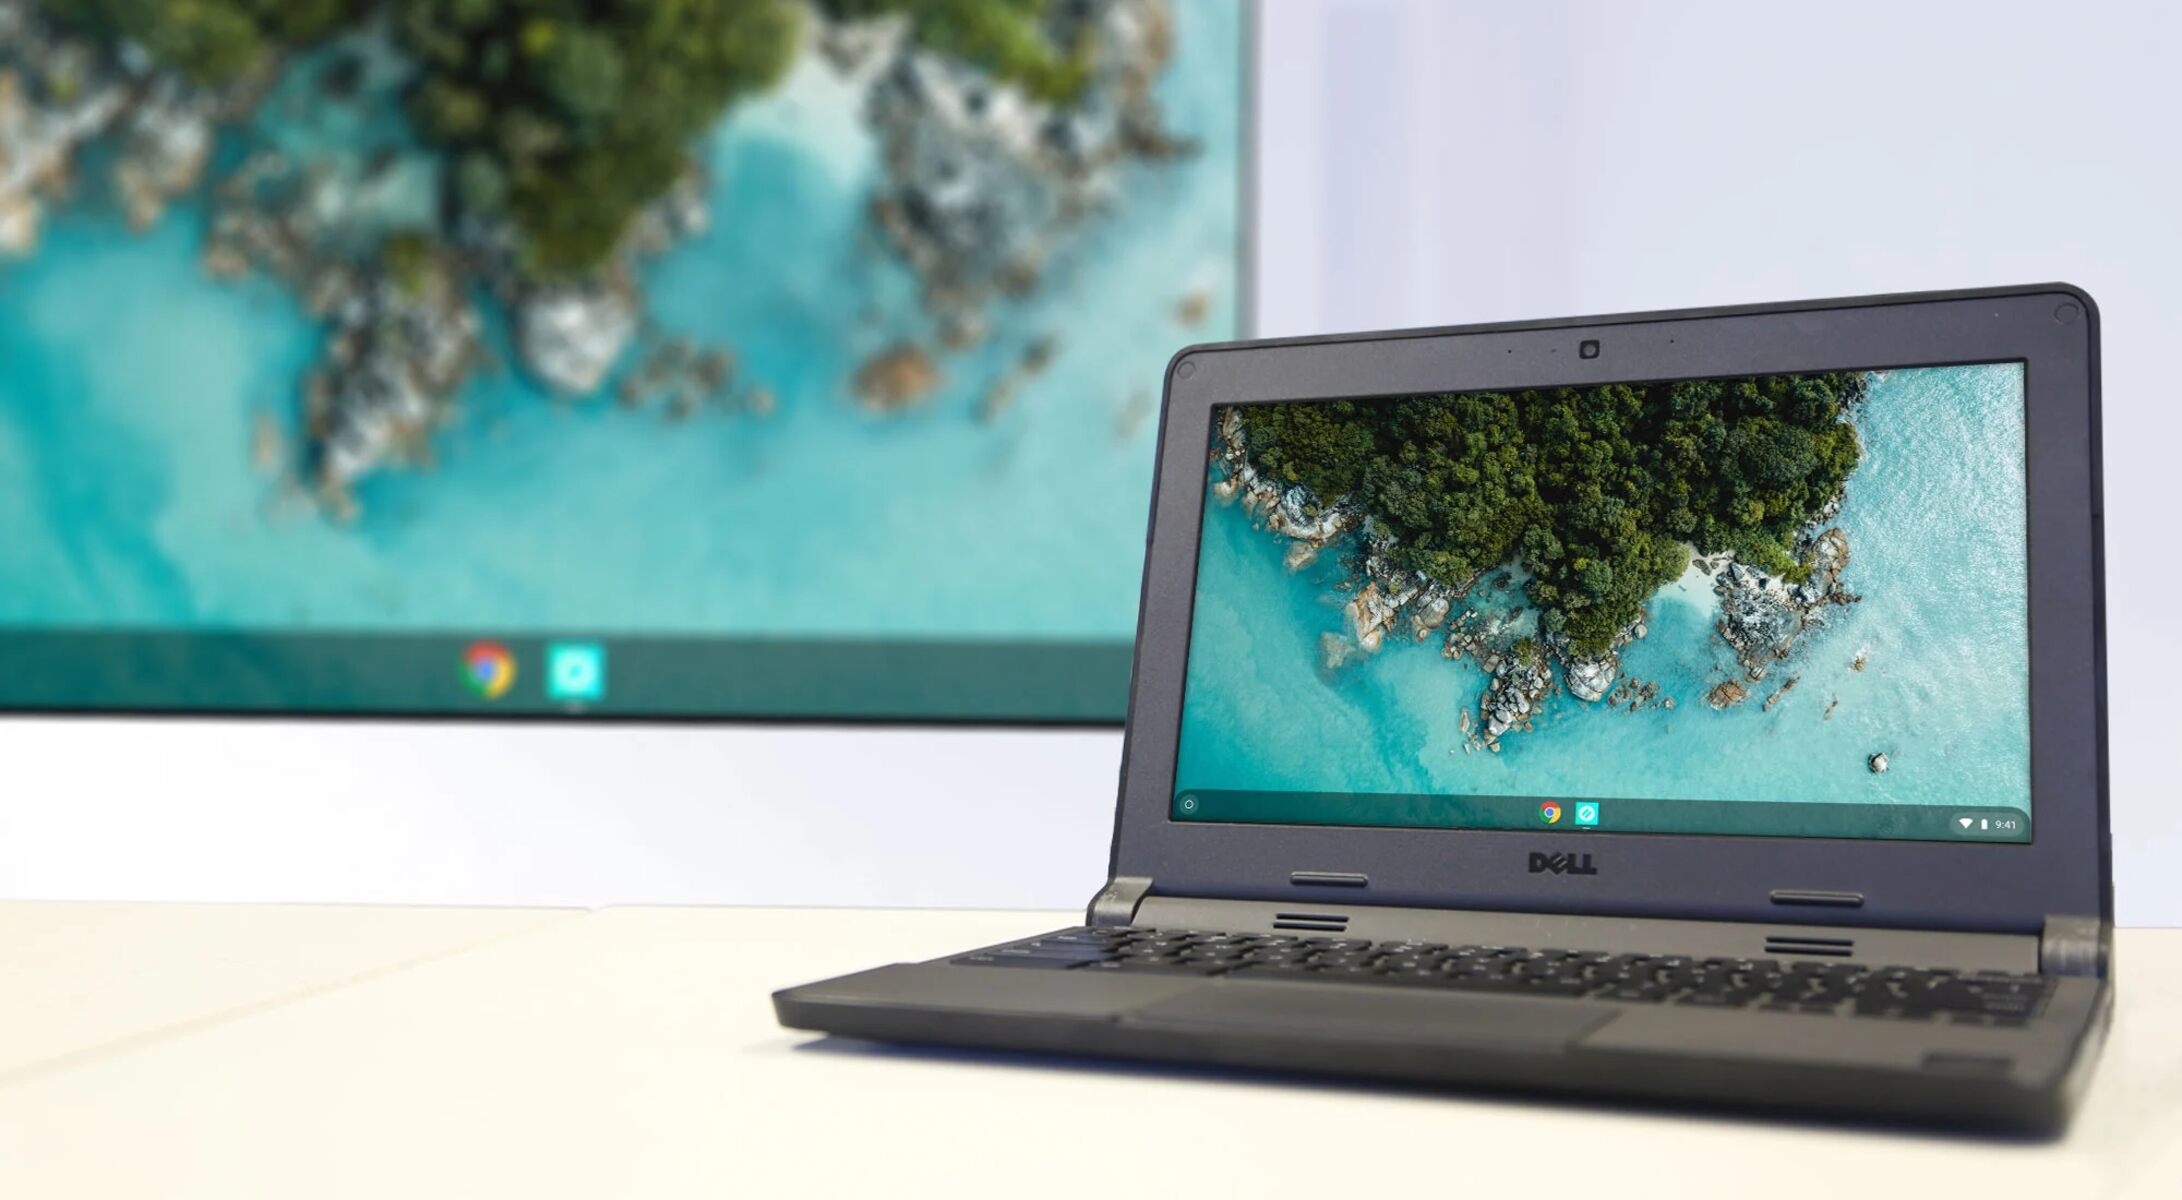
- The projector should now detect the Chromebook’s signal and display the content on the projection screen.
When connecting via HDMI, the audio and video signals are usually transmitted simultaneously, resulting in a seamless multimedia experience. If the audio is not playing through the projector’s speakers, you may need to adjust the audio output settings on your Chromebook.
To do this, click on the tray located at the bottom right corner of the Chromebook’s screen. Then, click on the gear icon to access the settings menu. In the settings menu, navigate to the “Device” section and click on “Sound.” From there, you can select the audio output to be “HDMI” or “HDMI + Built-in speakers” to ensure the audio is being routed through the projector.
Once you have made the necessary settings adjustments, you can start using your Chromebook with the projector via HDMI.
Now that you have successfully connected your Chromebook using HDMI, let’s move on to the next step: connecting the Chromebook to the projector using VGA.
Step 3: Connect the Chromebook to the projector using VGA
If your Chromebook has a VGA port and the projector only has an HDMI port, you can still establish a connection by using an HDMI to VGA adapter. Follow the steps below to connect your Chromebook to the projector using VGA:
- Power off your Chromebook and the projector.
- Connect one end of the HDMI to VGA adapter to the HDMI port on your Chromebook.
- Connect the other end of the HDMI to VGA adapter to the VGA cable.
- Plug the VGA cable into the VGA port on the projector.
- Power on the projector.
- Power on your Chromebook.
- The projector should detect the VGA signal from your Chromebook and display the content on the projection screen.
When using an HDMI to VGA adapter, it’s important to note that audio cannot be transmitted through this connection. You will need to connect external speakers or use the Chromebook’s built-in speakers for audio playback.
If the projected image appears distorted or the resolution is not ideal, you may need to adjust the display settings on your Chromebook. To do this, go to the settings menu by clicking on the tray at the bottom right corner of the screen, then click on the gear icon. In the settings menu, navigate to the “Device,” then “Display” section, and adjust the resolution to a setting that works best for your projector.
Now that you have successfully connected your Chromebook using VGA, you’re ready to enjoy the benefits of using a projector with your device. In the next step, we’ll discuss how to adjust the display settings on your Chromebook.
Step 4: Adjust the display settings on your Chromebook
After successfully connecting your Chromebook to the projector, you may need to make some adjustments to the display settings to optimize the viewing experience. Here’s how you can do it:
- Click on the tray at the bottom right corner of the Chromebook’s screen to access the system menu.
- Click on the gear icon to open the settings menu.
- In the settings menu, go to the “Device” section and click on “Display”.
- Under the “Display size” section, you can adjust the size of the display. If the projected content appears too small or too large, you can modify the display size to your preference.
- Scroll down to the “Screen layout” section. Here, you can rearrange the position of the displays if needed. For example, if the projected image is not aligned with the projection screen, you can drag and drop the displays to match the desired arrangement.
- Explore the other display settings available to customize your viewing experience. You can adjust the screen resolution, orientation, and other advanced options according to your needs.
- Once you have made the necessary adjustments, close the settings menu.
By fine-tuning the display settings on your Chromebook, you can ensure that the projected content is clear, properly aligned, and optimized for the projection screen.
If you are experiencing any issues with the display or encountering difficulties adjusting the settings, double-check your cable connections, restart your Chromebook and the projector, and try again. It’s also a good idea to consult your Chromebook’s user manual or visit the manufacturer’s website for any specific troubleshooting steps related to your model.
Now that you have adjusted the display settings on your Chromebook, you’re ready to make the most out of the projector and enjoy a more immersive viewing experience.
Step 5: Troubleshooting common issues
While connecting your Chromebook to a projector is typically a smooth process, you may encounter some common issues that can be easily resolved. Here are a few troubleshooting tips to help you overcome these challenges:
No signal or connection:
If you’re not getting a signal or unable to establish a connection between your Chromebook and the projector, try the following:
- Ensure all the cables are securely connected.
- Double-check that the projector is powered on.
- Restart both your Chromebook and the projector.
- Try a different HDMI or VGA port on the projector if available.
- Test your Chromebook with a different projector or display to determine if the issue is device-specific.
No audio:
If the audio is not playing through the projector’s speakers when using an HDMI connection, try these steps:
- Check the audio output settings on your Chromebook and ensure it’s set to “HDMI” or “HDMI + Built-in speakers”.
- If using an HDMI to VGA adapter, connect external speakers to your Chromebook for audio playback.
Distorted or incorrect display:
If the projected image appears distorted, upside-down, or the resolution is not optimal, try the following:
- Adjust the display settings on your Chromebook, as discussed in Step 4.
- Ensure that you have selected the correct screen resolution for your projector’s capabilities.
- Make sure the projector’s firmware is up to date.
Incompatible or missing adapters:
If you don’t have the necessary adapters or cables to establish a connection, check with your Chromebook and projector’s manufacturer for recommended adapters or alternative connectivity options.
If you have tried these troubleshooting tips and are still experiencing issues, consider seeking technical support from the manufacturer or consulting an IT professional for further assistance.
By following these troubleshooting steps, you can overcome common issues and ensure a seamless connectivity experience between your Chromebook and the projector.
Conclusion
Connecting a Chromebook to a projector opens up a world of possibilities for sharing, presenting, and enjoying content on a larger screen. Whether you’re a student, teacher, or professional, knowing how to establish this connection is a valuable skill.
In this guide, we walked you through the steps to connect your Chromebook to a projector using both HDMI and VGA connections. We also provided troubleshooting tips for common issues you may encounter during the process.
Start by checking the connections and ensuring you have the necessary cables and adapters. If your Chromebook and projector have HDMI ports, connecting them is as simple as plugging in an HDMI cable. If your Chromebook only has a VGA port, an HDMI to VGA adapter will be needed.
Once the physical connections are established, adjust the display settings on your Chromebook to optimize the viewing experience on the projection screen. Fine-tune the display size, screen layout, and resolution to ensure clear and aligned content.
If you run into any issues, such as a lack of signal, no audio, distorted display, or missing adapters, follow the troubleshooting tips provided to overcome these challenges.
Remember, while the steps outlined in this guide should work for most Chromebook models, it’s always a good idea to refer to your specific device’s instructions or consult the user manual for any model-specific information.
Now that you have the knowledge to connect your Chromebook to a projector, go forth and create amazing presentations, share captivating content, or simply enjoy your favorite movies and videos on a larger screen. The possibilities are endless!


