Introduction
Welcome to our guide on how to clean your SSD drive. Solid State Drives (SSDs) have become increasingly popular due to their fast performance and reliability. Their compact size and non-mechanical design make them a preferred storage option for many computer users. However, just like any other storage device, SSD drives can accumulate unnecessary files and data over time, leading to reduced performance and slower system speeds.
In this article, we will explore the importance of cleaning your SSD drive and discuss various methods to effectively remove unwanted files and optimize its performance. Whether you are a tech-savvy individual or a novice user, this guide will provide you with detailed steps and precautions to ensure a smooth and hassle-free cleaning process.
Before diving into the cleaning methods, it’s essential to understand what an SSD drive is and why it needs regular maintenance. This knowledge will help you grasp the significance of cleaning your SSD drive and encourage you to incorporate it into your computer maintenance routine.
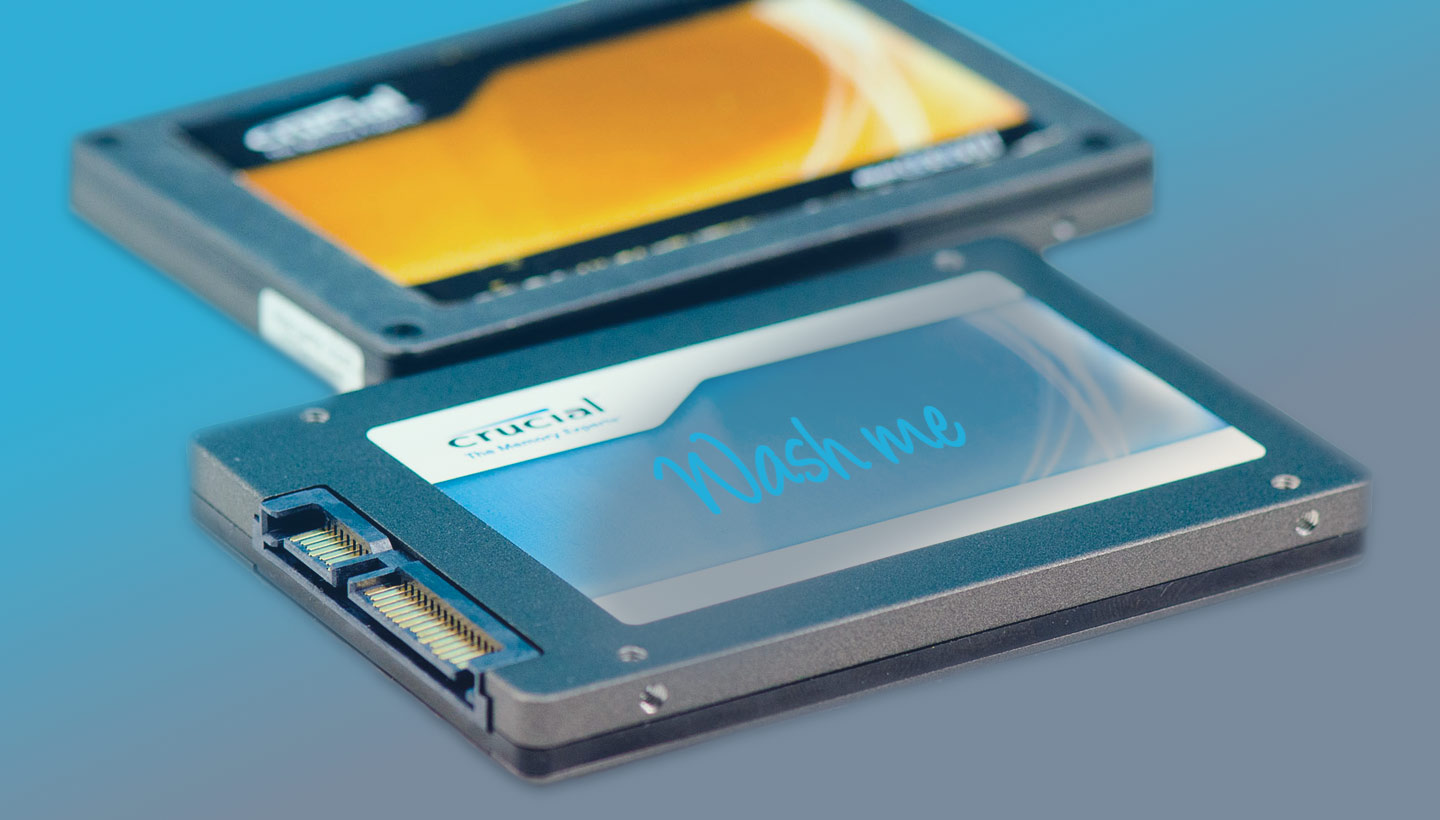
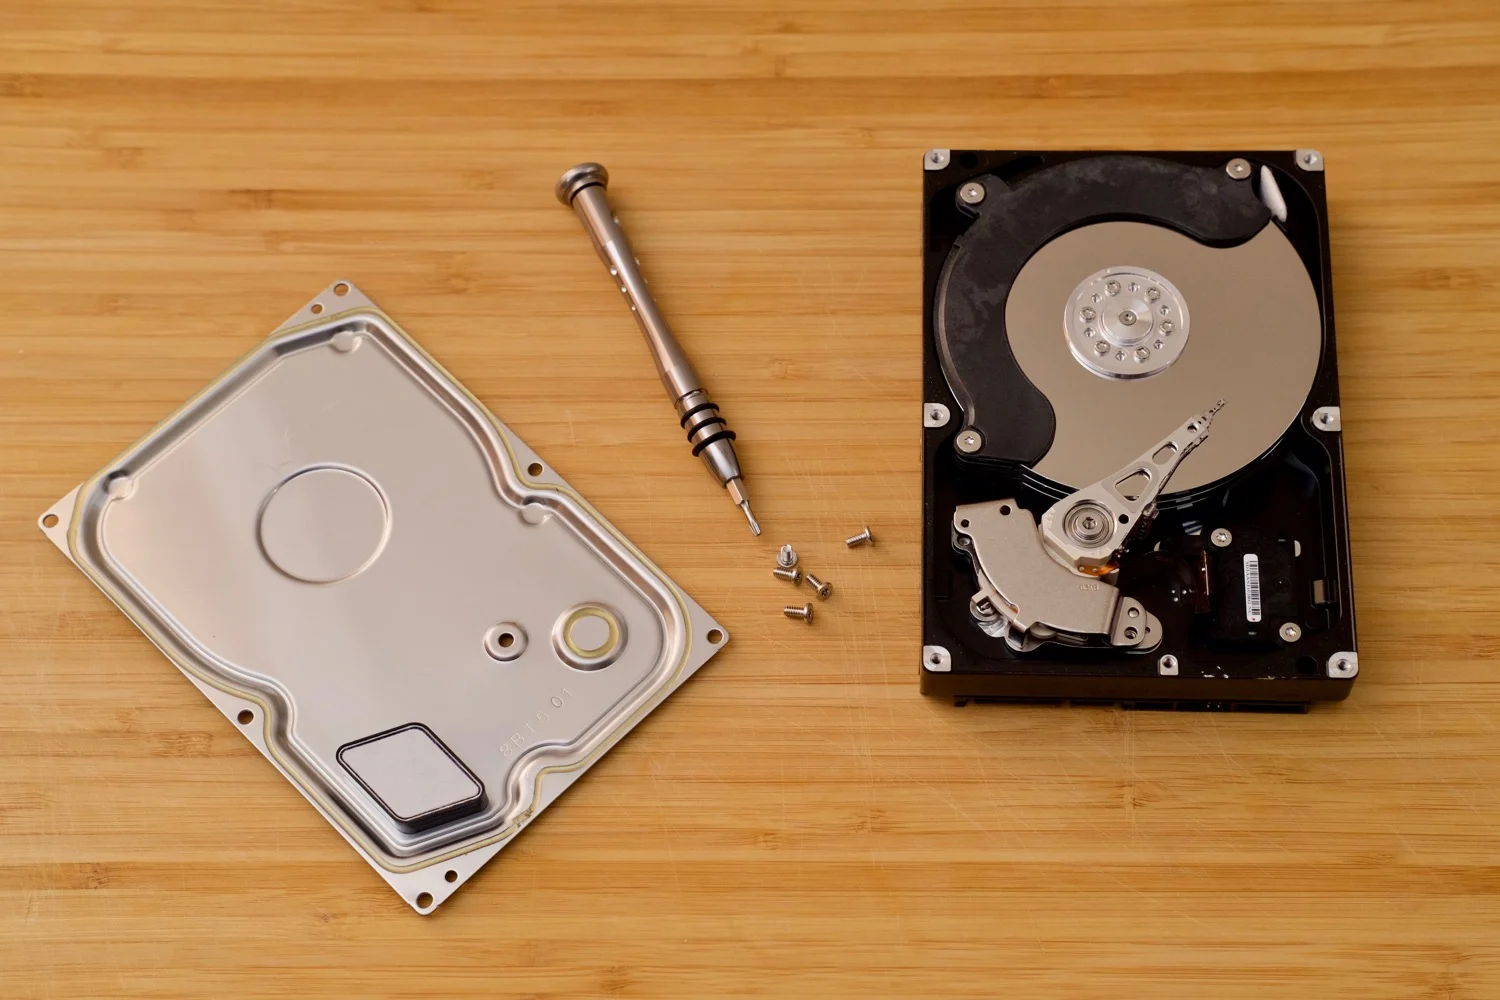
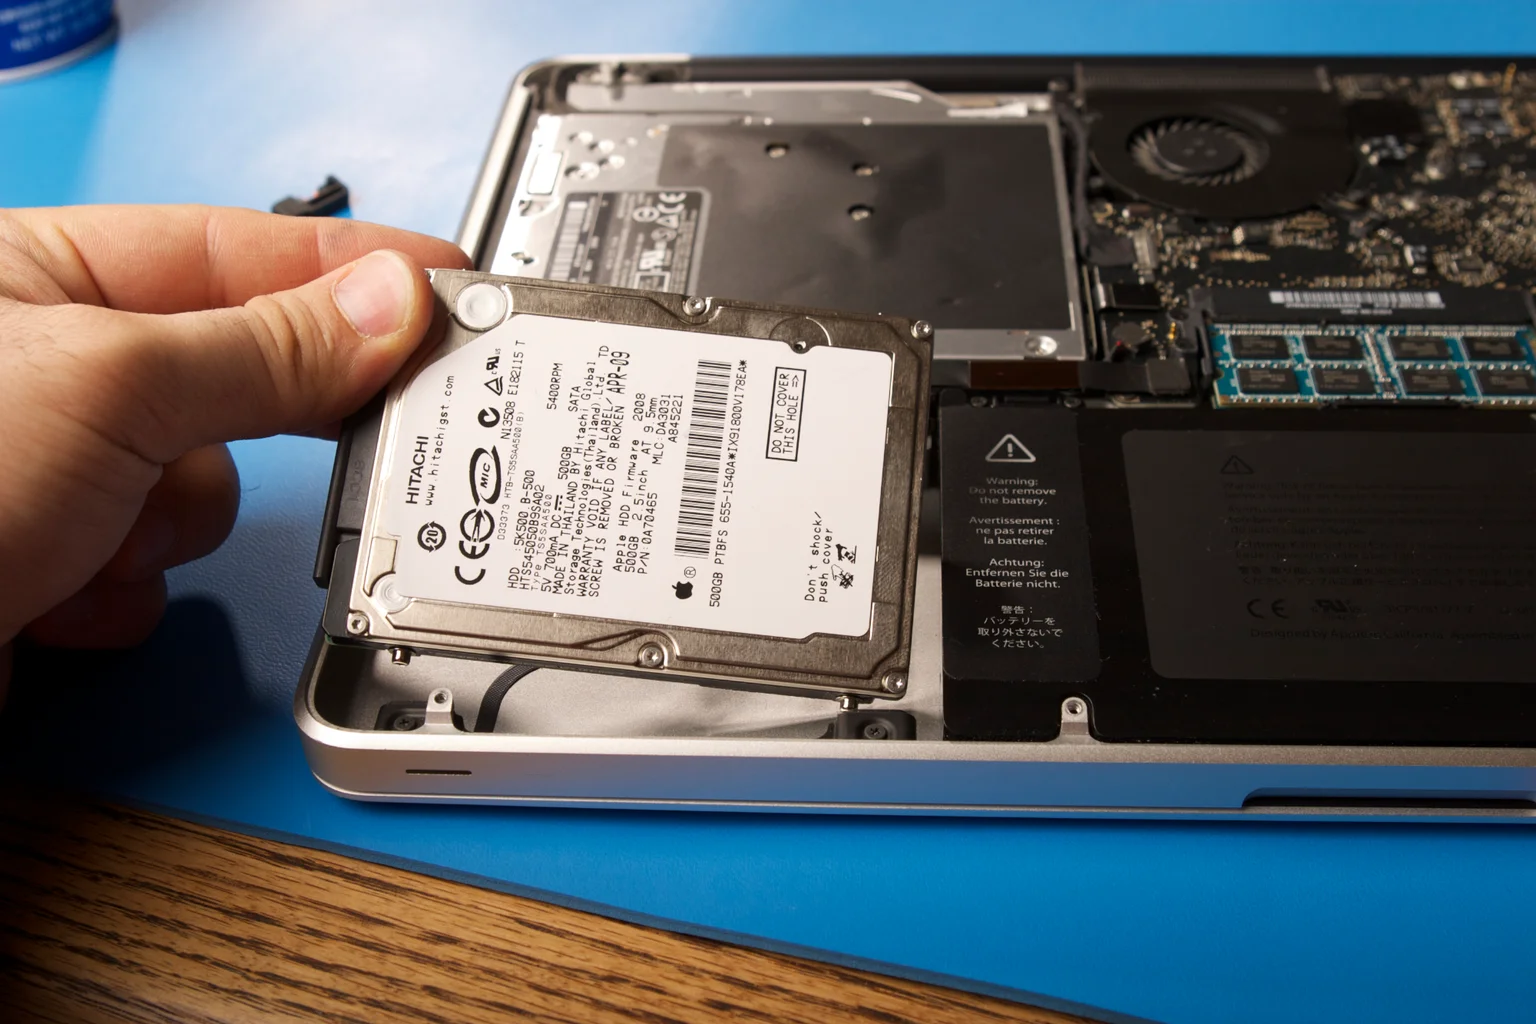
An SSD drive is a type of storage device that uses flash memory chips to store data, unlike traditional hard disk drives (HDDs) that rely on spinning magnetic disks. This technology allows SSDs to read and write data much faster, resulting in quicker system boot times, faster file transfers, and improved overall performance. However, like any storage device, SSD drives can suffer from decreased performance if not properly maintained.
Over time, SSD drives can become cluttered with temporary files, log files, duplicate files, and other unnecessary data. This accumulation of unnecessary data can fill up disk space, hampering the drive’s performance and slowing down your computer. Additionally, frequent file read and write operations can cause fragmentation, leading to reduced efficiency.
Cleaning your SSD drive regularly is essential to ensure optimal performance and longevity. By removing unnecessary files, you can free up valuable disk space and improve system responsiveness. Cleaning also helps minimize the chances of data corruption and prevents potential file system errors.
In the next sections, we will explore various methods to clean your SSD drive, including using built-in Windows tools, third-party cleaning software, manual file deletion, and reformatting the drive. Each method has its own advantages and precautions, allowing you to choose the most suitable approach based on your requirements and comfort level.
Now that you understand the importance of cleaning your SSD drive, let’s move on to the methods and precautions involved. By following the steps outlined in this guide, you will be able to restore your SSD drive’s performance and enjoy a clutter-free computing experience.
What is an SSD Drive?
If you’re a tech enthusiast or someone who frequently uses computers, you have probably come across the term “SSD drive” at some point. But what exactly is an SSD drive, and how does it differ from traditional hard disk drives (HDDs)?
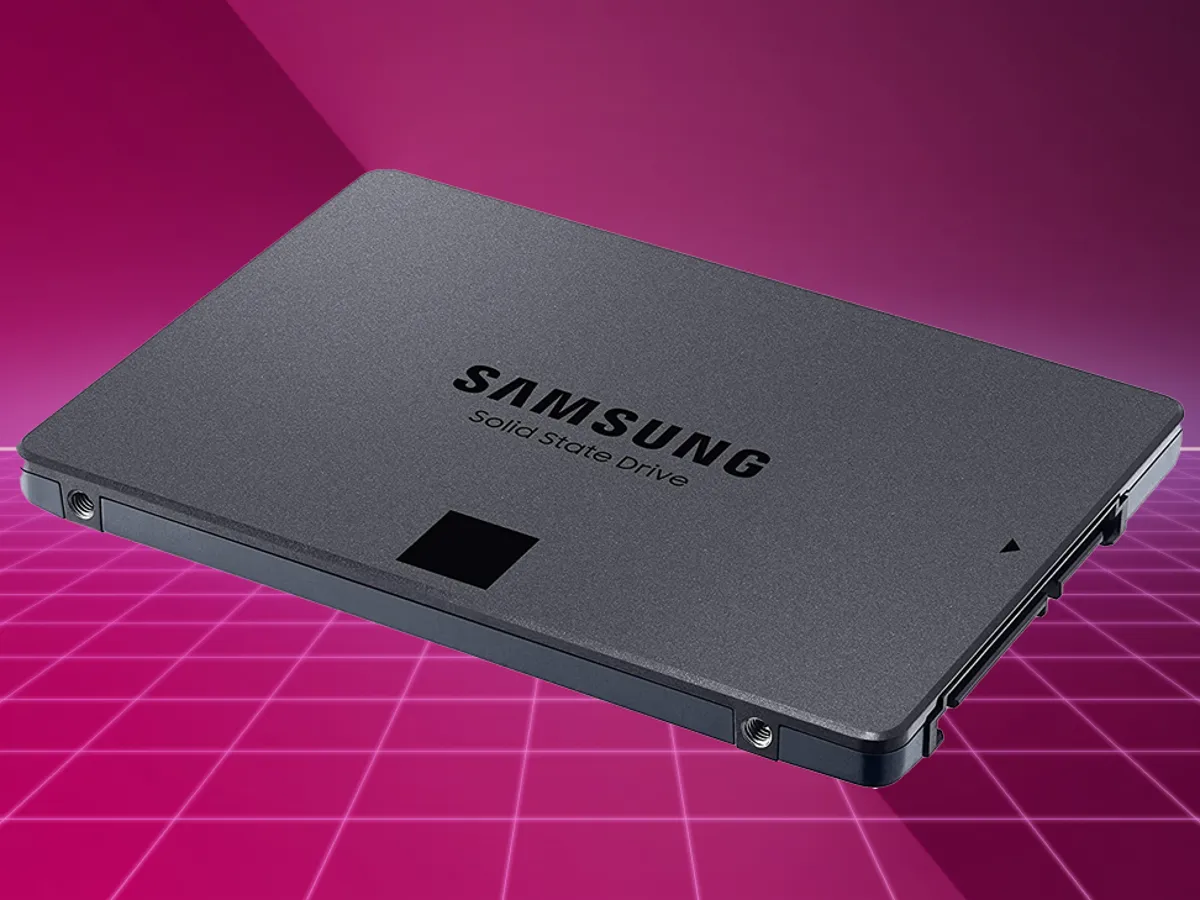
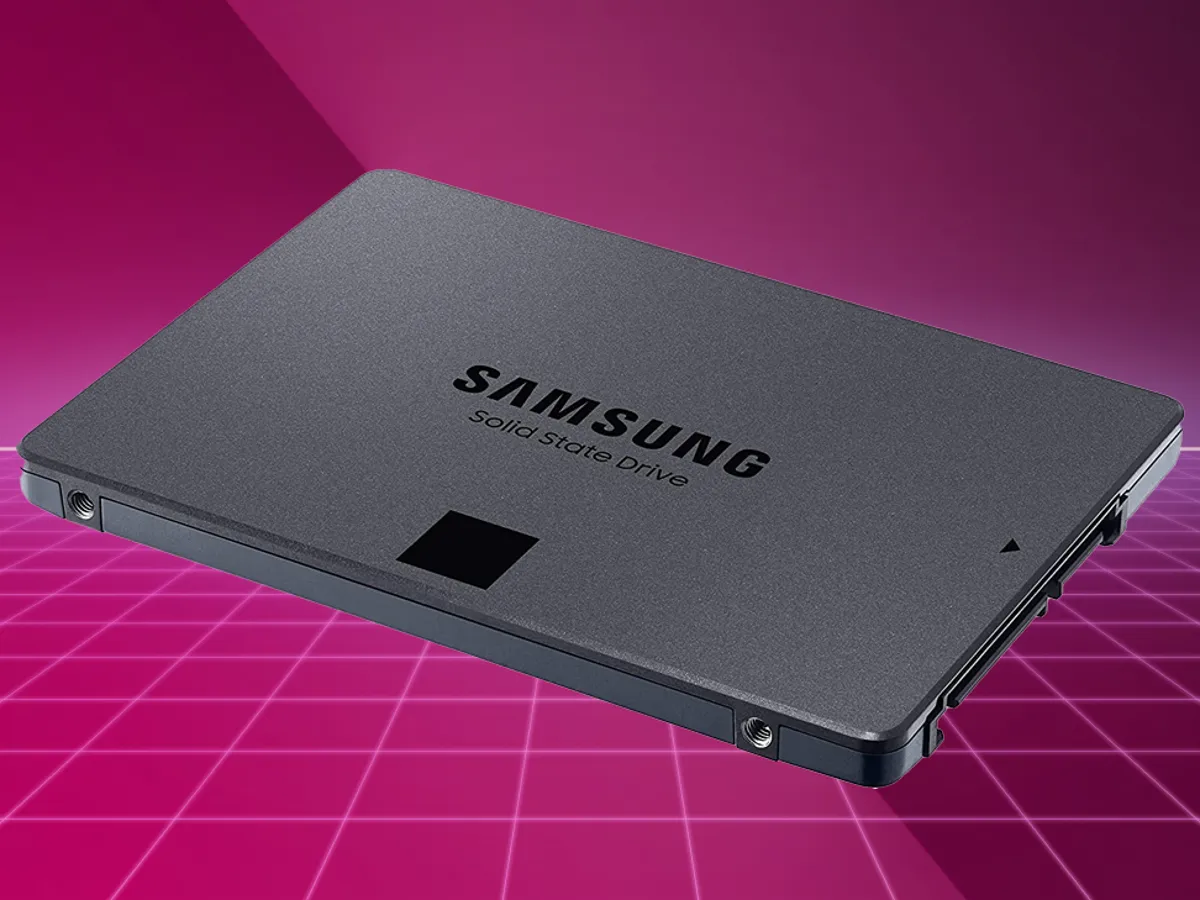
A Solid State Drive (SSD) is a type of storage device that uses flash memory chips to store and retrieve data. Unlike HDDs, which rely on mechanical components and spinning disks to perform read and write operations, SSDs have no moving parts. This unique design offers several advantages over traditional hard drives.
One of the significant advantages of an SSD drive is its speed. SSDs can access and transfer data at a much faster rate than HDDs. This is because there are no physical components that need to move or rotate to access data. The absence of moving parts means that SSD drives can provide near-instantaneous access to stored files, resulting in faster boot times and significantly improved overall system performance.
Another notable advantage of SSD drives is their durability. With no mechanical parts susceptible to wear and tear, SSDs are more robust and better equipped to handle physical shocks and vibrations. This makes them an ideal choice for laptops and portable devices, as they can withstand the rigors of daily use and frequent movement.
SSD drives are also known for their energy efficiency. Unlike HDDs that require a constant supply of power to spin the disks, SSDs consume less power and generate less heat. This not only helps extend battery life in laptops and other portable devices but also reduces overall power consumption and heat production in desktop computers, leading to a more energy-efficient and environmentally friendly computing experience.
One common concern with SSD drives is their limited lifespan. Unlike HDDs, which can last for several years, an SSD drive has a finite number of program-erase cycles, known as its “write endurance.” However, with advancements in technology and the use of wear-leveling algorithms, modern SSD drives can provide a long lifespan that is more than sufficient for typical consumer use.
Overall, SSD drives offer superior performance, durability, and energy efficiency compared to traditional hard disk drives. With their lightning-fast access times, enhanced durability, and lower power consumption, SSD drives have become the go-to storage solution for both casual users and professionals seeking optimum performance and reliability.
In the next sections, we will explore the reasons why you should clean your SSD drive regularly and discuss various methods to keep your SSD drive running smoothly. By understanding the benefits and intricacies of SSD drives, you will be better equipped to maintain and optimize their performance for a seamless computing experience.
Why Clean Your SSD Drive?
Regularly cleaning your SSD drive is crucial to ensure optimal performance and prevent potential issues that can arise from the accumulation of unnecessary files and data. Here are some key reasons why cleaning your SSD drive is important:
1. Freeing up Disk Space: Over time, an SSD drive can accumulate temporary files, duplicate files, system logs, and other unnecessary data. These files take up valuable disk space and can hinder your computer’s performance. By cleaning your SSD drive, you can reclaim disk space and ensure that it is used more efficiently.
2. Improving System Speed: The presence of unnecessary files and data on your SSD drive can slow down your computer. As the drive fills up, it becomes more challenging for the operating system to find available space for new files. This can lead to slower file read and write operations. Cleaning your SSD drive helps optimize its performance and speed up your computer’s overall operation.
3. Enhancing File Organization: Over time, SSD drives can become cluttered with files and folders that may no longer be needed. This can make it difficult to locate specific files or folders when you need them. By cleaning your SSD drive, you can organize your files and folders, making it easier to find and access the data you need.
4. Preventing Data Corruption: A cluttered SSD drive can increase the risk of data corruption. When the drive is filled with unnecessary files and data, it becomes more difficult for the system to manage and protect the integrity of your important files. Cleaning your SSD drive reduces the likelihood of data corruption and helps ensure the safety of your valuable files.
5. Minimizing File System Errors: As an SSD drive fills up and becomes fragmented, it can result in file system errors. Fragmentation occurs when files are split into multiple fragments and stored in different physical locations on the drive. This can lead to longer file access times and reduced performance. By regularly cleaning your SSD drive, you can minimize fragmentation and maintain the integrity of your file system.
6. Extending Drive Lifespan: While modern SSD drives have improved durability, they still have a limited number of program-erase cycles. Excessive writes and unnecessary data on the drive can contribute to wear and tear. Cleaning your SSD drive helps reduce unnecessary writes and prolong its lifespan, ensuring that you get the maximum value out of your storage investment.
With these key reasons in mind, it is clear that cleaning your SSD drive is crucial for maintaining its performance, organization, and longevity. In the following sections, we will explore different methods and techniques to clean your SSD drive effectively and keep it running smoothly.
Precautions before Cleaning the SSD Drive
Before you proceed with cleaning your SSD drive, it’s important to take certain precautions to ensure a smooth and safe process. Here are some key precautions to keep in mind:
1. Backup Important Data: Before performing any cleaning or maintenance tasks on your SSD drive, it’s essential to create a backup of your important files and data. While the cleaning process itself shouldn’t result in data loss, it’s always better to be safe than sorry. By backing up your data, you have a safeguard in case anything unexpected happens during the cleaning procedure.
2. Close Unnecessary Programs: To avoid any conflicts or interference during the cleaning process, it’s recommended to close all unnecessary programs and background processes. This will ensure that there are no active file operations or conflicts with system resources, allowing the cleaning process to proceed smoothly.
3. Update Your Operating System and Drivers: Keeping your operating system and device drivers up to date is essential for optimal performance and compatibility. Before cleaning your SSD drive, make sure to update your operating system and drivers to the latest versions available. This ensures that you have the latest bug fixes, performance enhancements, and security patches, which can contribute to a smooth and efficient cleaning process.
4. Disable Antivirus Software: While antivirus software is crucial for protecting your computer from malware, it’s recommended to temporarily disable it before cleaning your SSD drive. Some antivirus programs may interfere with the cleaning process, flagging certain files or operations as potential threats. Disabling the antivirus software ensures that it doesn’t interrupt or hinder the cleaning process.
5. Use Reliable Cleaning Software: If you choose to use third-party cleaning software to clean your SSD drive, make sure to use a reputable and reliable program. There are many cleaning software options available, but not all of them are trustworthy. Do thorough research, read reviews, and choose a cleaning software that has a good reputation and positive user feedback.
6. Follow Proper Cleaning Procedures: When manually deleting files or using cleaning software, ensure that you are following the proper procedures to avoid accidentally deleting important system files or damaging the file system. Take your time to review the files and confirm that they are safe to delete before proceeding.
7. Be Mindful of Storage Limits: SSD drives have a limited amount of storage space, and cleaning them can free up valuable disk space. However, be careful not to fill the drive to its maximum capacity. Leaving a certain amount of free space is important for the drive’s performance and longevity. It’s recommended to maintain at least 10-20% of the total drive capacity as free space.
By adhering to these precautions, you can minimize the risk of data loss, ensure a smoother cleaning process, and maintain the integrity and performance of your SSD drive. It’s essential to approach the cleaning process with caution and take all necessary steps to protect your important files and the overall health of your SSD drive.
Method 1: Using Disk Cleanup Tool
The built-in Disk Cleanup tool in Windows is a convenient and straightforward method to clean your SSD drive. This tool helps you remove unnecessary files and data, allowing you to free up disk space and improve system performance. Here’s how you can use the Disk Cleanup tool:
Step 1: Access the Disk Cleanup Tool: To open the Disk Cleanup tool, click on the Start menu or press the Windows key, type “Disk Cleanup” in the search bar, and select the “Disk Cleanup” application from the search results. Alternatively, you can navigate to “This PC” or “My Computer,” right-click on the SSD drive you want to clean, select “Properties,” and then click on the “Disk Cleanup” button located under the General tab.
Step 2: Select the SSD Drive: When the Disk Cleanup tool opens, it will automatically analyze your system and display a list of file categories that can be cleaned. Select the SSD drive you want to clean from the drop-down menu and click “OK.” The tool will calculate the amount of disk space that can be recovered.
Step 3: Choose the File Categories: In the Disk Cleanup window, you will see a list of file categories that can be cleaned. These categories include temporary files, system files, recycle bin, and more. Review the categories and select the ones you want to clean by checking the corresponding checkboxes. If you are unsure about a specific category, you can hover your mouse over the item for a brief description.
Step 4: Start the Cleaning Process: After selecting the desired file categories, click on the “OK” button to start the cleaning process. The tool will delete the selected files from your SSD drive. Depending on the size of the files and the speed of your drive, the process may take some time. Be patient and let the tool complete the task.
Step 5: Confirm Deletion: Once the cleaning process is complete, the Disk Cleanup tool will display a confirmation prompt asking if you want to permanently delete the selected files. Review the list of files to be deleted and click “Delete Files” to proceed. Note that these files cannot be recovered, so ensure you have selected only the files you no longer need.
Step 6: Completion and Verification: After the deletion process is finished, the Disk Cleanup tool will close, and you will regain the disk space that was occupied by the deleted files. To verify the success of the cleaning process, you can check the Properties of your SSD drive to see the increased available disk space.
The Disk Cleanup tool is a simple yet effective method to clean your SSD drive. By regularly using this tool, you can remove temporary files, system junk, and other unnecessary data, ensuring optimal performance and freeing up valuable disk space on your SSD drive.
Method 2: Using Third-Party Cleaning Software
In addition to the built-in Disk Cleanup tool, you can also utilize third-party cleaning software to clean your SSD drive efficiently. These dedicated cleaning software options offer more advanced features and a user-friendly interface, allowing you to clean your SSD drive with ease. Here’s how you can use third-party cleaning software:
Step 1: Research and Choose a Reliable Cleaning Software: Begin by researching and selecting a reputable and reliable third-party cleaning software for your SSD drive. Look for software that has positive user reviews, a clear user interface, and comprehensive cleaning capabilities. Popular options include CCleaner, Wise Disk Cleaner, and BleachBit.
Step 2: Download and Install the Software: Once you have chosen a cleaning software, visit the official website and download the installation file. Follow the on-screen instructions to install the software on your computer. Make sure to read and accept the privacy policy and terms of use during the installation process.
Step 3: Open the Cleaning Software: After the installation is complete, launch the cleaning software on your computer. Each software may have a slightly different interface, but the general steps will remain the same.
Step 4: Select the SSD Drive: In the cleaning software, locate the option to select the drive or partition you want to clean. Choose your SSD drive from the available list and ensure that you have selected the correct drive to avoid accidental deletion of files from other drives.
Step 5: Choose the Cleaning Categories: The cleaning software will present you with a list of cleaning categories or options. Depending on the software you are using, you may see categories such as temporary files, internet cache, system logs, and more. Review the categories and select the ones you want to clean by checking the corresponding checkboxes.
Step 6: Start the Cleaning Process: Once you have selected the desired cleaning categories, click on the “Clean” or “Start Cleaning” button to initiate the cleaning process. The software will start scanning your SSD drive and remove the selected files and data. The time taken for the process will depend on the size of the files and the speed of your drive.
Step 7: Review and Confirm Deletion: After the cleaning process is complete, the software will display a summary of the files that have been cleaned. Take a moment to review the list and confirm that you are satisfied with the deletion. Click on the “Confirm” or “Delete Files” button to finalize the cleaning process.
Step 8: Completion and Verification: Once the cleaning software has finished cleaning your SSD drive, it will display a completion message. You can then close the software and check the Properties of your SSD drive to see the increased available disk space.
Using third-party cleaning software offers additional features and customization options compared to the built-in Disk Cleanup tool. These software options typically provide more in-depth cleaning capabilities, including the ability to clean browser history, temporary files of specific applications, and more. Make sure to regularly update the cleaning software to benefit from the latest improvements and security patches.
By utilizing third-party cleaning software, you can effectively clean your SSD drive, declutter unnecessary files, and optimize its performance for a smoother computing experience.
Method 3: Manually Deleting Unnecessary Files
If you prefer a more hands-on approach to cleaning your SSD drive, you can manually delete unnecessary files and data. While this method requires a bit more effort and caution, it allows you to have complete control over the files you choose to remove. Here’s how you can manually delete unnecessary files from your SSD drive:
Step 1: Identify Unnecessary Files: Begin by identifying the types of files that are taking up unnecessary space on your SSD drive. Examples of such files include temporary files, old downloaded files, duplicate files, outdated software installers, and large media files that you no longer need.
Step 2: Use Windows File Explorer: Open Windows File Explorer by right-clicking on the Start menu and selecting “File Explorer” or by pressing the Windows key + E on your keyboard. Navigate to the location on your SSD drive where the unnecessary files are located.
Step 3: Sort and Select Files: To make the process more efficient, enable the “Details” view in File Explorer and sort the files by their size, creation date, or file type. This will allow you to easily identify large and old files that you may want to remove. Select the files by clicking on them or by using the Ctrl key to select multiple files.
Step 4: Safely Delete Files: After selecting the files, right-click on them and choose “Delete” from the context menu. Alternatively, you can press the Delete key on your keyboard. A confirmation prompt will appear asking if you want to permanently delete the selected files. Review the list of files and click “Yes” to proceed with the deletion.
Step 5: Empty the Recycle Bin: When you delete files manually, they are moved to the Recycle Bin rather than being permanently deleted. To free up the actual disk space on your SSD drive, empty the Recycle Bin. Right-click on the Recycle Bin icon on your desktop and select “Empty Recycle Bin.” Confirm the deletion by clicking “Yes” on the prompt.
Step 6: Repeat the Process: Repeat the above steps to continue manually deleting unnecessary files from other locations on your SSD drive. Be thorough and ensure that you only delete files you no longer need.
Manually deleting unnecessary files from your SSD drive gives you full control over the cleaning process. It allows you to selectively remove files based on your specific requirements and helps in optimizing the storage space on your drive.
However, exercise caution when manually deleting files. Avoid deleting system files or important documents that you may still need. Always double-check the selected files before deleting them to prevent accidental removal of critical data.
By regularly reviewing and cleaning your SSD drive manually, you can keep it decluttered, improve system performance, and maximize the available disk space for your important files and applications.
Method 4: Reformatting the SSD Drive
If you want to completely clean your SSD drive and start fresh, you can consider reformatting the drive. Reformatting involves completely erasing all data on the drive and creating a new file system. However, keep in mind that this method will permanently erase all your files and programs, so make sure you have a backup of your important data before proceeding. Here’s how you can reformat your SSD drive:
Step 1: Backup Your Data: Before reformatting the SSD drive, it’s crucial to create a backup of all your important files, documents, photos, and any other data that you want to keep. You can copy these files to an external hard drive, cloud storage, or another internal storage device.
Step 2: Locate the SSD Drive: Open Windows File Explorer and identify the drive letter or name assigned to your SSD drive. Take note of this information as you will need it in the subsequent steps.
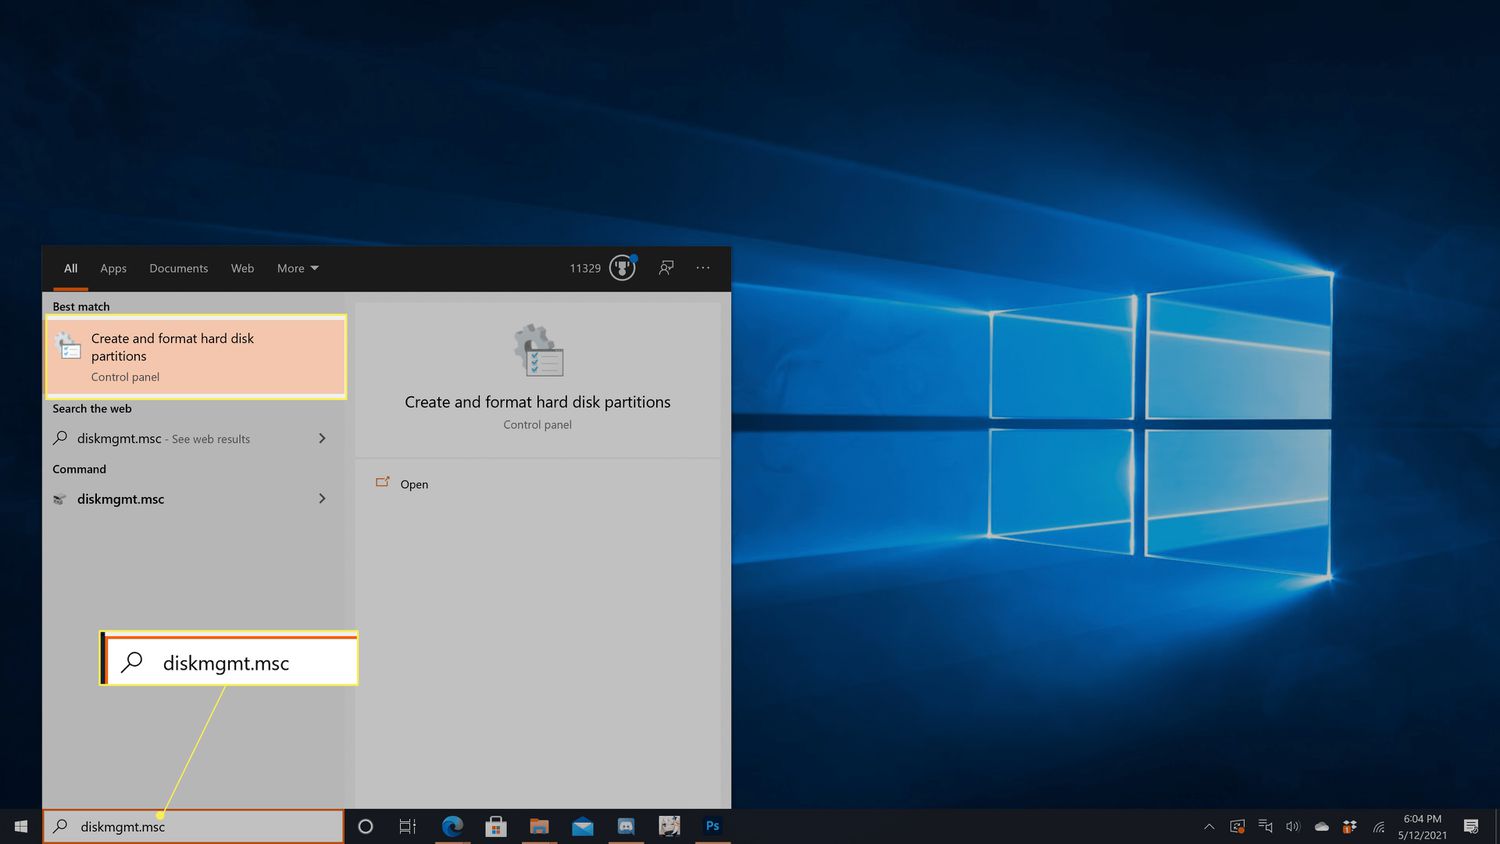
Step 3: Access Disk Management: Right-click on the Start menu and select “Disk Management” from the context menu. This will open the Disk Management utility, which allows you to manage and configure storage devices on your computer.
Step 4: Delete Existing Partitions on the SSD Drive: In the Disk Management window, locate your SSD drive. Right-click on each partition of the SSD drive and select “Delete Volume” from the context menu. Repeat this process for all partitions on the drive until the SSD drive becomes unallocated space.
Step 5: Create a New Partition: Right-click on the unallocated space of the SSD drive and select “New Simple Volume” from the context menu. Follow the instructions in the New Simple Volume Wizard to create a new partition on the SSD drive. You can choose the file system format and assign a drive letter or mount point for the new partition.
Step 6: Initialize and Format the SSD Drive: If prompted, initialize the SSD drive using the recommended settings. Then, format the newly created partition with the desired file system format, such as NTFS. Again, follow the instructions in the formatting wizard to complete the process.
Step 7: Completion and Data Restoration: Once the formatting process is complete, your SSD drive will be reformatted and ready for use. You can restore your backed-up data to the SSD drive or start fresh by installing a fresh operating system and applications.
Reformatting the SSD drive is a drastic method that should be approached with caution. It is recommended primarily when you want to completely wipe out all data on the drive and start anew. Ensure that you have backed up all important files before proceeding, as reformatting will permanently erase all data from the SSD drive.
Remember to exercise caution when reformatting and ensure that you are formatting the correct drive to prevent any accidental data loss. Always double-check your actions to avoid formatting the wrong drive or partition.
By reformatting the SSD drive, you can completely clean the drive and start with a fresh file system, eliminating any clutter or issues that may have been present. This method should be used with caution and only when absolutely necessary.
Conclusion
Cleaning your SSD drive is crucial for maintaining optimal performance, maximizing available disk space, and ensuring a smooth computing experience. Whether you choose to use the built-in Disk Cleanup tool, third-party cleaning software, manually delete unnecessary files, or reformat the drive, each method has its own benefits and considerations.
The built-in Disk Cleanup tool provides a simple and convenient way to remove unnecessary files and reclaim disk space. It is suitable for regular maintenance and is easily accessible through the Windows operating system.
Third-party cleaning software offers more advanced features and customization options. These tools provide an extensive range of cleaning categories, allowing you to target specific types of files and data. However, it’s important to choose a reliable and reputable software option to ensure the safety of your data.
Manually deleting unnecessary files allows for a more hands-on approach and provides complete control over the cleaning process. It requires careful selection of files to avoid deleting any essential data. This method is best suited for users who prefer a more personalized approach and who want to review each file before deletion.
Reformatting the SSD drive is a drastic method that should be used when you want to completely wipe out all data and start fresh. It should be approached with caution and only undertaken after making a complete backup of your important data.
Regardless of the method you choose, it is crucial to take precautions before cleaning your SSD drive. These precautions include backing up your data, closing unnecessary programs, and ensuring the use of reliable cleaning software if applicable.
Regularly cleaning your SSD drive will not only improve performance but also prevent data corruption, minimize file system errors, and extend the drive’s lifespan. Maintaining a clutter-free and optimized SSD drive will ensure that your computer runs smoothly and efficiently.
Choose the cleaning method that best suits your requirements and comfort level. Remember to follow the necessary steps and precautions outlined in this guide to ensure a successful cleaning process.
By incorporating regular SSD drive cleaning into your computer maintenance routine, you can enjoy the full benefits of your SSD drive, including fast performance, increased storage capacity, and a hassle-free computing experience.


