Introduction
Changing your email on Facebook is a simple process that can be done in just a few steps. Whether you want to update your email address due to a change in service provider, a desire for increased privacy, or simply to keep your contact information up to date, Facebook provides a straightforward method to make the necessary changes. By following the steps outlined in this guide, you’ll be able to update your email address on Facebook in no time.
Having an accurate email address associated with your Facebook account is important for a variety of reasons. Not only does it serve as a primary means of communication, but it also allows you to recover or reset your password in case you forget it. Additionally, your email address is used to receive important notifications, confirmations, and updates from Facebook. Therefore, it’s necessary to ensure that your email information is accurate and current.
In this article, we’ll walk you through the step-by-step process of changing your email address on Facebook. Whether you’re using a web browser on your computer or the Facebook mobile app on your smartphone, the instructions remain the same. So, let’s dive in and learn how to update your email address on Facebook!
Step 1: Login to your Facebook account
The first step to changing your email on Facebook is to log in to your Facebook account. Open your preferred web browser and go to www.facebook.com. If you’re already logged in to Facebook on your browser, you will be directed to your News Feed. If not, enter your email address or phone number and password in the designated fields and click “Log In”.
Alternatively, if you prefer to change your email on the Facebook mobile app, open the app on your smartphone and enter your login credentials on the initial screen. Once you’re logged in, you’ll be taken to your Facebook News Feed.
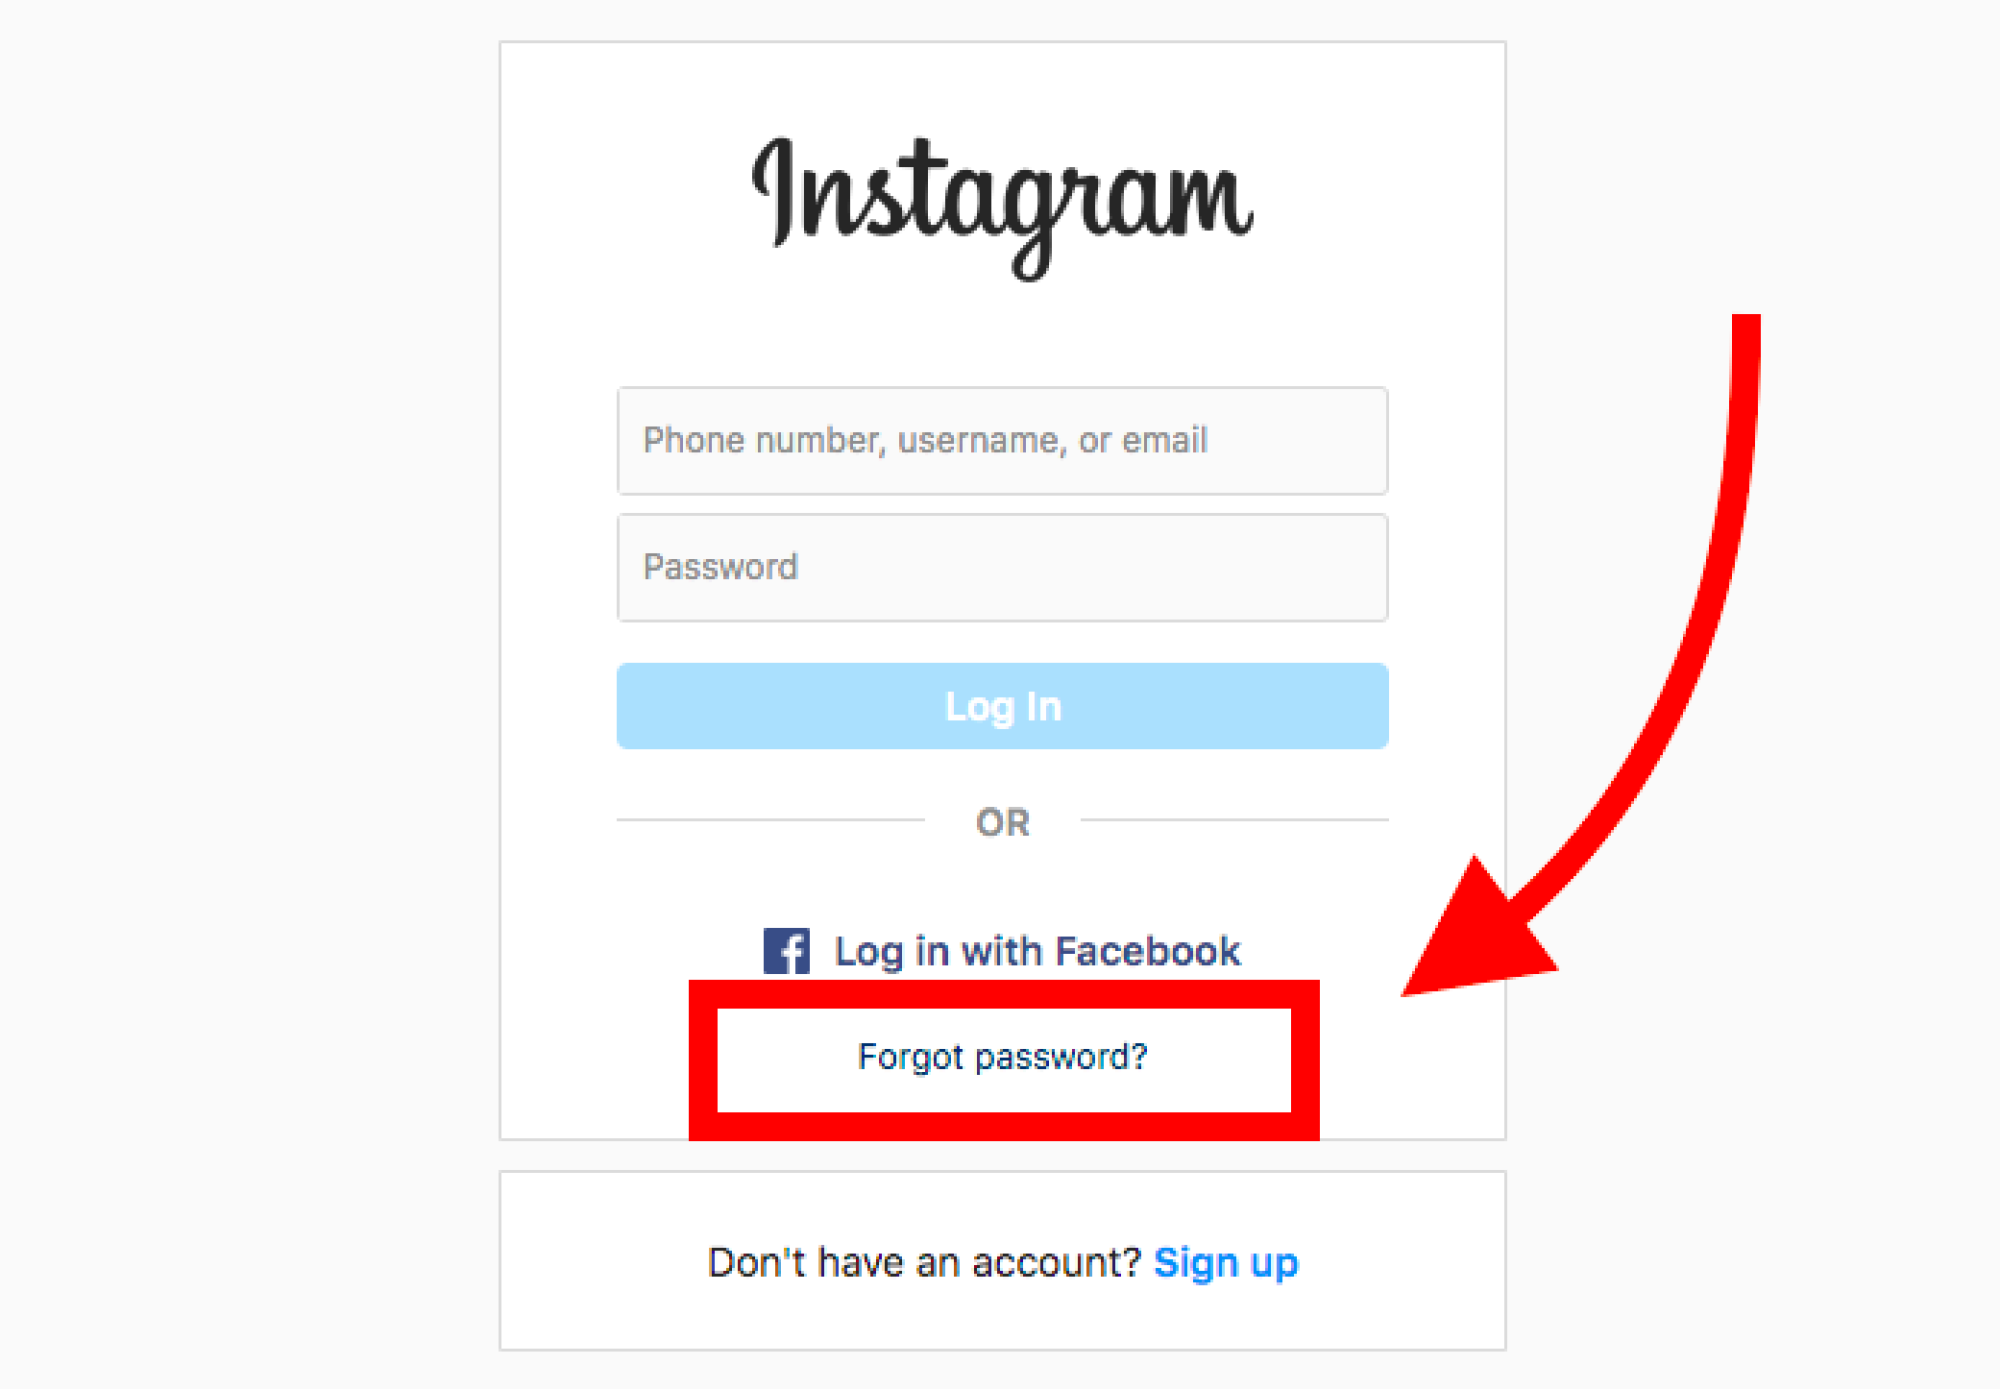
Make sure to use the email address or phone number associated with your Facebook account when logging in. If you cannot remember your login details, click on the “Forgotten account?” link below the login fields to retrieve your account information.
It is important to keep your account credentials safe and secure. Be cautious when using public computers or connecting to public Wi-Fi networks to avoid unauthorized access to your Facebook account.
Once you’ve successfully logged in to your Facebook account, you’re ready to proceed to the next step of changing your email address.
Step 2: Go to your Facebook settings
After logging in to your Facebook account, the next step is to navigate to your Facebook settings. To do this, you’ll need to access the Facebook menu, which can be found at the top-right corner of the screen on the web browser version or at the bottom-right corner on the Facebook mobile app.
If you’re using the web browser, click on the downward-facing arrow icon to open the menu. From the dropdown list, select “Settings & Privacy” and then click on “Settings”. This will take you to the main settings page of your Facebook account.
If you’re using the Facebook mobile app, tap on the three horizontal lines (also known as the hamburger menu) at the bottom-right corner of the screen. Scroll down the menu until you find the “Settings & Privacy” section. Tap on it, and then select “Settings” from the options presented to you.
Once you’re on the settings page, you will see various options and tabs that allow you to customize your Facebook preferences. This is where you’ll find the necessary tools to change your email address.
Take a moment to familiarize yourself with the different sections and options available in the settings menu. This will help you navigate through the process more efficiently. Now that you’re on the settings page, you can proceed to the next step and locate the specific option to edit your email information.
Step 3: Navigate to the “General” settings
Once you’re on the main settings page of your Facebook account, it’s time to locate the “General” settings section. This is where you’ll find the option to edit your contact information, including your email address.
In the web browser version, you will see a list of options on the left-hand side of the settings page. Scroll down until you find and click on the “General” option. This will open the general settings section where you can make changes to various aspects of your Facebook account.
If you’re using the Facebook mobile app, you can find the “General” settings by scrolling down the settings page. Keep swiping or scrolling until you see the “General” option. Tap on it to access the general settings section.
The “General” settings section contains a wide range of options for customizing your Facebook experience, from language preferences to privacy settings. It’s important to note that these settings are global and may affect other aspects of your account, so be mindful while making any changes.
Now that you’ve successfully navigated to the “General” settings section, you can move on to the next step to edit your contact information and change your email address on Facebook.
Step 4: Edit your contact information
In the “General” settings section of your Facebook account, you will find the option to edit your contact information. This includes changing your email address.
Look for the “Contact” or “Contact Information” tab within the “General” settings. On the web browser version, it is usually located towards the top of the page. Click on the tab to expand the contact information options.
For the Facebook mobile app, the contact information may be listed directly under the “General” settings section. You might need to scroll down a bit to find it.
Once you’ve located the contact information options, you’ll see your current email address listed, along with other contact details such as phone numbers and website URLs. To change your email address, click on the “Edit” button next to the email section.
A popup or a new page will appear, prompting you to make changes to your email address. In this step, you have the opportunity to remove your current email address and add a new one.
It’s important to note that if you have multiple email addresses associated with your Facebook account, you can choose which one to set as the primary email. This primary email will be used for notifications, password resets, and other Facebook-related communication.
Now that you’re ready to change your email address, proceed to the next step to remove your current email and add a new one.
Step 5: Remove your current email address
Before you can add a new email address to your Facebook account, you’ll need to remove your current email address. This step ensures that you can replace the existing email information with the updated one.
In the popup or new page that appears after clicking the “Edit” button next to the email section, you will see your current email address listed. To remove it, simply click on the “Remove” or “Delete” option next to the email.
A confirmation prompt may appear, asking you to confirm the removal of your email address. If so, carefully review the information displayed and click “Confirm” or “Delete” to proceed with removing the email.
Once you’ve successfully removed your current email address, it will no longer be associated with your Facebook account. This paves the way for adding a new email address in the subsequent steps.
It’s crucial to ensure the accuracy and validity of your email address during this process. Double-check that you are removing the correct email, as removing the wrong one may result in a loss of access to important account notifications.
Now that you’ve removed your current email address, you’re ready to move on to the next step and add a new email address to your Facebook account.
Step 6: Add a new email address
With your current email address successfully removed from your Facebook account, you’re now ready to add a new email address. This step allows you to update your contact information and ensure that you receive important notifications and updates from Facebook.
In the popup or new page that appears after removing your current email, you will find the option to add a new email address. Look for the “Add Email Address” or similar button. Click on it to proceed.
A form or input field will appear where you can enter your new email address. Carefully type in the email address that you wish to associate with your Facebook account. Make sure to double-check for any spelling mistakes to prevent issues in the future.
Once you’ve entered your new email address, click on the “Add” or “Save” button to save the changes. Facebook may also ask you to re-enter your Facebook password or confirm your action through a confirmation prompt.
After successfully adding your new email address, you will see it listed in the email section of your contact information. It’s important to note that the new email may not be set as the primary email yet. You can set your preferred email as the primary in the next step.
Now that you’ve added a new email address to your Facebook account, proceed to the next step to verify and set it as your primary email.
Step 7: Verify your new email address
After adding a new email address to your Facebook account, it’s important to verify its authenticity. Verifying your email ensures that you have access to the email account and can receive important notifications and communication from Facebook.
To verify your new email address, Facebook will send a verification email to the email address you added. Open your email provider’s website or application and check your inbox for the verification email from Facebook.
Once you locate the verification email, open it and look for the verification link or button. Click on the link or button to verify your email address. In some cases, you may need to enter a verification code provided in the email.
After verifying your email address, you will typically be redirected to a confirmation page on Facebook. This page will confirm the successful verification of your new email address.
If you don’t receive the verification email from Facebook, check your spam or junk folder as it may have been filtered there. You can also click on the “Resend” or “Send again” option on the Facebook page to have the verification email resent.
It’s crucial to complete the verification process to ensure that your new email address is fully functional on Facebook. This step confirms the legitimacy of your email and ensures that you can receive important updates and notifications from the platform.
Now that you’ve successfully verified your new email address, you’re ready to set it as your primary email in the next step.
Step 8: Set your primary email address
After you have added and verified your new email address, the next step is to set it as your primary email on Facebook. Setting your primary email ensures that important notifications, password resets, and other communications are sent to the correct email address.
To set your primary email address, go back to the contact information page in your Facebook settings. Look for the section that displays your email addresses, and locate the new email address that you added.
Next to your new email address, you should see an option to set it as your primary email. Click on this option to make the change. Facebook may ask you to confirm this action by entering your password or through a confirmation prompt.
Once you have set your new email address as the primary, it will be highlighted or marked as the primary email in the contact information section. This indicates that it will be the default email address used by Facebook for all communications.
It’s important to note that you can also remove any other email addresses that you no longer wish to have associated with your Facebook account. Simply click on the “Remove” or “Delete” option next to those email addresses to remove them.
By setting your new email address as the primary, you have successfully updated your contact information on Facebook. From now on, all important communications and notifications will be sent to your new email address.
Now that you’ve set your primary email address, you’re one step closer to completing the process of changing your email on Facebook. All that’s left is to save your changes and ensure they are applied to your account.
Step 9: Save changes and log out
After making all the necessary changes to your email address on Facebook, it’s important to save your changes and ensure that they are applied to your account. This final step ensures that your updated email information is saved and ready to be used for all Facebook communications.
To save your changes, scroll down to the bottom of the contact information or general settings page. Look for a “Save” or “Save Changes” button and click on it. Facebook may prompt you to re-enter your password or confirm your action before saving the changes.
Once your changes are saved, you will see a confirmation message or a notification indicating that your email address has been successfully updated. This confirms that your new email address is now associated with your Facebook account as the primary email.
Finally, it’s important to log out of your Facebook account to ensure that the new email address is properly registered and ready for use. To log out, click on the downward-facing arrow icon at the top-right corner of the screen (on the web browser) or on the three horizontal lines (on the Facebook mobile app).
From the dropdown menu (on the web browser) or the menu (on the mobile app), select the “Log Out” or similar option to log out of your Facebook account. This will ensure that the changes you made to your email address are fully applied and ready for use.
Once you’re logged out, you can log back into your Facebook account using your new email address and password. Make sure to keep your login credentials secure and avoid sharing them with unauthorized individuals.
Now that you’ve saved your changes and logged out of your Facebook account, congratulations! You have successfully changed your email address on Facebook and updated your contact information. Your new email address will now be used for all important notifications and communications from Facebook.


