Introduction
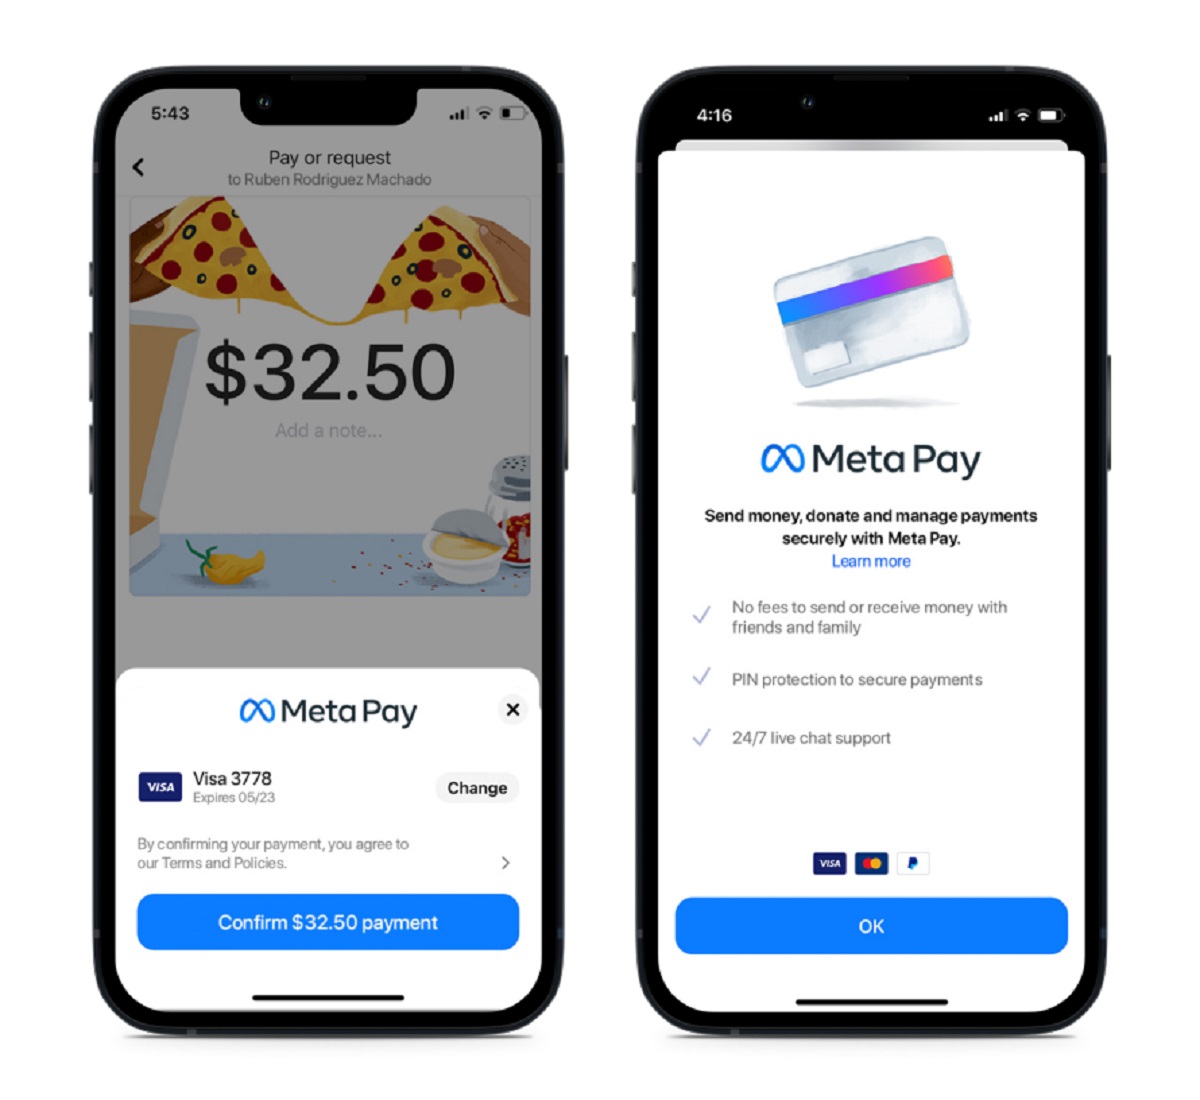
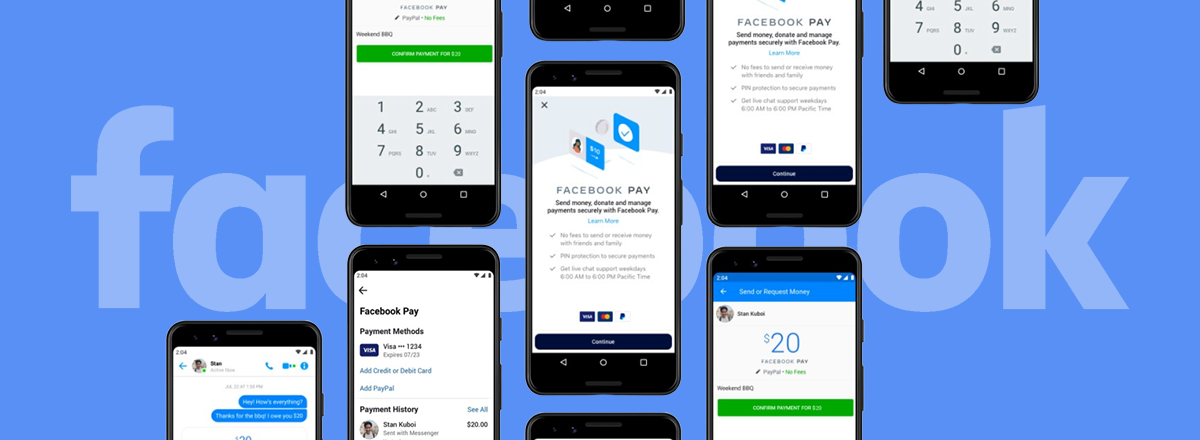
Welcome to the world of Facebook Pay, an online payment system that enables users to send and receive money securely through the popular social networking site. However, there may be instances where you need to reject a Facebook Pay payment for various reasons. Whether it’s a mistaken transaction, fraudulent activity, or simply a change of mind, Facebook Pay provides several options to reject a payment and ensure a smooth and secure transaction process.
In this article, we will explore the reasons why you might need to reject a Facebook Pay payment and guide you through the steps to take in order to do so. By understanding these methods, you can effectively handle unwanted payments and maintain control over your financial transactions within the Facebook Pay ecosystem.
It’s important to note that rejecting a payment should be done carefully, keeping in mind the terms and conditions of Facebook Pay and the potential impact it may have on your relationship with the sender or recipient. It’s always recommended to communicate openly and honestly with the involved parties to minimize misunderstandings and resolve any payment issues amicably.
Now, let’s delve into the reasons why you might need to reject a Facebook Pay payment and explore the options available to you.
Reasons to Reject a Facebook Pay Payment
There are several reasons why you might need to reject a Facebook Pay payment. Understanding these reasons will help you make informed decisions and take the necessary steps to ensure a smooth and secure payment process. Here are some common scenarios:
- Invalid or Mistaken Transaction: Sometimes, payments can be sent to the wrong person or for an incorrect amount. If you receive a payment that doesn’t belong to you or if the amount is incorrect, you may choose to reject it.
- Fraudulent Activity: In unfortunate cases of fraud or suspicious activity, it’s crucial to protect yourself and reject any payments that you suspect to be fraudulent. This could include receiving payments from unknown or suspicious sources or being asked to refund a payment that seems deceitful.
- Unauthorized Payment: If you notice an unauthorized payment made from your Facebook Pay account, it’s essential to reject it immediately. This could be a result of someone gaining unauthorized access to your account or using your payment information without permission.
- No Longer Needed: There might be instances where you initially agreed to a payment but later realized that you no longer need the product or service being offered. In such cases, it’s best to reject the payment and inform the sender about your decision.
These are just a few examples of why you might need to reject a Facebook Pay payment. It’s important to carefully evaluate each situation and determine the best course of action based on your specific circumstances.
Steps to Reject a Facebook Pay Payment
Rejecting a Facebook Pay payment is a straightforward process that can be done through the Facebook website or mobile app. Follow these steps to effectively reject a payment:
- Access the Payment: Locate the specific payment that you wish to reject. This can typically be found in your Facebook Pay transaction history or through a notification you received for the payment.
- Review the Details: Review the payment details, including the sender’s information, payment amount, and any accompanying messages. Make sure you have a clear understanding of the transaction before proceeding with the rejection.
- Select the Rejection Option: Depending on the platform you are on, you will have different options to reject the payment. Look for options such as “Decline,” “Reject,” or “Cancel” and select the appropriate option.
- Confirm the Rejection: After selecting the rejection option, you will likely be prompted to confirm your decision. This step adds an extra layer of security to prevent accidental rejections.
- Communicate with the Sender: If necessary, inform the sender about your decision to reject the payment. Open and honest communication can help resolve any misunderstandings or address any concerns the sender may have.
It’s important to note that once a payment is rejected, it typically cannot be undone. Therefore, it’s crucial to carefully consider your decision before proceeding with the rejection. If you have any doubts or concerns, it’s recommended to reach out to Facebook Pay support for clarification and guidance.
By following these steps, you can effectively reject a Facebook Pay payment and maintain control over your financial transactions within the platform.
Option 1: Decline the Payment Request
One of the options available to reject a Facebook Pay payment is to decline the payment request. This option is applicable when you receive a payment request from someone, but you choose not to accept it. Here are the steps to decline a payment request:
- Access the Payment Request: Open the Facebook Pay app or website and navigate to the payment request you wish to decline. You should be able to find the request in your notifications or in the payment request section of the app.
- Review the Request: Take a moment to review the payment request details, including the sender’s information, payment amount, and any accompanying messages. Make sure you fully understand the request before proceeding to decline it.
- Select the Decline Option: Look for the option to decline the payment request. It may be labeled as “Decline,” “Reject,” or something similar. Click on this option to proceed.
- Confirm the Decline: In some cases, you may be prompted to confirm your decision to decline the payment request. This additional step is in place to ensure the accuracy of your selection and prevent accidental rejections.
- Communicate with the Sender: If necessary, you can choose to communicate with the sender after declining the payment request. This allows you to explain your decision or address any concerns they may have.
By declining a payment request, you are effectively rejecting the transaction and communicating your decision to the sender. It’s important to note that the sender will be notified of the decline, and they may have the option to send a new payment request or initiate a different payment method if desired.
Remember, open and honest communication with the sender can help maintain a positive relationship and resolve any potential issues that may arise from declining a payment request.
Option 2: Refund the Payment
If you’ve already accepted a Facebook Pay payment but later realize the need to reject it, you have the option to refund the payment. Refunding the payment allows you to return the funds to the sender. Here’s how you can refund a payment through Facebook Pay:
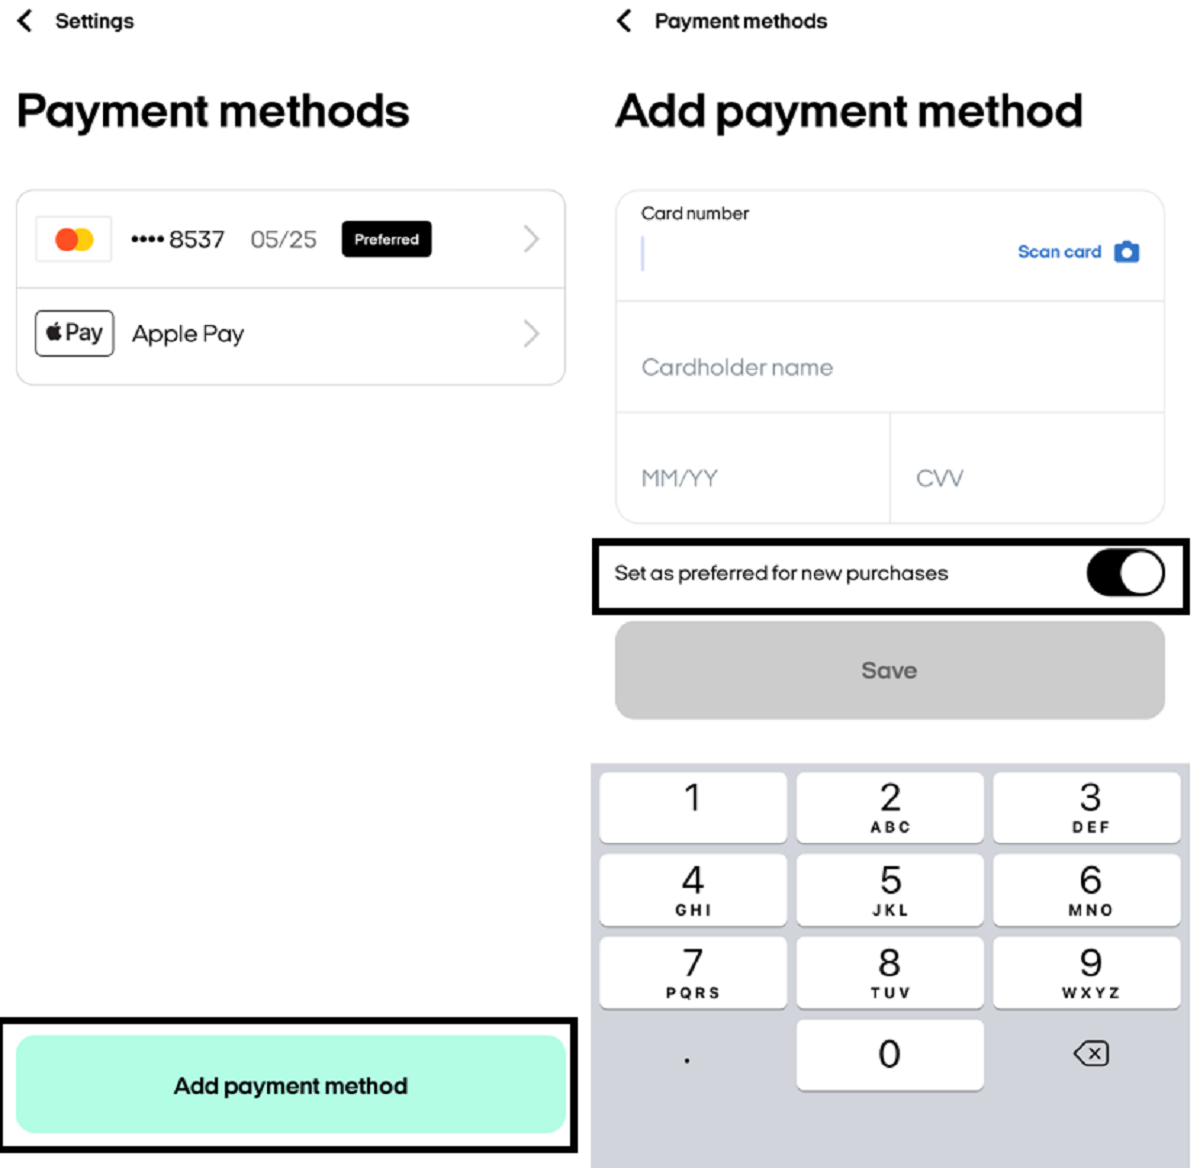
- Access the Payment History: Go to your Facebook Pay transaction history or payment section. Locate the specific payment that you wish to refund.
- Review the Payment Details: Take a moment to review the payment details, such as the sender’s information, payment amount, and any accompanying messages. Ensure that you have a clear understanding of the transaction before proceeding with the refund.
- Select the Refund Option: Look for the option to refund the payment. This might be labeled as “Refund,” “Return Payment,” or something similar. Click on this option to initiate the refund process.
- Confirm the Refund: Depending on the platform, Facebook may ask you to confirm your decision to refund the payment. Confirm the refund to initiate the process.
- Communicate with the Sender: After initiating the refund, it’s a good practice to inform the sender about the refund. This helps maintain transparent communication and avoids any confusion or misunderstandings.
Refunding a payment through Facebook Pay ensures that the sender gets their money back, providing a resolution to the transaction. However, it’s important to note that the refund process may take some time, depending on various factors such as the payment method used and processing times.
Remember to communicate openly with the sender to explain the situation and offer any necessary assistance. By refunding the payment, you can maintain a sense of fairness and integrity within the Facebook Pay ecosystem.
Option 3: Cancel the Transaction
In some situations, you may need to cancel a Facebook Pay transaction before it is completed. This option is available when you have not yet accepted or processed the payment. Here are the steps to cancel a transaction:
- Access the Transaction: Go to your Facebook Pay transaction history or payment section. Locate the specific transaction that you wish to cancel.
- Review the Transaction Details: Take a moment to review the transaction details, including the sender’s information, payment amount, and any accompanying messages. Make sure you understand the transaction before proceeding with the cancellation.
- Select the Cancel Option: Look for the option to cancel the transaction. It may be labeled as “Cancel,” “Void,” or something similar. Click on this option to initiate the cancellation process.
- Confirm the Cancellation: Depending on the platform, Facebook may ask you to confirm your decision to cancel the transaction. Confirm the cancellation to proceed.
- Communicate with the Sender: After canceling the transaction, it’s advisable to inform the sender about the cancellation. This helps maintain transparency and provides clarity regarding the status of the payment.
Canceling a transaction through Facebook Pay ensures that no money is transferred and that the transaction is effectively nullified. It’s important to note that canceling a transaction is only possible when it is still in the pending or processing stage. If the transaction has already been completed, other options such as refunding the payment may need to be considered.
Open communication with the sender is essential to keep them informed about the cancellation and address any concerns. By canceling the transaction, you can avoid any unnecessary financial exchanges or confusion that may arise from an unwanted payment.
Option 4: Contact Facebook Pay Support
If you encounter any issues or face challenges while trying to reject a Facebook Pay payment, it’s always a good idea to reach out to Facebook Pay support for assistance. Here’s how you can contact Facebook Pay support:
- Locate the Support Channels: Visit the Facebook Help Center or the Facebook Pay support page to find the appropriate channels for contacting support. Look for options such as live chat, email, or phone support.
- Provide Detailed Information: When contacting support, explain your situation clearly and provide as much relevant information as possible. Include details about the unwanted payment, any actions you have taken, and the specific issues you are facing.
- Follow Support’s Guidance: Once you have connected with an agent or received a response from support, follow their guidance on how to resolve the issue. They may provide additional steps or solutions to help you reject the payment successfully.
- Keep Records of Communication: It’s important to keep records of your communication with Facebook Pay support. This includes any emails, chat transcripts, or reference numbers provided during the support process. These records can be helpful if you need to escalate the issue or refer back to the conversation later.
Contacting Facebook Pay support can provide you with professional guidance and assistance that is specific to your situation. They have the expertise to address any technical or policy-related concerns you may have when rejecting a payment through Facebook Pay.
Remember to be patient during the support process, as it may take some time to receive a response or for the issue to be resolved. Stay proactive in your communication and follow any instructions provided by the support team to ensure a satisfactory resolution.
Conclusion
Rejecting a Facebook Pay payment may become necessary for various reasons, such as invalid transactions, fraudulent activity, or a change of circumstances. It’s important to understand the available options and follow the appropriate steps to ensure a smooth and secure payment process.
In this article, we explored the reasons why you might need to reject a Facebook Pay payment and provided step-by-step instructions for different rejection options. You can choose to decline a payment request, refund a payment, cancel a transaction, or seek assistance from Facebook Pay support when encountering difficulties.
When rejecting a payment, it’s crucial to maintain open and honest communication with the sender. This helps avoid misunderstandings and resolves any concerns that may arise. Additionally, keeping records of your transactions and communication can be beneficial for future reference or dispute resolutions.
Remember, carefully consider your decision to reject a payment and understand the potential implications it may have. It’s always recommended to review and comply with the terms and conditions of Facebook Pay to ensure a responsible and secure payment experience.
By being knowledgeable about the process of rejecting a Facebook Pay payment, you can effectively handle unwanted payments and maintain control over your financial transactions within the Facebook Pay ecosystem.