Introduction
Facebook is one of the most popular social networking platforms in the world, connecting billions of people across the globe. When you sign up for a Facebook account, you are required to provide an email address as part of the registration process. This email address allows Facebook to send you important notifications, updates, and account-related information.
However, there may be situations where you no longer want to associate your email address with your Facebook account. It could be due to privacy concerns, a desire to reduce email clutter, or simply a preference to keep your email address private. Whatever the reason, Facebook provides a convenient way for you to remove your email address from your account.
In this article, we will guide you through the step-by-step process of removing your email address from Facebook. Whether you want to completely remove it or just hide it from public view, we’ve got you covered. Let’s dive in!
Note: Before proceeding, make sure you are logged into your Facebook account on a web browser.
Why Remove Email from Facebook?
There are several reasons why you might want to remove your email address from your Facebook account:
- Privacy concerns: By removing your email address from Facebook, you can limit the amount of personal information that is visible to others. This can help protect your privacy and reduce the risk of unwanted contact or spam messages.
- Email clutter: If you receive a lot of notifications and promotional emails from Facebook, removing your email address can help declutter your inbox and streamline your communications.
- Reducing data sharing: Facebook collects and analyzes user data for targeted advertising and other purposes. By removing your email address, you can reduce the amount of personal data shared with the platform.
- Separating personal and professional accounts: If you use a separate email address for your professional communications, removing your personal email from Facebook can help ensure that your personal and professional lives remain separate.
Remember that removing your email address from Facebook does not mean you lose access to your account. You can still log in and use Facebook with your username and password.
Now that you understand the reasons why you might want to remove your email address from Facebook, let’s explore the step-by-step process of doing so.
Step-by-Step Guide to Remove Email from Facebook
Follow these simple steps to remove your email address from your Facebook account:
- Step 1: Access your Facebook settings
- Step 2: Select “Edit” next to the “Contact” section
- Step 3: Remove email from your contact information
- Step 4: Save changes and confirm removal
- Alternative option: Hiding your email on Facebook
First, log in to your Facebook account and click on the small arrow in the top-right corner of the page. In the dropdown menu, select “Settings & Privacy” and then choose “Settings.”
In the left sidebar of the settings page, click on “Contact” to access your contact information settings. Look for the section labeled “Email” and click on the “Edit” button next to it.
A new window will appear showing all the email addresses associated with your Facebook account. To remove an email address, click on the “Remove” button next to it. You may be prompted to enter your Facebook password as a security measure.
After removing the desired email address, scroll down to the bottom of the page and click on the “Save Changes” button to confirm the removal. Facebook may ask you to enter your password again to ensure authorization.
If you prefer to keep your email address associated with your Facebook account but want to hide it from public view, you can adjust the privacy settings for your contact information. Instead of removing the email address, select the audience you want to share it with (such as “Only Me” or a specific friend list) to restrict its visibility.
By following these steps, you can easily remove or hide your email address from your Facebook account according to your preferences. Remember to review and update your other contact information settings as well, to ensure your privacy and security on the platform.
Step 1: Access your Facebook Settings
The first step in removing your email address from Facebook is to access the settings of your Facebook account. Here’s how:
- Log in to your Facebook account using your username and password.
- Once logged in, click on the small arrow located in the top-right corner of the Facebook homepage. This will open a dropdown menu.
- From the dropdown menu, select “Settings & Privacy” and then click on “Settings.” This will take you to the main settings page of your Facebook account.
By following these steps, you will be able to access the settings area of Facebook where you can make various changes to your account.
It’s important to note that you need to be logged in to your Facebook account on a web browser in order to access the settings. The steps may vary slightly if you’re using a mobile device or the Facebook app, but the general process remains the same.
Once you have successfully accessed your Facebook settings, you can proceed to the next step to remove your email address from your account.
Step 2: Select “Edit” next to the “Contact” section
After accessing your Facebook settings, the next step is to locate and edit the “Contact” section where you can manage your email address. Follow these steps to find and edit the contact information:
- In the left sidebar of the settings page, look for the section labeled “Contact” and click on it.
- Once you click on “Contact,” the page will refresh, and you will see various contact options for your Facebook account, including email, phone number, and more.
- Locate the “Email” section on the page and click on the “Edit” button next to it. This will allow you to make changes to your email address settings.
By selecting “Edit” next to the “Contact” section, you will be able to access the specific settings related to your email address on Facebook.
If you don’t see the “Edit” button next to the “Email” section, it may indicate that you only have one email address associated with your Facebook account, or you may not have the necessary permissions to edit the contact information. In such cases, proceed to the next step to remove the email address from your account.
Now that you have located and accessed the “Contact” section, it’s time to make changes to your email address settings. The next step will guide you through the process of removing your email address from your Facebook account.
Step 3: Remove Email from Your Contact Information
Once you have accessed the email settings in the “Contact” section of your Facebook account, it’s time to remove the email address you no longer want associated with your account. Follow these steps to remove your email address from your contact information:
- After clicking on the “Edit” button next to the “Email” section, a pop-up window will appear displaying all the email addresses linked to your Facebook account.
- In this window, find the email address that you want to remove and click on the “Remove” button located next to it.
- You may be prompted to enter your Facebook password as a security measure to confirm the removal of the email address.
By removing the email address from your contact information, you are effectively disconnecting it from your Facebook account. This means that Facebook will no longer send notifications or messages to that particular email address.
If you have multiple email addresses associated with your Facebook account, you can choose to remove one or more of them based on your preferences. Remember, removing an email address from Facebook does not delete the email account itself. It simply stops it from being linked to your Facebook account.
Make sure to review the email addresses carefully before removing them to ensure that you do not accidentally remove an email address that you still want to use with Facebook or other services.
Now that you have removed the email address from your contact information, the next step will guide you on how to save the changes and confirm the removal.
Step 4: Save Changes and Confirm Removal
After removing the email address from your contact information in the previous step, it’s essential to save the changes and confirm the removal. Follow these final steps to complete the process:
- Scroll down to the bottom of the settings page to find the “Save Changes” button.
- Click on the “Save Changes” button to save the updated contact information settings.
- For security purposes, Facebook may ask you to re-enter your Facebook password to confirm the changes.
By saving the changes, you ensure that the email address you removed will no longer be associated with your Facebook account. From this point forward, you won’t receive any Facebook notifications, messages, or updates at that particular email address.
Always double-check the changes you made and make sure that you are removing the correct email address. Once the changes are saved, the removal is permanent, and you will need to go through the process again if you want to add the email address back to your Facebook account.
Now that you have successfully removed the email address from your Facebook account, you can continue using Facebook with other contact information and email addresses associated with your account.
Alternatively, if you prefer to keep your email address linked to your Facebook account but want to hide it from public view, there is an alternative option available. The next section will briefly explain how to hide your email address on Facebook.
Alternative Option: Hiding Your Email on Facebook
If you prefer to keep your email address associated with your Facebook account but want to restrict its visibility, Facebook offers privacy settings that allow you to control who can see your contact information. Here’s how you can hide your email address on Facebook:
- Access your Facebook settings by clicking on the small arrow in the top-right corner of the Facebook homepage and selecting “Settings & Privacy,” then clicking on “Settings.”
- In the left sidebar of the settings page, locate and click on “Privacy” to access your privacy settings.
- Within the privacy settings, find the section labeled “How People Find and Contact You” and click on “Edit” next to it.
- Under the “Contact Information” section, you will see various options, including email. Click on the audience selector next to your email address (typically displayed as “Friends” by default).
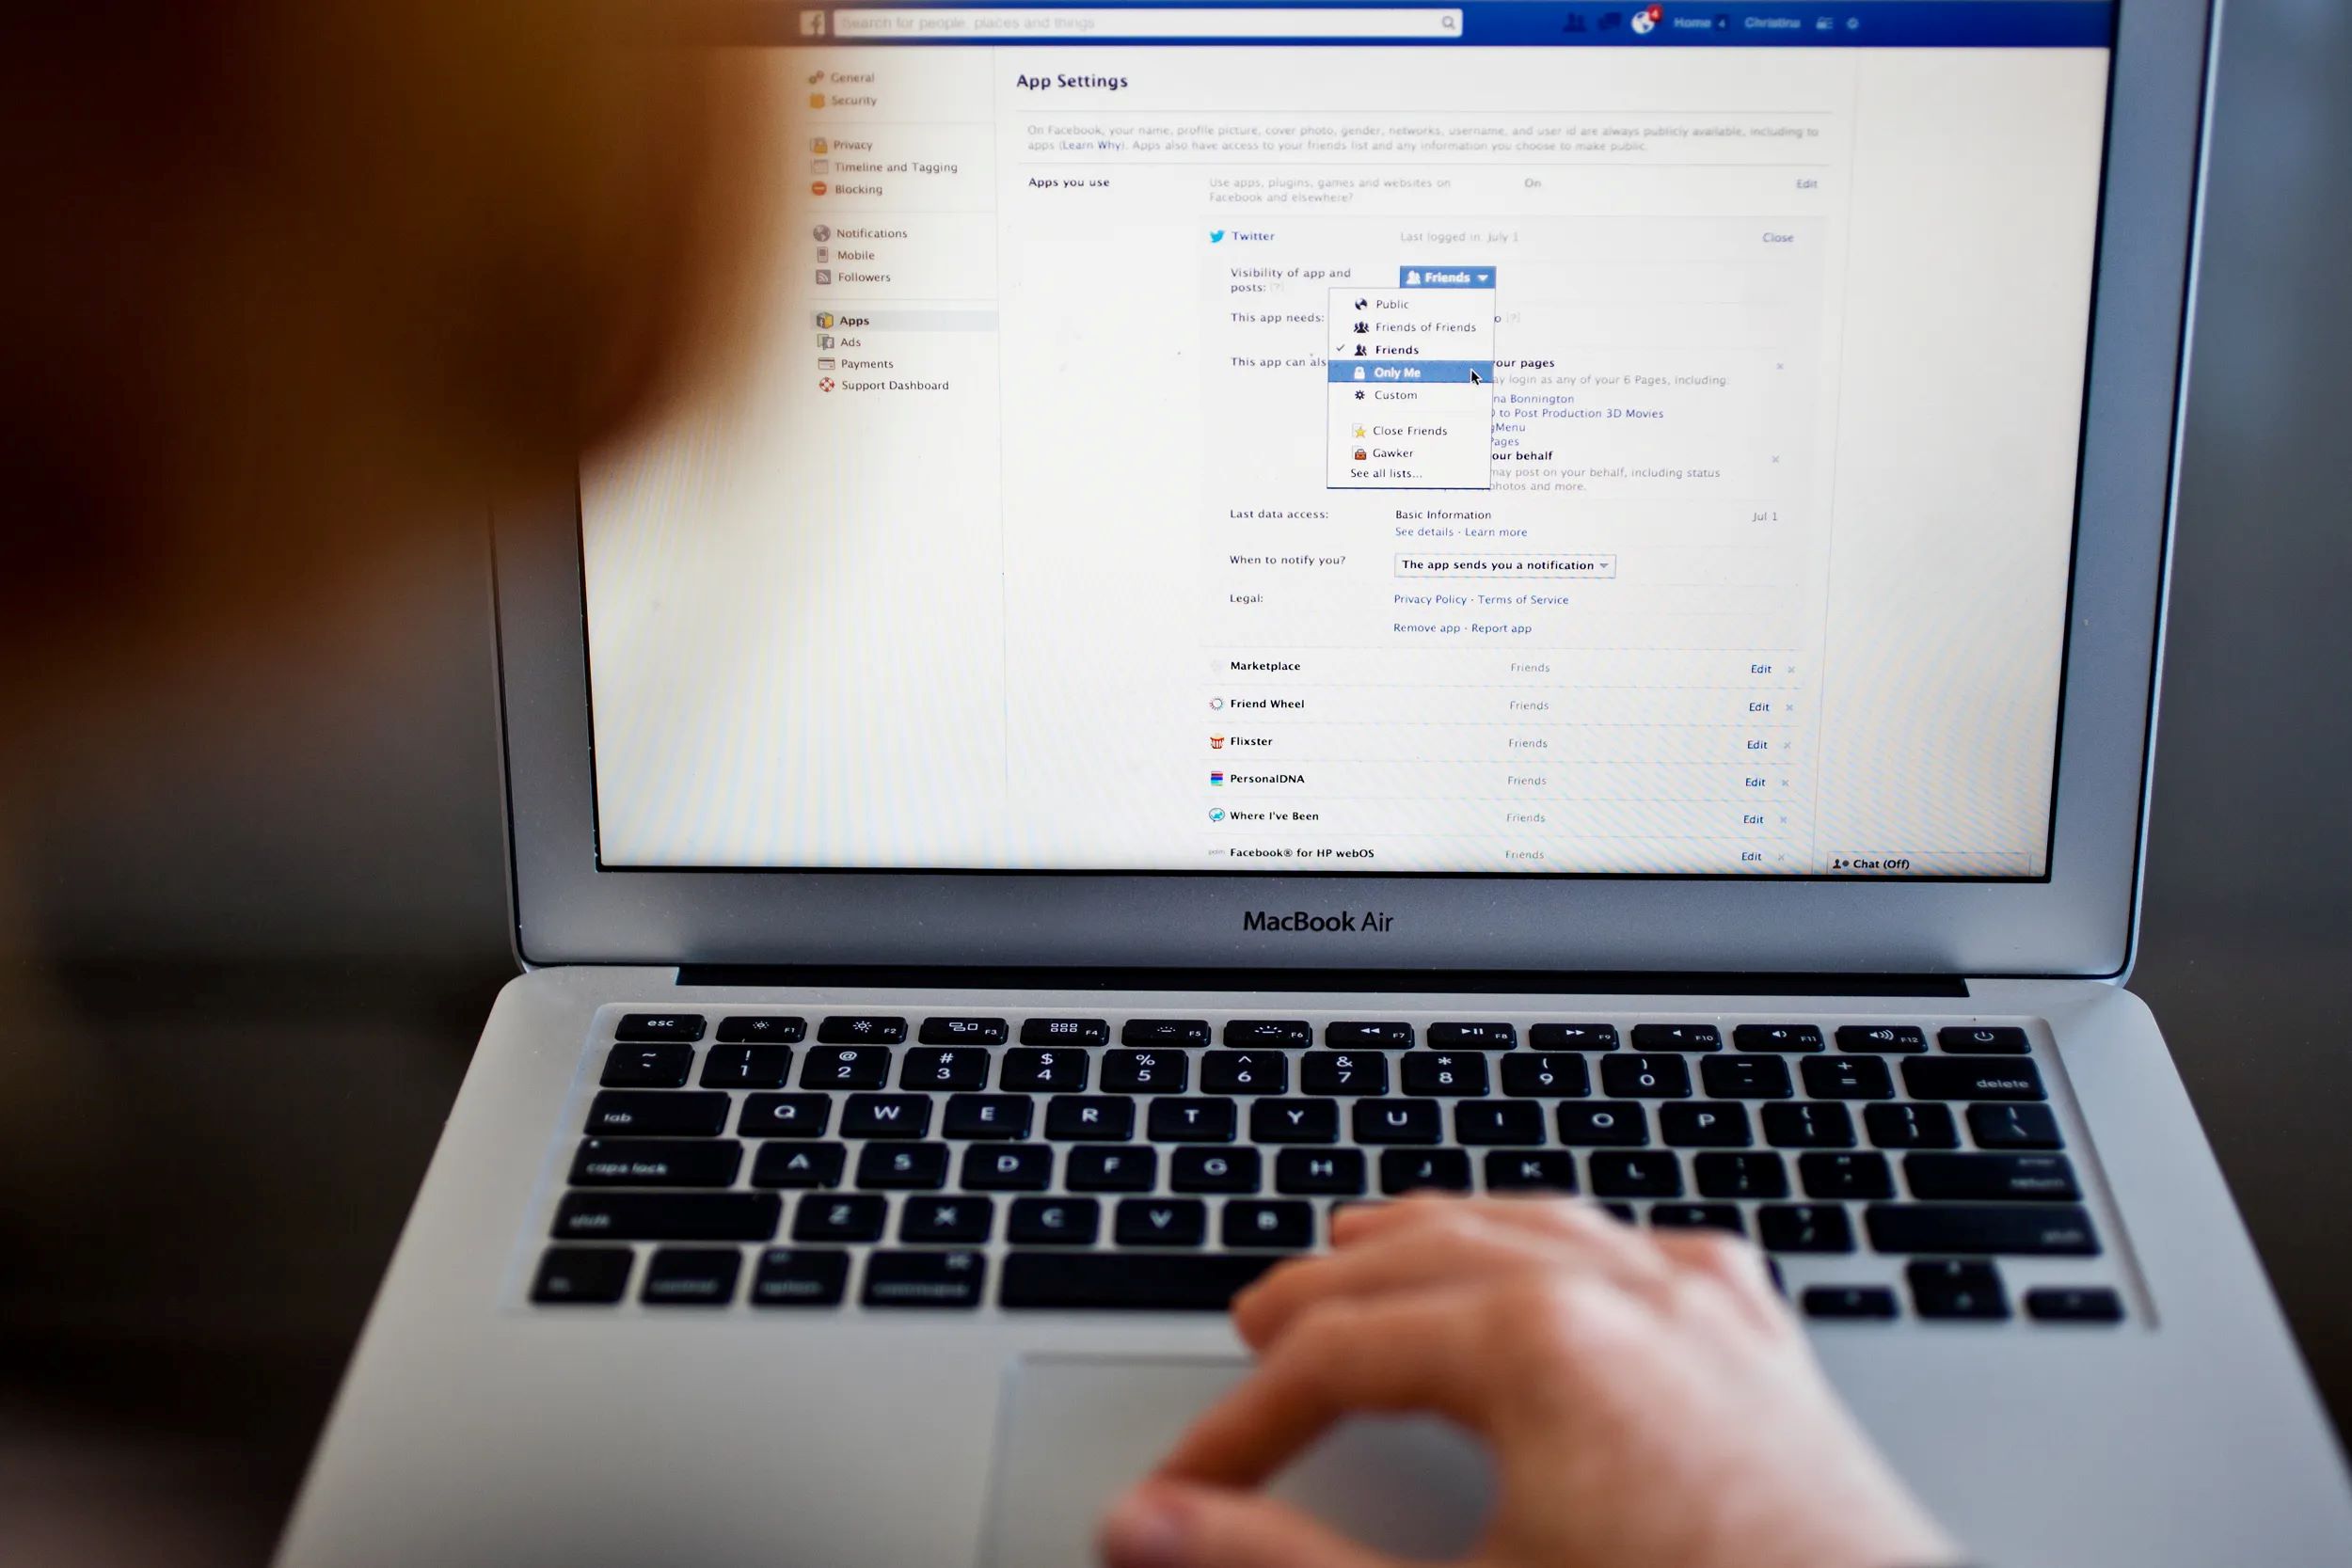
- Select the desired privacy setting for your email address from the dropdown menu. You can choose options such as “Public,” “Friends,” “Only Me,” or a custom audience.
- Once you’ve selected the desired privacy setting, click on “Save Changes” to apply the new settings.
By adjusting the privacy settings for your email address, you can control who can see it on your Facebook profile. Choosing the “Only Me” option will ensure that only you can view your email address, while selecting a custom audience allows you to limit visibility to specific friends or groups.
It’s important to note that while hiding your email address on Facebook can help maintain privacy, it does not remove the email address from your account. Facebook still requires at least one email address to be associated with your account for various purposes.
By considering this alternative option, you can strike a balance between keeping your email address linked to your Facebook account and protecting your privacy.
Now that you are aware of both the option to remove your email address and the alternative of hiding it, you can choose the approach that best suits your preferences and needs.
Conclusion
Removing or hiding your email address from Facebook can give you greater control over your privacy, reduce email clutter, and help maintain a separation between your personal and professional online presence. By following the step-by-step guide outlined in this article, you can easily remove your email address from your Facebook account.
Remember to access your Facebook settings, select “Edit” next to the “Contact” section, remove your email from the contact information, and save the changes to complete the process. If you prefer to keep your email address associated with your account but want to limit its visibility, you can adjust the privacy settings instead.
Always double-check the changes you make to avoid accidentally removing the wrong email address. Once the changes are saved, the removal is permanent, and you will no longer receive Facebook notifications or messages at the email address you removed.
It’s important to note that removing or hiding your email address does not delete your Facebook account. You can continue using Facebook with other contact information and email addresses associated with your account.
By taking control of your contact information on Facebook, you can have a more personalized and secure experience on the platform. Whether you choose to remove your email address or hide it from public view, you can customize your Facebook settings to align with your privacy preferences.
Now that you have the knowledge and tools to manage your email address on Facebook, take a proactive step in safeguarding your privacy and streamlining your online interactions.