Introduction
When it comes to personalizing your Android device, one of the simplest and most effective ways to do so is by changing the text message sound. By default, Android devices come with a pre-set sound for incoming text messages, but fortunately, you have the ability to customize this sound according to your preferences.
Whether you want to choose a calming melody, an upbeat tune, or a distinctive sound effect, changing the text message sound on your Android device allows you to add a personal touch and make your device truly your own. It’s a small detail, but it can make a huge difference in your overall user experience.
In this guide, we will walk you through the steps to change the text message sound on your Android device. Whether you have a Samsung, LG, Google Pixel, or any other Android device, the steps should be similar across the board.
So, if you’re ready to give your text messages a new sound, let’s dive right in and get started!
Step 1: Accessing the Settings
The first step to changing the text message sound on your Android device is to access the settings. The settings menu is where you can customize various aspects of your device to suit your preferences.
To access the settings, simply locate the “Settings” app on your Android device. It is usually represented by a gear icon and can be found either on your home screen or in the app drawer.
Once you’ve located the Settings app, tap on it to open it. This will bring you to the main settings menu, where you can make a wide range of changes and adjustments to your device.
Depending on the manufacturer and version of Android you have, the settings menu may look slightly different. However, the basic structure and options should be similar across most Android devices.
Now that you’ve successfully accessed the settings menu, you’re ready to move on to the next step and select the sound option.
Step 2: Selecting the Sound Option
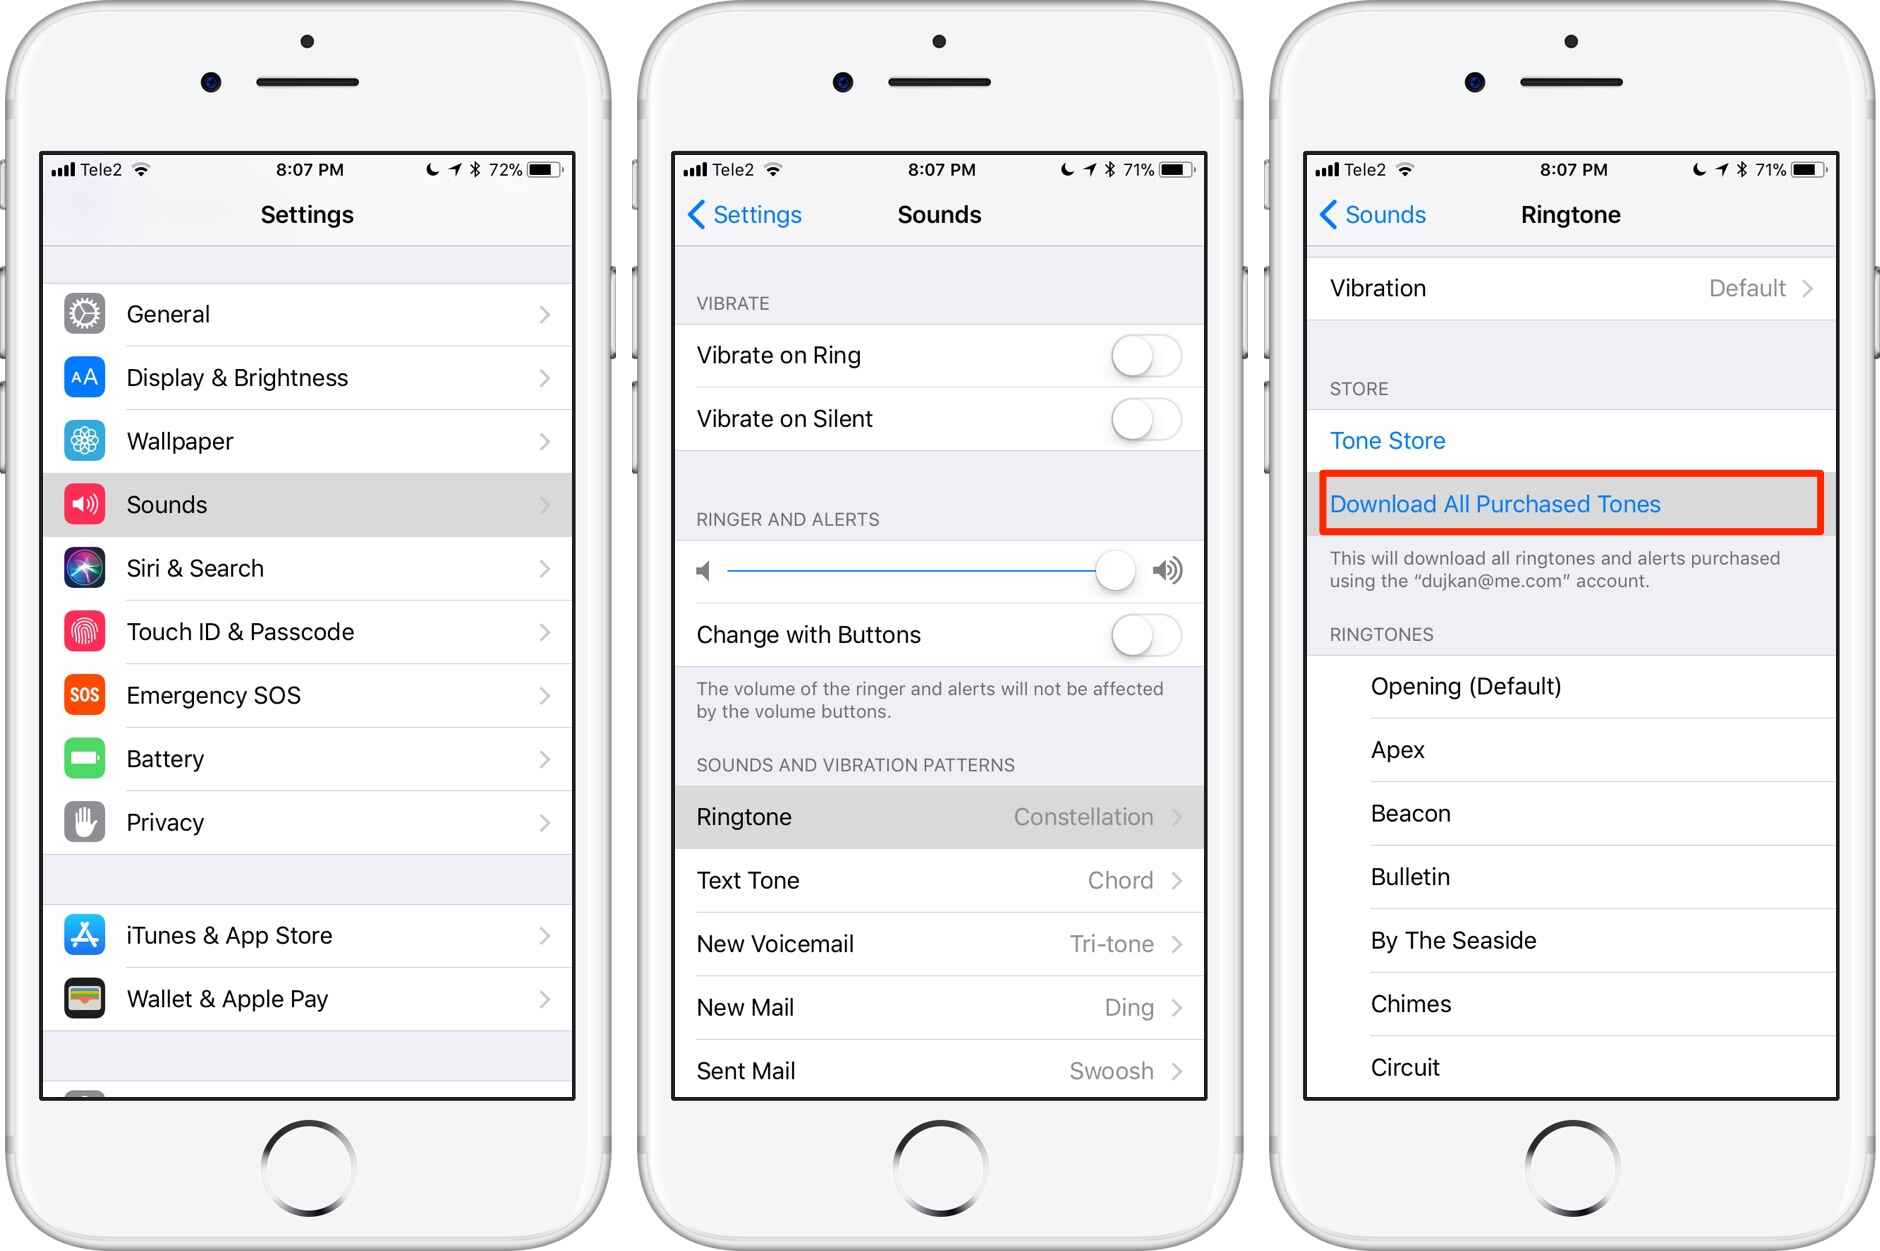
After accessing the settings menu on your Android device, the next step is to find and select the sound option. This option allows you to customize the sound settings for various functions and notifications on your device, including text messages.
Scroll through the settings menu until you find the “Sound” or “Sounds & Vibration” option. The location of this option may vary depending on your device and Android version, but it is typically located under the “Sound” or “Sound & Notification” category.
Once you’ve found the sound option, tap on it to open the sound settings. Here, you’ll see a list of sound-related settings that you can customize.
In the sound settings, look for the “Notification” or “Notifications” section. This is where you can make changes to the sound settings specifically for notifications, which includes text message notifications.
Tap on the “Notification” or “Notifications” section to access the notification sound options. You may see a list of pre-set notification sounds or you may have the option to choose a separate sound file.
If you see a list of pre-set notification sounds, browse through the options until you find one that you like. Tapping on a sound will play a preview of it, allowing you to hear how it sounds as a text message tone.
If you want to use a custom sound file for your text message notifications, look for the option to “Add” or “Choose” a sound file. This will allow you to browse through your device’s storage and select a sound file of your choice.
Once you’ve selected your desired notification sound, you’re ready to proceed to the next step and choose a new sound for your text messages.
Step 3: Choosing a New Sound
Now that you’ve accessed the sound settings on your Android device and reached the notification sound options, it’s time to choose a new sound for your text messages. This step allows you to select a sound that reflects your personal style and preferences.
If you’re using one of the pre-set notification sounds, simply tap on the sound you want to use. You can preview the sound by tapping on it, ensuring that it fits your desired tone for text message notifications.
However, if you prefer to use a custom sound file, tap on the option to “Add” or “Choose” a sound file. This will open the file explorer on your Android device, allowing you to navigate through your storage and select the custom sound file of your choice.
Browse through your device’s storage to find the desired sound file. It could be a music file, a sound effect, or any other audio file that you want to use as your text message sound. Once you’ve located the file, tap on it to select it.
After choosing the new sound, you can test it by tapping on the preview button, usually represented by a play button icon next to the sound selection. This will play the chosen sound, giving you a chance to hear it as your text message tone.
If you’re not satisfied with the sound you’ve chosen, you can go back and explore other options until you find a sound that you like and suits your preferences.
Once you’ve chosen the perfect sound for your text messages, you’re ready to proceed to the next step and test out the new text message sound on your Android device.
Step 4: Testing the New Text Message Sound
After selecting and customizing the sound for your text messages, it’s important to test it out to ensure that it’s working as desired. This step allows you to hear the new text message sound in action and make any further adjustments if necessary.
To test the new text message sound, simply ask a friend or family member to send you a test message. Alternatively, you can send a text message to yourself from another device.
When the test message arrives, listen for the sound that you’ve chosen for text message notifications. If you hear the new sound, congratulations! You’ve successfully changed the text message sound on your Android device.
If you don’t hear the new sound, double-check your sound settings and ensure that you’ve properly selected and saved the new sound. It’s possible that you missed a step during the customization process.
If you’re still experiencing issues, try restarting your device. Sometimes, a simple restart can resolve any glitches or inconsistencies with the sound settings.
Remember that if you ever want to change the text message sound again in the future, you can always revisit the sound settings and select a new sound or customize it to your liking.
By following these steps, you can easily change the text message sound on your Android device. With your own unique sound for incoming text messages, you can add a touch of personalization and make your device truly your own.
So go ahead, give it a try, and enjoy the delightful sound of receiving text messages on your Android device!
Conclusion
Changing the text message sound on your Android device is a simple yet effective way to personalize your device and make it truly your own. By following the steps outlined in this guide, you can easily select a new sound for your text message notifications and add a touch of uniqueness to your Android experience.
The process starts with accessing the settings on your device and navigating to the sound options. From there, you can explore the pre-set notification sounds or select a custom sound file of your choice. It’s all about finding a sound that resonates with your style and preferences.
Once you’ve chosen the perfect sound, it’s time to put it to the test. Send a test message or ask a friend to send you one to hear the new text message sound in action. If everything is working as expected, you’ve successfully changed the text message sound on your Android device.
Remember, you can always revisit the sound settings in the future to change the text message sound again if you desire a different sound or want to further personalize your device.
So go ahead and have fun exploring the wide range of sounds available to you. Whether you prefer a soothing melody, an upbeat tune, or a unique sound effect, changing the text message sound allows you to add a personal touch to your Android device and enhance your overall user experience.
Enjoy the satisfaction of hearing your own distinct sound every time you receive a text message, and let your device truly reflect your individuality.


