Introduction
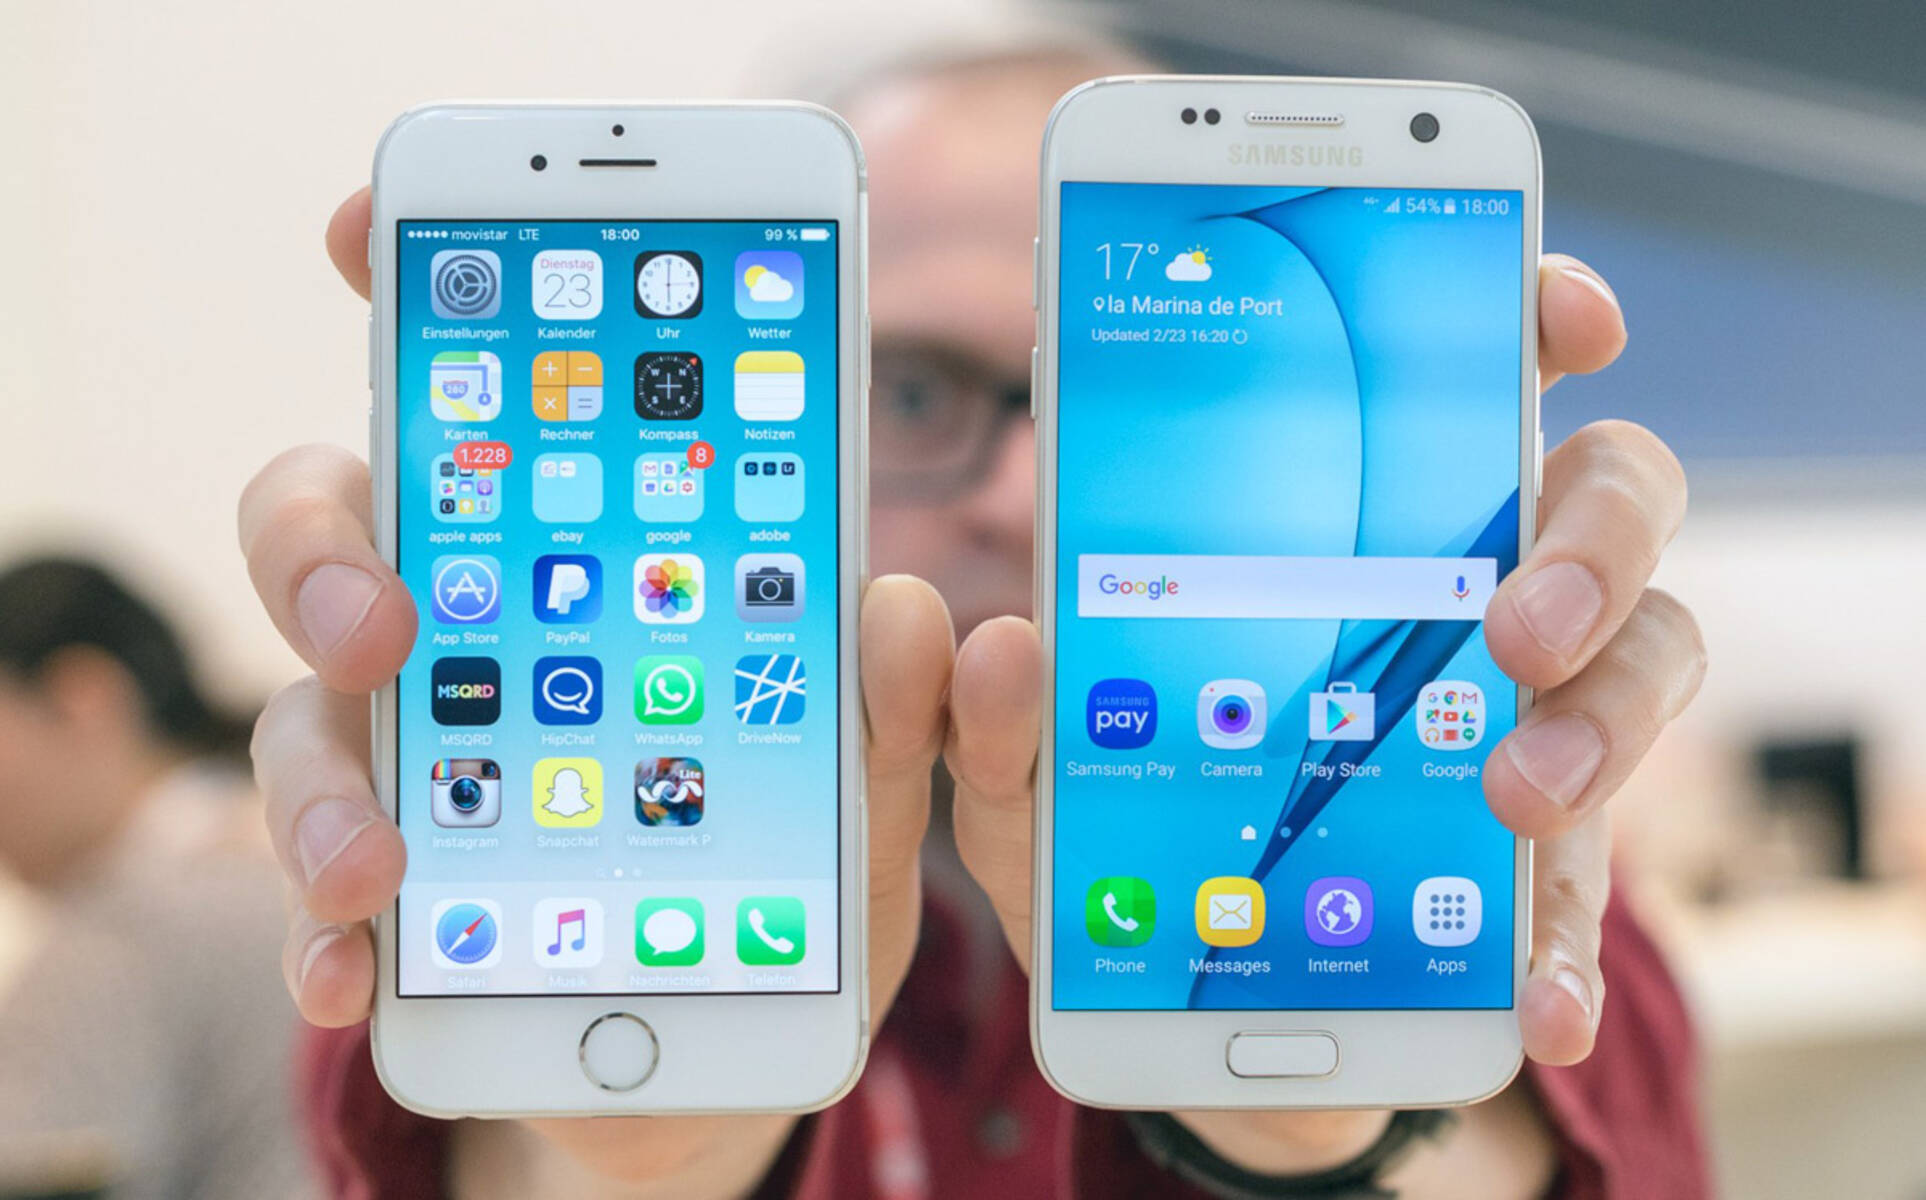
Welcome to the world of Android! Whether you’re a first-time Android user or transitioning from another platform, this guide will help you navigate your new Android phone and make the most out of its features. Android is a versatile operating system that powers millions of devices worldwide, offering an intuitive interface and a wide range of functionalities.
In this article, we will walk you through the essential steps to get started with your Android phone. From setting up your Google account to customizing your phone’s settings, managing notifications, installing apps, and more, we’ve got you covered.
Android phones come in various models and brands, each with its unique features and design. However, the core functionalities are similar across all devices. This guide will provide you with a solid foundation to unleash the full potential of your Android phone.
Whether you’re using an Android smartphone for business or personal use, understanding the basics is crucial. With this guide in hand, you’ll be able to confidently navigate through your phone’s features, make calls, send messages, browse the internet, and take stunning photos and videos.
So, let’s dive in and discover how to use your Android phone to its fullest potential!
Step 1: Turning on your Android phone
The first step in using your Android phone is to turn it on. To do this, press and hold the power button located on the side or top of your device until the screen lights up. Depending on your phone’s manufacturer, the power button may also serve as the fingerprint sensor or a dedicated assistant button.
Once your phone is powered on, you’ll be greeted with the device’s boot animation and then taken to the lock screen. The lock screen is designed to protect your phone from unauthorized access and displays the time, date, and any notifications you’ve received.
To unlock your phone, swipe up, down, left, or right on the screen, or use the fingerprint sensor if your device has one. Some devices also offer facial recognition or PIN/pattern/password-based locks, which you can set up in the phone’s settings for added security.
After unlocking your phone, you’ll be taken to the home screen, which is the central hub for all your apps and widgets. Here, you can access your favorite apps, check the weather, view your calendar events, and much more.
It’s important to note that different Android phone models may have variations in their user interface. However, the fundamental steps for turning on your device and unlocking it remain consistent across devices.
If your phone’s battery is low, you may need to plug it into a power source using the charger that came with your device. It’s recommended to fully charge your phone before using it to ensure optimal performance.
In this guide, we’ll explore various features and functionalities of your Android phone, helping you make the most out of your device.
Step 2: Setting up your Google account
One of the key advantages of using an Android phone is the seamless integration with Google services. To fully utilize the features and capabilities of your Android phone, it’s essential to set up a Google account.
To get started, locate the Settings app on your phone, typically represented by a gear icon. Tap on it to access the settings menu. Scroll through the options and look for the “Accounts” or “Accounts and Backup” section. Here, you’ll find the option to add an account.
Tap on “Add account” and select “Google” from the list of account types. If you already have a Google account, you can sign in with your existing credentials. If not, choose the option to create a new account and follow the on-screen instructions to set up your account.
Once you’ve signed in or created your Google account, you’ll have access to various Google services, such as Gmail, Google Drive, Google Calendar, and Google Photos. These services sync seamlessly with your Android phone, allowing you to access your emails, files, events, and photos across multiple devices.
During the account setup process, you’ll also have the option to enable various synchronization features, such as syncing your contacts, calendar events, and app data with your Google account. Enabling these features ensures that your important information is backed up and easily accessible should you switch to a new device or need to restore your phone.
Additionally, having a Google account gives you access to the Google Play Store. This is the official app marketplace for Android, where you can download and update a wide range of apps, games, and digital content.
Setting up your Google account is a crucial step in getting the most out of your Android phone. It provides you with seamless access to essential Google services, enhances your device’s functionality, and keeps your data backed up and secure.
Step 3: Navigating the home screen
The home screen is the central hub of your Android phone. It’s where you’ll find your most frequently used apps, widgets, and shortcuts. Navigating the home screen is essential for accessing your favorite apps and quickly performing tasks on your device.
When you unlock your phone or press the home button, you’ll be taken to the home screen. The appearance and layout of the home screen may vary depending on your device’s manufacturer and the version of Android you’re using. However, most Android home screens consist of multiple pages or panels that you can swipe left or right to navigate.
By default, the primary home screen is usually located at the center, with additional screens on either side. You can customize these screens by adding, removing, and rearranging app icons and widgets to suit your needs.
To launch an app from the home screen, simply tap on its icon. You can also organize your apps into folders to keep your home screen clutter-free. To do this, long-press an app icon until the options menu appears, then drag and drop the icon onto another app to create a folder.
Widgets are resizable app components that can display information or provide quick access to certain features. To add a widget to your home screen, long-press on an empty space, select “Widgets” from the options that appear, and choose the widget you want to add. You can then customize the widget’s size and appearance by dragging its edges.
Another important feature of the home screen is the app dock, which is a static row of app icons located at the bottom or on the side of the screen. The app dock provides easy access to your most-used apps, regardless of which home screen you’re on. You can customize the app dock by adding or removing app icons to suit your preferences.
Additionally, some Android phones offer navigation gestures instead of traditional navigation buttons. These gestures allow you to navigate the phone by swiping up, down, or across the screen. You can enable and customize these gestures in the phone’s settings.
Mastering the navigation of the home screen is essential for efficient use of your Android phone. It allows you to access your favorite apps, widgets, and shortcuts with ease, ultimately enhancing your overall user experience.
Step 4: Using the app drawer
The app drawer is where all your installed apps are stored on your Android phone. It provides a convenient way to access and manage your apps without cluttering up the home screen. Navigating and using the app drawer is an essential skill to make the most out of your device.
To open the app drawer, locate the app icon that looks like a grid of dots or squares on your home screen or at the bottom of the screen. Tap on this icon to launch the app drawer, or swipe up from the bottom of the screen, depending on your device and system settings.
Once inside the app drawer, you’ll see a list or grid layout of all your installed apps. To find a specific app, you can scroll vertically through the list or swipe left or right to switch between different pages or sections of apps.
If you have a large number of apps installed, you may find it helpful to use the search bar at the top of the app drawer. Tap on the search bar, then enter the name of the app you’re looking for. As you type, the app drawer will dynamically filter the results to match your search query.
Most Android phones also allow you to organize your app drawer by creating folders or sorting apps into categories. To create a folder, long-press on an app icon until the options menu appears, then drag and drop the icon onto another app to create a folder. You can then customize the folder’s name and contents.
Some Android phones also offer additional features in the app drawer, such as app suggestions, recently used apps, or a customizable layout. You can explore these options in the settings menu of your device to personalize your app drawer experience.
To launch an app from the app drawer, simply tap on its icon. You can also long-press on an app icon to access additional options, such as uninstalling the app, adding a shortcut to the home screen, or viewing app information and settings.
The app drawer is an essential part of the Android user experience, providing a centralized location for managing and accessing your installed apps. By familiarizing yourself with its features and customization options, you can efficiently navigate through your apps and enhance your overall productivity on your Android phone.
Step 5: Customizing your phone’s settings
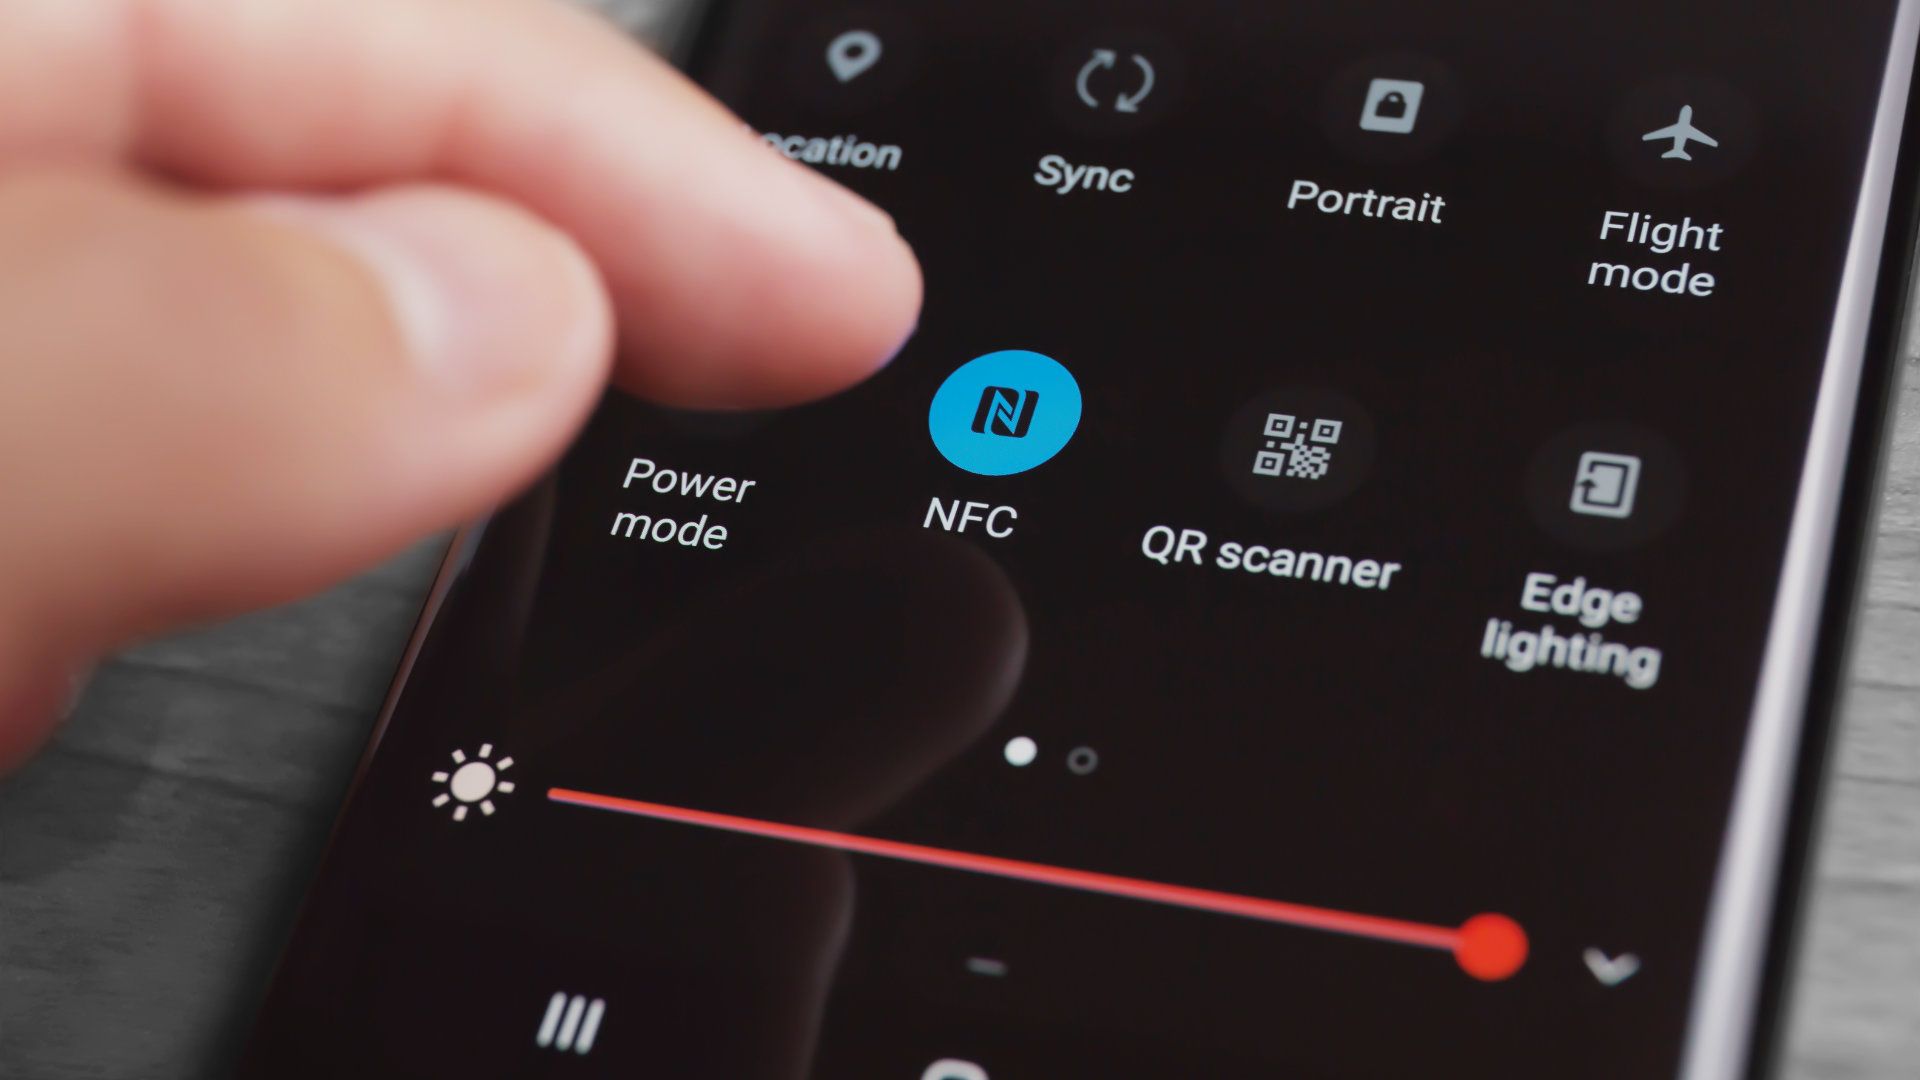
One of the great advantages of using an Android phone is the ability to customize various settings to suit your personal preferences. Whether you want to change the display brightness, customize notification sounds, or tweak privacy settings, Android offers a wide range of customization options.
To access your phone’s settings, locate the Settings app on your home screen or app drawer. It is usually represented by a gear icon. Tap on it to open the settings menu.
Inside the settings menu, you’ll find numerous options and categories to customize different aspects of your phone. Let’s explore some of the most common settings you can customize:
- Display: Adjust screen brightness, customize wallpaper, enable dark mode, change font size, and more.
- Sound & vibration: Control volume levels, choose ringtones and notification sounds, enable or disable vibration, and manage audio settings.
- Notifications: Customize notification preferences for individual apps, including sound, vibration, and app-specific notification settings.
- Security & privacy: Set up screen lock methods, manage app permissions, enable biometric authentication, and configure privacy options.
- Wireless & networks: Manage Wi-Fi, Bluetooth, cellular data, and other network-related settings.
- Accounts: Add or remove accounts, manage sync settings, and control access to your Google and other online accounts.
These are just a few examples of the many customizable settings available on Android. Each phone model and Android version may have additional settings and options, so explore the settings menu to discover the full range of customization features available on your device.
Customizing your phone’s settings allows you to personalize your Android experience and optimize your device to suit your preferences. Play around with the settings, experiment with different options, and make your phone truly yours.
Step 6: Managing notifications
Notifications play a crucial role in staying updated and informed about important events, messages, and app activities on your Android phone. However, managing notifications effectively is essential to avoid excessive interruptions and maintain productivity. In this step, we will take a closer look at how you can manage and customize notifications on your Android device.
To access notification settings, open the Settings app on your Android phone. From the settings menu, scroll down and look for the “Apps & notifications” or “Notifications” section. Tap on it to view and customize the notification settings of individual apps.
Inside the notification settings, you’ll find options to control how notifications are displayed, including sound, vibration, LED light, and notification priority. You can choose to enable or disable these features for each app, depending on your preferences.
In addition to customizing general notification settings, Android also offers app-specific notification settings. When you open the notification settings for a particular app, you can adjust settings such as the type of notification shown, the sound played, and whether or not to display the notification on the lock screen.
If you receive frequent notifications from certain apps, you might consider using notification channels. Notification channels allow you to categorize and customize the types of notifications you receive from a specific app. For example, you can choose to show or block notifications from specific contacts in a messaging app or receive only high-priority alerts from a news app.
To manage notification channels, open the notification settings for an app and look for the section labeled “Notification categories” or “Channels.” From there, you can toggle the visibility of individual notification channels or adjust their settings to suit your preferences.
Android also provides the option to snooze notifications for a specific period. This feature is useful when you want to temporarily silence notifications without disabling them entirely. To snooze a notification, swipe gently to the side and tap on the clock icon or the “Snooze” option that appears.
By managing and customizing your notification settings, you can reduce distractions and ensure that you receive only the most relevant and important notifications on your Android phone. Take some time to explore the various notification options and find the configuration that works best for you.
Step 7: Installing and updating apps
One of the greatest advantages of using an Android phone is access to a vast library of apps through the Google Play Store. With millions of apps available, you can customize your phone with tools, games, entertainment, and productivity apps that suit your needs. In this step, we’ll explore how to install and update apps on your Android device.
To install apps, you’ll need to launch the Google Play Store on your phone. Look for the Play Store app icon, which resembles a multicolored triangle on a white background. Tap on it to open the Play Store.
Once you’re in the Play Store, you can search for specific apps using the search bar at the top of the screen or explore curated categories and editor’s picks to discover new apps. When you find an app you want to install, tap on it to view its details page.
On the app’s details page, you’ll find information about the app, including its description, user reviews, screenshots, and ratings. If the app meets your expectations, tap the “Install” button to initiate the installation process. Review the app permissions, if prompted, and tap “Accept” to proceed with the installation.
Once the installation is complete, the app’s icon will appear on the home screen or in the app drawer. You can then tap on the icon to launch the app and begin using it.
To keep your installed apps up to date, it’s essential to regularly check for updates. Open the Play Store and tap on the three horizontal lines in the top-left corner to open the sidebar menu. From there, select “My apps & games” to view a list of your installed apps that have available updates.
To update an app, simply tap on the “Update” button next to its listing. You also have the option to enable automatic updates for all apps or specific apps in the Play Store settings. This ensures that your apps are always kept up to date with the latest features and security patches.
Installing and updating apps is a straightforward process on your Android phone, thanks to the Play Store. Take advantage of the vast selection of apps available, and regularly check for updates to ensure that you’re getting the most out of your installed apps.
Step 8: Making and receiving calls
While smartphones offer a plethora of features and capabilities, their primary function remains making and receiving calls. Your Android phone provides a user-friendly interface for making phone calls, whether it’s to reach out to friends and family or conduct business conversations. In this step, we’ll explore how to make and receive calls on your Android device.
To initiate a phone call, open the Phone app, usually denoted by a green phone icon. If you can’t find it on the home screen or app drawer, use the search bar to locate it. Once you’ve opened the Phone app, you’ll be presented with the dialer interface.
From the dialer interface, you can manually enter the phone number using the keypad or select a contact from your phonebook. To enter a phone number manually, simply tap the number keys to input the desired digits. If you’re calling a contact from your phonebook, tap on the contacts icon, usually represented by a person’s silhouette, and select the contact you wish to call.
After entering or selecting the phone number, tap on the green call icon to initiate the call. The call interface will be displayed on the screen, showing the duration of the call, speakerphone option, and additional features such as muting the call or adding a call waiting.
During a call, you’ll have several options available to enhance your calling experience. You can switch between speakerphone and regular mode, mute and unmute your microphone, and adjust the call volume using the on-screen controls or physical buttons on your device.
When receiving an incoming call, your Android phone will notify you through a ringing sound, vibration, or both. To answer the call, swipe the incoming call notification across the screen or tap on the green phone icon. If you don’t want to answer the call, you can decline it by swiping the notification in the opposite direction or tapping the red phone icon.
During an active call, you have the option to perform various actions. You can put the call on hold by tapping the hold icon, access the dial pad to enter additional numbers, or switch to a video call if the feature is supported.
It’s worth noting that Android phones also offer additional features related to calling, such as call history, call recording, and voicemail management. You can access these features by navigating to the respective sections within the Phone app, usually accessible through the menu or designated icons.
Making and receiving calls is a primary function of your Android phone, and understanding the basics enables you to stay connected with others. Embrace these calling features on your device to streamline your communication and make the most out of your Android experience.
Step 9: Sending and receiving messages
Text messaging is a convenient and widely used method of communication on Android phones. Whether you want to send a quick message to a friend or have a group conversation, your Android device provides a variety of messaging options. In this step, we’ll explore how to send and receive messages on your Android phone.
To send a text message, locate the Messages app on your home screen or app drawer. The icon typically resembles a chat bubble or envelope. Tap on it to open the Messages app.
Once inside the app, you’ll be presented with a list of existing conversations or a blank screen if you’re starting a new conversation. To send a message, tap the “+” or “Compose” button, usually present as a floating action button or in the top-right corner of the screen.
In the new message composition screen, enter the recipient’s phone number or select a contact from your phonebook by tapping the contacts icon. Once you’ve chosen the recipient, you can then type your message in the text field provided. After composing your message, tap the send button, typically represented by an arrow or paper plane icon.
If you want to send a multimedia message, such as a photo, video, or audio file, tap the attachment icon (usually represented by a paperclip or image icon) to access additional options. You can then choose the type of multimedia you want to send and select the file from your device’s storage.
When you receive a new message, your Android phone will notify you through a sound, vibration, or a notification banner. To view and respond to the message, simply open the Messages app and select the conversation thread associated with the sender.
Inside the conversation thread, you can read the messages, view any media attachments, and type your response in the text input field. Tap the send button to reply and continue the conversation. You can also access additional options, such as deleting messages, blocking a contact, or sharing media within the conversation.
Android phones also provide features like message search, message backup, and thread customization. Explore the settings within the Messages app to utilize these additional messaging functionalities.
By familiarizing yourself with the Messages app and its functions, you can easily send and receive text messages on your Android phone. Stay connected with friends, family, and colleagues, and make the most out of your messaging experience.
Step 10: Browsing the internet
Browsing the internet on your Android phone opens up a world of information, entertainment, and connectivity. With a mobile browser at your fingertips, you can access websites, search for information, watch videos, and stay up to date with the latest news. In this step, we’ll explore how to browse the internet on your Android device.
To start browsing, locate the browser app on your home screen or app drawer. The browser icon usually resembles a globe or compass. Tap on it to open the browser.
Once the browser is open, you’ll see a search bar at the top of the screen. This is where you can enter the web address (URL) of a specific website or type in keywords to conduct a web search. Tap on the search bar, enter the desired URL or search terms, and tap the “Go” or “Search” button on the keyboard.
The browser will then load the requested website or present you with search results based on your query. You can tap on a search result or a bookmarked website to navigate to specific webpages. To go back or forward between visited pages, use the arrow buttons in the browser’s toolbar.
While browsing, you can interact with webpages by tapping on links, buttons, or media elements. You can also zoom in or out on a webpage by pinching or spreading your fingers on the screen, depending on your device’s capabilities.
In addition to basic browsing, most Android browsers offer features such as private browsing mode for enhanced privacy, bookmarking or saving favorite websites for quick access, and tabbed browsing to switch between multiple webpages within a single browser instance.
Android phones often come with a default browser pre-installed, usually Google Chrome. However, alternative browsers are available for download from the Google Play Store, allowing you to explore different browsing experiences and features.
It’s worth noting that the internet browsing experience on your Android phone can be enhanced by installing browser extensions or add-ons. These tools provide additional functionality and customization options for your browsing experience.
Browsing the internet on your Android phone enables you to stay connected, access information, and discover new things. Experiment with different browsers, explore their features, and make the most out of your internet browsing experience.
Step 11: Taking photos and videos
One of the most popular features of Android phones is the ability to capture photos and videos on the go. With advancements in smartphone camera technology, you can now capture high-quality moments and memories without the need for a separate camera. In this step, we’ll explore how to take photos and videos on your Android device.
To open the camera app on your Android phone, locate the camera icon on your home screen or app drawer. The icon typically resembles a camera lens. Tap on it to launch the camera.
Once the camera app is open, you’ll see the viewfinder, which displays the image or scene you’re about to capture. To take a photo, simply tap the capture button, usually represented by a circular button, on the screen or press the hardware volume button on the side of your phone. The camera will capture the image instantly.
Android cameras offer various shooting modes and settings to enhance your photography experience. You can explore the camera interface to discover features such as panorama mode, HDR (High Dynamic Range), night mode, portrait mode, and more. These modes allow you to take photos in different lighting conditions or experiment with creative effects.
In addition to capturing photos, most Android cameras allow you to record videos. To switch to video mode, look for a toggle or icon on the camera interface that switches between photo and video mode. Once in video mode, tap the record button to start recording and tap it again to stop. You can then save the recorded video to your phone’s gallery.
After capturing photos and videos, you can access them in the gallery app on your Android phone. The gallery app provides a central location for viewing, organizing, and sharing your media. From the gallery, you can edit your photos, apply filters, crop images, and share them with friends and family through various social media platforms or messaging apps.
It’s important to note that different Android phone models may have variations in camera features and settings. Some devices may offer advanced manual controls, while others focus more on automatic shooting. Explore your camera app and check the settings to understand the full capabilities of your device’s camera.
Taking photos and videos on your Android phone allows you to capture special moments, express your creativity, and document your experiences. Experiment with different shooting modes, practice composition techniques, and make the most out of your device’s camera capabilities.
Step 12: Managing contacts
Managing contacts on your Android phone allows you to stay organized and easily communicate with friends, family, colleagues, and other important contacts. Android provides a comprehensive and user-friendly interface to help you create, edit, and organize your contact list. In this step, we’ll explore how to effectively manage contacts on your Android device.
To access your contacts, locate the Contacts app on your home screen or app drawer. The icon usually resembles a silhouette of a person or a digital address book. Tap on it to open the Contacts app.
Inside the Contacts app, you’ll find your existing contacts, organized alphabetically. To add a new contact, tap the “+” or “Add” button, typically located in the bottom right corner. Enter the contact’s name, phone number, email address, and any additional information you want to associate with the contact, such as a profile picture or organization details.
If you have contacts stored in other accounts, such as your Google account or social media platforms, you can sync those contacts to your Android phone. This allows you to have a unified and up-to-date contact list. To sync contacts, go to the phone’s settings, select “Accounts” or “Accounts & Sync,” and toggle the contact syncing option for the desired accounts.
Android provides various options for managing your contacts effectively. You can create contact groups to organize your contacts into specific categories, such as friends, family, or work contacts. To create a contact group, open the Contacts app, access the menu, and select “Create group.” Assign a name to the group and add contacts to it by selecting “Add member” or “Assign contacts.”
Additionally, you can edit and update contact information by selecting a contact from the list and tapping on the edit icon. From there, you can modify the contact’s details, add or remove information, and even link multiple contacts if you have duplicates or contacts from different sources.
To quickly access your contacts from other apps or during a call or message, you can use the built-in dialer or messaging apps. These apps often provide intuitive contact search features that allow you to easily find and select a contact without opening the Contacts app separately.
Android also offers the option to backup and restore your contacts to ensure you don’t lose any important information. You can back up your contacts to your Google account or other supported cloud storage services. To access these backup and restore settings, navigate to the Contacts app settings or consult the phone’s general settings menu.
Managing your contacts on your Android phone is essential for staying organized and maintaining efficient communication. Take advantage of the contact management features available on your device to keep your contact list in order and readily accessible when you need to connect with others.
Step 13: Managing your storage
Properly managing your device’s storage is important to ensure optimal performance and prevent running out of space on your Android phone. With various apps, media files, and documents, it’s necessary to regularly check and manage your device’s storage capacity. In this step, we’ll explore how to effectively manage your storage on your Android device.
To view the storage details and manage your device’s storage, open the Settings app on your Android phone. Look for the “Storage” or “Storage and USB” option within the settings menu. Tap on it to access the storage settings.
In the storage settings, you’ll see an overview of your storage usage, divided into categories such as apps, media, and files. You can tap on each category to view more detailed information about the files and apps occupying your device’s storage.
One of the first actions you can take to manage your storage is to clear cache files. Cached data helps apps load faster, but over time, it can accumulate and take up a significant amount of space. To clear cache, go to the storage settings and select “Cached data.” Tap on it to clear the cached data for all the apps or select specific apps to clear their cache individually.
You can also free up storage by uninstalling unused or unnecessary apps. In the storage settings, tap on “Apps” or “Application manager” to see a list of all installed apps. Select an app you want to uninstall and tap “Uninstall” to remove it from your device. Be sure to review the list for any apps you no longer need or use to reclaim storage space.
Another option to manage storage is to transfer files to an external storage device. Some Android devices support expandable storage through microSD cards. You can insert a compatible microSD card and use the file manager app to move files such as photos, videos, and documents to the external storage.
If your device doesn’t have expandable storage, consider uploading your files to cloud storage services such as Google Drive or Dropbox. These services allow you to store your files securely in the cloud, freeing up space on your device while still allowing you to access the files when needed.
Furthermore, regularly transferring your media files, such as photos and videos, to a computer or an external hard drive can also help manage your device’s storage effectively.
Lastly, Android devices offer the option to use “Smart Storage” or “Storage Manager” features. These features automatically remove temporary files and old content such as photos and videos that have been backed up to the cloud. You can enable these features in the storage settings or consult your device’s user manual to find out how to take advantage of these automated storage management tools.
Managing your storage on your Android device is crucial to keep your phone running smoothly and ensure you have enough space for the apps and files you need. Regularly check your storage usage, clear cache, uninstall unnecessary apps, and transfer files to external storage or cloud services to maintain a well-organized and efficient device.
Step 14: Using voice commands with Google Assistant
Google Assistant is a powerful virtual assistant that can help you perform various tasks on your Android phone using voice commands. By utilizing the built-in Google Assistant, you can accomplish tasks hands-free, access information quickly, and control your device effortlessly. In this step, we’ll explore how to use voice commands with Google Assistant on your Android device.
To activate Google Assistant, you have several options. You can long-press the home button on your Android phone or say the wake phrase, “Hey Google” or “OK Google.” Some devices also have a dedicated physical button or allow you to activate Google Assistant through gestures.
Once Google Assistant is activated, you will see the Assistant interface with a colorful bar at the bottom of the screen. You can ask Google Assistant questions, give commands, or initiate actions by simply speaking your query.
Google Assistant can assist you with a wide range of tasks and provide information on various topics. You can ask it questions, such as “What’s the weather today?” or “What’s the capital of France?” Google Assistant will use its search capabilities to provide you with real-time information.
You can also use Google Assistant to perform phone functions, such as making calls, sending messages, setting reminders, and creating calendar events. For example, you can say “Call John” or “Send a text to Sara” and provide the message content for Assistant to handle the action.
Google Assistant can also interact with other apps on your phone. You can ask it to open specific apps, play music from a streaming service, set alarms, navigate to a location, and more. For example, you can say “Open Spotify and play my favorite playlist” or “Set an alarm for 7 a.m.”
Furthermore, Google Assistant can control various smart devices in your home if they are compatible. You can integrate Assistant with smart home devices such as lights, thermostats, door locks, and smart speakers. This enables you to control and manage these devices through voice commands, making your home more convenient and efficient.
To get the most out of Google Assistant, you can personalize your experience through the Assistant settings. From the settings menu, you can adjust preferences, connect your Google account to personalize responses, manage connected devices, and explore the available Assistant features.
Using voice commands with Google Assistant provides a convenient and hands-free experience on your Android device. By harnessing the power of Google’s search capabilities and integrating with various apps and devices, Google Assistant helps you navigate your phone, access information, and control your smart home, all through natural voice interactions.
Conclusion
Congratulations! You have now learned the essential steps to use your Android phone effectively. By following the steps outlined in this guide, you can navigate through your device, customize settings, communicate with others, browse the internet, capture memorable moments, manage your contacts and storage, and utilize the power of voice commands with Google Assistant.
Remember, each Android phone model may have its unique features and user interface, but the core functionalities remain consistent across devices. Whether you’re a beginner or experienced user, understanding these fundamental steps will help you get the most out of your Android phone.
As you continue to explore and use your Android device, don’t hesitate to further personalize your settings, experiment with additional features, and discover new apps and functionalities through the Google Play Store. Android offers a world of possibilities, and the more you delve into its capabilities, the better you’ll become at harnessing its full potential.
Stay updated on the latest Android updates and feature releases to ensure that you’re taking advantage of the latest advancements in technology. Android is a dynamic platform, and by staying informed, you’ll continue to enhance your user experience.
Finally, don’t forget to regularly back up your important data, keep your device updated with the latest security patches, and practice good digital security habits to protect your personal information and maintain the security of your Android phone.
With your newfound knowledge, you can confidently navigate through your Android phone, optimize its performance, and enjoy all the features it has to offer. Embrace your Android experience and make the most out of your device every day!