Introduction
Connecting a printer to your Android phone can be a convenient way to print documents, photos, and other files directly from your mobile device. Whether you need to print important work documents or memorable pictures, having the ability to connect your printer to your Android phone opens up a world of possibilities.
In this article, we will guide you through the process of connecting your printer to your Android phone. We will walk you through step by step, detailing each necessary action to ensure a successful connection. So, let’s get started!
Before we begin, it’s important to note that not all printers are compatible with Android devices. Make sure to check the printer’s specifications or consult the user manual to ensure compatibility. Additionally, you’ll need a Wi-Fi enabled printer and a stable Wi-Fi network to complete the connection.
Once you have confirmed compatibility and have the necessary equipment, the process is relatively simple. We’ll guide you through the steps of installing the printer app, connecting the printer to Wi-Fi, enabling Wi-Fi on your Android phone, and finally, adding your printer to your device. By the end of this article, you’ll be able to effortlessly print from your Android phone.
Now, let’s dive into the step-by-step process, and soon enough, you’ll be printing directly from your Android phone in no time!
Step 1: Check Printer Compatibility
The first step in connecting your printer to your Android phone is to ensure that your printer is compatible with Android devices. Not all printers support this functionality, so it’s essential to verify compatibility before proceeding.
To check compatibility, you can refer to the printer’s manual or visit the manufacturer’s website. Look for information regarding Android compatibility or supported operating systems. If you’re unable to find this information, you can also reach out to the printer’s manufacturer directly for assistance.
If your printer is compatible with Android devices, you’re ready to move on to the next steps. However, if your printer doesn’t support Android connectivity, you may need to consider alternative methods such as using a computer or a cloud printing service to print from your Android phone.
Checking printer compatibility is a crucial first step to ensure a smooth and successful connection process. Make sure to take the time to verify compatibility before proceeding to avoid any unnecessary frustration or inconvenience.
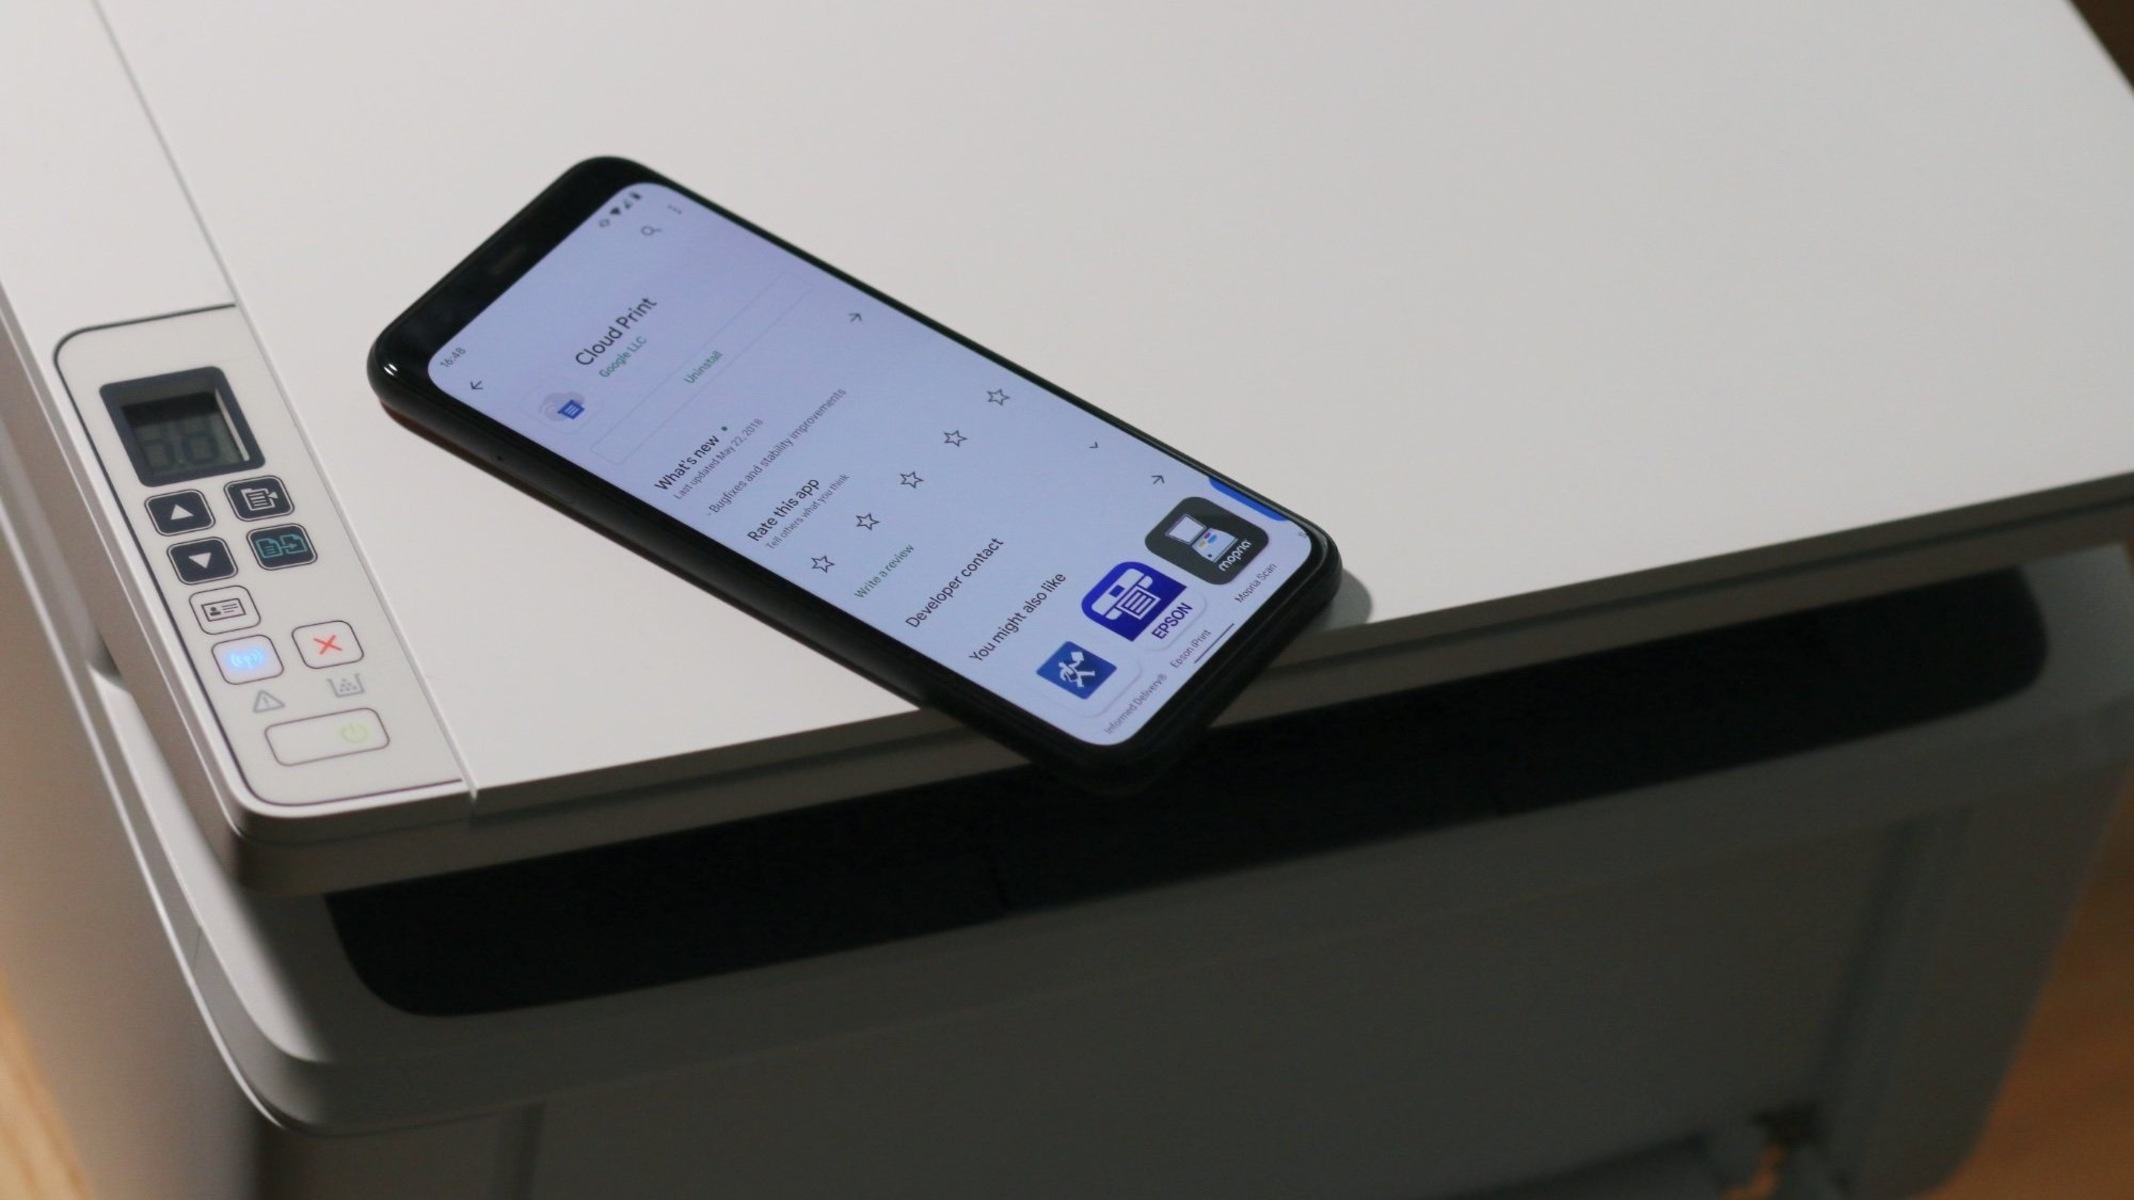
Step 2: Install Printer App
After confirming that your printer is compatible with Android devices, the next step is to install the printer app on your Android phone. The printer app acts as a bridge between your phone and the printer, enabling seamless communication and printing functionality.
First, open the Google Play Store on your Android phone. You can find the Play Store app icon in your app drawer or on your home screen.
In the search bar at the top, type in the name of your printer manufacturer or the specific printer model. Look for the official app developed by the printer manufacturer.
Once you find the correct app, tap on it to open the app’s page. Review the app’s details, ratings, and reviews to ensure it meets your requirements and has a good reputation.
To install the app, tap on the “Install” or “Get” button. You may be prompted to grant certain permissions or provide additional information during the installation process. Follow the on-screen instructions to complete the installation.
Once the printer app is installed, you’ll find its icon in your app drawer or on your home screen. You can now proceed to the next step in connecting your printer to your Android phone.
Installing the printer app is an important step as it establishes the necessary connection between your Android phone and the printer. Take your time to find the official printer app and follow the installation instructions to ensure a successful installation.
Step 3: Connect Printer to Wi-Fi
Before you can connect your printer to your Android phone, you need to ensure that your printer is connected to the same Wi-Fi network as your phone. This will enable seamless communication between the devices.
Here’s how you can connect your printer to Wi-Fi:
- Turn on your printer and navigate to the printer’s settings menu using the control panel or display screen.
- Look for the “Network” or “Wireless” settings option and select it.
- Within the network settings menu, locate the “Wi-Fi” or “Wireless Setup” option and choose it.
- Your printer will then scan for available Wi-Fi networks. Select your Wi-Fi network from the list of available networks.
- If prompted, enter your Wi-Fi network password or security key to connect your printer to the network.
- Once the printer successfully connects to the Wi-Fi network, it will display a confirmation message or indicator.
With your printer now connected to Wi-Fi, it’s time to proceed to the next steps to connect your Android phone and start printing.
Note: The exact steps to connect your printer to Wi-Fi may vary depending on the printer model. Consult your printer’s manual or manufacturer’s website for specific instructions tailored to your printer.
Connecting your printer to Wi-Fi is a crucial step in establishing the connection between your printer and your Android phone. Make sure to follow the instructions specific to your printer to ensure a successful Wi-Fi connection.
Step 4: Enable Wi-Fi on your Android Phone
In order to connect your Android phone to your printer over Wi-Fi, you need to ensure that Wi-Fi is enabled on your device. Enabling Wi-Fi will allow your phone to detect and connect to the same Wi-Fi network as your printer.
Here’s how you can enable Wi-Fi on your Android phone:
- Unlock your Android phone by entering your PIN, password, or using your fingerprint or face recognition.
- Swipe down from the top of the screen to access the Quick Settings menu.
- Look for the Wi-Fi icon among the available Quick Settings tiles. It usually looks like a signal symbol with curved lines.
- Tap on the Wi-Fi icon to enable Wi-Fi.
- Your Android phone will start scanning for available Wi-Fi networks.
- Tap on your Wi-Fi network from the list of available networks.
- If prompted, enter your Wi-Fi network password or security key.
- Once connected, your Android phone will display a Wi-Fi connection confirmation.
With Wi-Fi enabled on your Android phone and connected to the same network as your printer, you’re now ready to proceed to the next steps and establish a connection between your phone and the printer.
Note: The exact steps to enable Wi-Fi may vary slightly depending on the version of Android you’re using and the manufacturer of your phone. However, the general steps provided above should apply to most Android devices.
Enabling Wi-Fi on your Android phone is a vital step to ensure successful communication with your printer. Take the time to follow the instructions specific to your phone and connect to the appropriate Wi-Fi network.
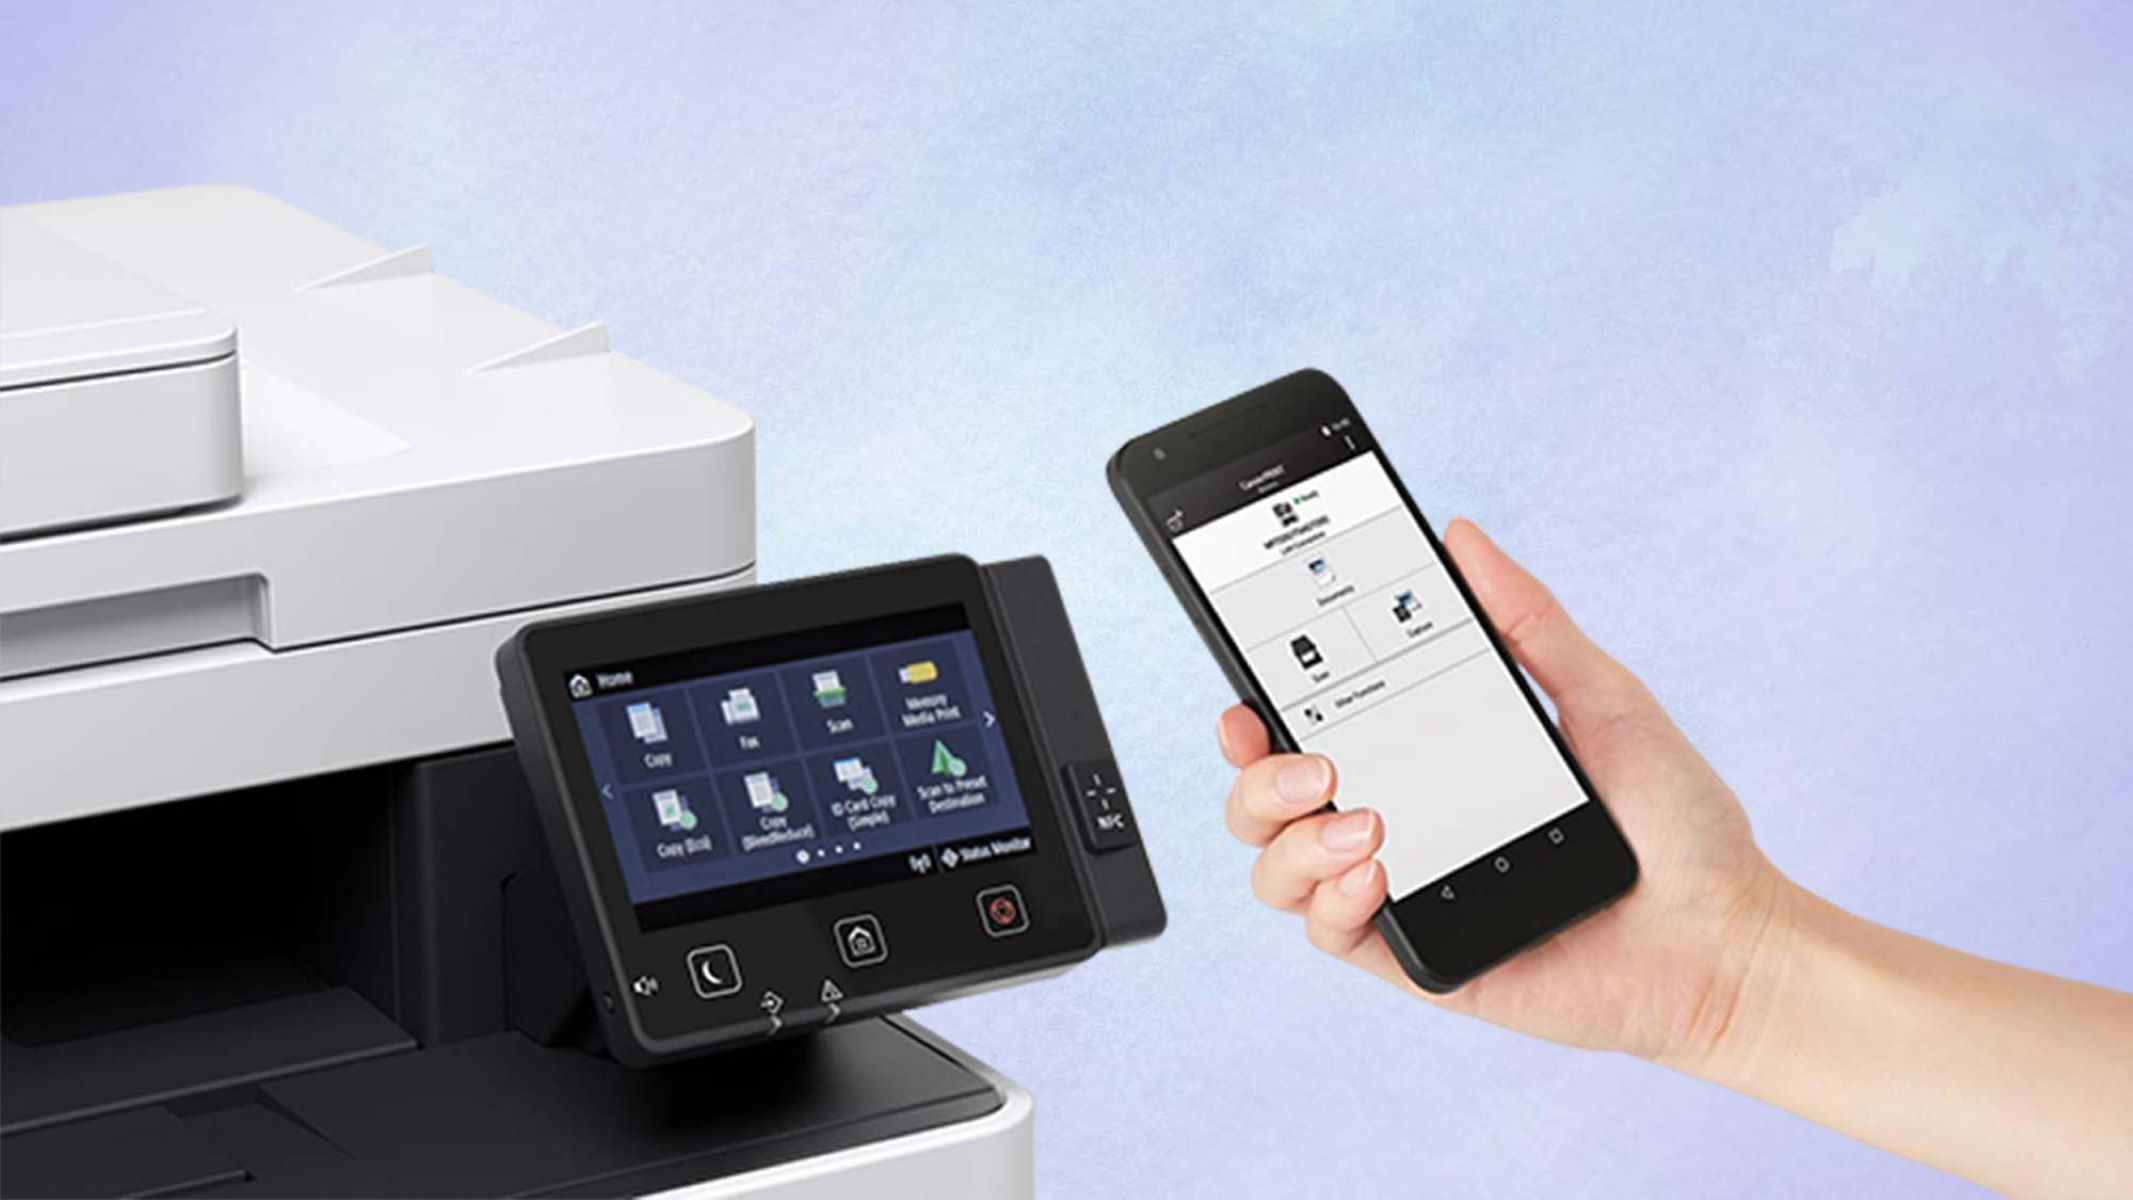
Step 5: Open Printer App on Your Phone
Now that you have enabled Wi-Fi on your Android phone and connected to the same Wi-Fi network as your printer, it’s time to open the printer app on your phone. The printer app acts as the interface between your phone and the printer, allowing you to manage printing tasks and settings.
Here’s how you can open the printer app on your Android phone:
- Locate the printer app icon on your phone’s home screen or in the app drawer. The icon might be labeled with the printer manufacturer’s name or a generic printer symbol.
- Tap on the printer app icon to launch it.
- Once the app opens, you’ll see a home screen or main menu where you can access different printing options and settings.
Take a moment to familiarize yourself with the printer app’s interface. Depending on the printer app you installed, you may find options such as printing documents, photos, or web pages, adjusting print settings, and managing the printer queue.
If you’re unsure how to navigate the printer app or access specific features, consult the app’s user guide or help section. Most printer apps provide useful instructions and tips to help you make the most of their features.
By opening the printer app on your Android phone, you’re one step closer to printing your documents, photos, and other files directly from your device. So, let’s move on to the next step and add your printer to your phone.
Note: The specific steps to open the printer app may vary depending on the app you installed and your Android phone’s user interface. The general instructions provided above should apply to most printer apps.
Opening the printer app on your phone is an important step in accessing printing options and managing print settings. Take your time to explore the features and functionalities of the printer app to make the most of your printing experience.
Step 6: Add Your Printer
With the printer app open on your Android phone, it’s time to add your printer to your device. Adding your printer will establish a connection between your phone and the printer, allowing you to send print jobs directly from your phone.
Here’s how you can add your printer:
- Within the printer app, locate the “Add Printer” or “Add Device” option. It is usually found in the settings or configuration menu of the app.
- Tap on the “Add Printer” or “Add Device” option to begin the process of adding your printer.
- The printer app will start scanning for available printers within the Wi-Fi network.
- Once your printer is detected, tap on it to select it for adding to your phone.
- If prompted, verify the settings and options for your printer, such as print quality, paper size, or duplex printing.
- Confirm the addition of the printer to your Android phone by tapping on the “Add” or “Confirm” button.
After adding your printer, it should appear as an available option within the printer app. You can now start printing directly from your Android phone by selecting the files or documents you want to print and choosing the appropriate print settings.
If your printer is not automatically detected by the printer app, you may need to manually enter its network information, such as the IP address or hostname. Refer to your printer’s manual or manufacturer’s website for guidance on how to manually add your printer.
By successfully adding your printer to your Android phone, you have established a direct connection and can now enjoy the convenience of printing directly from your device.
Note: The specific steps to add your printer may vary depending on the printer app you installed and your specific printer model. The general instructions provided above should help guide you through the process.
Adding your printer to your Android phone is a crucial step in enabling printing functionality. Take the time to carefully follow the app’s instructions and ensure a successful connection between your phone and the printer.
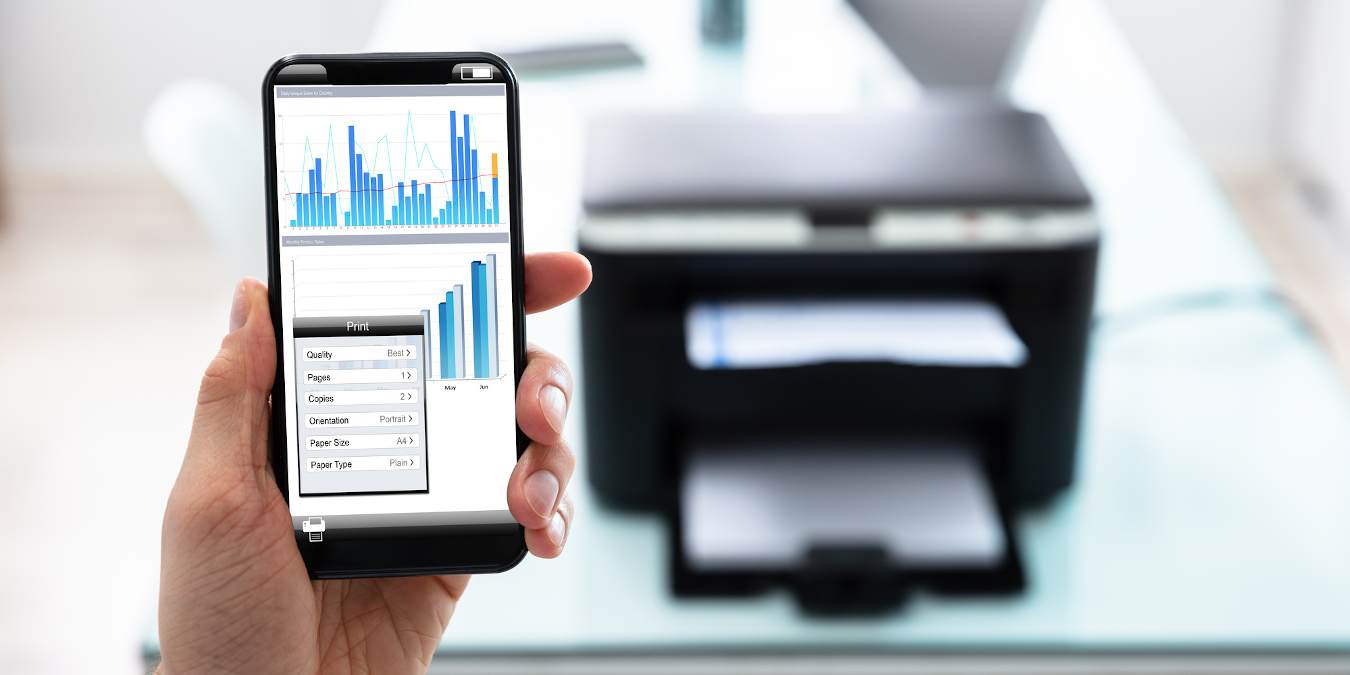
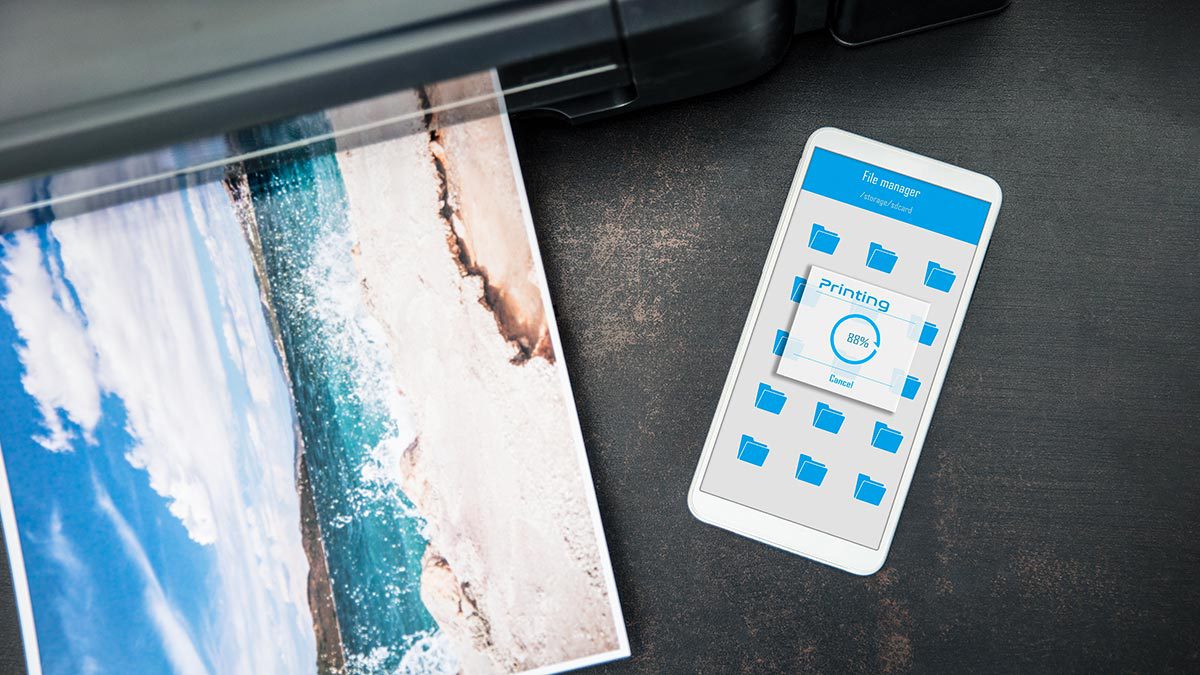
Step 7: Print from Your Android Phone
Now that you have successfully added your printer to your Android phone, you are ready to start printing directly from your device. Whether it’s documents, photos, or web pages, printing from your Android phone is a breeze with the printer app.
Here’s how you can print from your Android phone:
- Open the file or document you want to print on your Android phone. This could be a PDF, Word document, photo, or webpage.
- Tap on the “Share” or “Print” option within the app you are using to open the file. This will open the sharing menu or provide printing options.
- From the sharing menu or printing options, select the printer app you installed earlier as the print destination.
- Within the printer app, you will have access to print settings and options. Customize the print settings to your preferences, such as selecting the number of copies, print quality, or paper size.
- Review the print preview and ensure everything looks correct.
- Tap on the “Print” or “Start Printing” button to send the print job to your printer.
- Wait for the printer to process the print job and physically print the document or photo.
After printing, you can collect your printed documents or photos from the printer’s output tray. Be sure to check the settings within the printer app to manage the printer queue or any pending print jobs.
Printing from your Android phone offers convenience and flexibility, allowing you to quickly print files and documents without the need for a computer. Whether you’re at home, in the office, or on the go, you can easily print directly from your Android device.
Note: The specific printing options and settings may vary depending on the printer app and the file or document you are printing. Take a moment to familiarize yourself with the available options within the printer app to make the most of your printing experience.
By following these steps, you can now print directly from your Android phone like a pro. Enjoy the convenience and simplicity of printing on the go!
Conclusion
Connecting your printer to your Android phone opens up a world of possibilities, allowing you to easily print documents, photos, and other files directly from your mobile device. With the right printer app and a stable Wi-Fi connection, you can enjoy the convenience and flexibility of printing on the go.
In this article, we guided you through the step-by-step process of connecting your printer to your Android phone. We covered checking printer compatibility, installing the printer app, connecting the printer to Wi-Fi, enabling Wi-Fi on your Android phone, opening the printer app, adding your printer, and finally printing from your Android phone.
By following these steps, you can seamlessly integrate your printer and Android phone, making printing tasks effortless and efficient. Whether you need to print important work documents or capture and preserve memorable moments through printed photos, the ability to connect your printer to your Android phone empowers you with printing capabilities at your fingertips.
Remember to always check your printer’s compatibility with Android devices before beginning the connection process. Installing the correct printer app and ensuring both your printer and Android phone are connected to the same Wi-Fi network are also essential steps to ensure a successful connection.
With your printer now connected to your Android phone, you have the convenience of printing directly from your device, eliminating the need for a computer or transferring files to another device for printing. Whether you’re at home, at the office, or on the go, you can now easily print your documents and images at your convenience.
So, why wait? Connect your printer to your Android phone today and experience the convenience of printing right from the palm of your hand. Embrace the power and versatility of technology by harnessing the capabilities of your printer and Android phone for all your printing needs.