Overview of PC Case Change
Changing the PC case is a common task for PC enthusiasts and gamers who want to upgrade their computer’s aesthetics, improve airflow, or accommodate new components. The process involves transferring all the internal components from the current case to the new one while ensuring proper cable management and component placement.
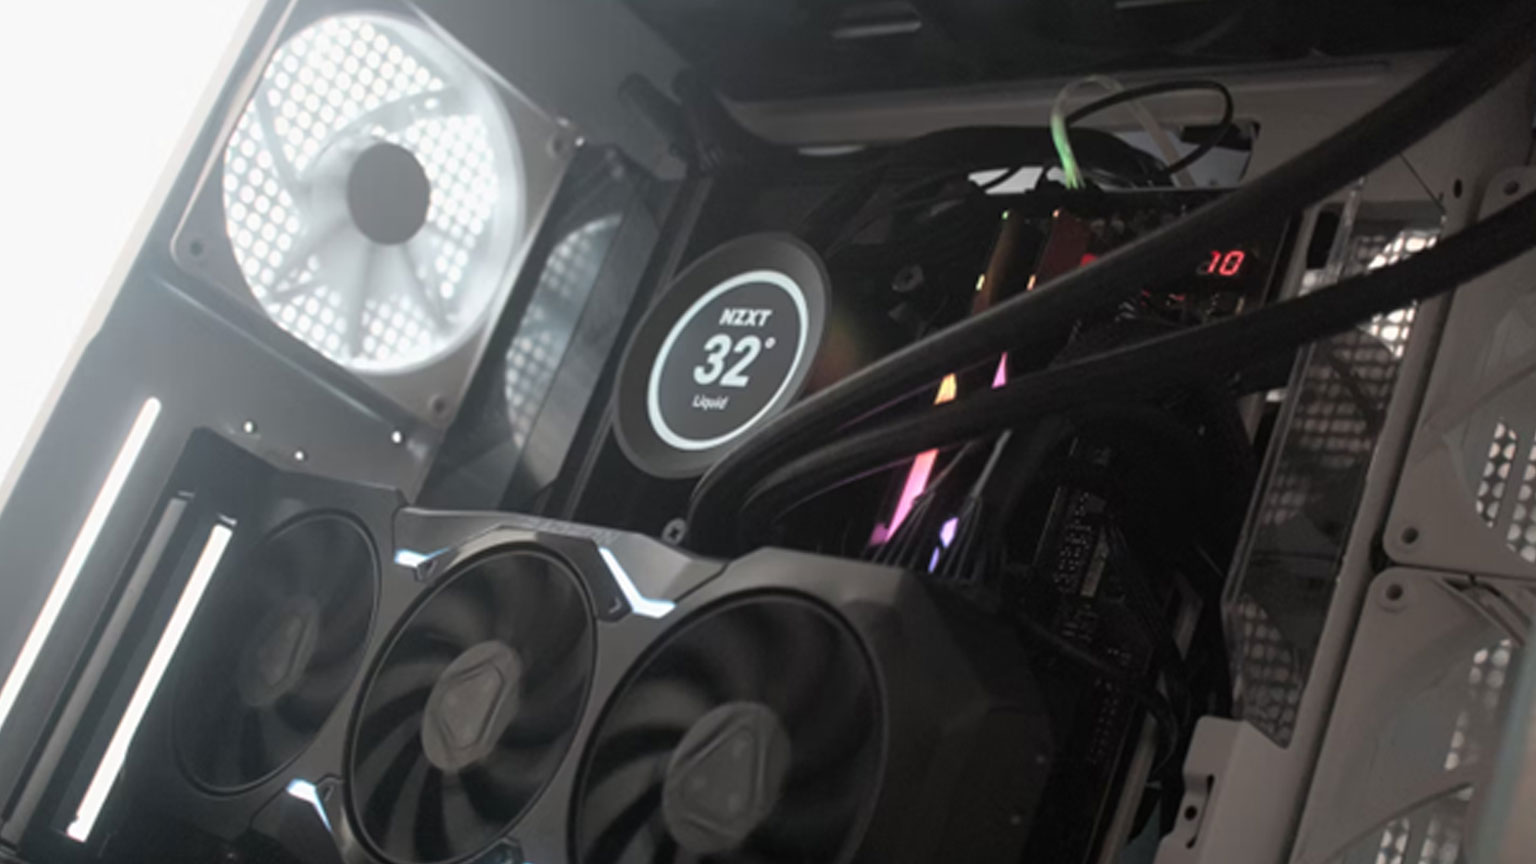
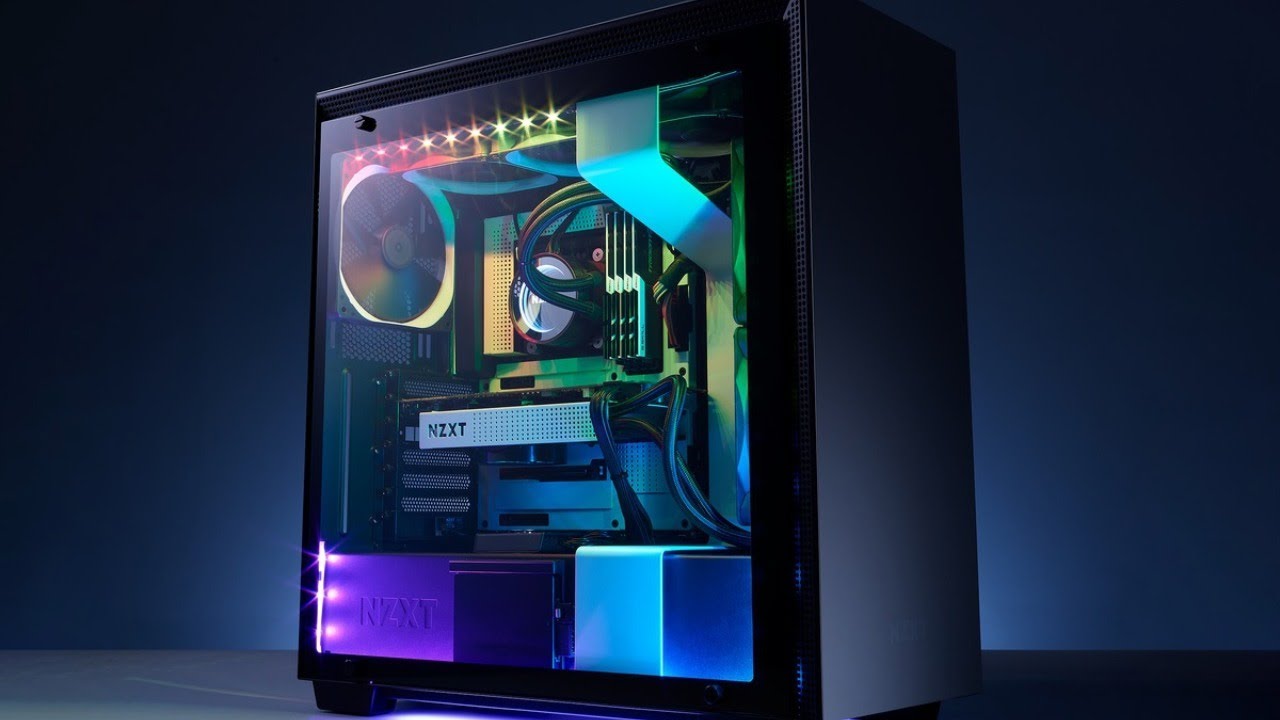
One of the key reasons to change a PC case is to enhance the visual appeal. Whether you want a sleek and modern design or a unique and eye-catching case, upgrading the case can transform the look of your computer. Additionally, a new case may offer better cooling options, allowing for improved airflow and lower temperatures, which can help optimize performance and protect your components from overheating. Moreover, if you are planning to add or upgrade components like extra storage drives, liquid cooling systems, or high-end graphics cards, you may need a larger case with more expansion slots and better compatibility.
Before beginning the case change process, it is crucial to gather all the necessary tools and equipment. This typically includes a screwdriver set, cable ties, thermal paste, an anti-static wrist strap, and a small brush or compressed air for cleaning. Ensuring you have the right tools will make the process smoother and prevent any unnecessary delays or damage to components.
Once you have gathered the tools, it is essential to prepare for the case change. Start by backing up any important data from your computer and shutting it down completely. Unplug all power cables and peripherals, and find a clean and well-ventilated workspace where you can freely work on your PC without any obstructions. Remember to ground yourself by wearing an anti-static wrist strap or regularly touching a metal object to prevent electrostatic discharge that could damage delicate components.
With the preparations in place, the next step is to carefully remove the components from the current case. Begin by unscrewing the side panels and removing them to gain access to the internal components. Take note of the connections and cables attached to each component, and carefully detach them to ensure a smooth transfer to the new case. As you remove the components, be mindful of any screws or cables that may be attached to them, and keep track of each component so that you can easily reinstall them in the new case.
Once all the components are removed, it is time to install them into the new case. Start by placing the motherboard in the new case and aligning it with the screw holes. Carefully secure it using the appropriate screws. Next, install the power supply, storage drives, and any additional components such as graphics cards or sound cards. Make sure to connect the necessary cables and ensure a secure and proper fit for each component.
After all the components are installed, it is crucial to connect the cables properly and ensure that everything is properly wired. Take your time to neatly organize the cables and use cable ties or Velcro straps to keep them tidy and prevent them from interfering with airflow. Improper cable management can lead to reduced cooling efficiency and potential performance issues.
Once everything is wired and connected, it’s time to secure the components and close the case. Double-check all the screws and connections to ensure that everything is secure and properly aligned. Close the side panels of the new case and screw them back into place. Give the case a final inspection to ensure everything looks clean and well-organized.
With the new case assembled and ready, it’s time to power on the computer and test everything. Connect the power cable and peripherals, and hit the power button to start the computer. Pay attention to the system startup and ensure that all components are working correctly. Check the temperatures to ensure that the cooling is adequate, and run some stress tests or benchmarks to ensure stability.
Changing your PC case can be a rewarding and fulfilling experience, allowing you to personalize your computer and optimize its performance. By carefully following the steps outlined in this guide, you can successfully change your PC case without any issues, improving both the aesthetics and functionality of your computer.
Gathering the Necessary Tools and Equipment
Before embarking on the process of changing your PC case, it is important to gather all the necessary tools and equipment to ensure a smooth and efficient transition. Having the right tools at hand will facilitate the disassembly and reassembly of your components, minimizing the risk of damage and reducing potential frustrations that may arise during the process.
Here’s a list of essential tools and equipment you will need:
- Screwdriver set: Make sure to have a set of screwdrivers with different types and sizes to accommodate the various screws used in PC cases.
- Cable ties: These handy tools will aid in cable management, keeping your cables organized and reducing clutter inside the case.
- Thermal paste: If you plan on reusing your CPU cooler, you will need thermal paste to ensure proper heat transfer between the CPU and the cooler.
- Anti-static wrist strap: To protect your delicate components from electrostatic discharge, it is essential to wear an anti-static wrist strap when handling your PC’s internals.
- Small brush or compressed air: Dust and debris can accumulate inside your computer, affecting cooling performance and potentially causing damage. A small brush or compressed air can help you clean out the components and ensure optimal airflow.
Once you have gathered these tools and equipment, you will be equipped with everything you need to safely and effectively change your PC case without any major hiccups.
It’s worth noting that different PC cases may require additional tools or equipment depending on their design and features. For example, some cases may have toolless installation mechanisms, where you won’t need screws to secure components, while others may have unique cable management solutions. It is always a good idea to consult the user manual or online resources specific to your new case to ensure you have all the tools and equipment required for a successful installation.
Having a dedicated workspace is also important when gathering your tools and equipment. Find an area with adequate lighting and enough space to comfortably work on your PC. Make sure the surface is clean and free from static-inducing materials such as carpets or rugs. This will help minimize the risk of damage to your components and ensure a smooth and hassle-free PC case change.
By gathering all the necessary tools and equipment beforehand, you’ll be well-prepared to tackle the PC case change process. This will not only help streamline the process but also give you peace of mind knowing that you have everything you need to successfully complete the task.
Preparing for the Case Change
Before you dive into the actual process of changing your PC case, it is crucial to take the necessary steps to prepare for a smooth and hassle-free transition. Proper preparation will help ensure that you have a clear understanding of the tasks ahead and minimize the risk of any accidental damage to your components.
Here are some important steps to follow when preparing for a case change:
- Back up your data: Before making any modifications to your PC, it is essential to back up any important data or files. This includes documents, photos, videos, and any other data that you want to keep safe. You can use external hard drives, cloud storage, or even a separate internal drive to ensure that your data is securely backed up.
- Shut down your computer: It is vital to shut down your computer completely before you begin the case change process. This will prevent any accidental damage to your components and ensure a safe working environment. Make sure to save any open files or programs and close all applications before shutting down.
- Unplug all power cables and peripherals: Disconnect all power cables, including the main power cable and any peripheral cables such as USB devices, monitors, external hard drives, and speakers. This will ensure that there is no residual power flowing through the system and minimize any potential electrostatic discharge.
- Find a suitable workspace: Locate a clean and well-ventilated area where you can comfortably work on your PC. Make sure there is enough space to lay out the components and tools you will need. Having good lighting in the workspace is also crucial to ensure that you can clearly see what you are doing.
- Ground yourself: To prevent any static electricity from damaging your sensitive PC components, it is essential to ground yourself before touching any parts. You can use an anti-static wrist strap, or alternatively, touch a grounded metal object such as a doorknob or metal case to discharge any static electricity.
By following these preparation steps, you will be ready to proceed with confidence when changing your PC case. Taking the time to back up your data, power down your computer, unplug cables, find a suitable workspace, and ground yourself will help ensure that the process is as smooth and risk-free as possible.
Remember, proper preparation sets the stage for a successful case change, so don’t rush through these steps. Taking the time to prepare will ultimately save you time and prevent potential headaches down the line.
Removing the Components from the Current Case
Once you have properly prepared for the case change, the next step is to carefully remove the components from your current case. This process requires precision and attentiveness to ensure that all components are safely detached without causing any damage.
Here is a step-by-step guide to removing the components from your current case:
- Power down your computer: Before you begin, make sure your computer is completely powered off. Shut down any running programs and wait for the system to turn off.
- Unplug all cables: Disconnect all cables connected to your computer, including power cables, video cables, USB cables, and any other peripheral connections. Keep in mind the locations from where each cable is plugged in for easy reinstallation later.
- Remove the side panels: Most computer cases have removable side panels to provide access to the internal components. Use a screwdriver to unscrew the screws holding the side panel(s) in place. Carefully slide off the side panel(s) and set them aside.
- Ground yourself: Just as you grounded yourself during the preparation stage, it is crucial to ground yourself again before touching any internal components. This will prevent any static electricity from damaging sensitive parts.
- Identify and detach components: Take note of the connections and cables attached to each component before removing them. Start by removing any expansion cards, such as graphics cards, sound cards, or network cards. Carefully unscrew the retaining screws and gently pull out the card from its slot.
- Disconnect storage drives: If you have multiple storage drives, detach the SATA cables and power cables connecting them to the motherboard and power supply. Note the positions of each drive for easy reinstallation later.
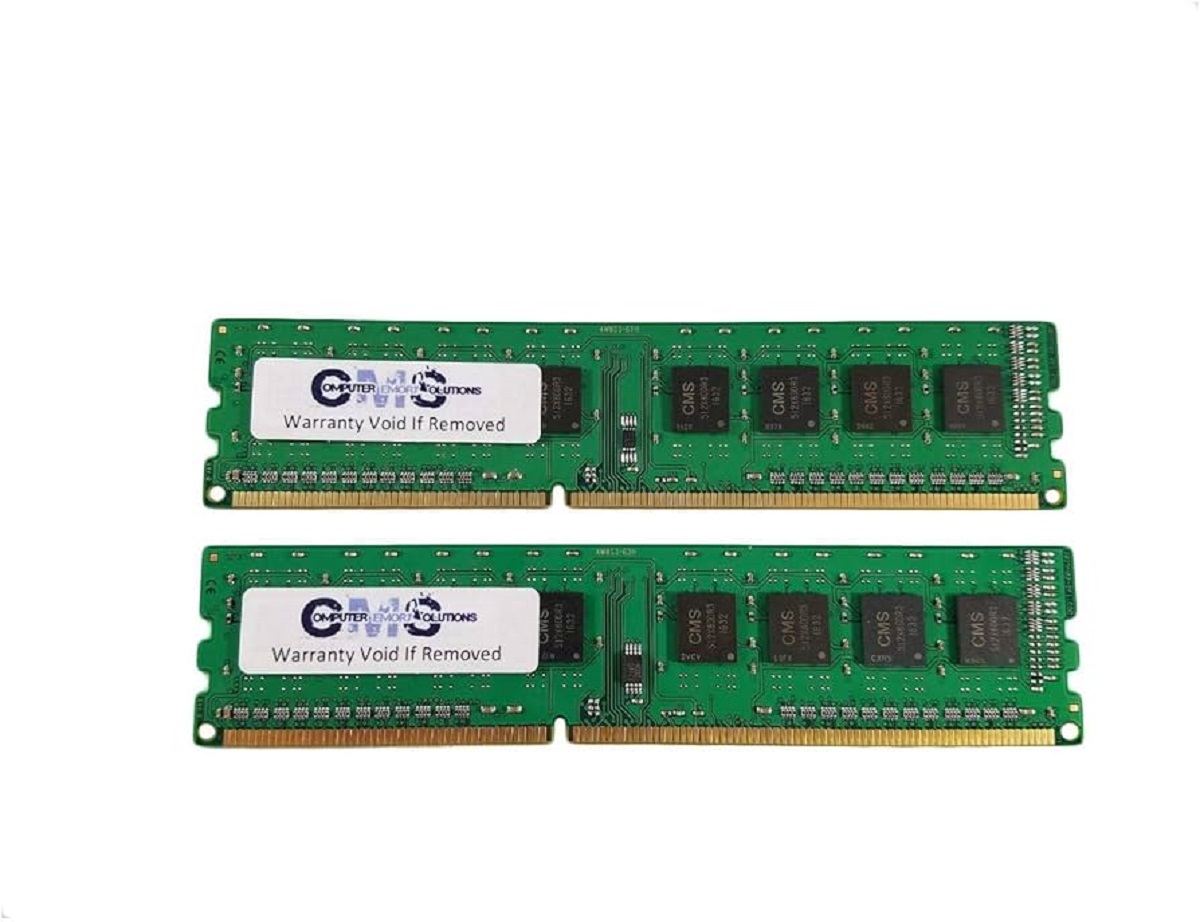
- Remove the memory modules: To remove the memory modules (RAM), gently press down on the retaining clips located on either side of the module. This will release it from the slot. Carefully remove the module by pulling it straight out.
- Detach the CPU cooler: If you plan on reusing the same CPU cooler, carefully detach it from the motherboard following the manufacturer’s instructions. This typically involves unscrewing the cooler from the mounting brackets or releasing the retention mechanism.
- Disconnect remaining cables: Take note of any remaining cables connected to the motherboard, such as front panel connectors, fan cables, or other peripherals. Disconnect them carefully, ensuring that you do not damage any connectors or pins.
As you remove each component, place them in a safe and organized manner to prevent any damage or mix-ups. Use small containers or anti-static bags to store screws and small parts associated with each component.
By following these steps, you can ensure a smooth and careful removal of all the components from your current case. Taking your time and being mindful of the connections will make the reinstallation process easier, allowing for a seamless transition to the new case.
Installing Components into the New Case
With the components safely removed from the current case, it’s time to move on to the exciting part – installing them into the new case. By following a systematic approach and exercising care, you can ensure that everything is properly set up and ready for use in your new case.
Here is a step-by-step guide to help you install the components into the new case:
- Prepare the new case: Before installing any components, make sure the new case is clean and free from any dust or debris. Remove any protective coverings or packaging materials that may have come with the case.
- Install the motherboard: Begin by placing the motherboard into the designated area in the new case, aligning it with the standoff screws. Once aligned, secure the motherboard by screwing it into place using the appropriate screws. Ensure that the motherboard is secure and level.
- Install the power supply: Position the power supply unit (PSU) in the appropriate location in the new case. Align the screw holes on the PSU with those in the case and securely attach the PSU using the designated screws. Connect the necessary power cables from the PSU to the motherboard and other components.
- Install the storage drives: If you have multiple storage drives, such as HDDs or SSDs, locate the drive bays in the new case and slide the drives into them. Secure them in place using the appropriate screws or toolless installation mechanisms provided by the case. Connect the SATA cables and power cables to the drives and the motherboard.
- Install expansion cards: If you removed any expansion cards, such as graphics cards or sound cards, from the previous case, reinsert them into the appropriate expansion slots of the new case. Ensure that the cards are securely seated into the slots and use the appropriate screws to secure them in place if required.
- Install the CPU cooler: If you removed the CPU cooler, carefully follow the manufacturer’s instructions to reinstall it. Apply a thin layer of thermal paste to the CPU, ensuring even coverage. Then attach the CPU cooler, aligning it properly with the CPU socket or mounting brackets. Secure it in place using the provided screws or retention mechanism.
- Connect the necessary cables: Take the time to connect all the necessary cables to the appropriate connectors on the motherboard and components. This includes front panel connectors, USB headers, fan connectors, audio headers, and any other peripherals.
- Arrange cables and ensure adequate airflow: Proper cable management is essential for optimal airflow within the case. Route cables neatly, using cable ties or Velcro straps to secure them in place and prevent them from blocking airflow. Make sure there are no cables obstructing fans or components.
- Double-check all connections: Before closing up the case, double-check all connections to ensure they are secure and properly aligned. Review the motherboard manual and component manuals if necessary to confirm the correct placement of cables and connectors.
By following these steps, you can successfully install the components into your new case, ensuring proper alignment, secure connections, and optimal cable management. Taking the time to carefully install each component will contribute to the overall functionality and longevity of your computer in its new housing.
Connecting Cables and Wiring
Once all the components are securely installed in the new case, it’s time to connect the various cables and wires to ensure that everything functions properly. Proper cable connection and wiring management are essential to maintain the integrity and stability of your computer system.
Follow these steps to connect cables and wires in your new case:
- Refer to the motherboard manual: Consult the manual that came with your motherboard to identify the different cable connectors and headers. It will provide you with specific instructions on how to connect the cables.
- Connecting power cables: Start by connecting the main power cable from the power supply unit (PSU) to the appropriate motherboard power connector. Ensure that the cable securely fits into the connector, and that it is aligned correctly based on the connector’s shape and unique pins.
- Front panel connectors: The front panel connectors, including power button, reset button, USB ports, audio jacks, and other connectors, need to be attached to their respective headers on the motherboard. Refer to the motherboard manual for specific information on the layout and pin configuration of these connectors.
- Cable management: Proper cable management is crucial for maintaining good airflow inside the case and preventing cable clutter. Align and organize cables neatly, using cable ties or Velcro straps to secure them together and prevent them from obstructing airflow or tangling with other components.
- Fan connections: Connect any case fans, CPU cooler fans, or additional fans to the appropriate fan headers on the motherboard. Ensure that the connectors match the fan headers, and take note of the orientation of the fans to maximize airflow within the case.
- SATA and data cables: Connect the SATA cables from your storage drives (HDD, SSD) to the SATA connectors on the motherboard. Ensure that the cables are securely plugged in on both ends, avoiding any excessive force that may damage the connectors. Additionally, connect any data cables necessary for expansion cards, such as graphics cards or sound cards.
- Check for loose or disconnected cables: Double-check all connections to ensure that no cables have come loose during the installation process. Verify that all cables are properly seated and securely connected, minimizing the risk of poor connectivity or intermittent issues.
- Close the case: Once all the cables are connected and properly routed, carefully close the case, ensuring that no cables are pinched or obstructed by the case panels. Use the appropriate screws to secure the side panels, and ensure that the case is tightly sealed.
Properly connecting cables and wiring is essential to guarantee the functionality and reliability of your computer system. By following these steps and referencing the motherboard and component manuals, you can ensure a clean and well-organized cable setup, maximizing the efficiency and lifespan of your computer system.
Securing Components and Closing the Case
Once all the necessary components are installed and the cables are properly connected in your new case, the next step is to secure the components in place and close the case. Properly securing the components ensures that they remain stable and protected, while closing the case protects the internals from dust, debris, and potential mishaps.
Follow these steps to secure the components and close the case:
- Double-check component placement: Before securing the components, take a moment to double-check their placement. Make sure that each component is securely attached and aligned properly within the case. Verify that all screws are tightened and connections are secure.
- Secure the motherboard: Ensure that the motherboard is securely fastened and aligned with the standoff screws in the case. Double-check that all screws are tightened but be careful not to overtighten, as it may damage the motherboard or create unnecessary strain.
- Secure the storage drives: If you have multiple storage drives, ensure that they are securely mounted in their respective drive bays. Check that the screws or toolless installation mechanisms are firmly in place, keeping the drives stable and secure.
- Secure expansion cards: Verify that any expansion cards, such as graphics cards or sound cards, are securely seated in their respective slots. Ensure that any retaining clips or screws are properly aligned and tightened, keeping the cards in place.
- Organize cables: Take the time to organize and tidy up the cables inside the case. Use cable ties, Velcro straps, or other cable management solutions to keep the cables neat and prevent them from obstructing airflow or interfering with components.
- Close the case: Carefully close the case by aligning and attaching the side panels. Use the appropriate screws to secure the panels in place. Ensure that the case is closed tightly and that there are no loose panels or gaps. This will help maintain proper airflow and protect the components from dust and external interference.
- Perform a final check: Before powering on the computer, perform a final visual check to ensure that everything is in order. Verify that all components are secure, cables are properly connected, and the case is closed properly. This will minimize the chances of troubleshooting issues later on.
By following these steps, you can securely fasten and close your new case, ensuring the stability and protection of the components inside. Taking the time to double-check everything will provide peace of mind and reduce the risk of any accidental damage or loose connections.
Powering On and Testing the New Case
After securing the components and closing the case, it’s time to power on your computer and test the functionality of the new case. This step is crucial in ensuring that everything is working as intended and to address any potential issues that may arise.
Here’s how to power on and test the new case:
- Connect power cables: Plug in the power cable to the power supply unit (PSU) and ensure that it is securely connected to a power outlet or surge protector.
- Check power switch: Take a moment to verify that the power switch on the back of the PSU is set to the “off” position.
- Reconnect peripherals: Reconnect your monitor, keyboard, mouse, speakers, and any other peripherals that were disconnected during the case change process.
- Double-check connections: Once again, double-check all connections inside the case, making sure that all cables are securely connected and properly seated.
- Power on the computer: Press the power button on the case to power on your computer. Observe the startup sequence, and listen for any unusual sounds or see if any error messages appear during the boot process.
- Verify component functionality: Once the computer has powered on, check each component to ensure that they are functioning correctly. Verify that the CPU cooler is properly cooling the processor, the fans are spinning, and the storage drives are detected by the system.
- Monitor temperature and performance: Monitor the temperatures of your components using software utilities or BIOS monitoring tools. Ensure that the temperatures are within acceptable ranges, and the fans are adequately cooling the system. Additionally, test the performance of your computer by running benchmarking tools or resource-intensive applications to check for stability.
- Check for any issues: Pay attention to any signs of instability, abnormal behavior, or error messages. Address any issues that may arise, such as drivers needing to be updated or hardware compatibility problems.
- Run further tests if needed: If you have any specific concerns or doubts, you can run additional tests to check the functionality of individual components, such as stress testing the CPU or running memory tests.
By following these steps, you can ensure that your new case is functioning properly and that all components are in working order. Addressing any issues or abnormalities at this stage will save you troubleshooting time and ensure an optimal computing experience in your new case.
Troubleshooting Common Issues
While changing your PC case, you may encounter common issues or challenges that can hinder the successful installation and functionality of your system. Understanding these issues and how to troubleshoot them can help you overcome any obstacles that may arise.
Here are some common issues and troubleshooting steps to consider:
- No power or system does not turn on: If your computer does not power on or shows no signs of life, double-check that all power cables are securely connected and that the PSU switch is in the “on” position. Verify that the wall outlet or surge protector is functioning properly by plugging in another device. If the issue persists, there may be a problem with the PSU or motherboard that requires further investigation.
- Startup errors or system instability: If you experience errors, crashes, or system instability after powering on, make sure all components are properly seated and connections are secure. Update drivers for your hardware components, such as the graphics card and motherboard, to the latest versions. Check the BIOS settings for any incorrect configurations. Run memory tests or stress tests to identify any potential hardware issues.
- No display on the monitor: If you have a blank screen or no display, ensure that the monitor is properly connected and powered on. Check the video cable connections from the monitor to the graphics card, ensuring they are secure. Try connecting the monitor to a different video output on the graphics card. If using onboard graphics, ensure that the monitor is connected to the correct port on the motherboard.
- Strange noises or excessive fan noise: Unusual noises, such as rattling or grinding, may indicate a problem with the fans or moving parts. Check that all fans are properly connected and seated. Clean the fans and heatsinks of any dust or debris. Replace any noisy fans if necessary. If the noise persists, it may be a sign of a failing component that requires further attention.
- Overheating and high temperatures: If you notice high temperatures or frequent overheating, check that all fans are functioning correctly and are properly cooling the system. Ensure that the CPU cooler is securely attached and has sufficient thermal paste. Clean the heatsinks and fans to remove any dust or debris that may obstruct airflow. Consider adding additional case fans or upgrading the cooling solution if necessary.
When troubleshooting these issues, be patient and systematic in your approach. Start with the simplest and most common solutions first and gradually progress to more advanced troubleshooting steps. Consult forums, online resources, or seek assistance from knowledgeable individuals if you encounter persistent problems or are unsure how to proceed.
Remember, troubleshooting can require some trial and error, but with perseverance, you can resolve common issues and enjoy a stable and well-functioning system within your new PC case.
Tips for Cable Management and Aesthetics
Proper cable management is not only important for the organization and functionality of your PC, but it also contributes to the overall aesthetics of your system. Well-managed cables not only improve airflow and cooling efficiency but also create a visually pleasing and tidy interior. Here are some tips for effective cable management and enhancing the aesthetics of your PC:
- Plan your cable routing: Before connecting any cables, plan the optimal routing paths to ensure they are neatly organized and out of the way. Consider the length of the cables and the locations of connectors to minimize excess cable length and avoid interference with components.
- Use cable ties or Velcro straps: Securing cables with cable ties or Velcro straps is essential for keeping them organized and preventing them from obstructing airflow. Bundle cables together in groups and use these ties to secure them, keeping them neat and tidy.
- Hide cables behind motherboard tray: Most modern cases feature a space behind the motherboard tray for cable routing. Utilize this area to hide excess cables, ensuring a clean and clutter-free presentation when viewing through the side panel.
- Utilize cable management holes: Many cases come with dedicated cable management holes or rubber grommets for routing cables cleanly. Pass cables through these holes to keep them out of sight and maintain a more organized appearance.
- Invest in custom-length cables: Consider purchasing custom-length cables, such as power supply cables or sleeved extensions, to eliminate excess cable length and achieve a cleaner look. These cables can be tailored to fit your specific case and components.
- Label or color-code cables: To simplify future upgrades or maintenance, consider labeling or color-coding cables to identify their purpose or destination. This will make it easier to troubleshoot or make changes without confusion.
- Optimize fan cable placement: Ensure that fan cables are routed neatly and safely away from fan blades or other moving parts. Use adhesive-backed cable clips or tie points on the case to secure fan cables in place and prevent them from interfering with fan operation.
- Consider custom cable sleeves: For an added aesthetic touch, you can invest in custom cable sleeves or extensions in a variety of colors or patterns to match your desired theme or style. These sleeves can add a sleek and uniform appearance to your cable management.
- Regularly clean and maintain cables: Over time, cables can accumulate dust and become disorganized. Regularly clean your cables with compressed air or a small brush to remove any debris. Take the opportunity to reorganize them if necessary.
By following these tips, you can achieve effective cable management and enhance the aesthetics of your PC. Not only will a clean and well-organized interior improve airflow and cooling, but it will also reflect your attention to detail and create a visually impressive system.
Conclusion
Changing your PC case can be an exciting and rewarding process that allows you to personalize your computer’s aesthetics and optimize its performance. By following the steps outlined in this guide, you can successfully navigate the case change process with ease and confidence.
We began by providing an overview of why you might want to change your PC case, such as improving visual appeal, enhancing airflow, or accommodating new components. We then discussed the importance of gathering the necessary tools and equipment, ensuring that you are well-prepared for the task at hand. The section on preparing for the case change emphasized the importance of backing up data, shutting down the computer properly, and finding a suitable workspace.
Next, we covered the process of removing the components from the current case, ensuring careful detachment and organization to avoid any damage. We then moved on to installing the components into the new case, providing step-by-step instructions for securely placing each component in its designated spot.
The section on connecting cables and wiring highlighted the importance of proper cable management and shared tips for organizing cables to optimize airflow and aesthetics. Securing components and closing the case came next, emphasizing the significance of securely fastening all components and ensuring a tight and dust-free enclosure.
Afterwards, we covered the process of powering on and testing the new case, explaining the importance of verifying the functionality of each component and addressing any potential issues that may arise. The section on troubleshooting common issues provided guidance on identifying and resolving common challenges that may occur during the case change process.
Lastly, we discussed tips for effective cable management and enhancing the aesthetic appeal of your PC. Following these tips will not only contribute to an organized and visually appealing interior but also improve airflow and overall system performance.
By following these guidelines, you can successfully change your PC case, transforming the look and functionality of your computer system. Remember to take your time, practice caution, and refer to component manuals or online resources if needed. With careful planning and execution, you can create a customized and efficient PC setup that meets your needs and reflects your personal style.