Introduction
Welcome to the world of custom PC building, where personal creativity meets cutting-edge technology. If you’re the proud owner of an NZXT PC case, you might be looking to change things up and add a touch of flair to your setup. One popular customization option is changing the underlighting in your NZXT PC case. By replacing the existing underlighting with a new option, you can transform the look and feel of your PC, creating a unique and eye-catching display.
In this guide, we will walk you through the process of changing the underlighting in your NZXT PC case. Whether you’re a seasoned PC builder or new to the world of customization, this step-by-step tutorial will help you achieve the desired results. But before we dive into the process, let’s make sure we have all the necessary tools and materials in place.
Note: Before proceeding with any modifications to your PC case, make sure to consult the user manual for your specific NZXT model. Additionally, it’s always a good idea to take necessary precautions such as grounding yourself to prevent any static discharge that could potentially damage your PC components.
Tools and Materials Needed
Before you begin the process of changing the underlighting in your NZXT PC case, make sure you have the following tools and materials on hand:
- Screwdriver: Depending on your specific NZXT PC case model, you may need a Phillips or flathead screwdriver to remove the side panel.
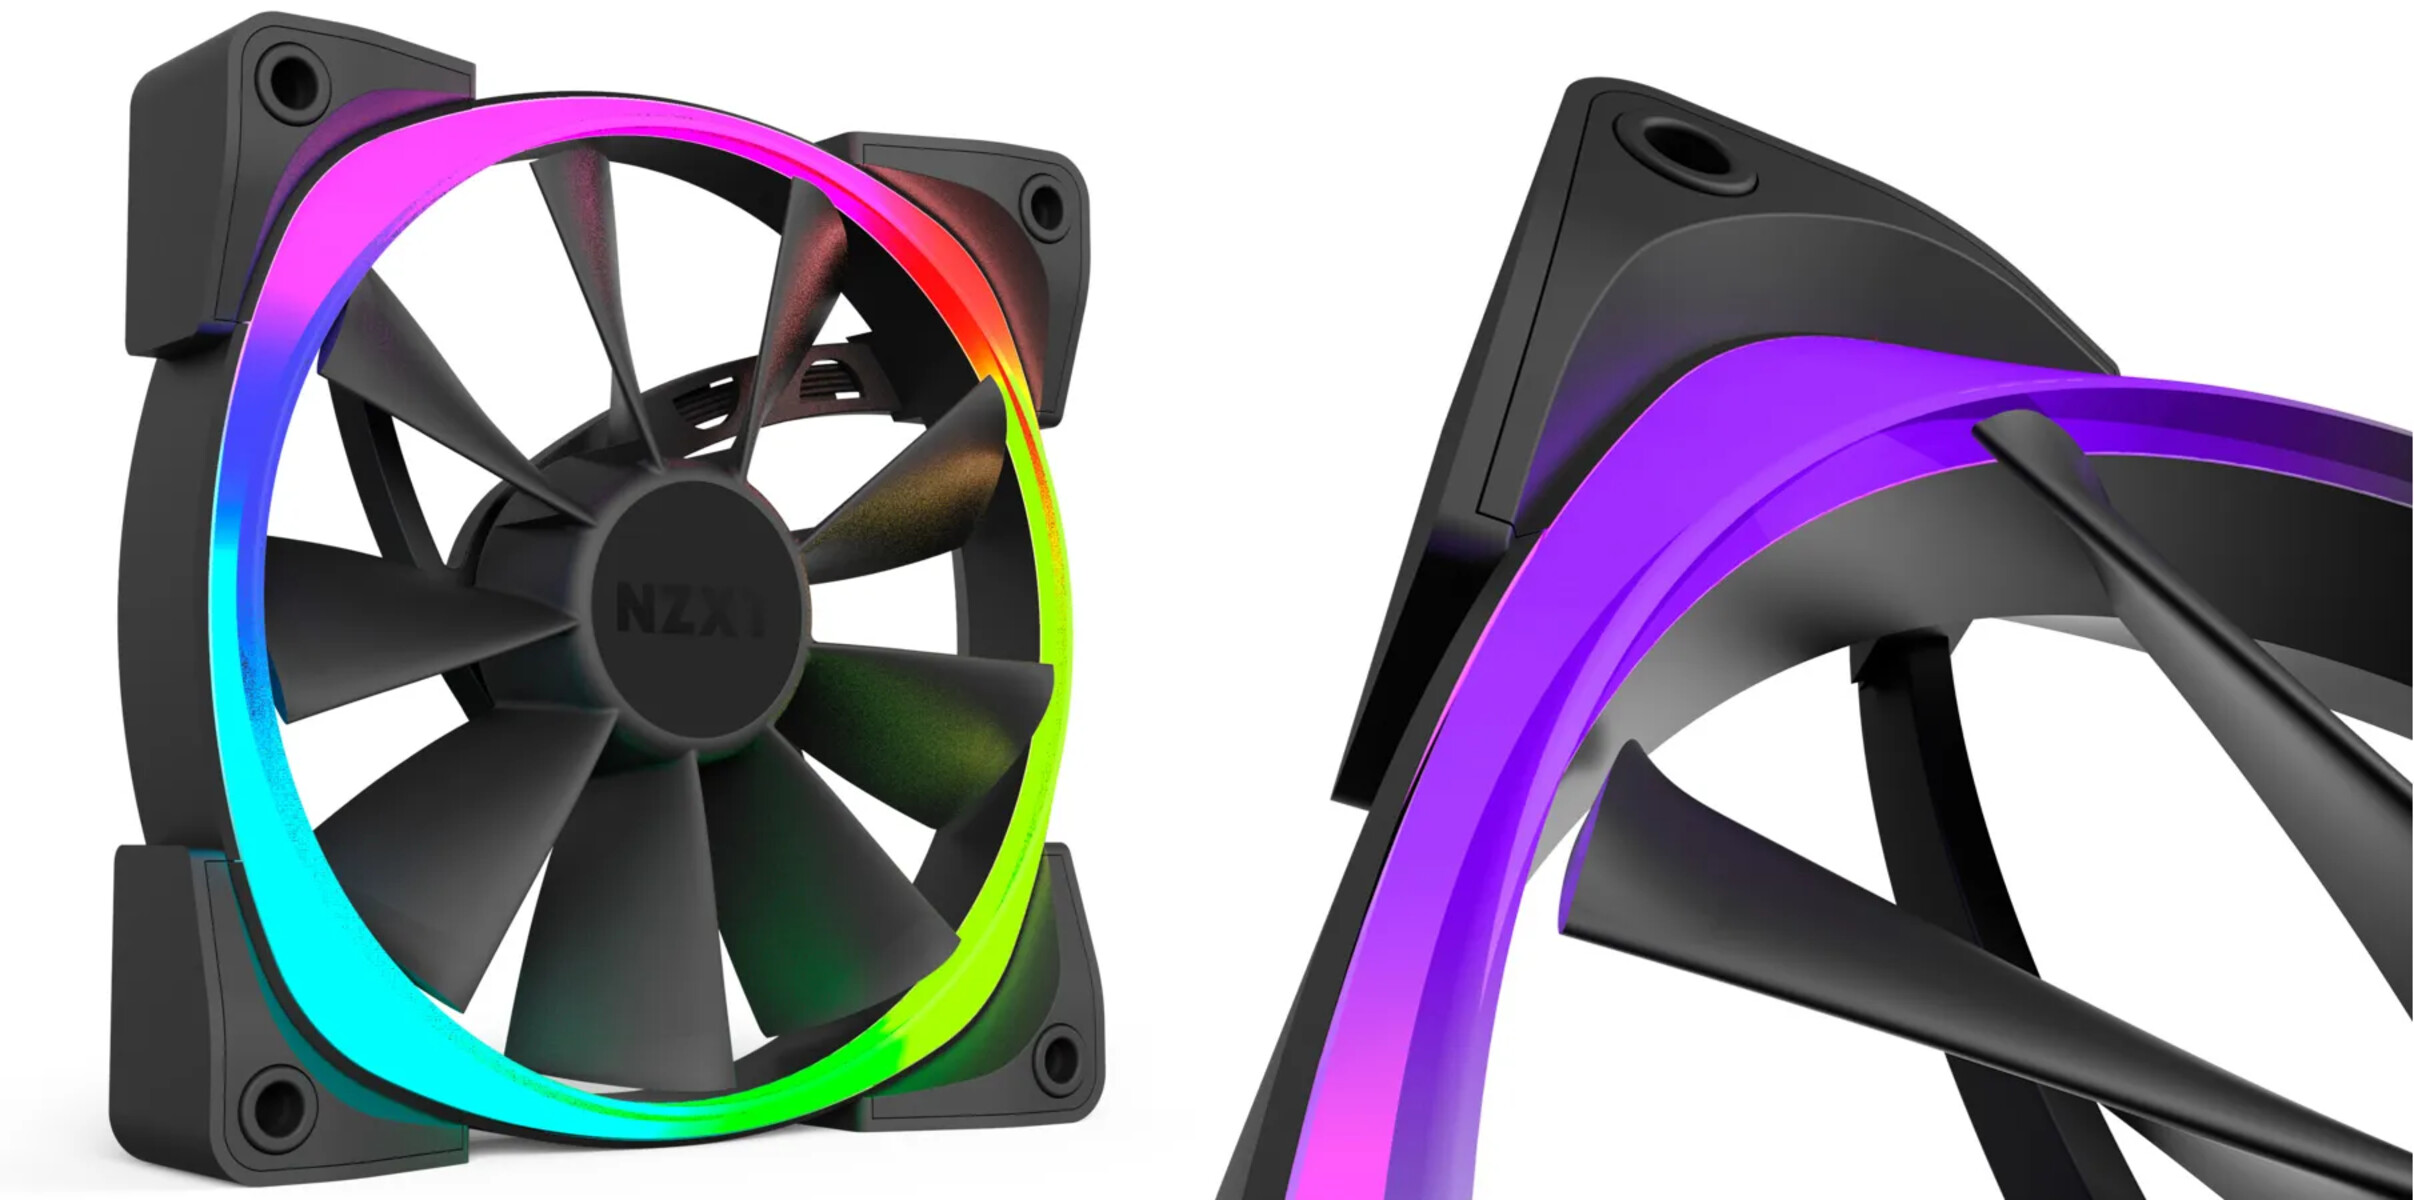
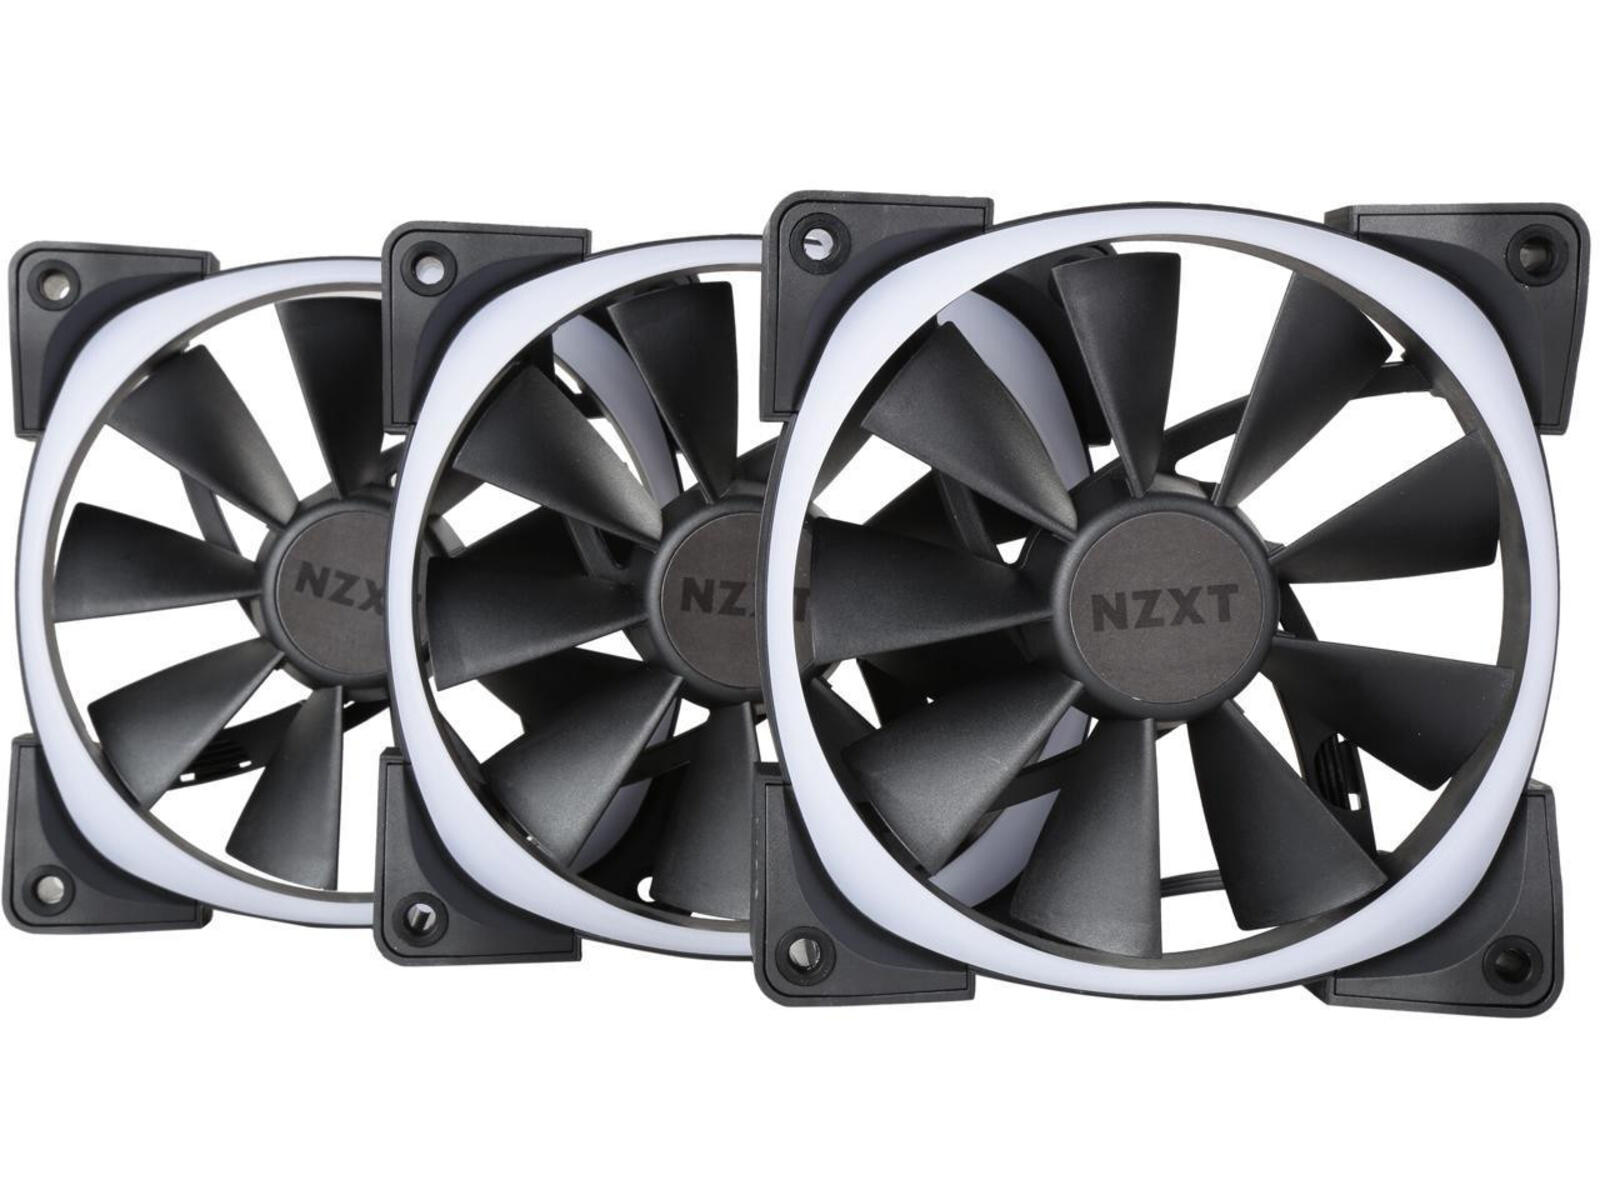
- Replacement Underlighting: Choose the type of underlighting you want to install in your PC case. Options include LED strips, light bars, or even custom RGB lighting setups. Make sure the replacement underlighting is compatible with your NZXT case.
- Adhesive or Mounting Clips: Depending on the type of underlighting you choose, you may need adhesive tape or mounting clips to secure the lighting in place.
- Cable Management Straps: These will help keep your cables organized and prevent them from interfering with the installation of the new underlighting.
- Isopropyl Alcohol and Microfiber Cloth: These will come in handy for cleaning the surfaces where the underlighting will be installed.
While this list covers the basic tools and materials needed, it’s always a good idea to refer to your specific NZXT PC case manual for any additional recommended tools or precautions.
Now that you have all the necessary tools and materials, it’s time to get started on changing the underlighting in your NZXT PC case. Let’s move on to the next step: removing the side panel.
Step 1: Remove the Side Panel of Your NZXT PC Case
The first step in changing the underlighting in your NZXT PC case is to remove the side panel. Here’s how to do it:
- Ensure that your PC is turned off and disconnected from the power source. Safety should always be your top priority when working inside your PC.
- Locate the screws or latches that are holding the side panel in place. These are typically located on the back or the rear side of the case.
- Using a screwdriver or your fingers, carefully unscrew the screws or release the latches to detach the side panel. Be cautious not to apply excessive force or cause any damage to the case or its components.
- Gently slide the side panel away from the rest of the case. It should easily come off once the screws or latches have been undone.
- Set aside the side panel in a safe place to avoid any accidental damage.
With the side panel successfully removed, you now have easy access to the internals of your NZXT PC case. This will allow you to proceed with the next steps of changing the underlighting. Remember to handle all components with care, and refer to your PC case manual for any specific instructions or precautions that may apply to your model.
In the next step, we will guide you through locating the underlighting components within your NZXT PC case.
Step 2: Locate the Underlighting Components
Once you have removed the side panel of your NZXT PC case, the next step is to locate the underlighting components. The exact location may vary depending on your specific NZXT model, but here are some general guidelines to help you find them:
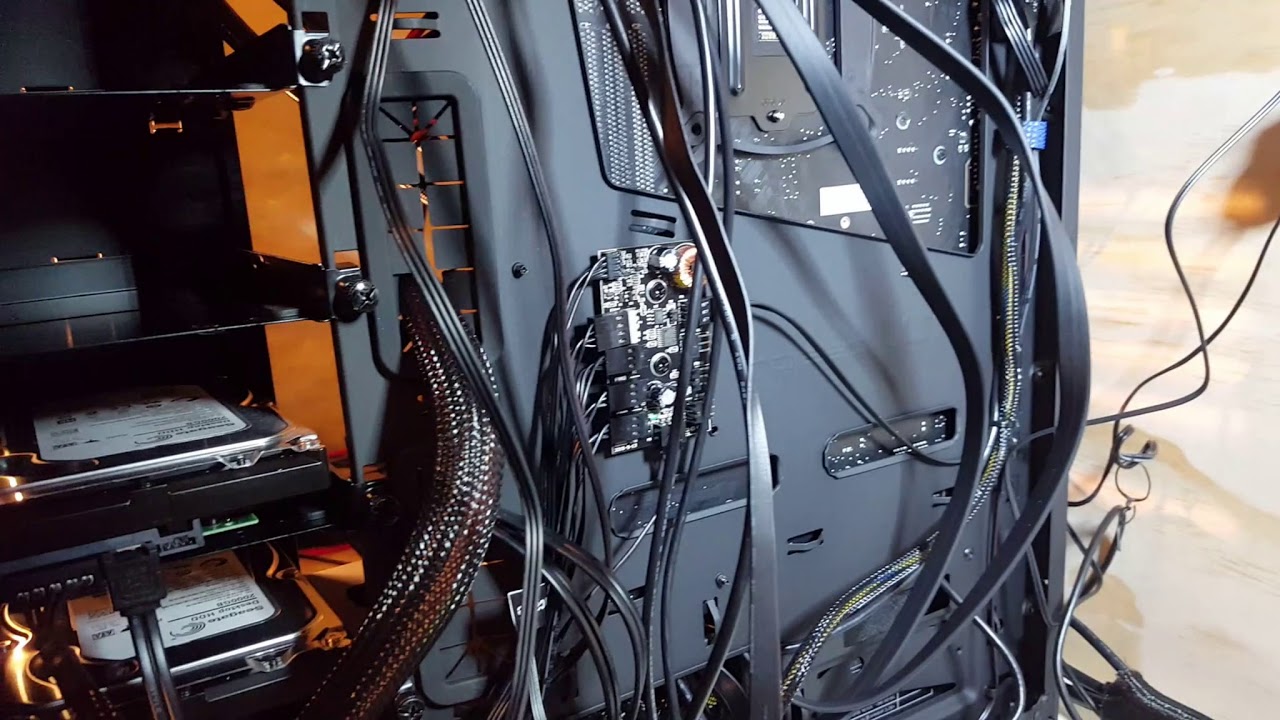
- Take a moment to familiarize yourself with the interior of your PC case. Look for any cables or connectors that are connected to the underlighting.
- Locate the underlighting strips or modules. They are typically positioned along the edges or specific areas of the case to provide maximum illumination.
- Identify the power source for the underlighting. This could be connected to the motherboard or a separate power supply unit depending on your setup.
- Take note of any connectors or cables attached to the underlighting components. This will be helpful when it comes time to disconnect them in the next step.
It’s important to carefully examine the underlighting components and their connections to ensure a smooth installation process. If you’re having trouble locating the underlighting components or have any concerns, refer to your NZXT PC case manual for detailed instructions specific to your model.
Now that you have successfully located the underlighting components, we can proceed to the next step: disconnecting the current underlighting.
Step 3: Disconnect the Current Underlighting
Now that you have located the underlighting components in your NZXT PC case, it’s time to disconnect the current underlighting. Follow these steps to safely disconnect the underlighting:
- Before proceeding, make sure your PC is turned off and disconnected from the power source. This is crucial for your safety and the protection of your PC’s components.
- Identify the connectors or cables that are attached to the underlighting components. They may be connected to the motherboard or a separate power supply unit.
- Gently and firmly grip the connectors or cables and carefully unplug them from their respective ports. Take your time to avoid any damage to the connectors or nearby components.
- Once the connectors or cables have been disconnected, set them aside in a safe place.
- Inspect the underlighting components and ensure that all connections have been properly disconnected. Take note of any additional cable management measures that may be necessary.
By disconnecting the current underlighting, you are preparing your NZXT PC case for the installation of the new underlighting. Take care to handle all components with caution and refer to your PC case manual for any specific instructions or precautions.
With the current underlighting successfully disconnected, we can now move on to selecting the new underlighting option in the next step.
Step 4: Choose the New Underlighting Option
With the current underlighting disconnected, it’s time to choose the new underlighting option that will give your NZXT PC case a fresh look. There are a variety of underlighting options available, including LED light strips, light bars, and custom RGB lighting setups. Consider the following factors when selecting your new underlighting:
- Aesthetics: Think about the overall look and feel you want to achieve. Do you prefer a subtle glow or a vibrant display of colors?
- Compatibility: Ensure that the chosen underlighting option is compatible with your NZXT PC case. Refer to the specifications and recommendations provided by the manufacturer.
- Ease of Installation: Consider the level of difficulty involved in installing the new underlighting. Choose an option that aligns with your technical skills and comfort level.
- Additional Features: Some underlighting options offer extra features such as customizable lighting effects, wireless control, or synchronization with other RGB components.
- Budget: Take your budget into account when making a decision. There are underlighting options available at various price points, so choose one that fits your budget.
Research different underlighting options and read reviews to help you make an informed decision. It’s also a good idea to check if there are any specific instructions or recommendations provided by NZXT for your particular PC case model.
Once you have selected the new underlighting option that suits your preferences, you’re ready to move on to the next step: connecting the new underlighting.
Step 5: Connect the New Underlighting
After choosing the new underlighting option for your NZXT PC case, it’s time to connect and install it. Follow these steps to successfully connect the new underlighting:
- Refer to the instructions provided with your chosen underlighting option. These instructions will guide you through the specific steps necessary for installation.
- Ensure that your PC is turned off and disconnected from the power source to prevent any potential damage or electrical mishaps.
- Connect the new underlighting to the designated connectors on your motherboard or power supply unit. Make sure to align the connectors properly and gently push them in until they are securely in place.
- If the new underlighting requires adhesive or mounting clips, carefully adhere or secure them in the desired locations inside your PC case.
- Make sure to route the underlighting cables neatly for a clean and organized look. Use cable management straps to keep them in place and prevent interference with other components.
Take your time to ensure that all connections are secure and that the underlighting is properly installed. Tug gently on the cables to verify that they are snugly fitted into their respective ports.
Once the new underlighting is connected, it’s time to move on to the next step: testing the lighting and making any necessary adjustments.
Step 6: Test the Lighting and Make Adjustments
Now that you have successfully connected the new underlighting in your NZXT PC case, it’s time to test the lighting and make any necessary adjustments. Follow these steps to ensure everything is working as intended:
- Power on your PC and observe the new underlighting. Check for any issues such as flickering, uneven lighting, or any other inconsistencies.
- If you notice any problems, double-check the connections to ensure they are secure. Reconnect or adjust the underlighting components if necessary.
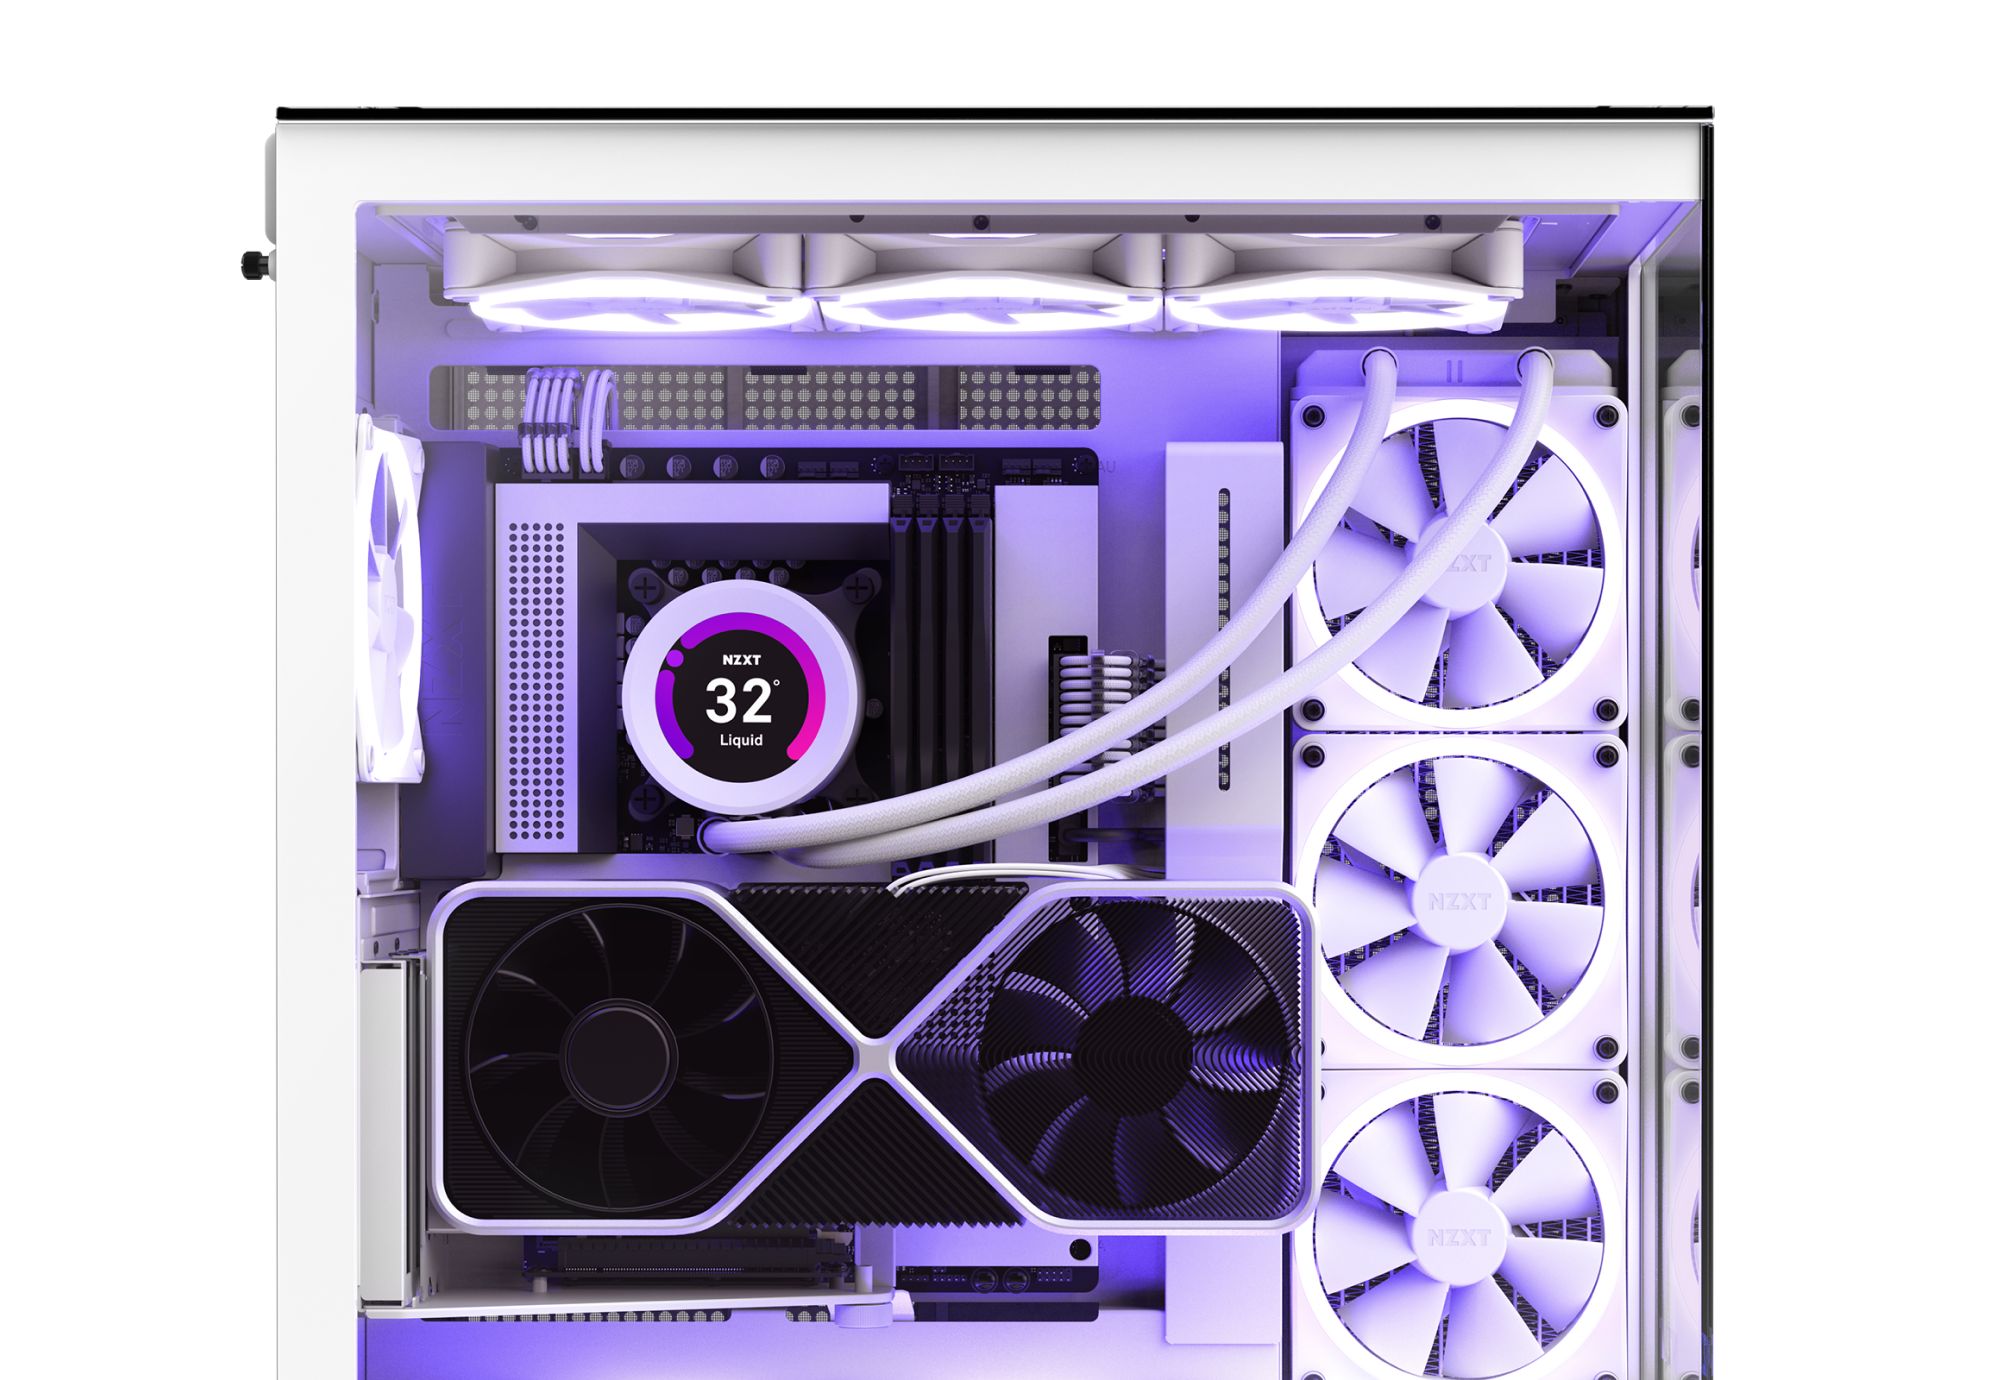
- Verify that the underlighting effects match your desired preferences. Some underlighting options may come with software or controls that allow you to customize the lighting effects or colors. Take advantage of these features to achieve the desired look.
- Make any necessary adjustments to the positioning or orientation of the underlighting to achieve the desired aesthetic. This may involve repositioning or adhering the underlighting strips or modules to optimize their visibility.
- Take note of any additional adjustments or enhancements you would like to make. This could include adding additional underlighting components or exploring different lighting configurations.
It’s important to take the time to thoroughly test and make any necessary adjustments to ensure that the new underlighting is functioning properly and meets your expectations.
Once you are satisfied with the lighting and adjustments, you are ready for the final step: reassembling your NZXT PC case.
Step 7: Reassemble Your PC Case
After successfully testing and making adjustments to the underlighting in your NZXT PC case, it’s time to reassemble the case. Follow these steps to complete the reassembly process:
- Ensure that your PC is turned off and disconnected from the power source.
- Take the side panel that you previously removed and align it with the corresponding slots or latches on the case.
- Gently slide the side panel back into place until it is securely attached. If using screws, insert and tighten them using a screwdriver. If using latches, make sure they are properly engaged.
- Double-check that all connections and cables are neatly arranged and properly secured. Use cable management straps to keep them organized and prevent any interference with other components.
- Inspect the overall appearance and cleanliness of your PC case. Remove any fingerprints or smudges on the surfaces using a microfiber cloth lightly dampened with isopropyl alcohol.
- Once you are satisfied with the reassembly and cleanliness, you can now connect your PC to the power source and turn it on.
- Observe the newly installed underlighting and enjoy the new aesthetic it brings to your NZXT PC case.
Congratulations! You have successfully changed the underlighting in your NZXT PC case. Take a moment to appreciate your custom setup and enjoy the enhanced visual appeal it provides.
Remember, if you encounter any issues or have concerns during the reassembly process, consult your NZXT PC case manual or seek assistance from a qualified technician.
Thank you for following this step-by-step guide. We hope it has been helpful in guiding you through the process of changing the underlighting in your NZXT PC case!
Conclusion
Customizing your NZXT PC case by changing the underlighting can elevate your setup to new heights, adding a unique and captivating visual appeal. By following the step-by-step guide provided, you have learned how to successfully change the underlighting in your NZXT PC case. From removing the side panel to selecting and connecting the new underlighting, each step was designed to help you achieve the desired results.
Remember, safety is paramount when working with your PC case. Always ensure that the power is turned off and the PC is disconnected from the power source before making any modifications. Additionally, consult your NZXT PC case manual for any specific instructions or recommendations that pertain to your model.
By choosing the right underlighting option that aligns with your preferences and budget, you can transform the look and feel of your NZXT PC case. Take advantage of the various customization features, such as adjustable lighting effects and colors, to create a display that truly reflects your personal style.
Once the new underlighting is connected and tested, don’t hesitate to make any necessary adjustments to optimize the aesthetic appeal. Consider adding additional underlighting components or exploring different lighting configurations to further enhance the overall look of your PC case.
With the reassembly of your PC case complete, it’s time to sit back, power on your PC, and admire the stunning new underlighting. The improved visual appeal will undoubtedly enhance your gaming or work setup, creating an immersive and captivating experience.
Thank you for following this guide, and we hope it has been a valuable resource in your journey to customize your NZXT PC case. Enjoy the enhanced aesthetics and make your PC setup truly stand out!