Introduction
Welcome to our guide on how to change accounts on Roku TV. If you’ve recently acquired a Roku device or simply want to switch to a different Roku account, we’re here to help! Roku TV offers a variety of streaming options and personalized content based on your account preferences. Whether you’re sharing a Roku device with someone else or you want to create a new account for yourself, the process is straightforward and easy to follow.
By changing to a new Roku account, you can enjoy a fresh start with customized channels, preferences, and recommendations. The steps to change accounts on Roku TV will involve resetting the device and setting up a new account using the desired credentials. This process will unlink the current account and allow you to access the features and content associated with the new account.
Before we dive into the details, it’s important to note that resetting your Roku device will remove all existing settings, channels, and preferences. Therefore, make sure to note down any important information, such as login credentials for your current account or any specific channel subscriptions, so you can easily reconfigure them after the account change.
Now, let’s proceed with the step-by-step instructions to change accounts on your Roku TV.
Step 1: Accessing the Roku Home Screen
The first step to changing accounts on your Roku TV is to access the Roku home screen. This is where you’ll find all the settings and options to make the necessary changes.
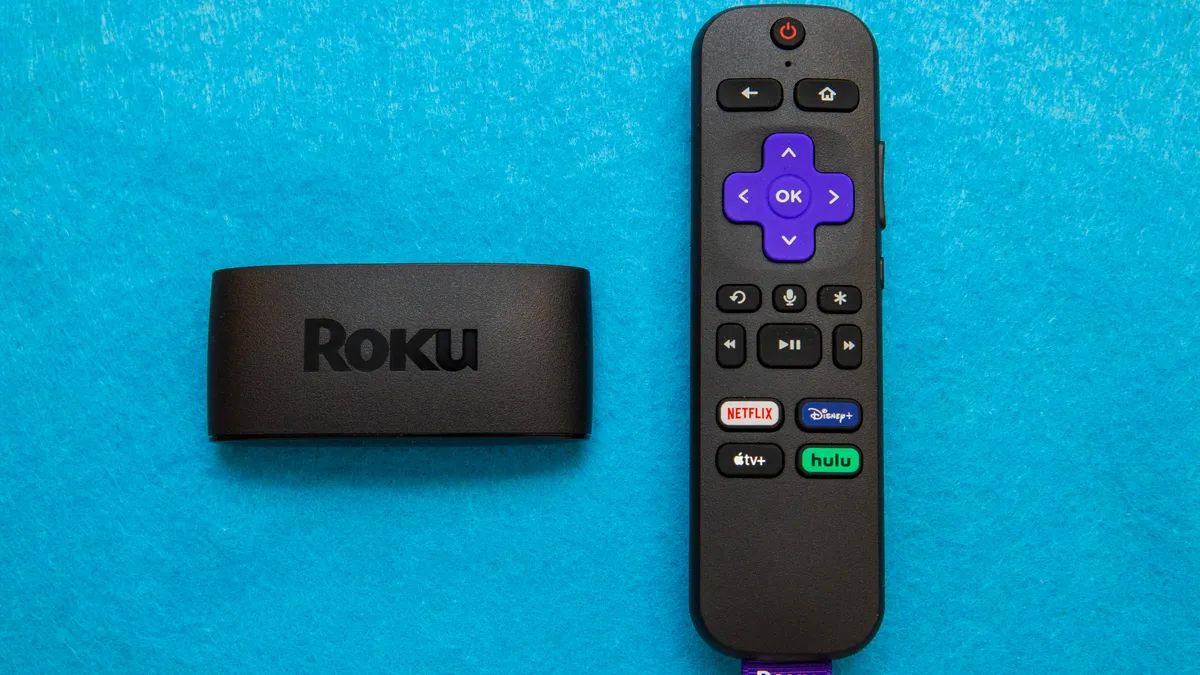
To begin, ensure that your Roku TV is powered on and connected to your television or display. If you’re already on a different screen or app, press the Home button on your Roku remote. This will take you directly to the Roku home screen.
If you’re unable to locate the Home button on your remote, it’s typically represented by a house icon, usually found at the center or top of the remote control.
Once you’ve pressed the Home button, you’ll see the Roku home screen displayed on your TV. This screen provides access to a range of options, including channels, settings, and search functionality.
Take a moment to familiarize yourself with the layout of the home screen. You’ll notice different sections, such as “My Channels,” “Search,” “Streaming Channels,” and “Settings.” These sections contain various features and options that make navigating the Roku interface user-friendly.
Now that you’re on the Roku home screen, you’re ready to proceed to the next step, which involves accessing the “Settings” menu. This is where you’ll find the necessary options to change your Roku account.
Step 2: Navigating to the “Settings” Menu
After accessing the Roku home screen, the next step is to navigate to the “Settings” menu. This is where you’ll find the options to make account-related changes to your Roku TV.
To get to the “Settings” menu, use the directional buttons on your Roku remote to navigate to the left side of the home screen. As you move to the left, you’ll see the highlighted selection change from the “Search” option to the “Settings” option.
Keep pressing the left button until the “Settings” option is selected. When the “Settings” option is highlighted, press the OK or select button on your remote to enter the settings menu.
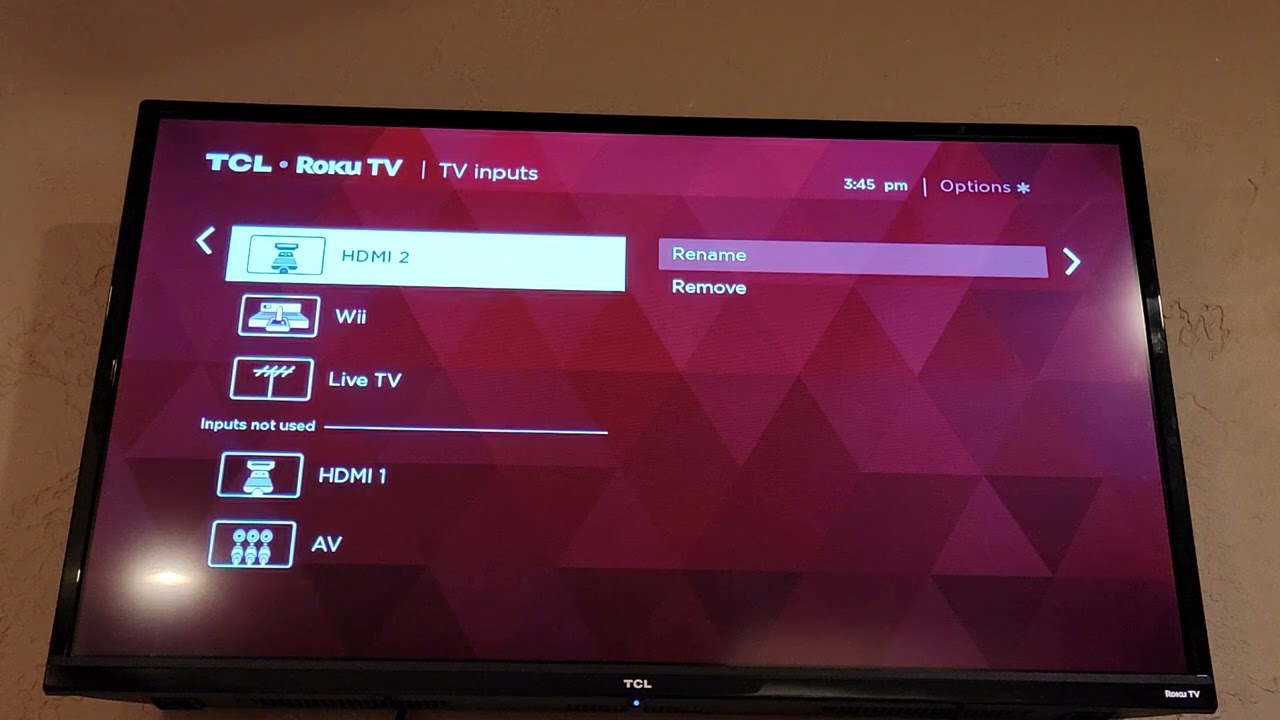
Once you enter the “Settings” menu, you’ll find a list of different categories and options. These categories might include “Network,” “System,” “Display,” and more. Each category contains specific settings related to the corresponding feature.
Take a moment to familiarize yourself with the available options and their respective categories within the “Settings” menu. This will allow you to navigate through the menu more efficiently and find the necessary options to change your Roku account.
Now that you’ve successfully accessed the “Settings” menu, it’s time to proceed to the next step. In the following step, we’ll delve deeper into the “System” category to continue with the account change process.
Step 3: Selecting “System”
Once you’re in the “Settings” menu, the next step is to navigate to the “System” category. This is where you’ll find the option to make changes related to the overall system settings of your Roku TV.
Using the directional buttons on your Roku remote, move up or down to scroll through the categories in the “Settings” menu. As you navigate, you’ll see the highlighted selection change to indicate the currently selected category.
Continue scrolling through the categories until you find and select the “System” category. Once “System” is highlighted, press the OK or select button on your remote to enter the system settings.
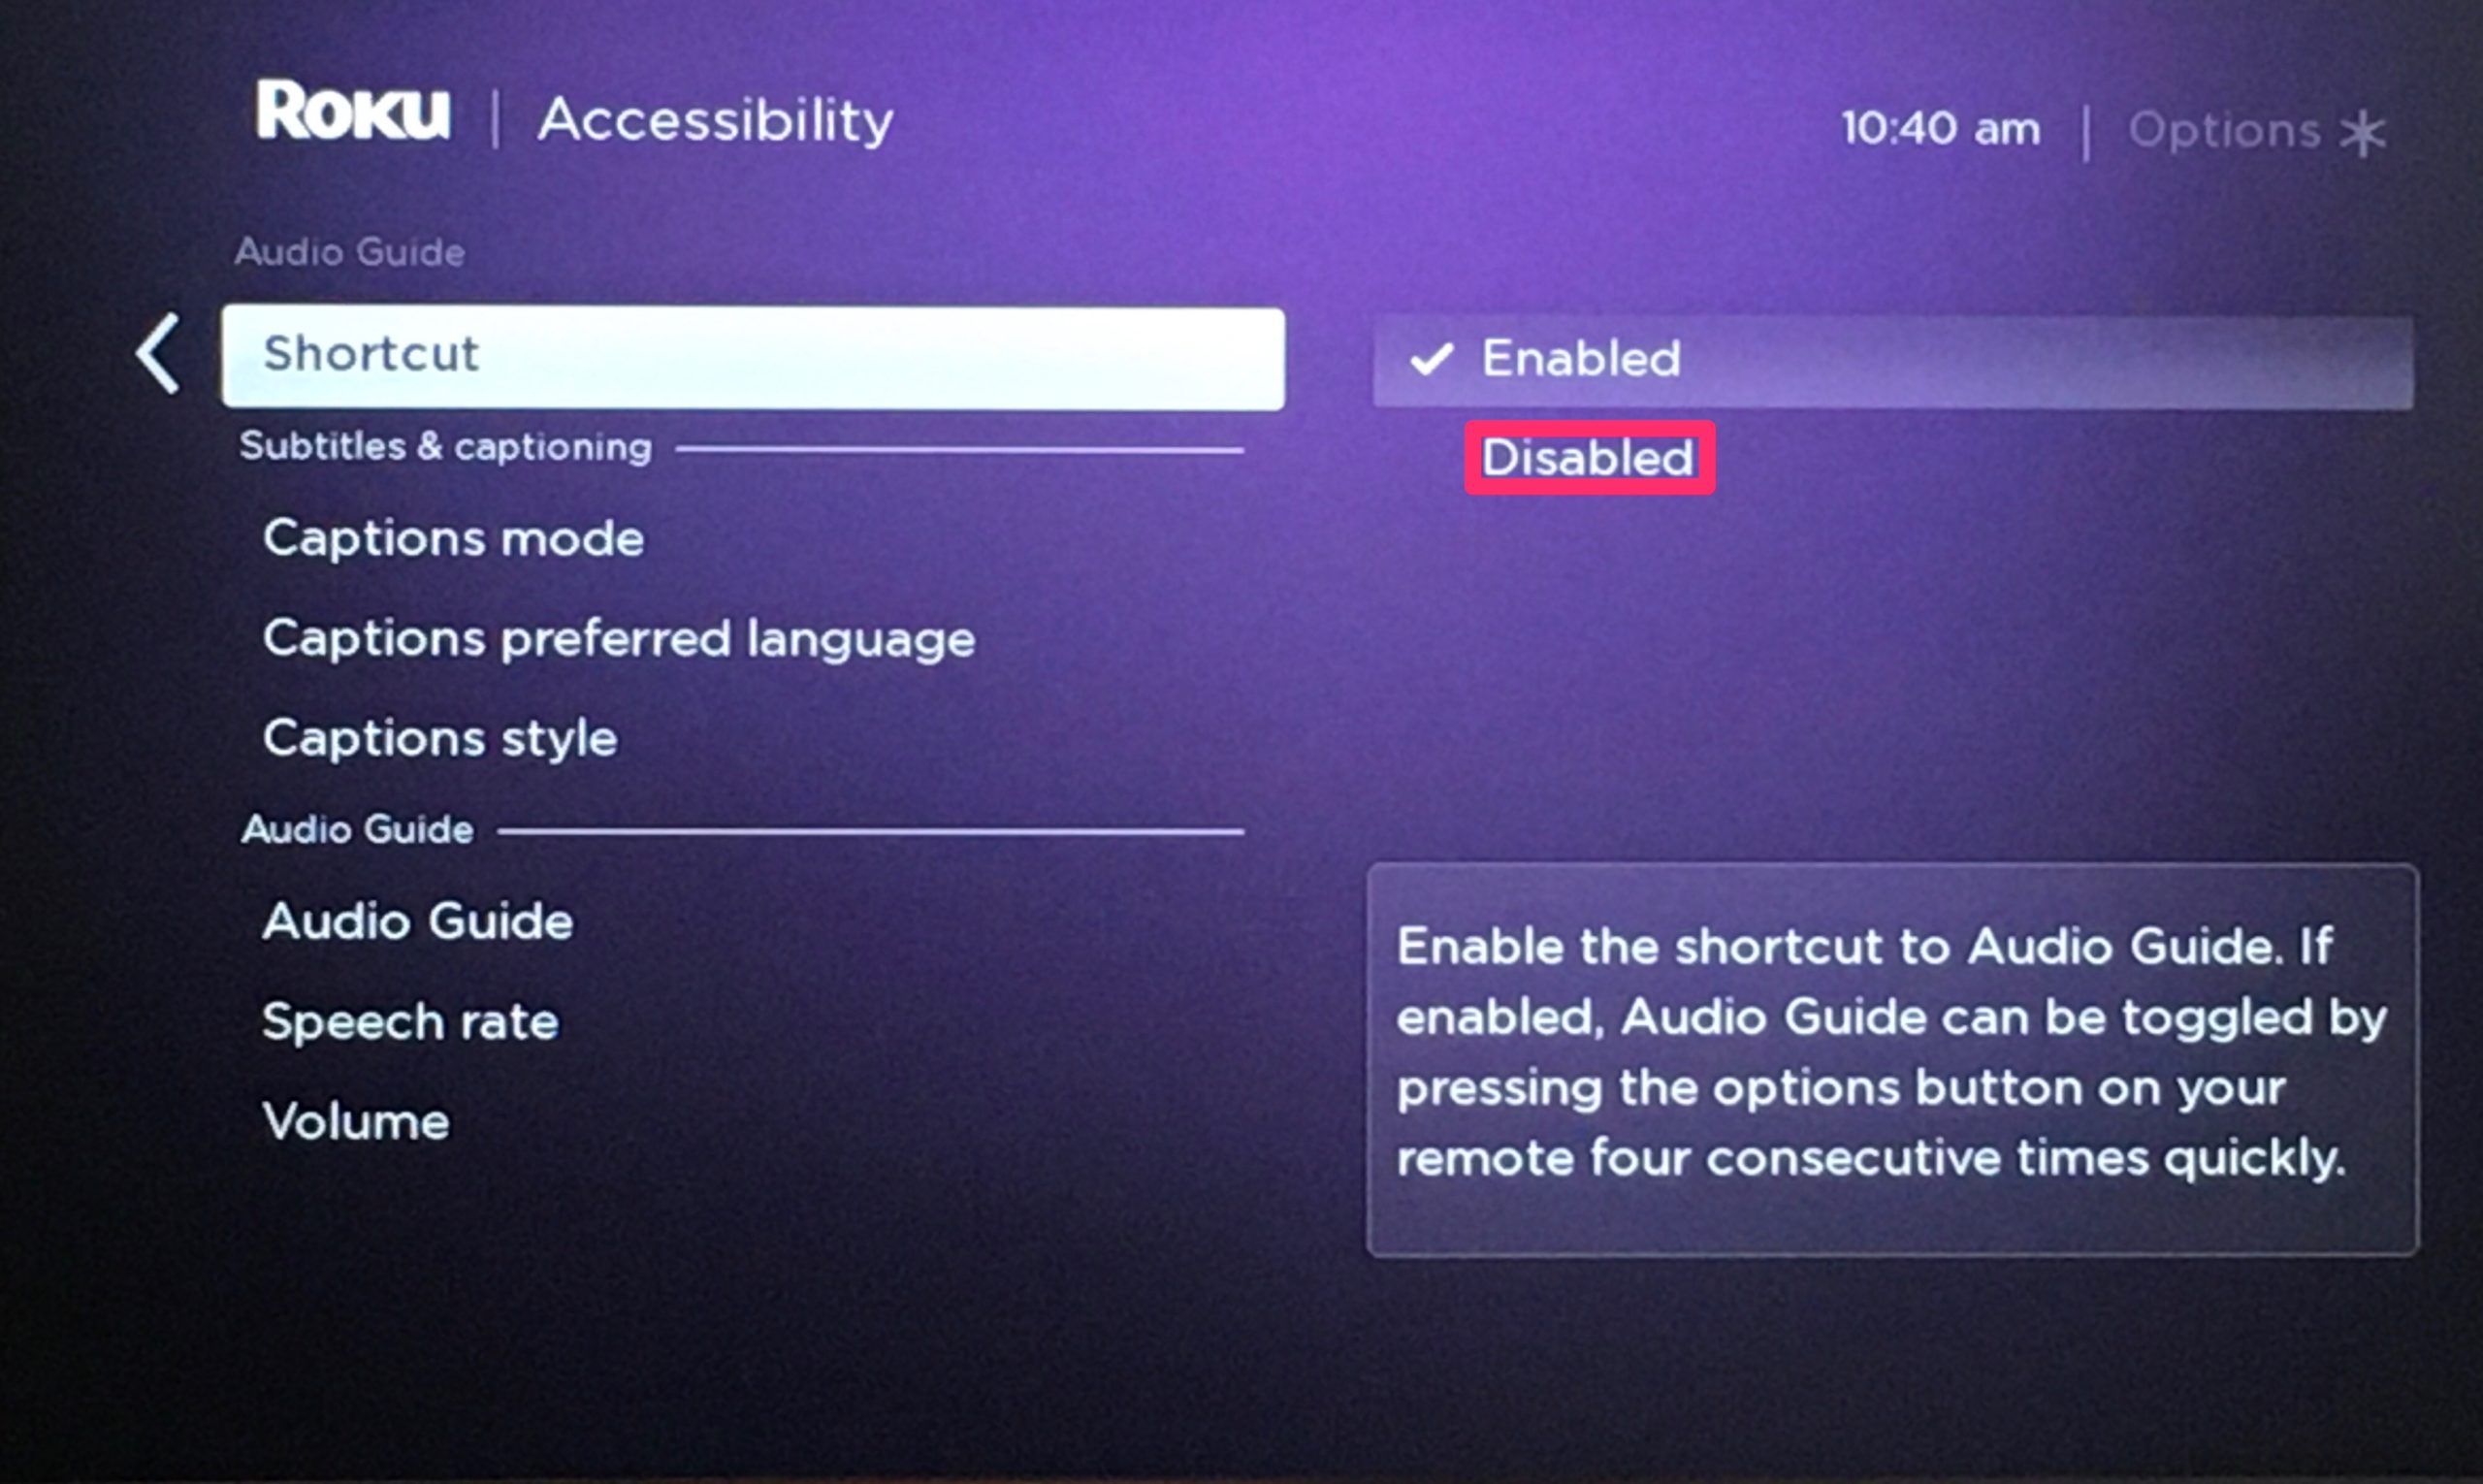
Entering the “System” category will provide you with access to a range of system-related settings and options. These settings can include options for software updates, time zone settings, language preferences, and more.
Take a moment to explore the available options within the “System” category. While we’re primarily focused on changing accounts, it’s worthwhile to familiarize yourself with the other settings as well to ensure you can customize your Roku TV according to your preferences.
Now that you have successfully selected the “System” category, it’s time to move on to the next step, where we’ll find the “Advanced System Settings” option, which is crucial in changing your Roku account.
Step 4: Choosing “Advanced System Settings”
After entering the “System” category in the Roku settings menu, the next step is to locate and select the “Advanced System Settings” option. This option will allow you to access more advanced settings, including the option to change your Roku account.
Using the directional buttons on your Roku remote, scroll down through the available settings within the “System” category. Continue scrolling until you find the “Advanced System Settings” option. When this option is highlighted, press the OK or select button on your remote to enter the advanced system settings.
Entering the “Advanced System Settings” will give you access to a set of advanced options that you can customize according to your preferences. These options include settings related to network connectivity, device restart, software control, and more.
Take a moment to explore the available options within the “Advanced System Settings” menu. While we’re primarily focused on changing accounts, it’s beneficial to familiarize yourself with the other settings as well to optimize your Roku TV experience.
Now that you have successfully entered the “Advanced System Settings,” you’re ready to proceed to the next step, which involves selecting the “Factory Reset” option in order to change your Roku account.
Step 5: Selecting “Factory Reset”
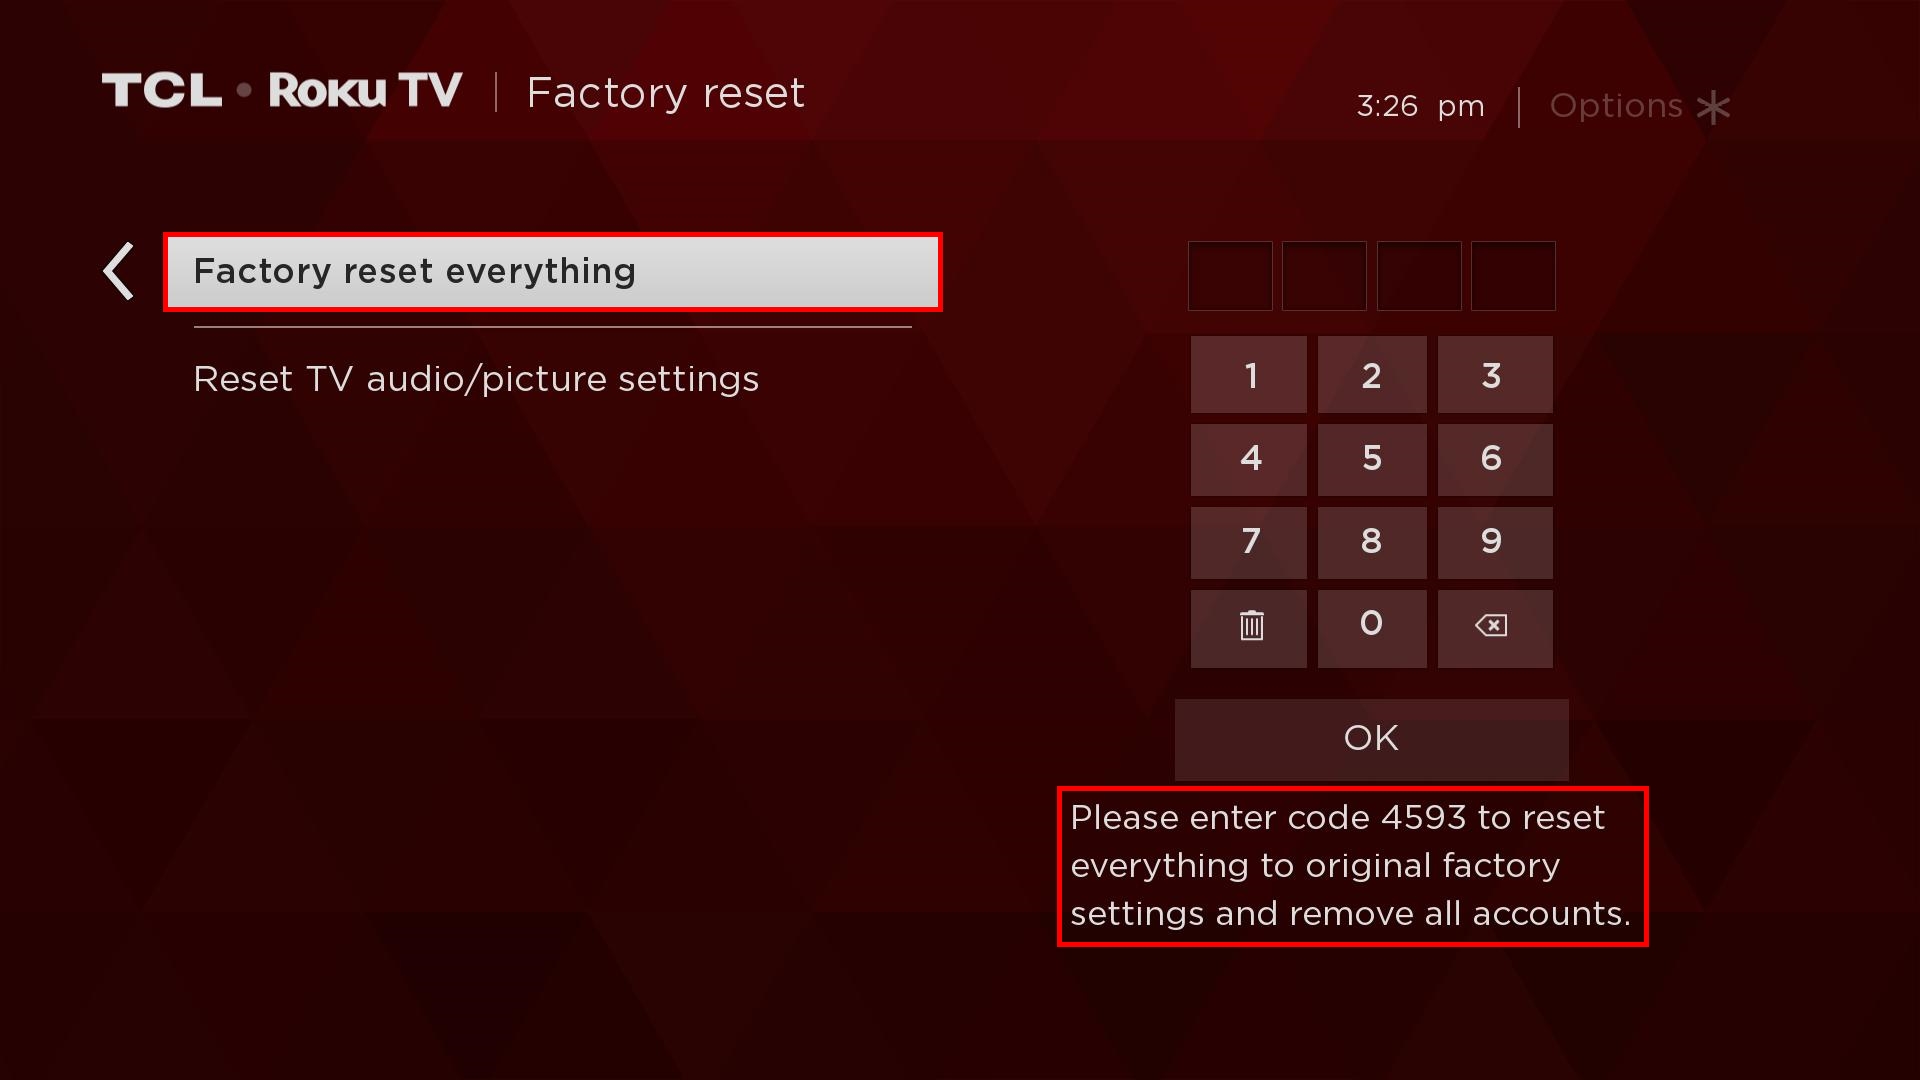
Once you’ve accessed the “Advanced System Settings,” it’s time to select the “Factory Reset” option. This option will allow you to initiate the process of resetting your Roku TV to its factory default settings, which is necessary to change your Roku account.
Using the directional buttons on your Roku remote, scroll down through the available settings in the “Advanced System Settings” menu. Continue scrolling until you find the “Factory Reset” option. Once this option is highlighted, press the OK or select button on your remote to select it.
When you select the “Factory Reset” option, a confirmation message will typically appear on your screen. This message will inform you about the consequences of the factory reset, such as the removal of all settings, channels, and preferences associated with your current account.
Take a moment to read and understand the information provided in the confirmation message. It’s important to be aware that performing a factory reset will erase all data and customized settings on your Roku TV.
If you are sure about proceeding with the account change and resetting your Roku TV, select the “Factory Reset” option again or choose the option that confirms your decision. Keep in mind that once the reset is initiated, it cannot be undone.
Now that you’ve selected the “Factory Reset” option and confirmed your decision, your Roku TV will begin the reset process. This process may take a few minutes, during which your device will restart and return to its initial setup mode.
Next, you’ll need to set up a new Roku account to continue using your Roku TV. In the following step, we’ll guide you through the process of creating a new account and adding channels to it.
Step 6: Confirming the Reset
After selecting the “Factory Reset” option, your Roku TV will begin the reset process. However, before the reset is initiated, you will need to confirm your decision to ensure that you intentionally want to proceed with the reset.
Depending on your Roku TV model and software version, you may be prompted to provide your confirmation in different ways. Typically, a confirmation screen will appear on your TV with a message informing you about the consequences of the factory reset.
Read the confirmation message carefully to understand what will happen during the reset process. It usually mentions that all settings, channels, and preferences associated with your current account will be erased.
To confirm the reset, follow the on-screen instructions. These instructions might ask you to input a code or press specific buttons on your remote. The purpose of these steps is to ensure that you are fully aware of the consequences and intentionally initiating the reset.
Remember, once the reset process is initiated, all data on your Roku TV will be erased, and you’ll need to set up a new account to continue using the device. Make sure you’re prepared for this before confirming the reset.
Once you have confirmed your decision, your Roku TV will begin the reset process. It may take a few minutes for the reset to complete, during which your device will restart and return to its initial setup mode.
Now that you have confirmed the reset, it’s time to proceed to the next step, which involves setting up a new Roku account.
Step 7: Setting up a New Roku Account
After the reset process is complete, your Roku TV will return to its initial setup mode. In this step, we’ll guide you through the process of setting up a new Roku account to continue using your device.
On your TV screen, you’ll see a prompt asking you to select your preferred language. Use the remote control’s directional buttons to navigate and select your desired language. Once selected, confirm your choice by pressing the OK or select button on the remote.
The next screen will prompt you to connect your Roku TV to the internet. Follow the on-screen instructions to choose your wifi network and enter the corresponding password to establish the connection. Once connected, Roku TV will automatically proceed to the next step.
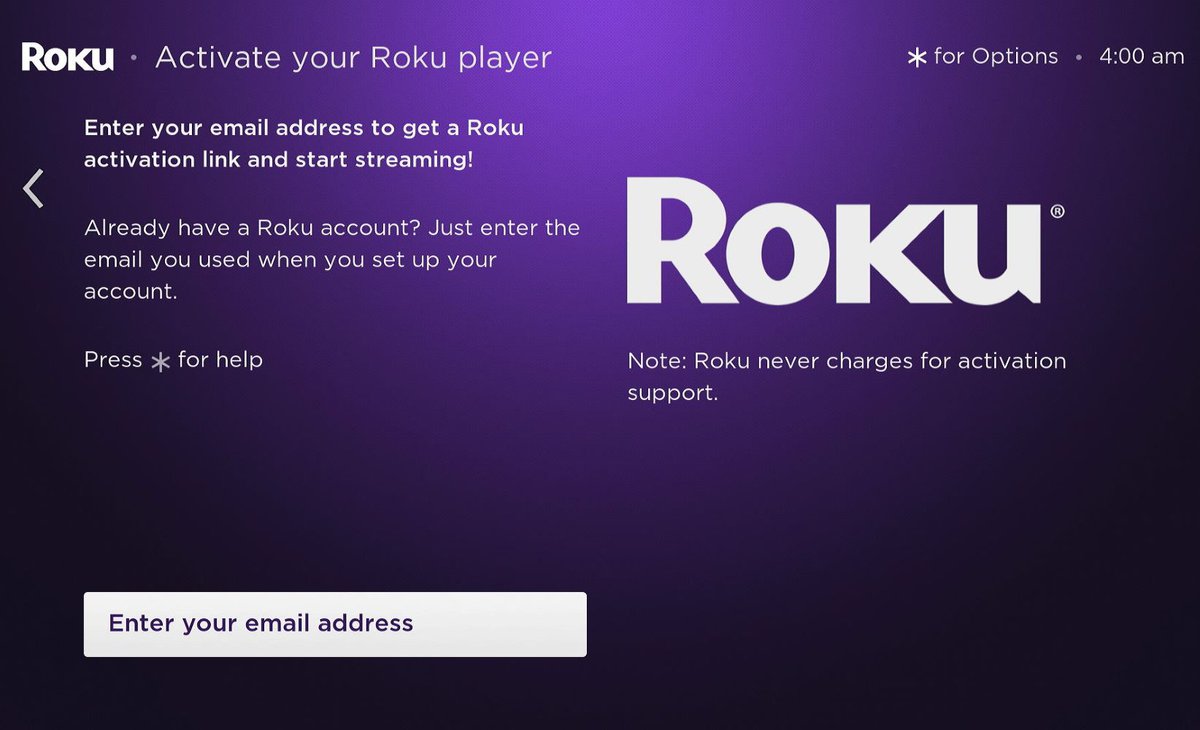
Now, you’ll be asked to activate your Roku TV. An activation code will be displayed on your screen, along with instructions to visit the Roku website and enter the code to complete the activation. Open a web browser on your computer or mobile device and visit the Roku activation page (www.roku.com/link).
On the activation page, enter the activation code shown on your TV screen and click on the “Submit” or “Continue” button. You may be prompted to sign in or create a new Roku account if you don’t already have one.
To create a new Roku account, click on the “Create account” option and follow the on-screen instructions. Provide the required information, including your name, email address, and a secure password for your account. Make sure to choose an email and password combination that you can easily remember.
Once you’ve filled in all the necessary details and accepted the terms and conditions, click on the “Continue” or “Submit” button to create your new Roku account. A confirmation email may be sent to the provided email address; follow the instructions in the email to verify your account.
Once your account is verified, return to your Roku TV and continue following the on-screen prompts. You may be asked to link a payment method for purchasing or subscribing to channels, but you can choose to skip this step if desired.
Finally, customize your Roku TV settings, such as device name, theme, and screensaver preferences. Once all the settings are configured, your new Roku account will be set up and ready to use.
Congratulations! You’ve successfully set up a new Roku account on your Roku TV. In the next step, we’ll explain how to add channels from the new account.
Step 8: Adding Channels from the New Account
Now that you have set up your new Roku account, it’s time to personalize your streaming experience by adding channels to your device. With a wide range of channels available on the Roku platform, you can choose the ones that align with your interests and preferences.
To add channels to your Roku TV from your new account, follow these steps:
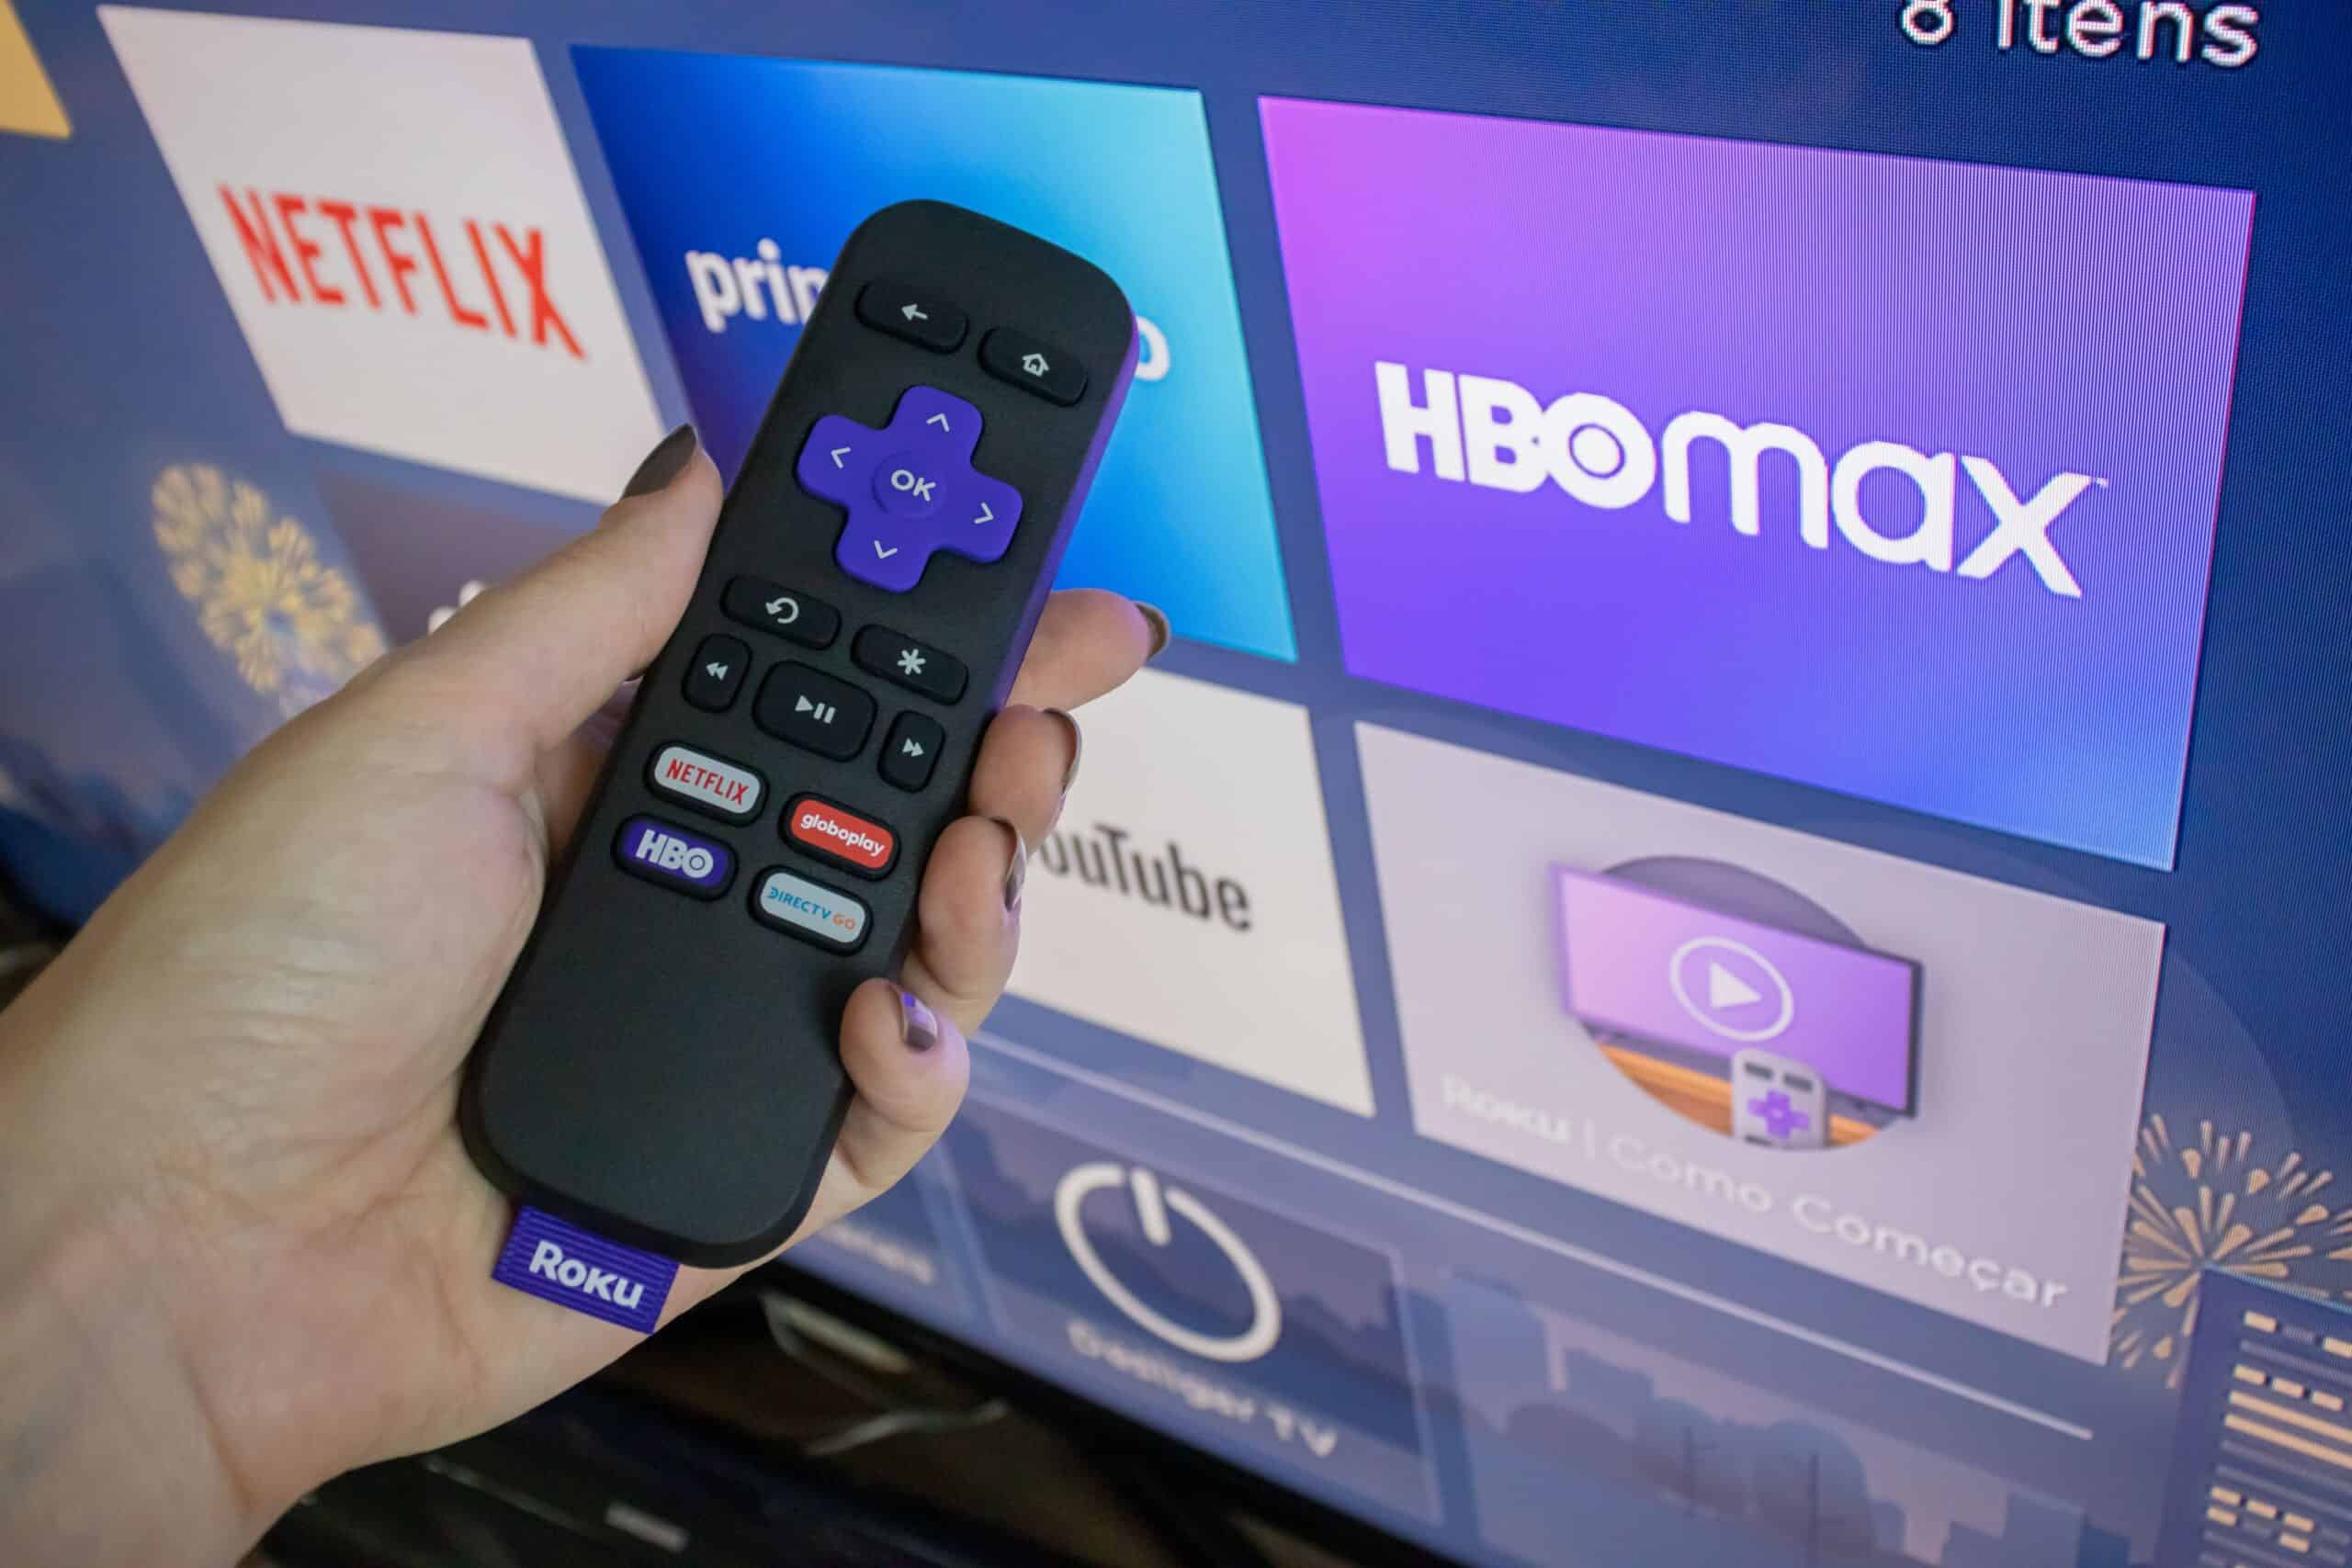
- Go to the Roku home screen by pressing the Home button on your remote.
- Using the directional buttons, navigate to the left side of the home screen to access the main menu.
- Scroll down and select “Streaming Channels” to open the Roku Channel Store.
- In the Channel Store, you’ll find featured channels, categories, and a search option to find specific channels.
- Browse through the available channels or use the search functionality to find channels by name or category.
- When you find a channel you want to add, select it to open the channel details page.
- On the channel details page, click on the “Add Channel” or “Subscribe” button to add the channel to your Roku TV.
- The channel will begin to install on your device. This process may take a few moments.
- Once the installation is complete, you’ll see a confirmation message stating that the channel has been added.
Repeat these steps for each channel you want to add to your Roku TV from your new account. You can add as many channels as you like based on your preferences and interests.
After adding channels, they will appear on your Roku home screen under the “My Channels” section. You can organize and rearrange the channels as desired to make it easier to find and access your favorite content.
It’s important to note that some channels may require a separate subscription or activation process. Follow the on-screen instructions or visit the channel’s website for any additional steps required to access the channel’s content.
Now that you’ve successfully added channels to your Roku TV from your new account, you’re all set to enjoy a personalized streaming experience. Explore the variety of content available on your channels and enjoy your favorite shows, movies, and more.
Conclusion
Changing accounts on your Roku TV is a straightforward process that allows you to customize your streaming experience to suit your preferences. By following the step-by-step instructions in this guide, you can easily change accounts and set up a new Roku account on your device.
We began by accessing the Roku home screen and navigating to the “Settings” menu. From there, we selected “System” and accessed the “Advanced System Settings” option. Afterward, we chose “Factory Reset” to initiate the process of resetting the device.
By confirming the reset, your Roku TV returned to its initial setup mode. We then walked you through the process of setting up a new Roku account, including connecting to the internet, activating the device, and creating a new account on the Roku website.
Finally, we explained how to add channels from the new account to your Roku TV, allowing you to expand your entertainment options and personalize your streaming experience.
Remember to note down any important information, such as login credentials and specific channel subscriptions, before initiating the reset process. This ensures a smooth transition to your new Roku account.
Now that you’re familiar with the process, you can confidently change accounts on your Roku TV whenever needed. Enjoy exploring the wide range of channels and streaming content available through your new account!