Introduction
Are you experiencing issues with your TCL Roku TV? Or perhaps you want to start afresh with a clean slate? Whatever the reason, performing a factory reset can often resolve common problems and bring your TV back to its original state. In this guide, we will walk you through the step-by-step process of factory resetting your TCL Roku TV.
Before we begin, it’s essential to know that a factory reset erases all your personal settings, preferences, and installed apps. It essentially returns your TV to its default settings, as if it just came out of the box. So, it’s crucial to back up any vital data or settings before proceeding with the reset.
This guide is specifically for TCL Roku TVs, a popular brand known for their excellent picture quality and user-friendly interface. However, please note that the exact steps may vary slightly depending on the model and firmware version of your TV. If you are unsure or have a different TV brand, it’s always a good idea to consult the user manual or reach out to the manufacturer’s support.
Now, let’s get started with the factory reset process for your TCL Roku TV. Remember to follow each step carefully to avoid any accidental data loss or interruptions during the reset.
Step 1: Prepare for Factory Reset
Before diving into the factory reset process, there are a few essential preparations you need to make to ensure a smooth and hassle-free reset. Let’s go through them step by step:
1. Back up your important data: As mentioned earlier, a factory reset will erase all your personal settings and installed apps. It’s crucial to back up any important data or settings before proceeding. This includes any customized picture or audio settings, app login credentials, and downloaded apps. You can back up your settings by going to the Settings menu and selecting the appropriate options for your TV model.
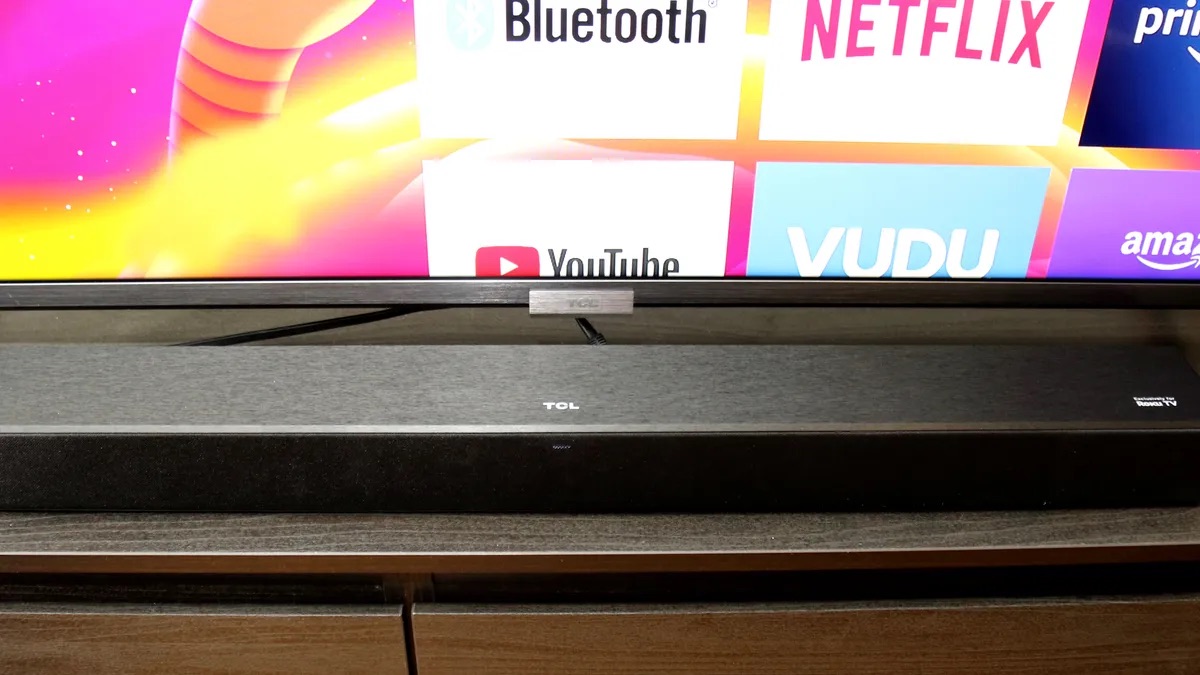
2. Disconnect any external devices: If you have any external devices connected to your TCL Roku TV, such as game consoles, Blu-ray players, or soundbars, it’s best to disconnect them before performing the factory reset. This will prevent any potential conflicts or data loss during the reset process.
3. Check your internet connection: Ensure that your TV is connected to a stable internet connection. This is important as the factory reset process may require downloading and installing software updates. A slow or unstable internet connection can cause interruptions or errors during the reset process.
4. Make a note of your Roku account details: During the factory reset, you may be prompted to sign in to your Roku account. Make sure you have your Roku account email address and password handy. If you don’t have a Roku account, you can create one for free on the Roku website.
By following these preparatory steps, you will minimize the risk of data loss and ensure a smooth factory reset process for your TCL Roku TV. Once you have completed these preparations, you’re ready to move on to the next step of navigating to the settings menu.
Step 2: Navigate to the Settings Menu
After preparing for the factory reset, the next step is to navigate to the Settings menu on your TCL Roku TV. The Settings menu is where you can access various options and configurations for your TV. Follow these steps to get there:
1. Turn on your TCL Roku TV: Ensure that your TV is turned on and displaying the home screen. If it is in standby mode, press the power button on your remote or the TV itself to turn it on.
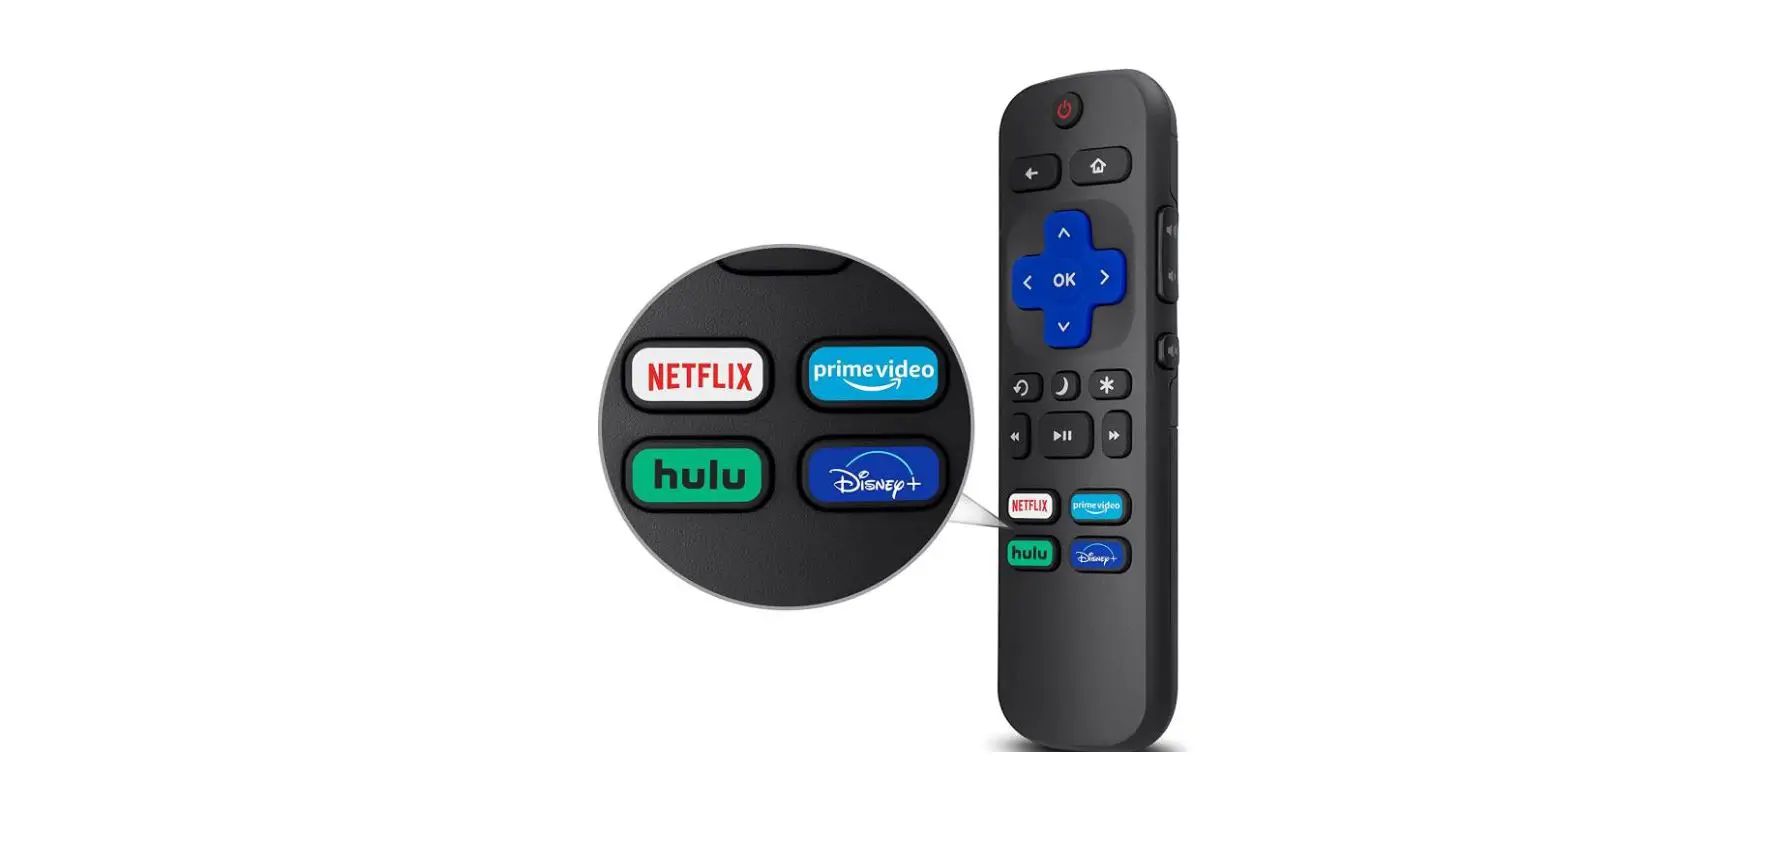
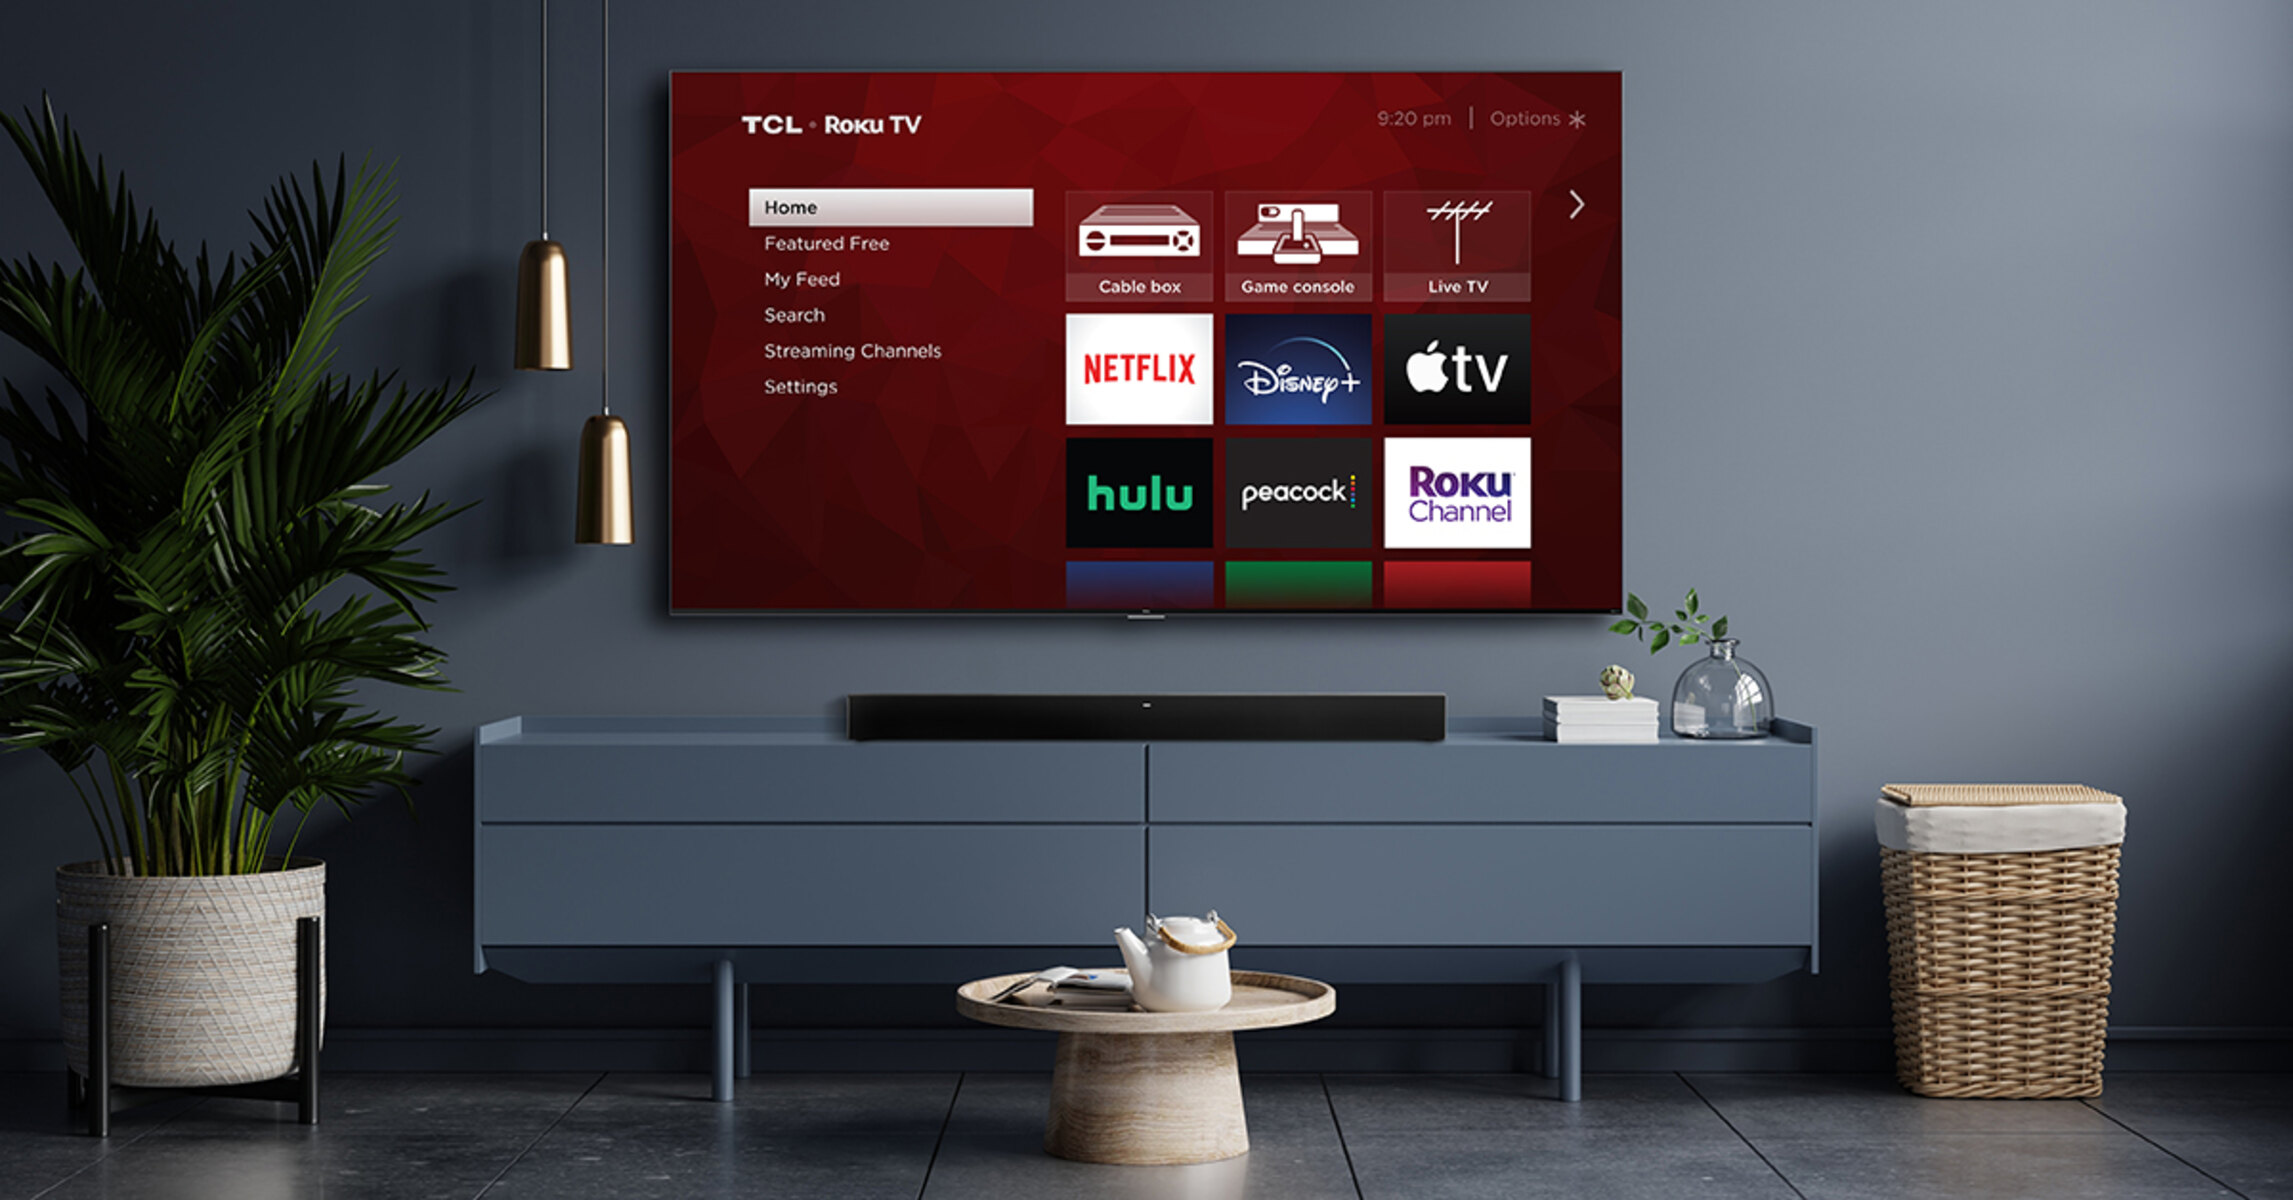
2. Press the Home button: On your Roku remote, press the Home button. This will take you to the main Roku home screen, where you can access different channels and settings.
3. Navigate to the Settings menu: Use the arrow buttons on your remote to navigate to the left side of the screen. The Settings option should be highlighted. Press the OK button to enter the Settings menu.
4. Explore the Settings menu: Inside the Settings menu, you will find various options for customizing and configuring your TCL Roku TV. You can adjust picture and audio settings, manage apps, set up network connections, and more. Take a moment to familiarize yourself with the different options available.
5. Select System: In the Settings menu, navigate down and select the System option. This is where you will find the factory reset option for your TCL Roku TV.
By following these steps, you will successfully navigate to the Settings menu on your TCL Roku TV. In the next step, we will explore how to access the system menu and proceed with the factory reset process.
Step 3: Access the System Menu
Once you have navigated to the Settings menu on your TCL Roku TV, the next step is to access the System menu. The System menu is where you can find various system-related settings and options, including the factory reset option. Follow these steps to access the System menu:
1. In the Settings menu, scroll down: Once you are in the Settings menu, use the arrow buttons on your remote to scroll down. Keep scrolling until you reach the System option.
2. Select System: With the System option highlighted, press the OK button on your remote. This will take you to the System menu, where you can access different system-related settings.
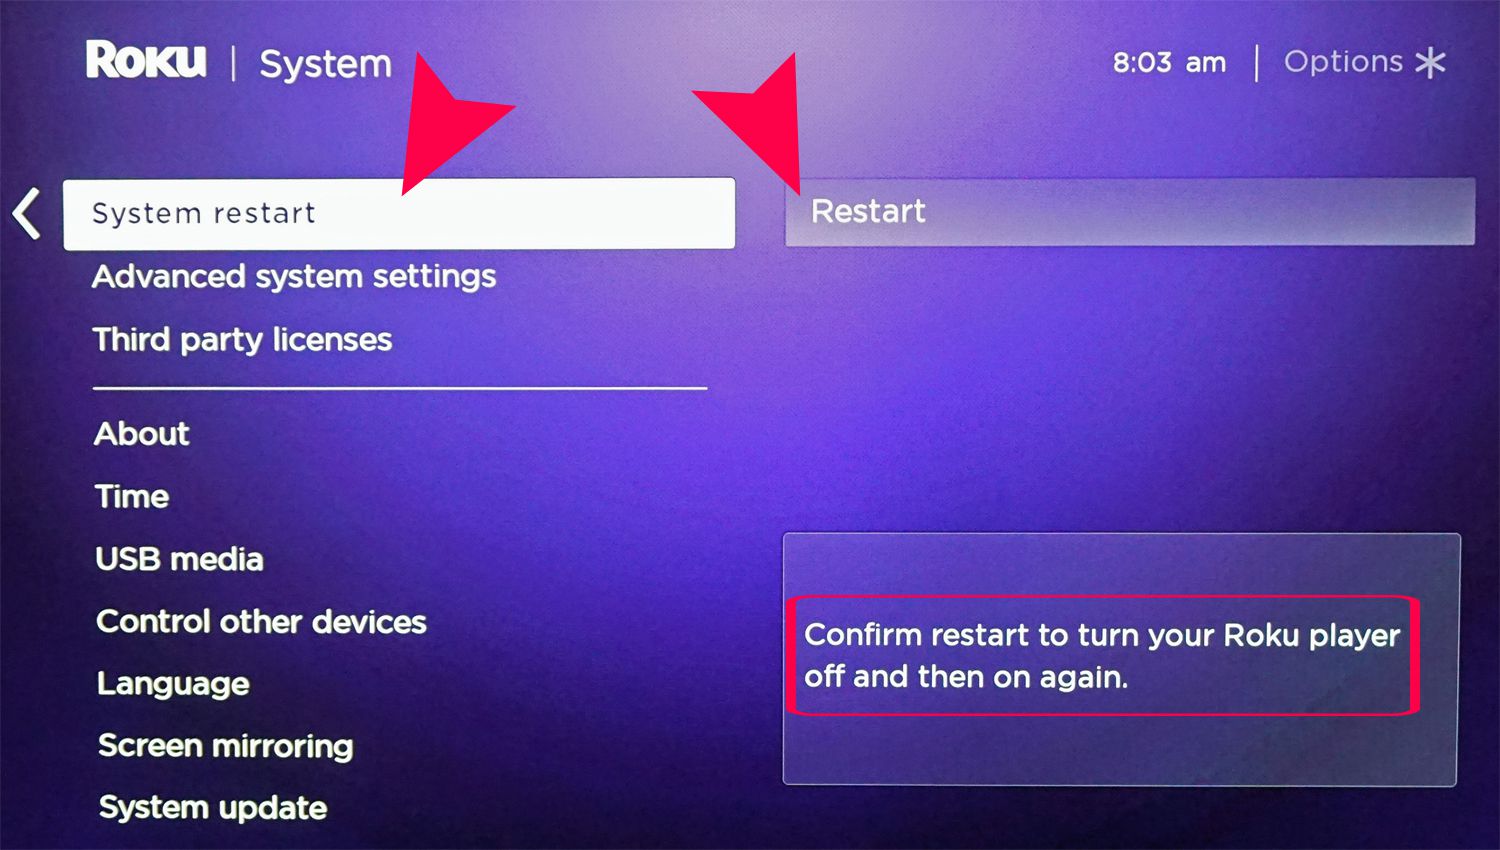
3. Navigate to the Factory Reset option: Inside the System menu, use the arrow buttons on your remote to scroll down. Look for the Factory Reset option. It is usually located towards the bottom of the menu.
4. Highlight the Factory Reset option: Once you have located the Factory Reset option, highlight it by using the arrow buttons on your remote. Ensure that the option is selected.
By following these steps, you will successfully access the System menu on your TCL Roku TV. In the next step, we will explore how to perform the factory reset itself.
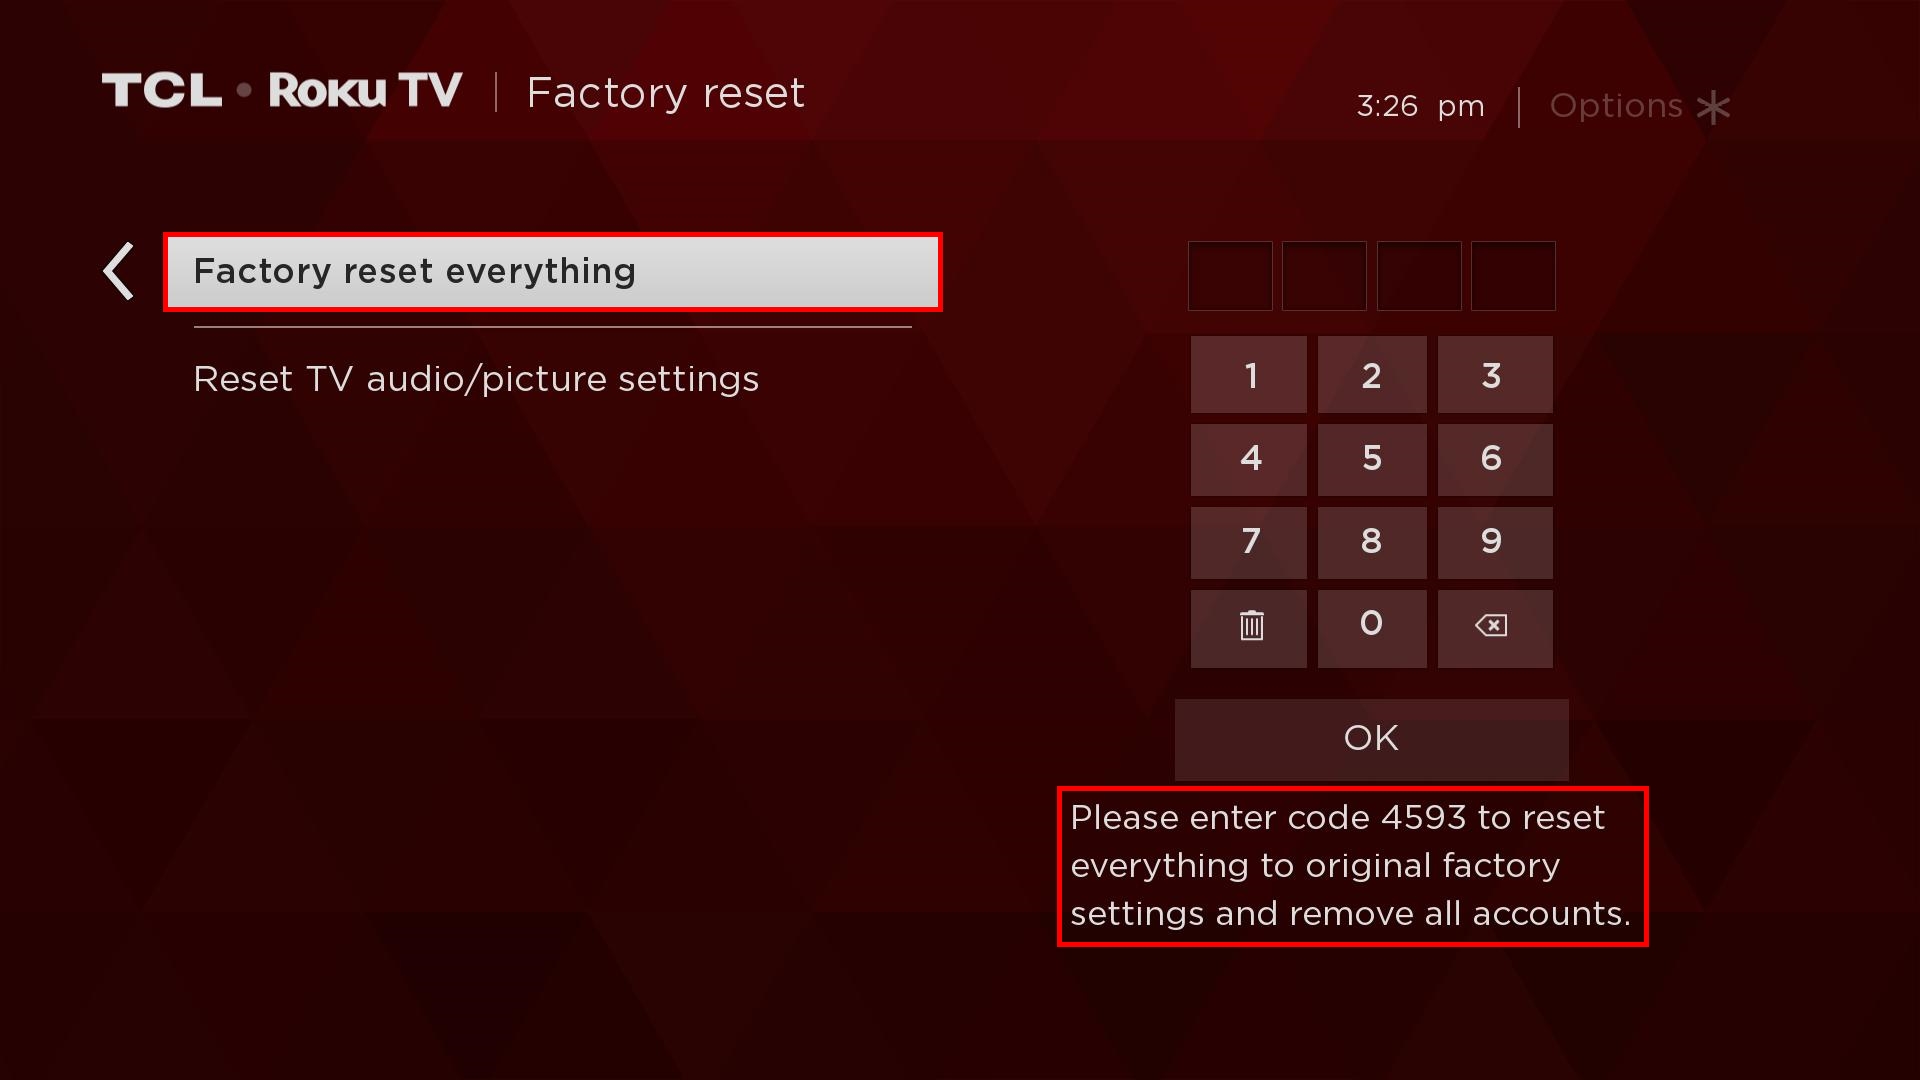
Step 4: Perform the Factory Reset
Now that you have accessed the System menu on your TCL Roku TV, it’s time to perform the factory reset. The factory reset will restore your TV to its original settings, removing any personalized configurations, installed apps, and user data. Follow these steps to perform the factory reset:
1. Select the Factory Reset option: In the System menu, ensure that the Factory Reset option is highlighted. Press the OK button on your remote to proceed with the reset.
2. Read the warning message: A warning message will appear on your screen, informing you about the consequences of the factory reset. Take a moment to read the message carefully and understand the implications of the reset.
3. Confirm the factory reset: If you are certain that you want to proceed with the factory reset, select the Confirm option. This will initiate the reset process.
4. Wait for the reset to complete: Once you confirm the factory reset, your TCL Roku TV will begin the reset process. This may take a few minutes, so be patient and avoid interrupting the process.
5. Do not turn off your TV: During the reset process, it’s essential not to turn off your TCL Roku TV or unplug it from the power source. Doing so can cause damage to the TV or disrupt the reset process.
By following these steps, you will successfully perform the factory reset on your TCL Roku TV. In the next step, we will discuss what to do after the reset is completed.
Step 5: Confirm the Reset
After initiating the factory reset on your TCL Roku TV, it’s important to confirm the reset to ensure that it was completed successfully. This step will allow you to verify that your TV has indeed been restored to its original factory settings. Follow these instructions to confirm the reset:
1. Wait for the reset to finish: Give your TCL Roku TV some time to complete the reset process. The duration may vary depending on the model and firmware version of your TV, so it’s best to be patient and let the reset take its course.
2. Power on your TV: Once the reset process is complete, power on your TCL Roku TV using either the power button on the remote or the TV itself. You should see the initial startup screen, indicating that the reset was successful.
3. Go through the initial setup: After confirming the reset, your TCL Roku TV will guide you through the initial setup process. This includes selecting your language, connecting to Wi-Fi, and signing in to your Roku account. Follow the on-screen instructions and provide the necessary information to complete the setup.
4. Check for updates: Once the initial setup is completed, it’s a good idea to check for any available software updates. This ensures that your TCL Roku TV is running on the latest firmware, which may include bug fixes and performance improvements. To check for updates, navigate to the Settings menu and select the System option. From there, choose Software Update and follow the prompts to update your TV if necessary.
By following these steps, you will successfully confirm the reset and complete the initial setup on your TCL Roku TV. At this point, your TV will be back to its default factory settings, ready for you to customize and enjoy.
Step 6: Wait for the TV to Restart
After confirming the factory reset on your TCL Roku TV and completing the initial setup, it’s important to allow the TV to restart. This step ensures that any changes made during the reset process are applied correctly and that the TV is ready for use. Follow these instructions to wait for the TV to restart:
1. Power off the TV: Once you have completed the initial setup, navigate to the Settings menu and select the Power option. From there, choose the Power off option to turn off your TCL Roku TV.
2. Wait for a few moments: After powering off your TV, wait for a few moments before turning it back on. This allows the TV to fully shut down and prepare for the restart process.
3. Power on the TV: Once the waiting period is over, press the power button on your remote or the TV itself to turn on your TCL Roku TV. Be patient as the TV boots up and completes the restart process. This may take a minute or two.
4. Observe the startup screen: During the restart process, pay attention to the startup screen on your TCL Roku TV. It should display the TCL logo or the Roku logo, indicating that the TV is restarting and applying the changes made during the factory reset.
5. Wait for the TV to fully restart: Allow your TCL Roku TV to fully restart before attempting to use it. Depending on the model and firmware version, the time it takes for the TV to restart may vary. Once the TV is completely restarted, you can proceed to use it as desired.
By following these steps, you will ensure that your TCL Roku TV properly restarts after the factory reset. This allows any changes made during the reset process to be applied and ensures that your TV is ready for use.
Step 7: Complete the Initial Setup
After your TCL Roku TV has restarted, the final step is to complete the initial setup. This step is crucial as it allows you to customize your TV settings, connect to Wi-Fi, and sign in to your Roku account. Follow these instructions to complete the initial setup:
1. Select your language: On the startup screen, you will be prompted to select your preferred language. Use the arrow buttons on your remote to navigate and the OK button to confirm your selection.
2. Connect to Wi-Fi: Next, you will need to connect your TCL Roku TV to your Wi-Fi network. Select your network from the list of available networks, enter the password if required, and follow the on-screen instructions to establish a connection.
3. Sign in to your Roku account: If you have a Roku account, you will be prompted to sign in. Enter your Roku account email address and password using the on-screen keyboard. If you don’t have a Roku account, you can create one for free by selecting the option to create a new account.
4. Customize your settings: Once you are signed in, you will have the opportunity to customize various settings on your TCL Roku TV. This includes selecting your preferred display type, audio settings, and enabling any desired features. Take your time to adjust these settings according to your preferences.
5. Complete the setup: After customizing your settings, follow the remaining on-screen instructions to complete the initial setup. This may include enabling automatic software updates, choosing your desired theme, and setting up any additional streaming services or devices.
By following these steps, you will successfully complete the initial setup of your TCL Roku TV. Once the setup is finished, you can start exploring the various channels and features available on your TV, making it truly personalized to your preferences.
Conclusion
Performing a factory reset on your TCL Roku TV can help resolve common issues and bring your TV back to its original state. In this guide, we have provided a step-by-step walkthrough of the factory reset process. From preparing for the reset to completing the initial setup, we have covered everything you need to know to successfully reset your TCL Roku TV.
Remember, a factory reset erases all your personal settings, preferences, and installed apps, so it’s important to back up any important data before proceeding. Additionally, make sure to follow each step carefully and allow the TV to complete the restart process to ensure a successful reset.
After the reset, your TCL Roku TV will be restored to its default factory settings. From there, you can customize your TV according to your preferences, including adjusting picture and audio settings, installing apps, and exploring the various features Roku has to offer.
If you encounter any issues or have questions during the factory reset process, it’s always a good idea to consult the user manual for your specific TCL Roku TV model or reach out to the manufacturer’s support for assistance.
We hope this guide has been beneficial in helping you perform a factory reset on your TCL Roku TV. Enjoy your refreshed TV experience!