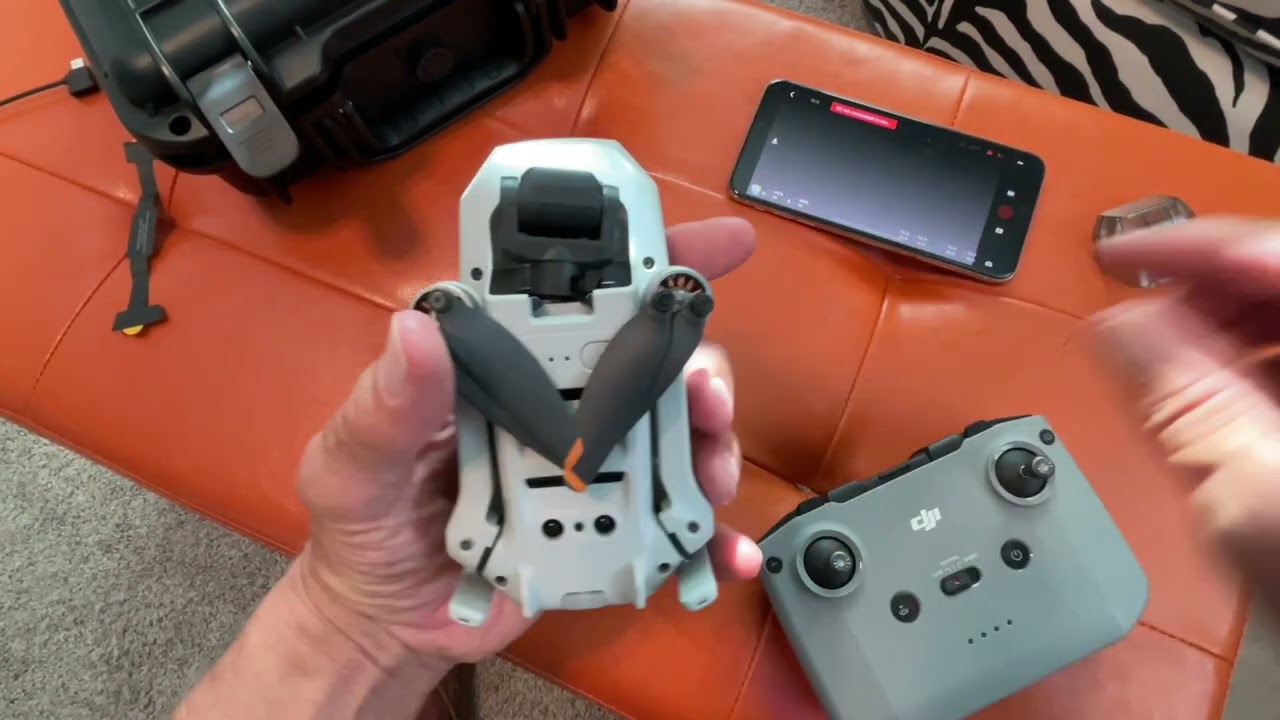
Why calibrating your DJI Mini 3 Pro gimbal is important
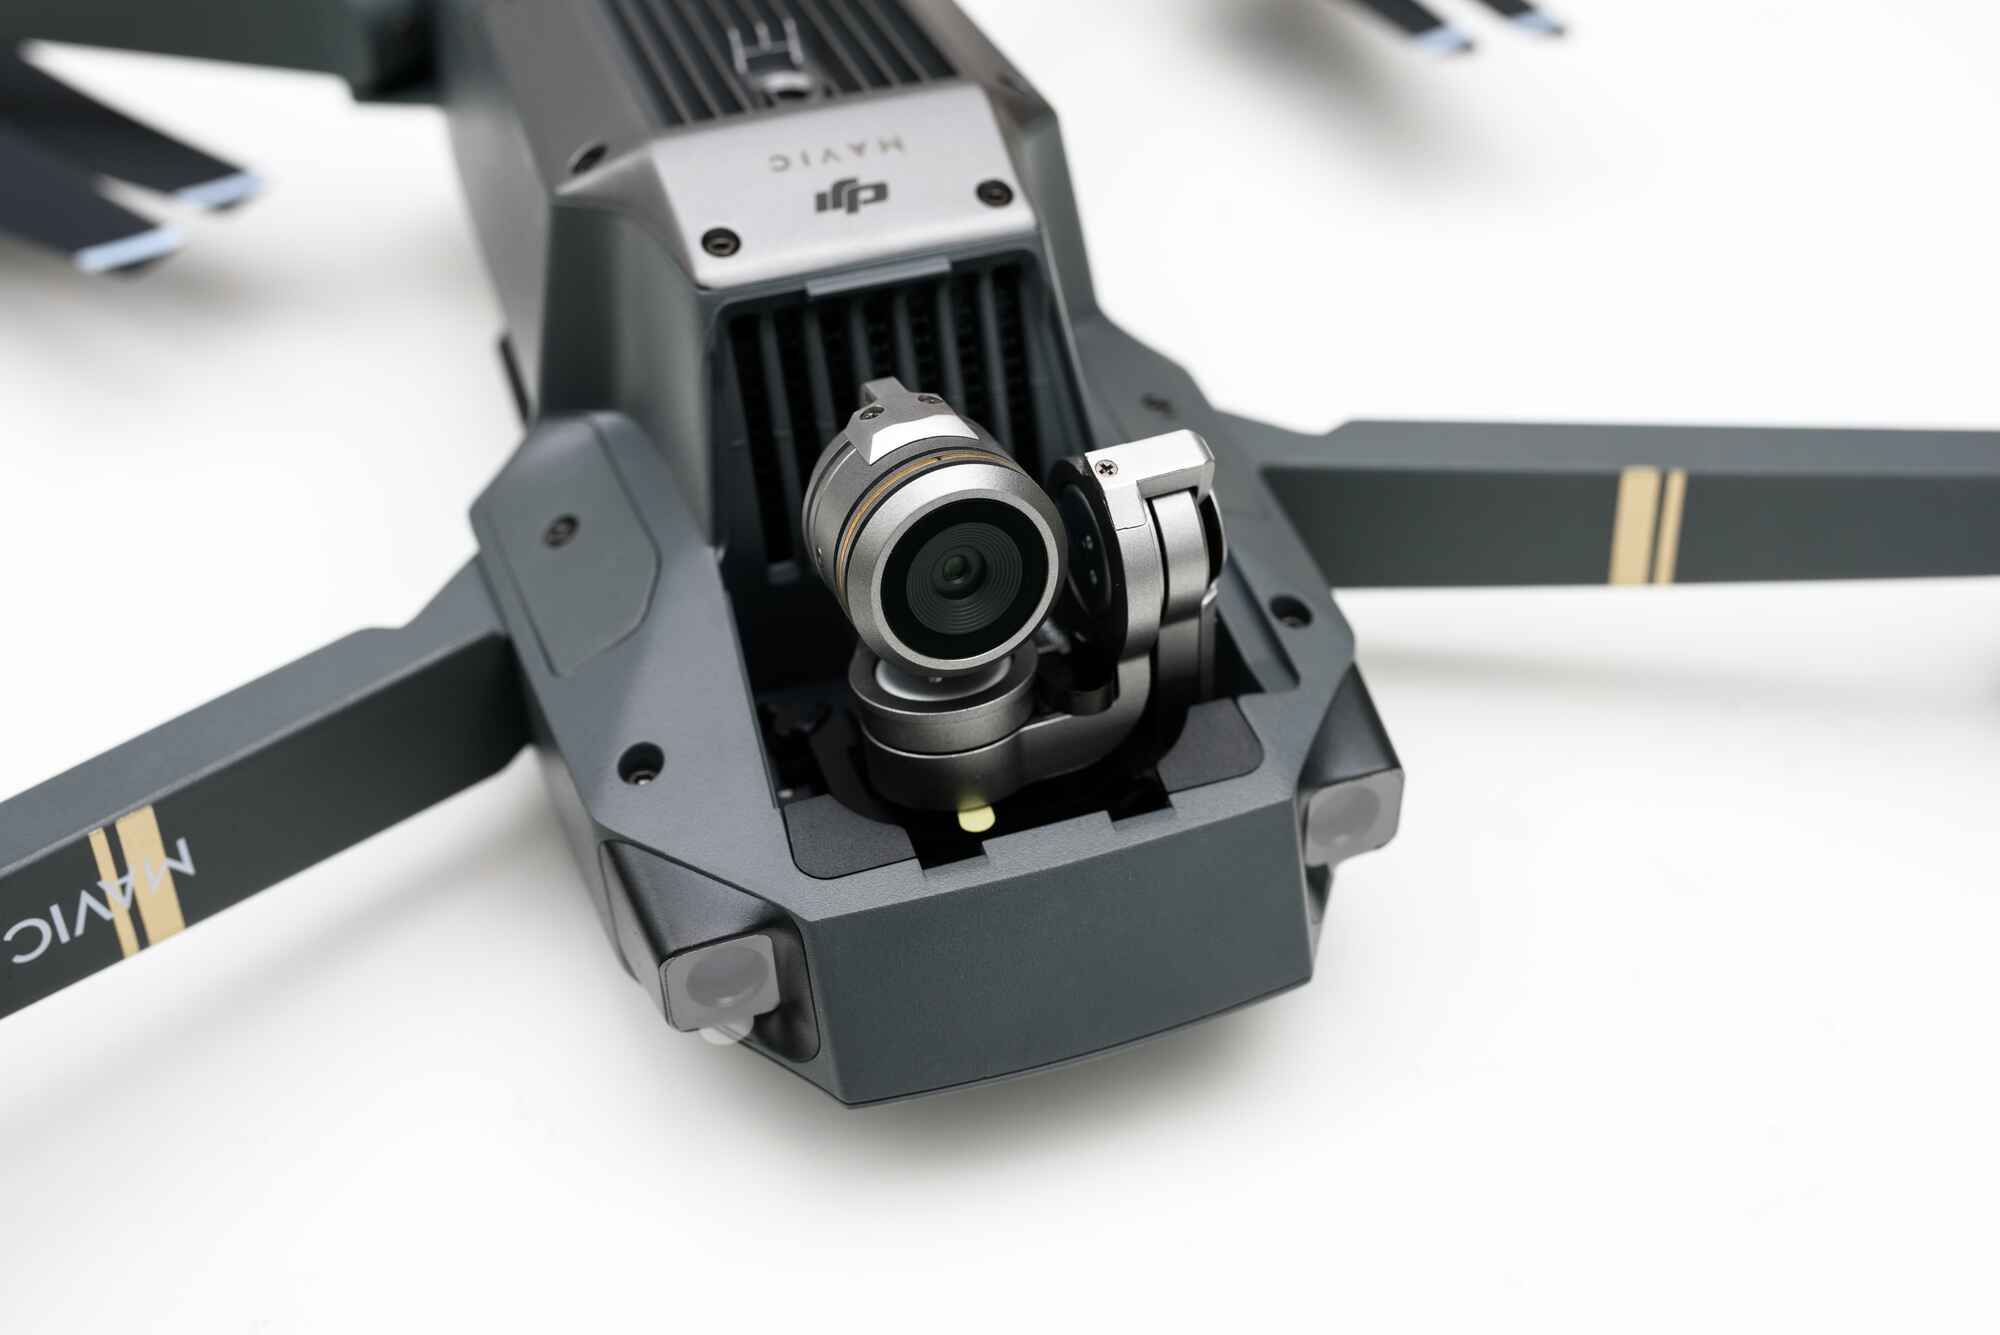
The gimbal is one of the essential components of your DJI Mini 3 Pro drone. It is responsible for stabilizing the camera and ensuring smooth footage during flights. However, over time, the gimbal may lose its calibration due to various factors such as vibrations, impacts, or firmware updates.
Calibrating your DJI Mini 3 Pro gimbal is crucial for several reasons:
- Improved Flight Performance: Properly calibrated gimbal ensures better flight performance by enhancing stability and reducing vibrations. This, in turn, helps capture clearer and smoother footage.
- Accurate Camera Angles: When the gimbal is correctly calibrated, the camera is aligned accurately with the horizon. This allows you to capture level shots and eliminates any unwanted tilting or skewing in your footage.
- Eliminate Erratic Movements: A misaligned or improperly calibrated gimbal can result in shaky and erratic movements in the footage. By calibrating the gimbal, you can eliminate these unwanted movements and achieve more professional-looking results.
- Prevents Gimbal Overheating: When the gimbal is not properly calibrated, it can put additional strain on the motors, leading to overheating. Regular calibration ensures that the gimbal operates optimally, reducing the risk of overheating and potential damage to your drone.
- Extend the Lifespan of Your Gimbal: By calibrating your DJI Mini 3 Pro gimbal regularly, you can prevent excessive wear and tear on the motors and other components. This can help extend the overall lifespan of your gimbal, saving you money on repairs or replacements.
Calibrating your DJI Mini 3 Pro gimbal is a simple and straightforward process that should be done regularly to ensure optimal performance. It is recommended to check and calibrate the gimbal before each flight to avoid any potential issues and ensure that you capture stunning footage every time.
Things you will need before calibrating
Before you begin the process of calibrating your DJI Mini 3 Pro gimbal, there are a few items you will need to ensure a smooth and successful calibration experience. Gather the following items before you get started:
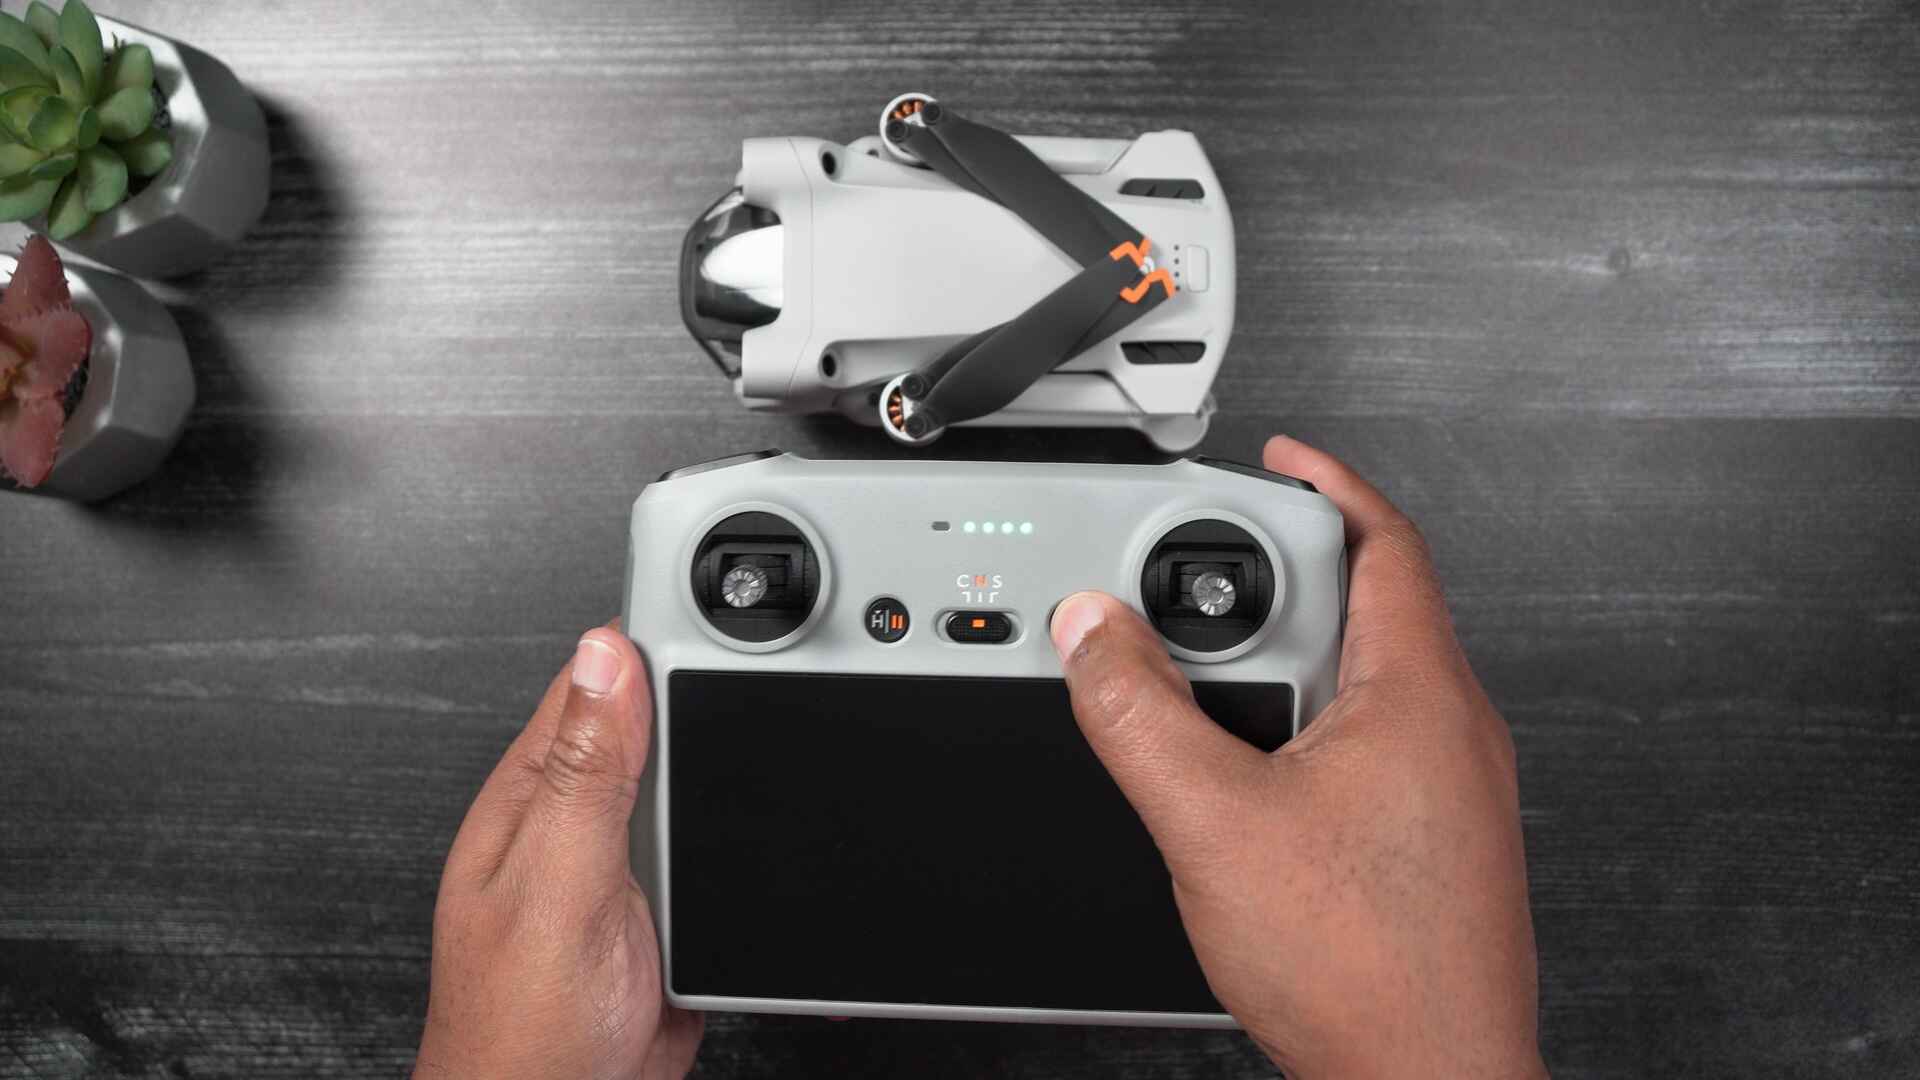
- Your DJI Mini 3 Pro drone: Make sure you have your drone readily available. It’s important to have the drone powered on and connected to the remote controller for the calibration process.
- A flat and level surface: Find a stable and even surface to place your drone on during the calibration process. This can be a table, a flat piece of ground, or any other surface that provides stability.
- A fully charged battery: Ensure that your DJI Mini 3 Pro drone’s battery is fully charged before you begin the calibration process. This ensures that you have enough power for the duration of the calibration and any subsequent flights.
- A smartphone or tablet: You will need a compatible smartphone or tablet with the DJI Fly app installed. This app will allow you to access the gimbal calibration settings and perform the necessary adjustments. Make sure your device is fully charged and connected to the internet for a smooth calibration process.
- A stable internet connection: A stable internet connection is necessary to access any firmware updates that might be required for the calibration process. Ensure that you have a reliable Wi-Fi or cellular data connection to ensure a seamless calibration experience.
- Patience and focus: Calibrating the gimbal requires attention to detail and patience. Take your time to follow the instructions carefully and make the necessary adjustments. Rushing through the process can lead to inaccuracies and potential issues with the gimbal’s performance.
By having these items readily available, you can ensure a smooth calibration process for your DJI Mini 3 Pro gimbal. Now that you have everything you need, let’s proceed to the step-by-step guide on calibrating your gimbal.
Step-by-step guide to calibrating the gimbal
Now that you have gathered all the necessary items, let’s dive into the step-by-step process of calibrating your DJI Mini 3 Pro gimbal. Follow these instructions carefully for a successful calibration:
- Power on your DJI Mini 3 Pro drone: Ensure that your drone is powered on and connected to the remote controller. Make sure the battery level is sufficient for the duration of the calibration process.
- Open the DJI Fly app: Launch the DJI Fly app on your smartphone or tablet and connect it to your drone. Ensure that you have a stable internet connection to access any firmware updates if necessary.
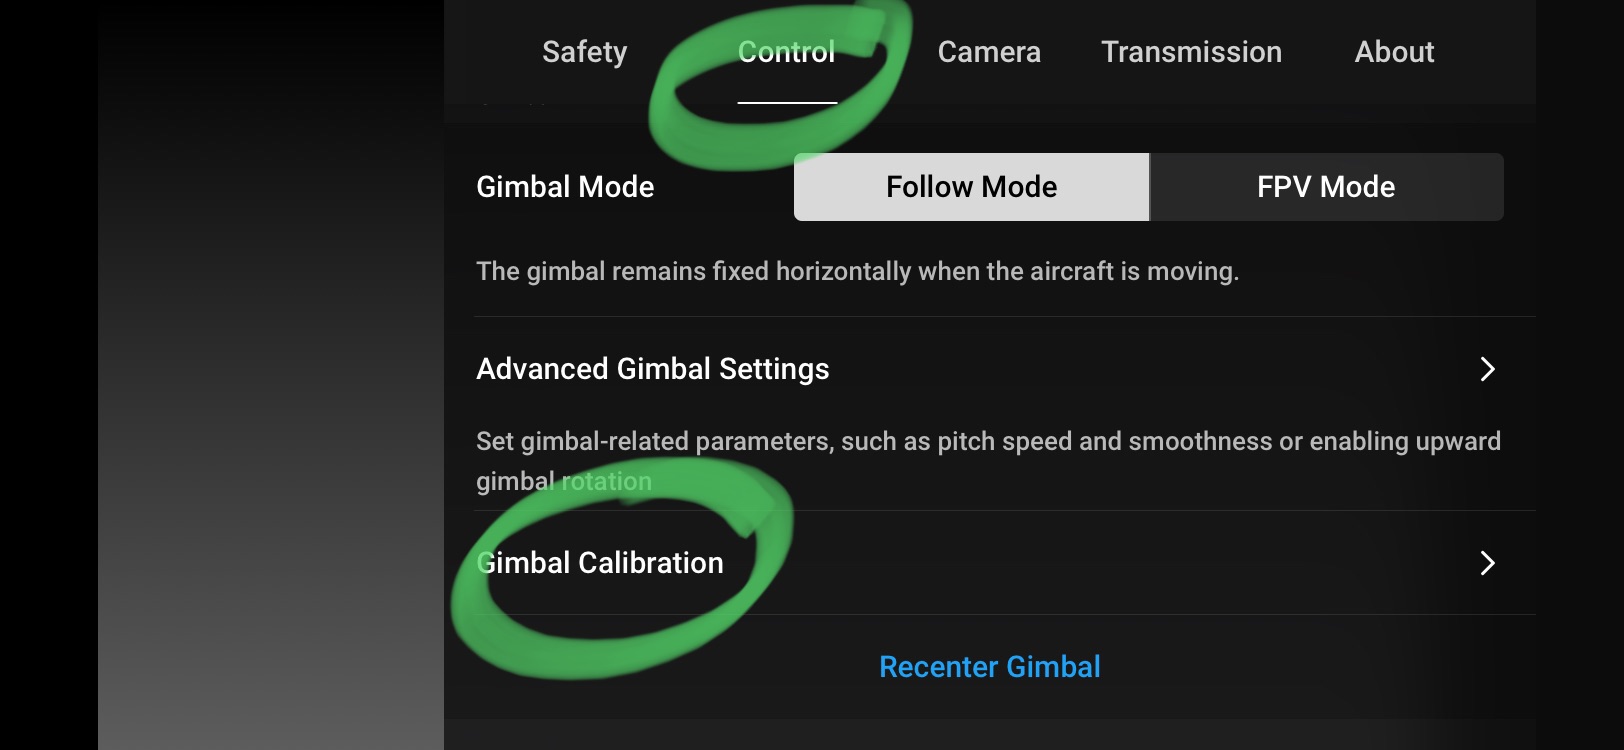
- Access gimbal settings: Once connected, navigate to the settings menu in the DJI Fly app. Look for the gimbal calibration option; it is usually under the gimbal section or camera settings.
- Select gimbal calibration: Tap on the gimbal calibration option to initiate the calibration process. A prompt may appear, asking you to place the drone on a flat and level surface. Follow the instructions and place your drone as instructed.
- Wait for calibration to complete: Your DJI Mini 3 Pro drone will now start calibrating the gimbal. The process may take a few minutes, and the gimbal may move and adjust itself automatically. Do not interfere with the drone or gimbal during calibration.
- Ensure successful calibration: Once the calibration process is complete, the app will notify you. Check the gimbal movement by tilting the drone forward, backward, and to the sides. The camera should remain level and stable, indicating a successful calibration.
- Perform test shots: Take a few test shots or record a short video to ensure that the gimbal stabilization is working correctly. Review the footage on your smartphone or tablet and check for any signs of instability or abnormal movements.
- Repeat if necessary: If you notice any issues with the gimbal’s stabilization or camera alignment, you may need to repeat the calibration process. Follow the same steps and ensure that the drone is placed on a stable surface.
Following these steps will help you achieve a properly calibrated gimbal for your DJI Mini 3 Pro drone. Remember to take your time and be patient throughout the process. Now that you have successfully calibrated your gimbal, let’s move on to some tips for a successful calibration.
Tips for a successful calibration
Calibrating your DJI Mini 3 Pro gimbal can be a straightforward process, but there are a few tips that can ensure a successful calibration and optimize the performance of your drone’s camera:
- Choose a stable environment: When calibrating the gimbal, make sure you are in a stable and quiet environment. Avoid areas with strong winds, vibrations, or loud noises that can affect the calibration process.
- Ensure a level surface: Before starting the calibration, ensure that the surface you place your drone on is flat and level. This helps the gimbal align properly and ensures accurate camera angles during flights.
- Avoid touching the gimbal: During the calibration process, avoid touching or moving the gimbal as it adjusts itself. Any interference can lead to inaccurate calibration and affect the overall stability of the camera.
- Keep the drone steady: Make sure the drone is perfectly still during the calibration process. If the drone moves or tilts, it can affect the calibration and potentially lead to unstable footage.
- Check for firmware updates: Before calibrating the gimbal, ensure that both the DJI Fly app and the drone’s firmware are up to date. Firmware updates often include improvements and bug fixes that can enhance the gimbal’s performance and stabilization.
- Perform regular calibrations: While it is recommended to calibrate the gimbal before every flight, it’s also beneficial to perform regular recalibrations over time. This helps maintain optimal performance and compensates for any changes or movements that may affect the gimbal’s alignment.
- Monitor for abnormal movements: After calibration, monitor the gimbal’s movements during your test shots or flights. Look out for any signs of instability, jerky movements, or tilting that may indicate the need for further adjustments or recalibration.
- Consult the DJI Mini 3 Pro user manual: If you encounter any issues or have specific questions about gimbal calibration, refer to the user manual that came with your DJI Mini 3 Pro drone. It provides detailed instructions and troubleshooting tips specific to your drone model.
By following these tips, you can ensure a successful calibration of your DJI Mini 3 Pro gimbal and enjoy stable and high-quality footage during your drone flights. Now that you have the necessary information for a successful calibration, let’s explore some additional troubleshooting and maintenance tips.
Additional troubleshooting and maintenance tips
While calibrating your DJI Mini 3 Pro gimbal can resolve most stability issues, there are additional troubleshooting and maintenance tips that can help optimize the performance of your gimbal and ensure a smooth flight experience:
- Check for physical damage: Before each flight, inspect the gimbal and camera for any physical damage, such as scratches or loose parts. Address any issues promptly to prevent further damage or affecting the gimbal’s performance.
- Keep the gimbal clean: Dust, dirt, and debris can affect the performance of the gimbal. Clean the gimbal and camera lens regularly using a microfiber cloth, ensuring that no smudges or fingerprints are obstructing the lens.
- Store the drone properly: When not in use, store your DJI Mini 3 Pro drone in a protective case or bag to prevent any damage to the gimbal or camera. Ensure that the storage area is dry, clean, and free from extreme temperatures.
- Avoid extreme temperature changes: Rapid changes in temperature can cause condensation to form on the gimbal and camera lens. Allow the drone to adjust to the new temperature gradually before using it to prevent any moisture-related issues.
- Perform firmware updates: Regularly check for firmware updates for both the drone and the DJI Fly app. Firmware updates often introduce new features, improvements, and bug fixes that can enhance the overall performance of the gimbal.
- Rebalance the gimbal: If you notice that the gimbal is not aligned properly even after calibration, you may need to rebalance it. Follow the instructions in the user manual to adjust the gimbal’s balance by loosening or tightening specific screws.
- Handle the drone with care: When transporting and handling your DJI Mini 3 Pro drone, be gentle and avoid any sudden movements or impacts that could affect the gimbal’s alignment. Treat the drone with care to prevent any damage or misalignments.
- Seek technical support: If you encounter persistent issues with the gimbal’s stability or experience abnormal behavior, it’s recommended to reach out to DJI’s technical support. They can provide guidance and assistance tailored to your specific situation.
By following these troubleshooting and maintenance tips, you can maximize the performance and longevity of your DJI Mini 3 Pro gimbal. Remember to stay updated with the latest firmware, keep the gimbal clean, and handle the drone with care. With proper maintenance, you can enjoy smooth, stable, and high-quality footage during your drone flights.
Conclusion
Calibrating your DJI Mini 3 Pro gimbal is an essential task that ensures optimal performance and stability for your drone’s camera. By following the step-by-step guide, gathering the necessary items, and implementing the tips provided, you can achieve a properly calibrated gimbal and capture stunning footage during your drone flights.
Remember the importance of a stable environment, a level surface, and patience during the calibration process. Regularly check for firmware updates, keep your gimbal clean, and handle your drone with care to maintain its performance and extend its lifespan.
Should you encounter any issues or require further assistance, consult the user manual or reach out to DJI’s technical support for guidance specific to your DJI Mini 3 Pro model.
By prioritizing the calibration and maintenance of your DJI Mini 3 Pro gimbal, you can enjoy optimal flight performance, smooth footage, and a more satisfying aerial photography experience. Get ready to capture breathtaking moments with confidence and precision.


