Introduction
Are you a content creator looking to enhance your streaming experience with some catchy tunes? Look no further! In this guide, we will show you how to add Spotify to OBS (Open Broadcaster Software), a popular streaming platform used by many content creators to broadcast their content live. By integrating Spotify into OBS, you can create an immersive audio experience for your viewers and keep them engaged throughout your stream.
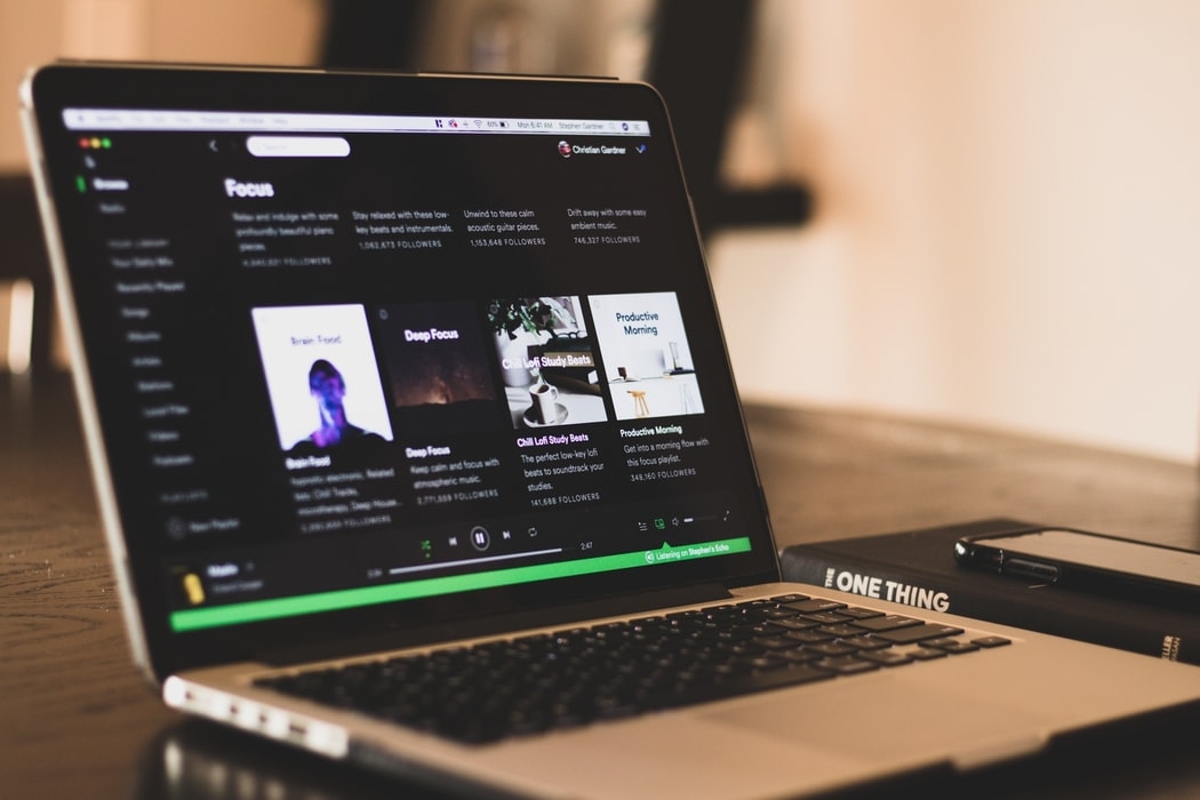
Spotify is a leading music streaming platform that offers a vast library of songs, playlists, and podcasts. By combining the power of OBS with the wide range of music choices available on Spotify, you can transform your stream into an entertaining and dynamic audiovisual experience.
Adding Spotify to OBS allows you to play your favorite tracks, show the currently playing song, and even display your Spotify overlay on your stream. Whether you’re a gamer, a vlogger, or a podcaster, integrating Spotify into OBS can take your content to the next level.
In this step-by-step guide, we will walk you through the process of adding Spotify to OBS, from downloading and installing OBS to customizing your Spotify overlay. We’ll also show you how to test your Spotify overlay in OBS to ensure everything is working perfectly before you go live.
But before we dive in, it’s important to note that you should have a Spotify Premium account to use the Spotify plugin with OBS. This is because the Spotify plugin relies on the Spotify Web API, which is only available for Premium users. If you don’t have a Spotify Premium account, you can sign up for one on the Spotify website or via the mobile app.
Step 1: Download and install OBS
The first step in adding Spotify to OBS is downloading and installing OBS on your computer. OBS is a free and open-source software that allows you to capture and stream video footage from your computer. Follow these steps to download and install OBS:
- Visit the official OBS website at www.obsproject.com and navigate to the downloads page.
- Choose the version of OBS that is compatible with your operating system (Windows, macOS, or Linux) and click the corresponding download button.
- Once the download is complete, locate the installation file and run it.
- Follow the on-screen instructions to install OBS on your computer.
- Launch OBS after the installation is complete.
Congratulations! You have successfully downloaded and installed OBS on your computer. OBS is now ready to be set up with the Spotify plugin, which we will discuss in the next step.
Note: If you already have OBS installed on your computer, make sure it is updated to the latest version before proceeding. You can check for updates within the OBS software or by visiting the OBS website.
In this guide, we will be using the latest version of OBS at the time of writing. However, the process of adding Spotify to OBS remains similar across different versions.
Step 2: Install the Spotify plugin
After successfully installing OBS, the next step is to install the Spotify plugin. This plugin is necessary to integrate Spotify into OBS and enables you to control and display your Spotify audio on your stream. Follow these steps to install the Spotify plugin:
- Go to the official OBS website and navigate to the plugins page.
- Search for the Spotify plugin in the search bar or browse through the available plugins until you find the “Spotify Plugin” option.
- Click on the plugin to access its download page, and make sure to select the version that is compatible with your operating system.
- Download the Spotify plugin installation file to your computer.
- Once the download is complete, locate the installation file and run it.
- Follow the on-screen instructions to install the Spotify plugin into OBS.
- Restart OBS for the changes to take effect.
Great! You have successfully installed the Spotify plugin in OBS. This plugin allows you to access and control Spotify’s features directly from within OBS, making it easier to manage and display your music during your stream.
Note: Ensure that you are always downloading plugins from reliable sources to avoid any security risks. Stick to the official OBS website or other verified plugin repositories when installing plugins for OBS.
In the next step, we will discuss how to set up the Spotify plugin in OBS to start integrating Spotify into your streams.
Step 3: Set up the Spotify plugin in OBS
Now that you have installed the Spotify plugin in OBS, it’s time to set it up and configure it to work seamlessly with Spotify. Follow these steps to set up the Spotify plugin in OBS:
- Open OBS on your computer.
- Click on the “Sources” tab in the bottom left corner of the OBS interface.
- Click on the “+” button to add a new source.
- Select “Browser” from the list of available sources.
- Give your source a name (e.g., “Spotify Overlay”) and click “OK”.
- In the “URL” field, enter the following URL: http://localhost:8080/spotify-overlay/
- Under the “Width” and “Height” options, adjust the dimensions of the browser source to fit your overlay preferences.
- Click “OK” to save the settings.
That’s it! You have successfully set up the Spotify plugin in OBS. OBS will now display your Spotify overlay in the specified dimensions on your stream. This overlay will show information about the currently playing song, such as the track title, artist name, and album cover.
Feel free to customize the appearance of the Spotify overlay to match your stream’s branding by using CSS styling. You can modify the font, color, size, and positioning of the Spotify overlay elements by editing the CSS code associated with the overlay.
Once you’re satisfied with your configuration, you can move on to the next step of customizing your Spotify overlay in OBS.
Step 4: Customize your Spotify overlay
Now that you have set up the Spotify plugin in OBS, it’s time to unleash your creativity and customize your Spotify overlay. This step allows you to personalize the appearance of the overlay to match your streaming style and aesthetic. Follow these steps to customize your Spotify overlay:
- Open OBS on your computer.
- Locate the Spotify overlay source that you added in the previous step.
- Right-click on the Spotify overlay source and select “Filters” from the context menu.
- In the Filters window, click on the “+” button to add a new filter.
- Select “Effect Filter” and choose “Chroma Key” from the dropdown menu.
- Adjust the settings of the Chroma Key filter to make the background of the overlay transparent or replace it with a different color.
- Click “OK” to apply the Chroma Key filter.
- Further customize the overlay by adjusting the size, position, and rotation of the Spotify overlay source in the OBS preview window.
- You can also add additional elements to your overlay, such as your logo, social media handles, or any other visual elements that complement your stream’s branding.
Take your time to experiment with different settings and design elements to create a visually appealing and cohesive Spotify overlay. By customizing the Spotify overlay, you can make it stand out and add a unique touch to your streaming experience.
Remember to regularly test your overlay while customizing it to ensure that it appears as intended during your stream. Make any necessary adjustments to achieve the desired look and feel.
Once you are satisfied with your customized Spotify overlay, you are ready to move on to the final step: testing your Spotify overlay in OBS to ensure everything is working perfectly before you go live.
Step 5: Test your Spotify overlay in OBS
Before you go live with your stream, it’s crucial to test your Spotify overlay in OBS to confirm that everything is working as expected. This step ensures that you have a smooth and glitch-free streaming experience. Follow these steps to test your Spotify overlay in OBS:
- Open OBS on your computer.
- Click on the “Start Streaming” button to begin your stream.
- Play a song on Spotify to test the functionality of the overlay.
- Observe the stream preview in OBS to verify that the Spotify overlay is appearing correctly and showing the expected information, such as the track title, artist name, and album cover.
- If you encounter any issues or discrepancies, go back to the previous steps to double-check your settings, configurations, and customization choices.
- Make necessary adjustments to the overlay source, filters, or other OBS settings to resolve any issues that arise during testing.
- Continue experimenting and testing until you are satisfied with the performance and appearance of the Spotify overlay in OBS.
It’s recommended to test your Spotify overlay in OBS multiple times, especially when you make any changes to the overlay or OBS settings. Regular testing allows you to identify and address any potential issues before going live, ensuring a polished and professional stream experience for your viewers.
Remember to play around with different songs and playlists on Spotify to ensure that the overlay displays accurate information for any track you choose. Test various scenarios, such as skipping tracks, pausing and resuming playback, and accessing different parts of your Spotify library, to ensure smooth functionality throughout your stream.
Once you are confident that your Spotify overlay is working flawlessly in OBS, you are ready to go live and entertain your audience with an engaging audio experience.
Conclusion
Congratulations! You have successfully learned how to add Spotify to OBS and integrate a dynamic audio experience into your live streams. By following the steps outlined in this guide, you can now play, control, and display your favorite music from Spotify directly within OBS.
Adding Spotify to OBS allows you to enhance your stream with a wide variety of songs, playlists, and podcasts available on the Spotify platform. With the Spotify plugin and customized overlay, you can engage your viewers, create a unique atmosphere, and showcase your musical taste to your audience.
Remember to always keep your OBS software and plugins up to date to ensure compatibility and access to the latest features and improvements. Additionally, regularly testing your Spotify overlay in OBS ensures a glitch-free and professional streaming experience for you and your viewers.
Now that you’ve mastered the process of integrating Spotify into OBS, feel free to explore further customization options, such as adding additional sources, playing with different visual effects, or incorporating other audio sources into your streams. The possibilities are endless, and you have the tools to create captivating and entertaining content for your audience.
So, fire up your OBS, queue up your favorite tunes on Spotify, and get ready to take your live streaming experience to a whole new level with an immersive and engaging audio experience.