Introduction
Are you looking to level up your streaming or recording game? One crucial element in creating high-quality content is capturing audio from your capture card. Whether you’re live streaming gameplay or recording footage for later use, being able to hear the audio from your capture card is essential for an immersive experience.
In this guide, we’ll walk you through the steps to hear audio from your capture card using OBS (Open Broadcaster Software). OBS is a popular and powerful software tool used by streamers and content creators to capture and stream their gameplay or other media sources.
Setting up your capture card and configuring OBS to capture audio from it might seem daunting at first, but don’t worry! This guide will provide you with easy-to-follow instructions to ensure a smooth and seamless setup process.
Before we dive into the technical details, it’s essential to understand the importance of capturing audio from your capture card. By including audio from your gameplay or other media sources, you can enhance the overall viewer experience. Whether it’s the sound effects in a video game or the commentary during a live stream, audio adds depth and excitement to your content.
Without further ado, let’s get started on setting up your capture card and configuring OBS to hear the audio!
Setting up your capture card
The first step to hearing audio from your capture card is ensuring that it is properly set up. Here’s a step-by-step guide to help you get started:
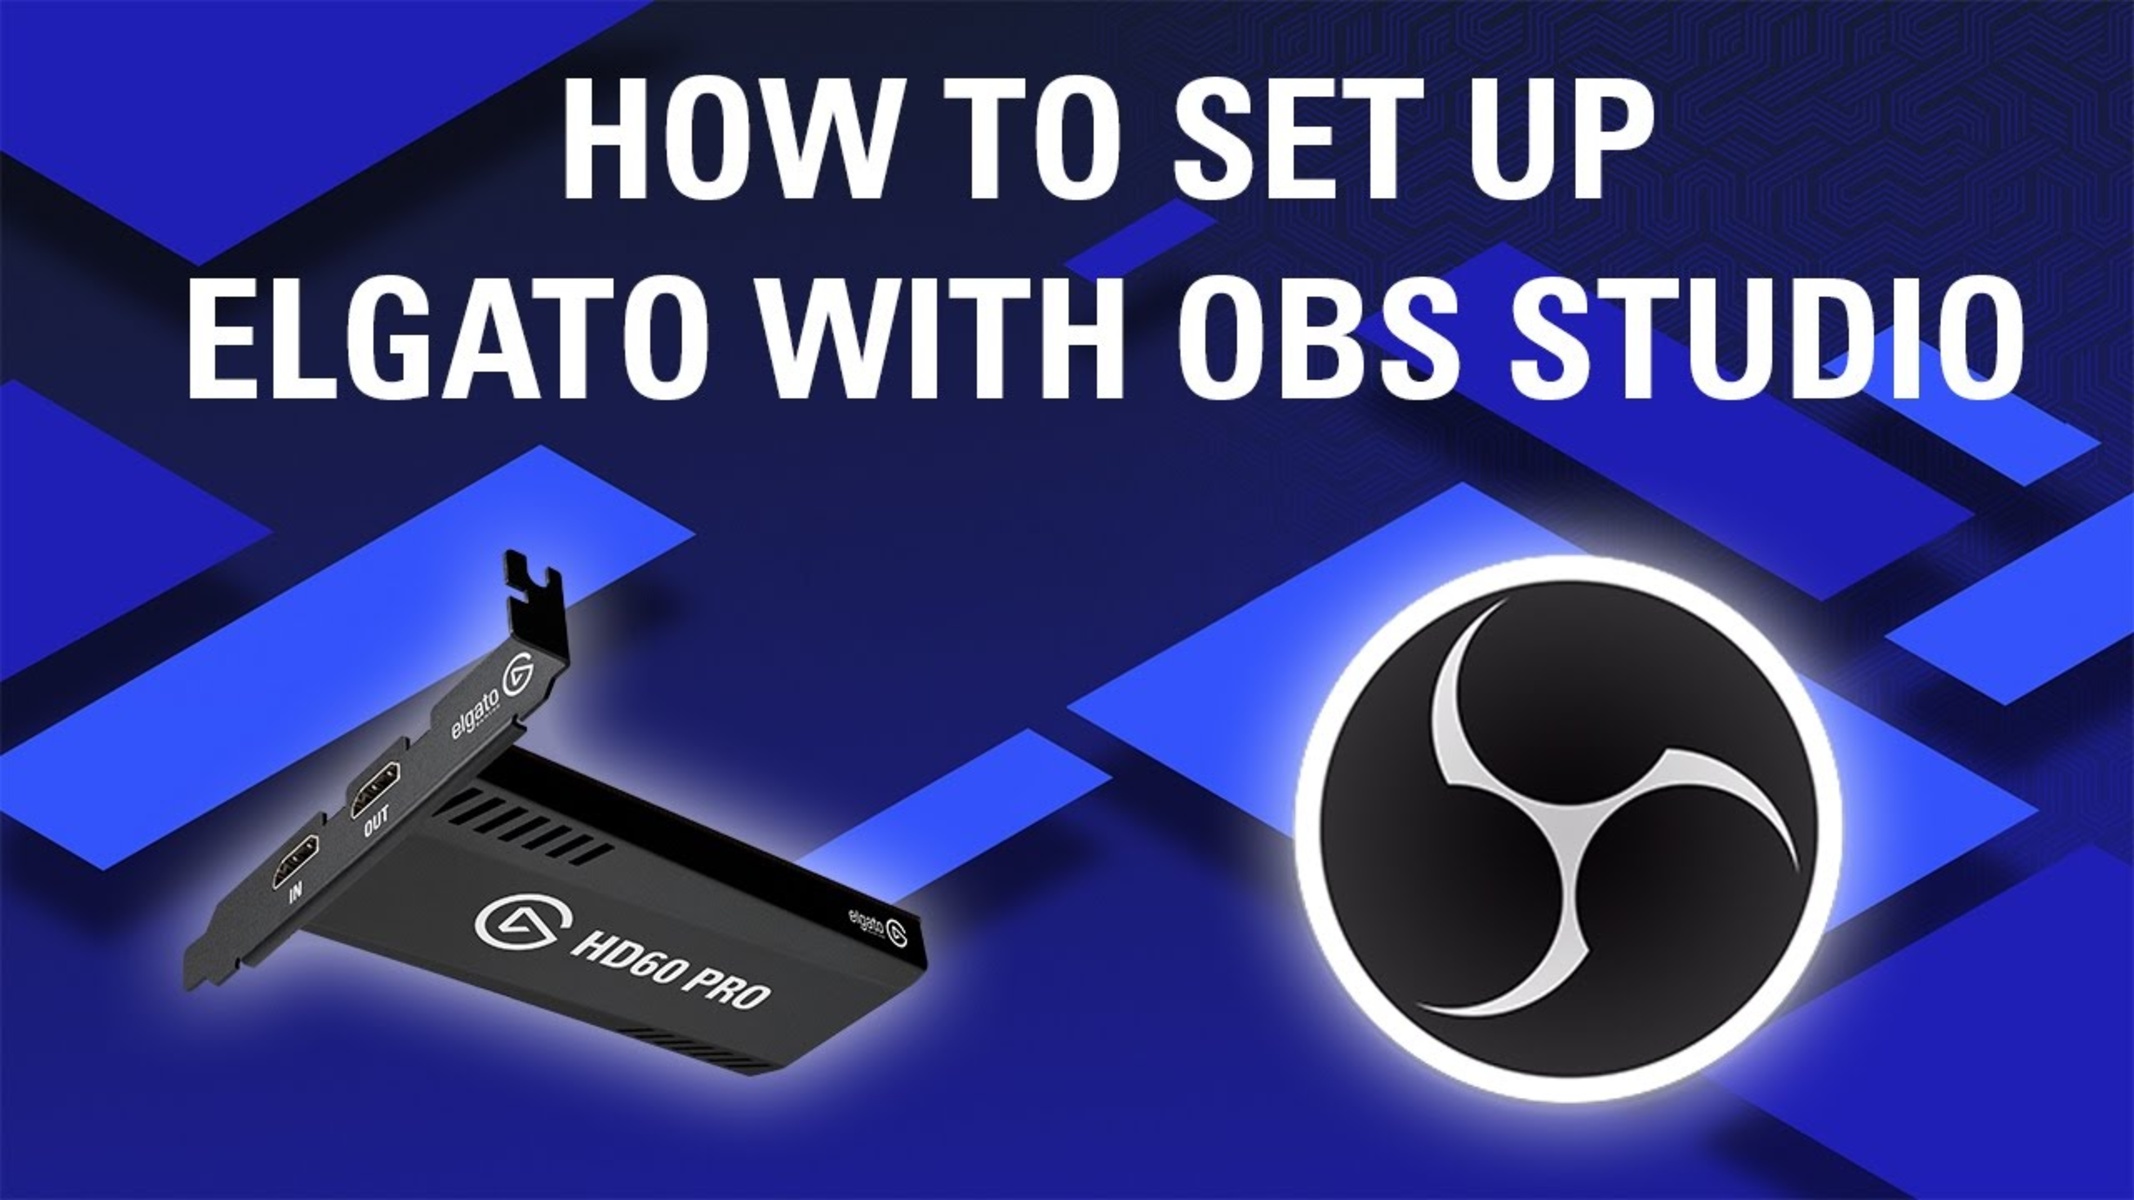
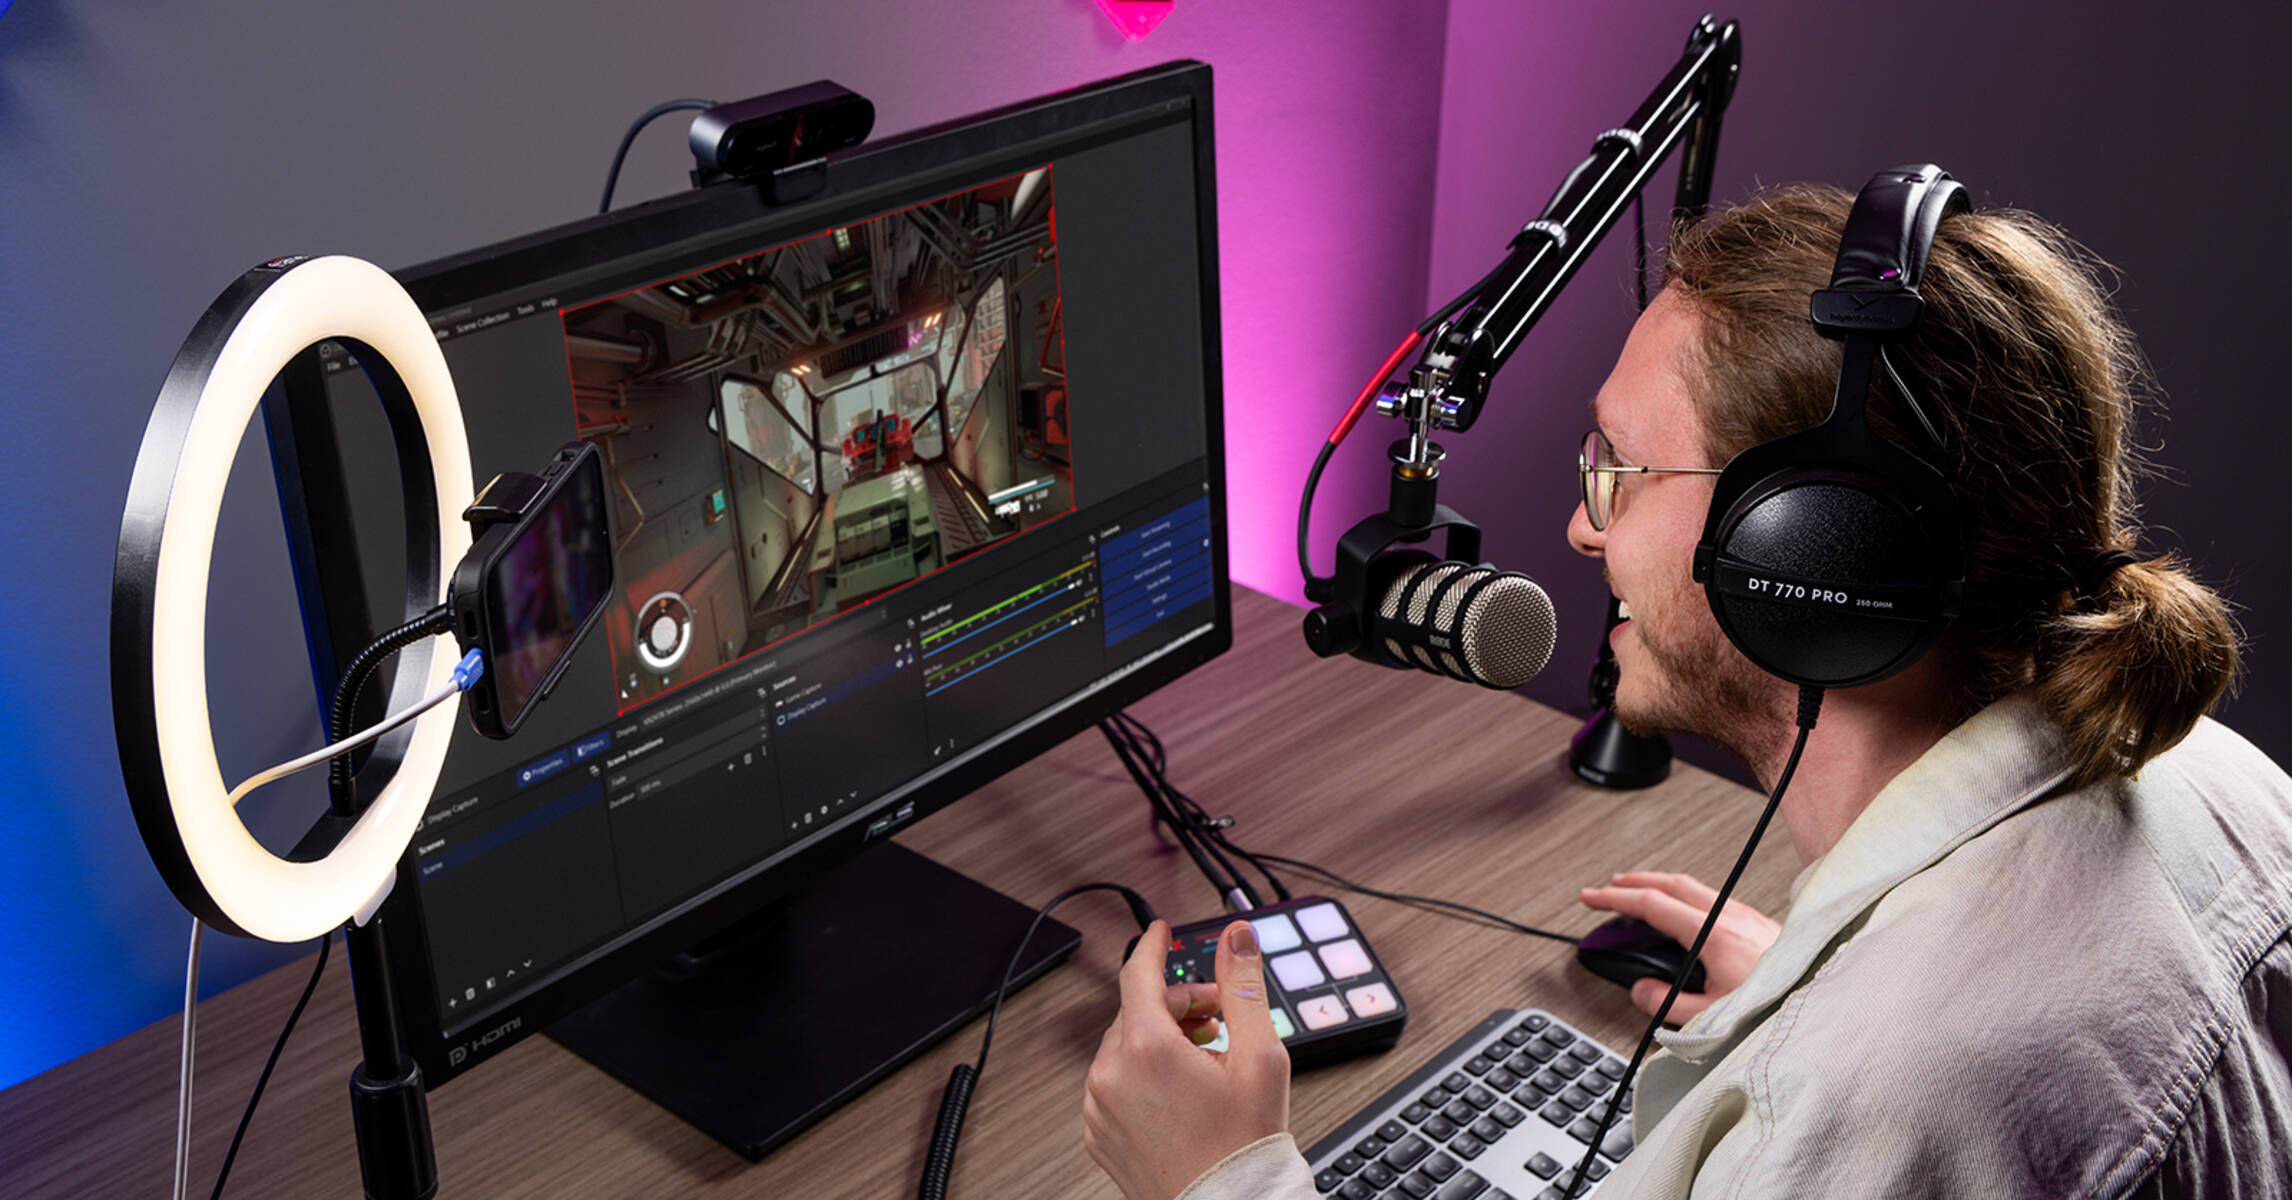
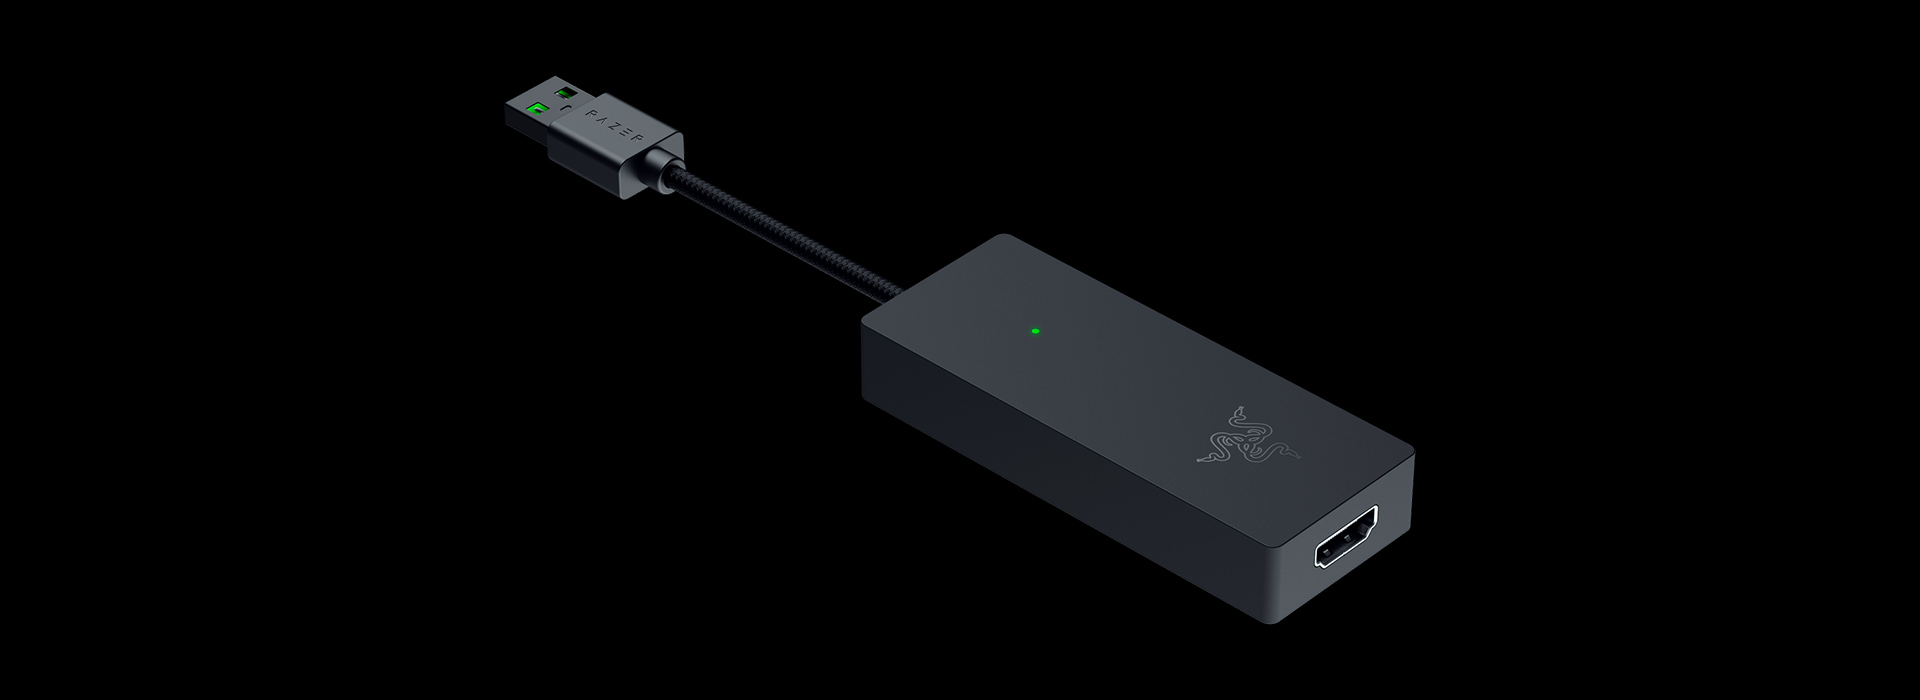
- Connect your capture card: Begin by connecting your capture card to your computer using the provided USB or HDMI cable. Make sure the capture card is compatible with your computer and operating system.
- Install the necessary software: Some capture cards require specific software to function correctly. Check the manufacturer’s website for the latest drivers and software, and install them on your computer.
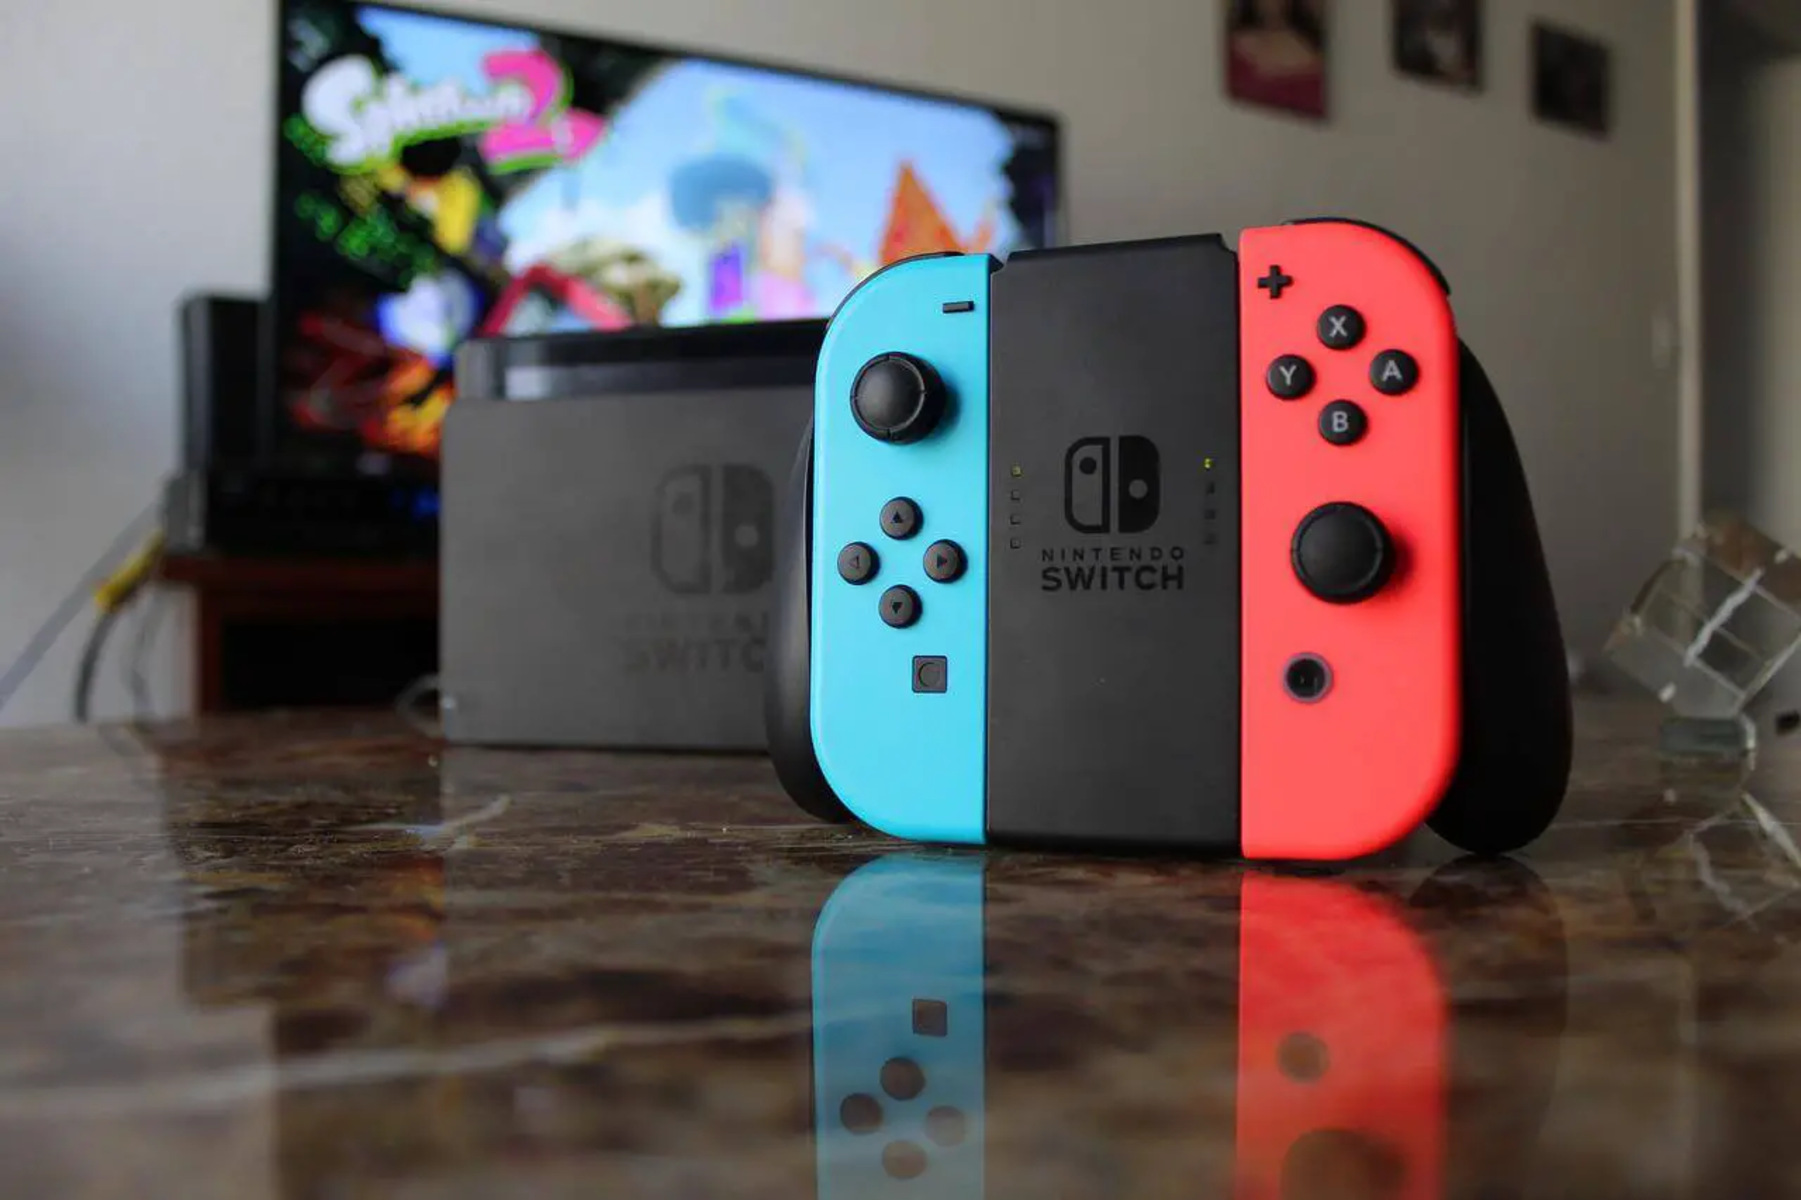
- Power up your console or other media source: If you’re using a capture card to record gameplay, make sure your console or gaming PC is powered on. For other media sources, such as a camera or mobile device, ensure they are connected and powered up as well.
- Connect your console to the capture card: Use HDMI or other appropriate cables to connect your gaming console or media source to the capture card. Follow the manufacturer’s instructions for the specific connections needed.
- Connect the capture card to your computer: Once your console is connected to the capture card, use another HDMI or USB cable to connect the capture card to your computer. Again, refer to the manufacturer’s instructions for the correct connections.
- Confirm the capture card is recognized: Open OBS or the software provided by the capture card manufacturer and check if the capture card is recognized. You may need to select it as a video source within the software.
By following these steps, you’ll ensure that your capture card is properly set up and ready to capture audio from your chosen media source. With the physical setup complete, it’s time to configure OBS to capture audio from your capture card.
Configuring OBS to capture audio from capture card
Now that your capture card is properly set up, it’s time to configure OBS to capture audio from it. OBS offers several options for capturing audio, including capturing desktop audio and specific audio sources. Here’s how you can configure OBS to capture audio from your capture card:
- Open OBS: Launch OBS on your computer. If you haven’t already installed OBS, download and install it from the official website.
- Select audio settings: Click on “Settings” at the bottom right of the OBS window. In the Settings menu, navigate to the “Audio” tab.
- Choose audio devices: Under the “Audio” tab, locate the “Mic/Auxiliary Audio” section. In the dropdown menu, select your capture card as the audio device. This will ensure that OBS captures audio directly from your capture card.
- Adjust the audio levels: In the same “Audio” tab, you can adjust the audio levels for your capture card. OBS allows you to control the volume of each audio source independently. Make sure the volume levels are balanced and optimized for the best audio quality.
- Additional audio sources: If you want to include other audio sources, such as a microphone or music playing from your computer, you can add them under the “Sources” section in OBS. Simply click on the “+” button and select the desired audio source.
- Preview and test: Before you start recording or streaming, click on the “Preview Stream” button to ensure that the audio from your capture card is coming through correctly. Adjust any audio settings as necessary.
Once you have configured OBS to capture audio from your capture card and adjusted the necessary audio settings, you are ready to start recording or streaming with audio! Take some time to familiarize yourself with the OBS interface and test different audio sources to achieve the desired audio mix for your content.
Remember to periodically check for software updates for both OBS and your capture card to ensure compatibility and access to the latest features and improvements. Now that you have successfully configured OBS to capture audio from your capture card, it’s time to fine-tune the audio settings within OBS to optimize your streaming or recording experience.
Adjusting audio settings in OBS
After configuring OBS to capture audio from your capture card, you may need to adjust some audio settings to ensure a more refined and professional sound. Consider the following steps to optimize your audio settings in OBS:
- Open OBS and access audio settings: Launch OBS and click on “Settings” at the bottom right of the window. Navigate to the “Audio” tab.
- Set the sample rate and audio format: Under the “Sample Rate” dropdown menu, select an appropriate sample rate for your audio. 44.1kHz is the standard for most audio, but higher sample rates may be necessary for specific purposes. Additionally, make sure the audio format is set to the desired setting (e.g., stereo or surround sound).
- Configure audio mixers: OBS provides separate audio mixers for each audio source. Adjust the volume sliders for your capture card audio and any additional audio sources to ensure the desired audio balance.
- Enable noise suppression and noise gate (optional): If you experience background noise or unwanted sounds, you can enable noise suppression and noise gate under the “Microphone/Auxiliary Audio” section. These options help eliminate background noise during your recordings or streams.
- Set audio sync offset: In some cases, the audio captured from your capture card may be slightly out of sync with the video. OBS allows you to adjust the audio sync offset to align the audio with the visuals. Experiment with small adjustments until the audio is synced correctly.
- Test and monitor audio levels: Use the audio monitoring feature in OBS to test and monitor the audio levels. This helps you ensure that the audio is neither too quiet nor too loud. Adjust the audio sources accordingly to achieve a balanced and pleasant sound.
It’s essential to periodically test your audio settings while recording or streaming to ensure everything sounds as intended. You can use OBS’s preview feature or record a short test video to review the audio quality and make any necessary adjustments.
Remember, finding the perfect audio balance may take some time and experimentation. Consider seeking feedback from viewers or trusted friends to fine-tune your audio settings further.
By adjusting the audio settings in OBS, you can enhance the overall audio quality of your recordings or streams, providing a more immersive experience for your audience. Take the time to optimize these settings to achieve professional-quality audio within your content.
Troubleshooting common audio issues
While setting up and configuring audio in OBS, you may encounter some common audio issues. Don’t worry! Here are a few troubleshooting tips to help you resolve them:
- No audio from the capture card: If you’re not hearing any audio from your capture card, double-check the connections between your capture card and the computer. Ensure that the capture card is recognized in OBS and selected as the audio source. If necessary, try reconnecting the cables or restarting your computer.
- Audio out of sync: If you notice that the audio from your capture card is out of sync with the video, adjust the audio sync offset in OBS. Start with small adjustments until you find the perfect alignment.
- Poor audio quality: If the audio quality from your capture card is poor or distorted, verify that all cables are securely connected. Additionally, check if your capture card requires any driver updates. Adjust the audio levels in OBS and experiment with noise suppression and noise gate settings to improve the overall audio quality.
- Background noise or echo: If you’re experiencing background noise or echo in your audio recordings or streams, enable noise suppression and noise gate in OBS. These features help reduce unwanted background sounds and improve the clarity of your audio.
- No audio from additional sources: If you’re using other audio sources with your capture card, such as a microphone or music, make sure they are selected and properly configured in OBS. Double-check the audio mixer settings within OBS to ensure the volume sliders are adjusted correctly for each audio source.
- Software or driver conflicts: In some cases, conflicts between OBS and other audio software or drivers can cause audio issues. Ensure that you have the latest updates for OBS and your capture card’s software or drivers. You may need to uninstall and reinstall the software if conflicts persist.
Remember, troubleshooting audio issues can be a trial-and-error process. Take the time to systematically identify and resolve any problems you encounter. If you’re still facing issues after troubleshooting, consider reaching out to online communities or support forums dedicated to OBS or your specific capture card for additional assistance.
With patience and persistence, you’ll be able to overcome common audio issues and enjoy a seamless audio experience in your recordings or live streams.
Conclusion
Setting up and configuring your capture card to capture audio in OBS is an important step in creating immersive streaming or recording experiences. By following the steps outlined in this guide, you can ensure that you hear the audio from your capture card seamlessly.
Remember, the key to a successful setup is proper physical connection of your capture card and configuring OBS to capture audio from it. Take the time to check that all cables are securely connected and that the capture card is recognized in OBS. Additionally, adjusting audio settings within OBS can help optimize the audio quality and achieve the desired balance between different audio sources.
If you encounter any audio issues, don’t get discouraged. Troubleshooting common problems, such as no audio, audio synchronization, or poor audio quality, can often be resolved by checking connections, adjusting settings, and updating software or drivers.
Whether you’re live streaming gameplay, recording tutorials, or producing content with media sources, capturing audio from your capture card enhances the overall viewer experience. It adds depth and excitement, allowing your audience to fully immerse themselves in the content you create.
So, dive in, follow the steps outlined in this guide, and enjoy the benefits of incorporating audio from your capture card into your recordings or live streams. With practice and experimentation, you’ll be able to fine-tune your audio setup to deliver professional-quality sound to your audience.
Now that you’re equipped with the knowledge to hear audio from your capture card in OBS, go ahead and start creating amazing content that engages and entertains your viewers!