Introduction
In today’s digital age, recording TV screens has become a common practice for various purposes, such as capturing gameplay footage, creating tutorials, or simply preserving memorable moments. While the traditional method of using a capture card has been widely used, there are alternative ways to achieve screen recording without the need for a capture card. This article will explore several methods that allow you to record your TV screen without a capture card, using different software and devices.
Whether you are a gamer looking to showcase your skills or a content creator wanting to produce high-quality videos, these methods can help you achieve your goals without the hassle and expense of purchasing a capture card.
Each method has its own advantages and limitations, so it’s important to choose the one that best suits your needs and the devices you have at hand. From using screen recording software like OBS Studio to leveraging built-in features on your smartphone or gaming console, there are options available for every user.
Now, let’s dive into these methods and discover how you can record your TV screen without a capture card.
Method 1: Using OBS Studio
OBS Studio (Open Broadcaster Software) is a free and open-source software widely used by streamers and content creators for capturing and streaming video content. One of its key features is the ability to record anything on your screen, including your TV screen, without the need for a capture card.
To start using OBS Studio for TV screen recording, you first need to download and install the software from the official OBS website. Once installed, follow these steps:
- Connect your TV to your computer: Ensure that you have a supported HDMI cable or adapter to connect your TV to your computer. This will allow OBS Studio to capture the display from your TV.
- Launch OBS Studio: Open the OBS Studio software on your computer.
- Create a new scene: In the Scenes section, click the ‘+’ icon and give your scene a name.
- Add a source: Within your scene, click the ‘+’ icon in the Sources section and select ‘Display Capture’.
- Configure the display capture: In the Display Capture settings, choose your TV or the display you want to record from the Display drop-down menu. You can also customize other settings like resolution and frame rate.
- Adjust the size and position: Resize and reposition the capture window to fit your desired recording area.
- Start recording: Once everything is set up, click the ‘Start Recording’ button to begin capturing your TV screen.
- Stop recording: To stop the recording, click the ‘Stop Recording’ button.
OBS Studio offers advanced features such as scene transitions, audio mixing, and customizable overlays, allowing you to enhance your TV screen recordings. It also supports various output formats and settings, enabling you to tailor your recordings to your specific needs.
Keep in mind that using OBS Studio for TV screen recording may require a capable computer, as it relies on your system’s processing power to capture, encode, and save the recordings.
Now that you know how to use OBS Studio for TV screen recording, let’s explore other methods that can help you achieve the same goal without a capture card.
Method 2: Using a Screen Recording App
If you’re using a mobile device or tablet, another convenient way to record your TV screen without a capture card is by utilizing a screen recording app. These apps can be easily downloaded from your device’s app store and provide a simple and effective solution for capturing your TV screen.
Here’s a step-by-step guide on how to record your TV screen using a screen recording app:
- Download a screen recording app: Search for a reputable screen recording app in your device’s app store and download it.
- Connect your mobile device to your TV: Use an HDMI adapter or Chromecast to connect your mobile device to your TV screen. Make sure they are connected properly.
- Launch the screen recording app: Open the screen recording app on your mobile device.
- Set the recording area: Choose the screen area you want to record. Most screen recording apps allow you to manually adjust the recording window or select the entire screen for recording.
- Adjust recording settings: Configure the recording settings, such as resolution, frame rate, and audio source, according to your preferences.
- Start the screen recording: Once everything is set up, start the screen recording by tapping the ‘Record’ or similar button on the app.
- Begin playing the content on your TV: Start playing the content on your TV that you want to capture.
- End the recording: When you’re finished capturing the TV screen, stop the recording by tapping the ‘Stop’ or similar button on the app.
- Save and access the recording: The recorded video will be saved to your device’s gallery or a designated folder within the screen recording app. You can now access and share the recording as desired.
Screen recording apps vary in features and capabilities, so make sure to choose one that suits your specific requirements. The app’s user interface and settings may differ slightly, but the general steps mentioned above should apply to most screen recording apps.
Using a screen recording app offers a convenient and portable solution for recording your TV screen without the need for additional hardware. However, keep in mind that the quality of the recording may vary depending on the capabilities of your mobile device and the screen recording app itself.
Now that you know how to use a screen recording app, let’s explore other methods that can help you achieve TV screen recording without a capture card.
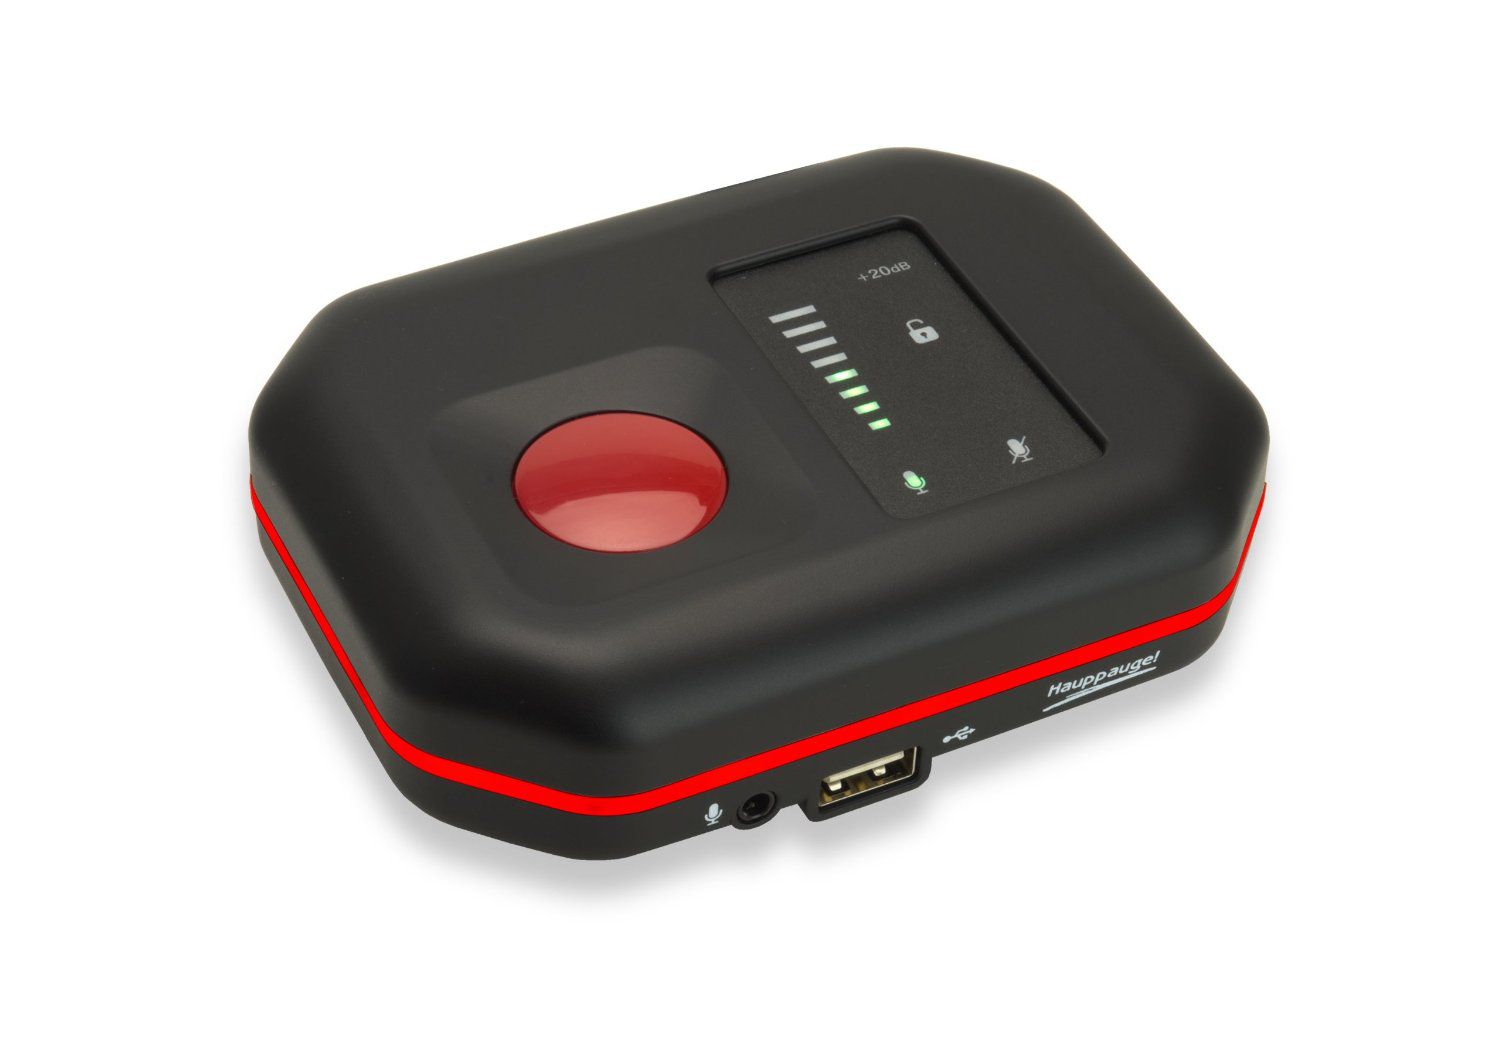
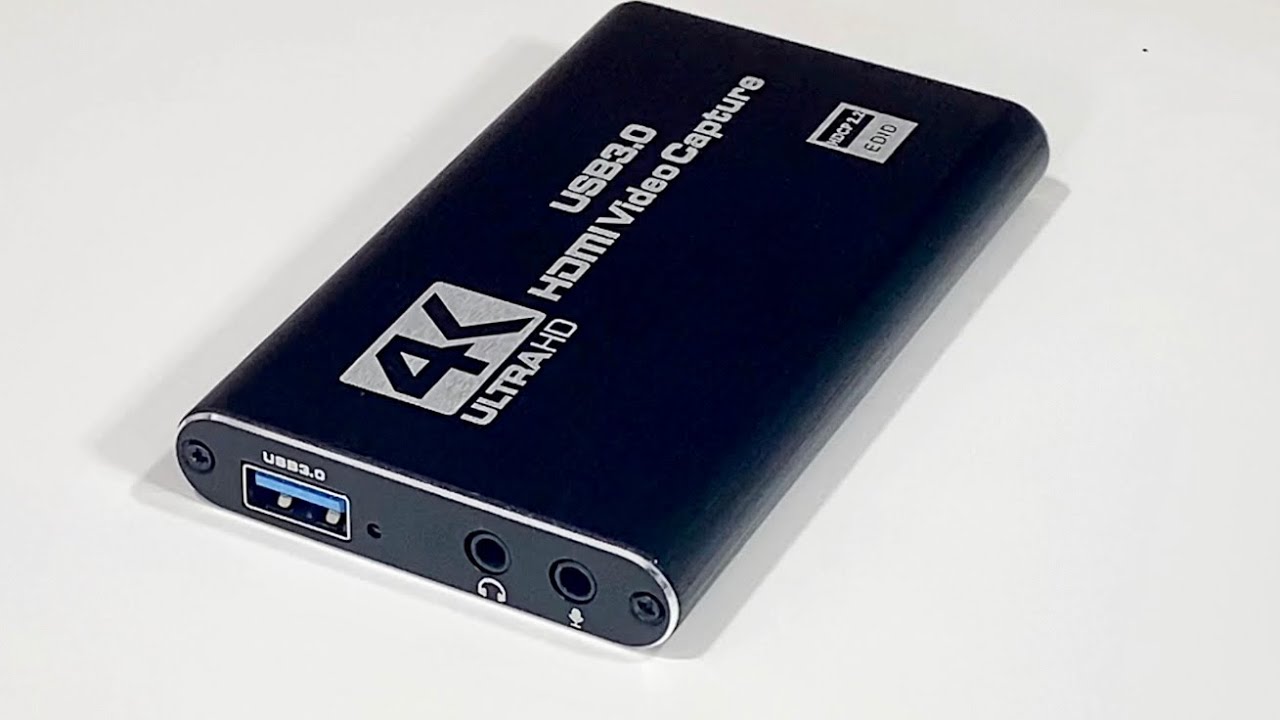
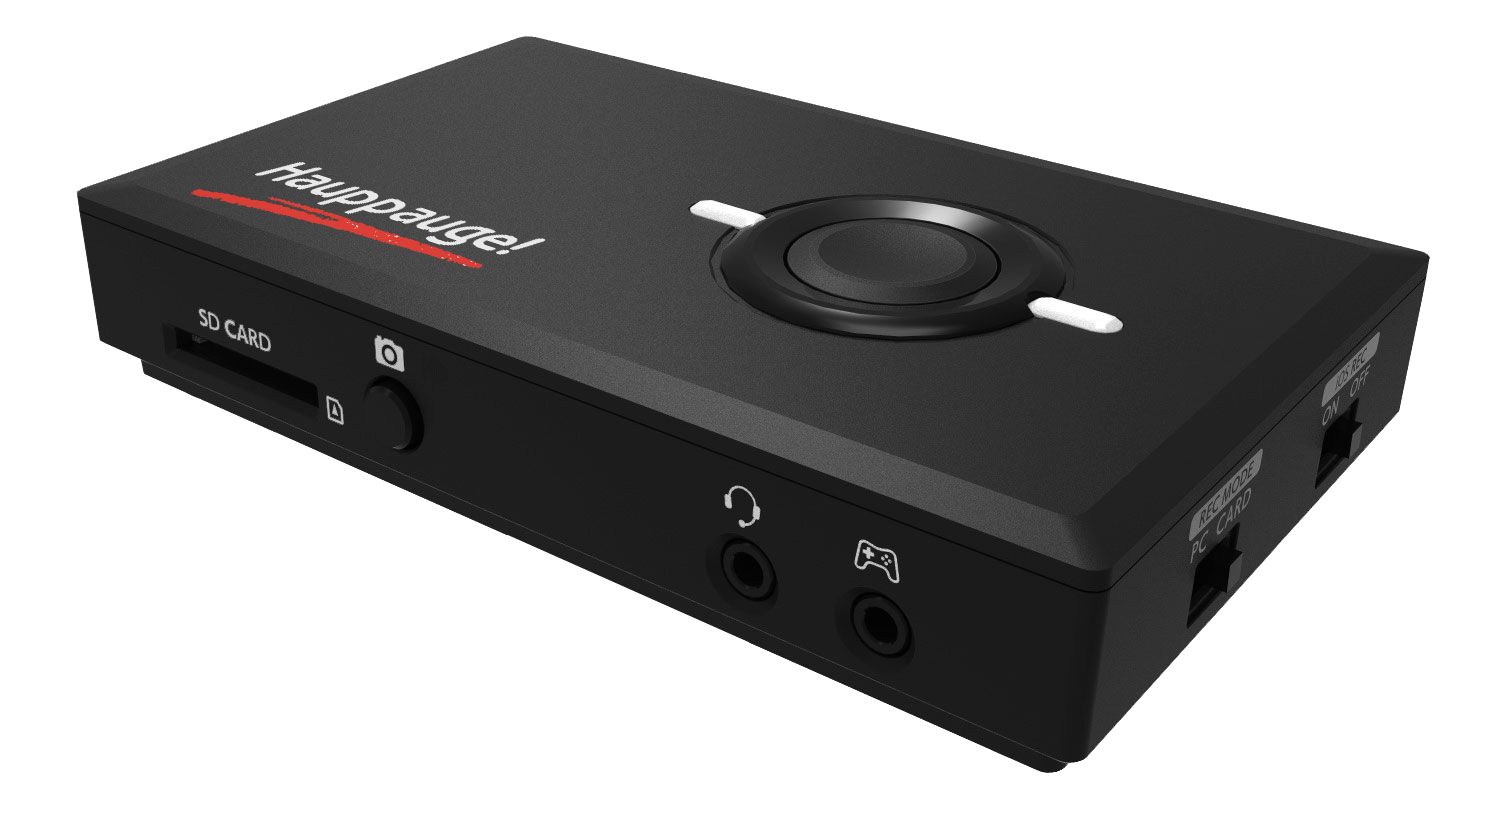
Method 3: Using a Video Capture Device
If you prefer a more hardware-based solution for recording your TV screen without a capture card, you can consider using a video capture device. This method allows you to connect your TV directly to the capture device, which then connects to your computer for recording purposes.
Here are the steps to follow when using a video capture device for TV screen recording:
- Choose a video capture device: Select a video capture device that is compatible with your computer and TV. There are various options available in the market, such as USB capture cards or external video encoders.
- Connect the video capture device to your computer: Connect the video capture device to your computer using the provided cables or adapters. Follow the manufacturer’s instructions for proper setup.
- Connect your TV to the video capture device: Use an HDMI cable or other supported cables to connect your TV to the video capture device. Make sure the connections are secure.
- Launch the recording software: Install and launch the recording software that comes with the video capture device. Some devices may require you to use specific software, while others may be compatible with third-party recording software such as OBS Studio.
- Configure the recording settings: Within the recording software, adjust the recording settings to your preferences. This can include selecting the audio source, setting the video resolution and frame rate, and choosing the destination folder for the recorded files.
- Start the recording: Once everything is set up, start the recording by pressing the ‘Record’ button in the recording software.
- Play the content on your TV: Begin playing the content on your TV that you want to capture. The video capture device will capture and record the screen as it is displayed on your TV.
- Stop the recording: When you’re finished capturing the TV screen, stop the recording by pressing the ‘Stop’ button in the recording software.
- Saved and access the recording: The recorded video will be saved to the designated folder specified in the recording software. You can now access and edit the recording as needed.
Using a video capture device provides a reliable and direct method for recording your TV screen. However, it may require an initial investment in purchasing the device, and the recording quality may depend on the capabilities of both the capture device and your computer.
Now that you know how to use a video capture device, let’s explore other methods that can help you achieve TV screen recording without a capture card.
Method 4: Using a TV Tuner Card
If you have a desktop computer with an available PCI or PCIe slot, you can utilize a TV tuner card to record your TV screen without the need for a capture card. A TV tuner card allows you to connect your TV signal directly to your computer, giving you the ability to capture and record live television.
To use a TV tuner card for TV screen recording, follow these steps:
- Purchase a TV tuner card: Select a TV tuner card that is compatible with your computer’s specifications and ports. Ensure that the card supports the specific type of TV signal that you wish to capture, such as cable or satellite.
- Install the TV tuner card: Open your computer’s case and locate an available PCI or PCIe slot. Insert the TV tuner card into the slot, making sure it is securely connected. Follow the manufacturer’s instructions for proper installation.
- Connect your TV signal to the TV tuner card: Use the appropriate cables to connect your TV signal source (such as a coaxial cable from a cable/satellite provider) to the input port on the TV tuner card.
- Install the TV tuner card software: Install the drivers and software that came with the TV tuner card. This software will allow you to control and configure the TV tuner card for recording purposes.
- Launch the TV tuner card software: Open the TV tuner card software on your computer.
- Select the TV channel: Within the TV tuner card software, select the channel that you want to record from. You can usually browse through available channels or input the channel number manually.
- Configure recording settings: Set the recording parameters, such as video resolution, audio source, and file format, according to your preferences.
- Start the recording: Once everything is set up, start the recording by clicking the ‘Record’ or similar button in the TV tuner card software.
- End the recording: When you’re finished capturing the TV screen, stop the recording by clicking the ‘Stop’ or similar button in the TV tuner card software.
- Access the recorded files: The recorded files will be saved to a designated folder specified in the TV tuner card software. You can now access and edit the recordings as desired.
Using a TV tuner card provides a seamless integration of TV signal and recording capabilities on your computer. It allows you to record live TV, making it ideal for capturing and saving your favorite shows or events.
Keep in mind that TV tuner cards may have specific system requirements and compatibility limitations, so make sure to check the specifications and ensure it is suitable for your computer setup and TV signal type.
Now that you know how to use a TV tuner card, let’s explore other methods that can help you achieve TV screen recording without a capture card.
Method 5: Using Xbox Game Bar (Windows 10)
If you own a Windows 10 computer, you can take advantage of the built-in Xbox Game Bar feature to record your TV screen without the need for a capture card. Originally designed for gamers, the Xbox Game Bar offers screen recording capabilities that can be used for capturing any content displayed on your screen, including your TV screen.
Follow these steps to use the Xbox Game Bar for TV screen recording:
- Enable the Xbox Game Bar: Press the ‘Windows key’ + ‘G’ on your keyboard to open the Xbox Game Bar. If prompted, select “Yes, this is a game” to enable the Xbox Game Bar for non-gaming applications.
- Launch the TV content: Open the TV app or streaming platform you want to record on your computer.
- Open the Xbox Game Bar overlay: While the TV content is playing, press the ‘Windows key’ + ‘G’ again to open the Xbox Game Bar overlay.
- Start the recording: In the Xbox Game Bar overlay, click the ‘Record’ button (the circle with a dot in the center) to start recording the screen.
- End the recording: To stop the recording, click the ‘Stop’ button (the square icon) in the Xbox Game Bar overlay.
- Access your recorded file: The recording will be saved in the ‘Videos’ folder on your computer by default. You can access and play back the recording using any video player.
The Xbox Game Bar also offers additional features such as capturing screenshots and adjusting audio settings while recording, providing a comprehensive recording experience.
Note that the Xbox Game Bar may not be available on older Windows versions or on all computers. Ensure that your system meets the requirements for using the Xbox Game Bar feature.
With the Xbox Game Bar, you have a convenient and straightforward method for recording your TV screen on Windows 10 without the need for external hardware or capture cards.
Now that you know how to use the Xbox Game Bar, let’s explore other methods that can help you achieve TV screen recording without a capture card.
Method 6: Using iOS Screen Recording (Apple Devices)
If you own an Apple device running iOS (iPhone, iPad, or iPod Touch), you can utilize the built-in screen recording feature to capture your TV screen without the need for any additional hardware or capture cards. iOS screen recording is a convenient and straightforward method for recording your TV screen directly on your Apple device.
Here’s how you can use iOS screen recording for TV screen recording:
- Enable screen recording: Open the Control Center on your Apple device by swiping down from the top-right corner (iPhone X and newer) or swiping up from the bottom of the screen (older devices) and tap the screen recording icon (a circle inside a circle).
- Configure recording settings: Tap the screen recording icon again to access and customize your recording settings. You can choose to record audio from the microphone, show touches on the screen, or adjust other options according to your preferences.
- Start recording: Once you have adjusted the settings, tap the ‘Start Recording’ button, and a countdown timer will appear. After the countdown, your device will begin recording everything displayed on the screen.
- Play the TV content: Open the TV app or streaming platform on your device and start playing the content you want to record on your TV screen.
- Stop the recording: To end the recording, simply tap the red status bar at the top of the screen and select ‘Stop’ or return to the Control Center and tap the screen recording icon again.
- Access the recorded video: The recorded video will be saved in the Photos app on your device. You can find it in the ‘Recently Added’ album or the ‘Screen Recordings’ album.
Using iOS screen recording provides a quick and convenient option for capturing your TV screen, making it suitable for recording gameplay, tutorials, or any other TV content you wish to preserve or share.
Note that screen recording may not be available on older iOS versions or on all Apple devices. Ensure that your device supports screen recording and update to the latest iOS version if necessary.
Now that you know how to use iOS screen recording, let’s explore other methods that can help you achieve TV screen recording without a capture card.
Method 7: Using Android Screen Recording (Android Devices)
If you own an Android device, you can take advantage of the built-in screen recording feature to capture your TV screen without the need for a capture card or external hardware. Android screen recording allows you to easily record and save anything displayed on your screen, including your TV screen, directly on your device.
Here’s how you can use Android screen recording for TV screen recording:
- Enable screen recording: Open the Quick Settings panel on your Android device by swiping down from the top of the screen, then swipe down again to expand the panel fully. Look for the ‘Screen Record’ icon and tap on it to enable screen recording.
- Adjust recording settings: Tap the gear icon or ‘Settings’ option that appears after enabling screen recording. From there, you can customize various recording options such as video quality, audio source, and show touches on the screen.
- Start recording: Once you have adjusted the settings, tap the ‘Start’ or ‘Record’ button to begin the screen recording process. You may be prompted to confirm your action.
- Play the TV content: Open the TV app or streaming platform on your device and start playing the content you want to record from your TV screen.
- Stop the recording: To finish the recording, open the Quick Settings panel again and tap the ‘Stop’ button or notification labeled ‘Screen Recording’. Alternatively, you can also tap the ‘Stop’ or ‘Pause’ button within the screen recording interface.
- Access the recorded video: The recorded video will be saved in the gallery or a designated folder on your device. You can find it by opening the gallery app or using a file manager app.
Android screen recording offers a convenient way to capture your TV screen directly on your device without the need for any additional equipment. It is especially useful for recording gameplay, tutorials, or any other TV content you want to preserve or share.
Note that screen recording features may vary slightly depending on the Android device and version of Android you are using. If you don’t have the screen recording feature built-in, you can explore third-party screen recording apps available in the Google Play Store.
Now that you know how to use Android screen recording, let’s explore other methods that can help you achieve TV screen recording without a capture card.
Conclusion
Recording your TV screen without a capture card is not only possible but also more accessible than ever before. Whether you’re a gamer, content creator, or simply someone who wants to capture memorable TV moments, there are various methods available to suit your needs.
In this article, we explored several methods for recording your TV screen without the need for a capture card. OBS Studio provides a powerful software solution for capturing your TV screen on your computer. Screen recording apps offer a convenient option for mobile devices, allowing you to record your TV screen directly on your phone or tablet. Video capture devices and TV tuner cards offer hardware-based solutions for capturing your TV screen and integrating it with your computer. On Windows 10, the Xbox Game Bar provides built-in screen recording capabilities, while iOS and Android devices offer their own screen recording features.
Each method has its own advantages and limitations, so it’s important to choose the one that best suits your device compatibility, budget, and specific requirements. Some methods may require additional hardware or software, while others rely on the capabilities of your current devices.
Ultimately, the goal is to capture high-quality recordings of your TV screen for gaming, tutorials, or preserving memorable moments. Experiment with different methods and familiarize yourself with the features and settings of the chosen method to optimize your results.
Now that you have a variety of methods to choose from, you can confidently record your TV screen without the need for a capture card. Whether you’re capturing gameplay, creating tutorials, or saving treasured memories, these methods provide you with the flexibility and convenience to achieve your goals.